Brewery Upgrade Phase 1
I did the first phase of upgrades. This wasn’t a whole lot of work, but after spending quite some time at the hardware store, it was enough to cap off the rest of a day.
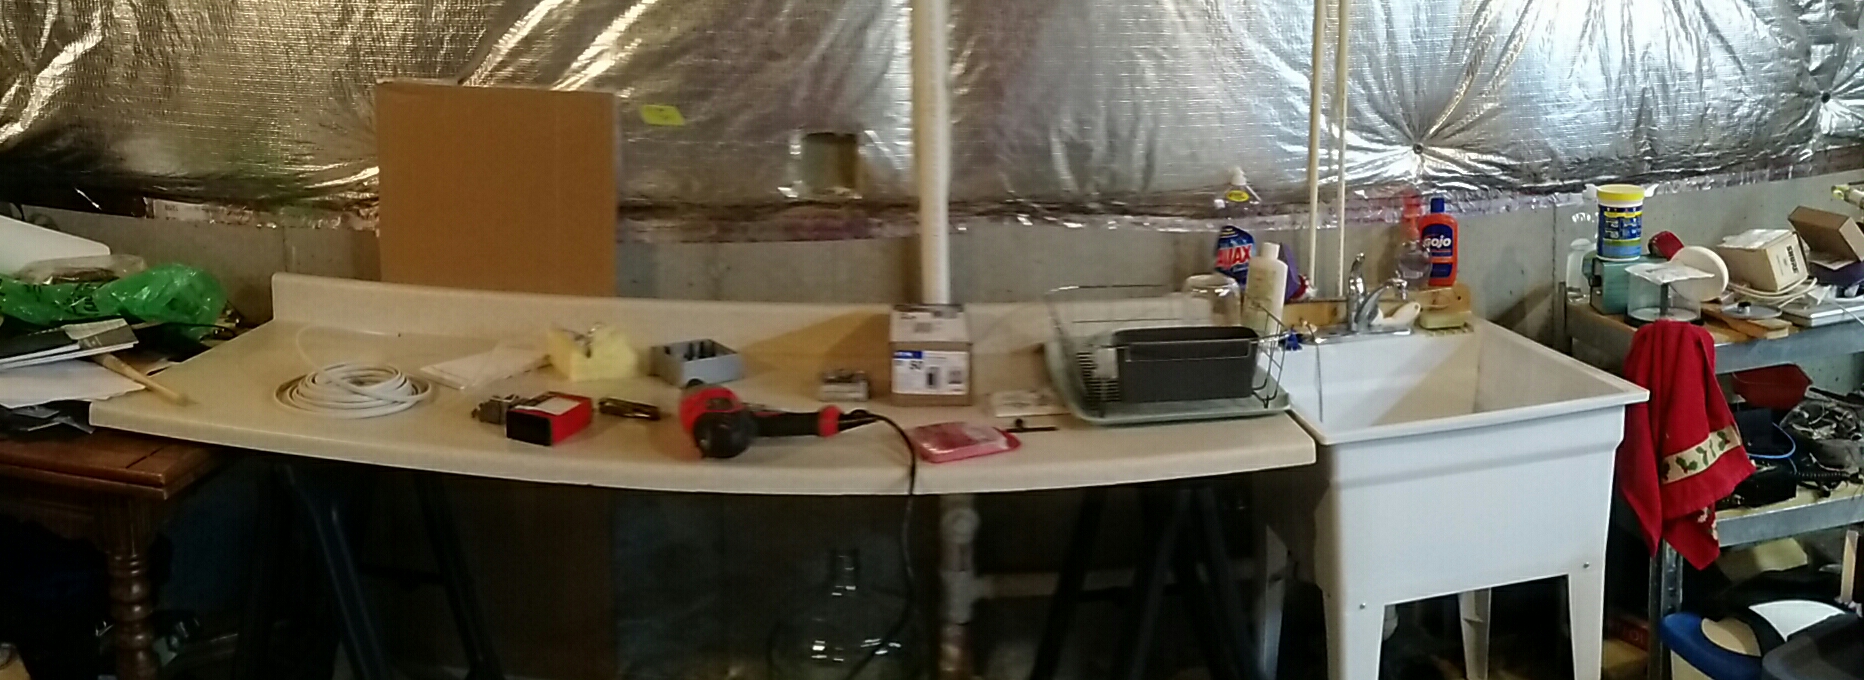
Semi-before
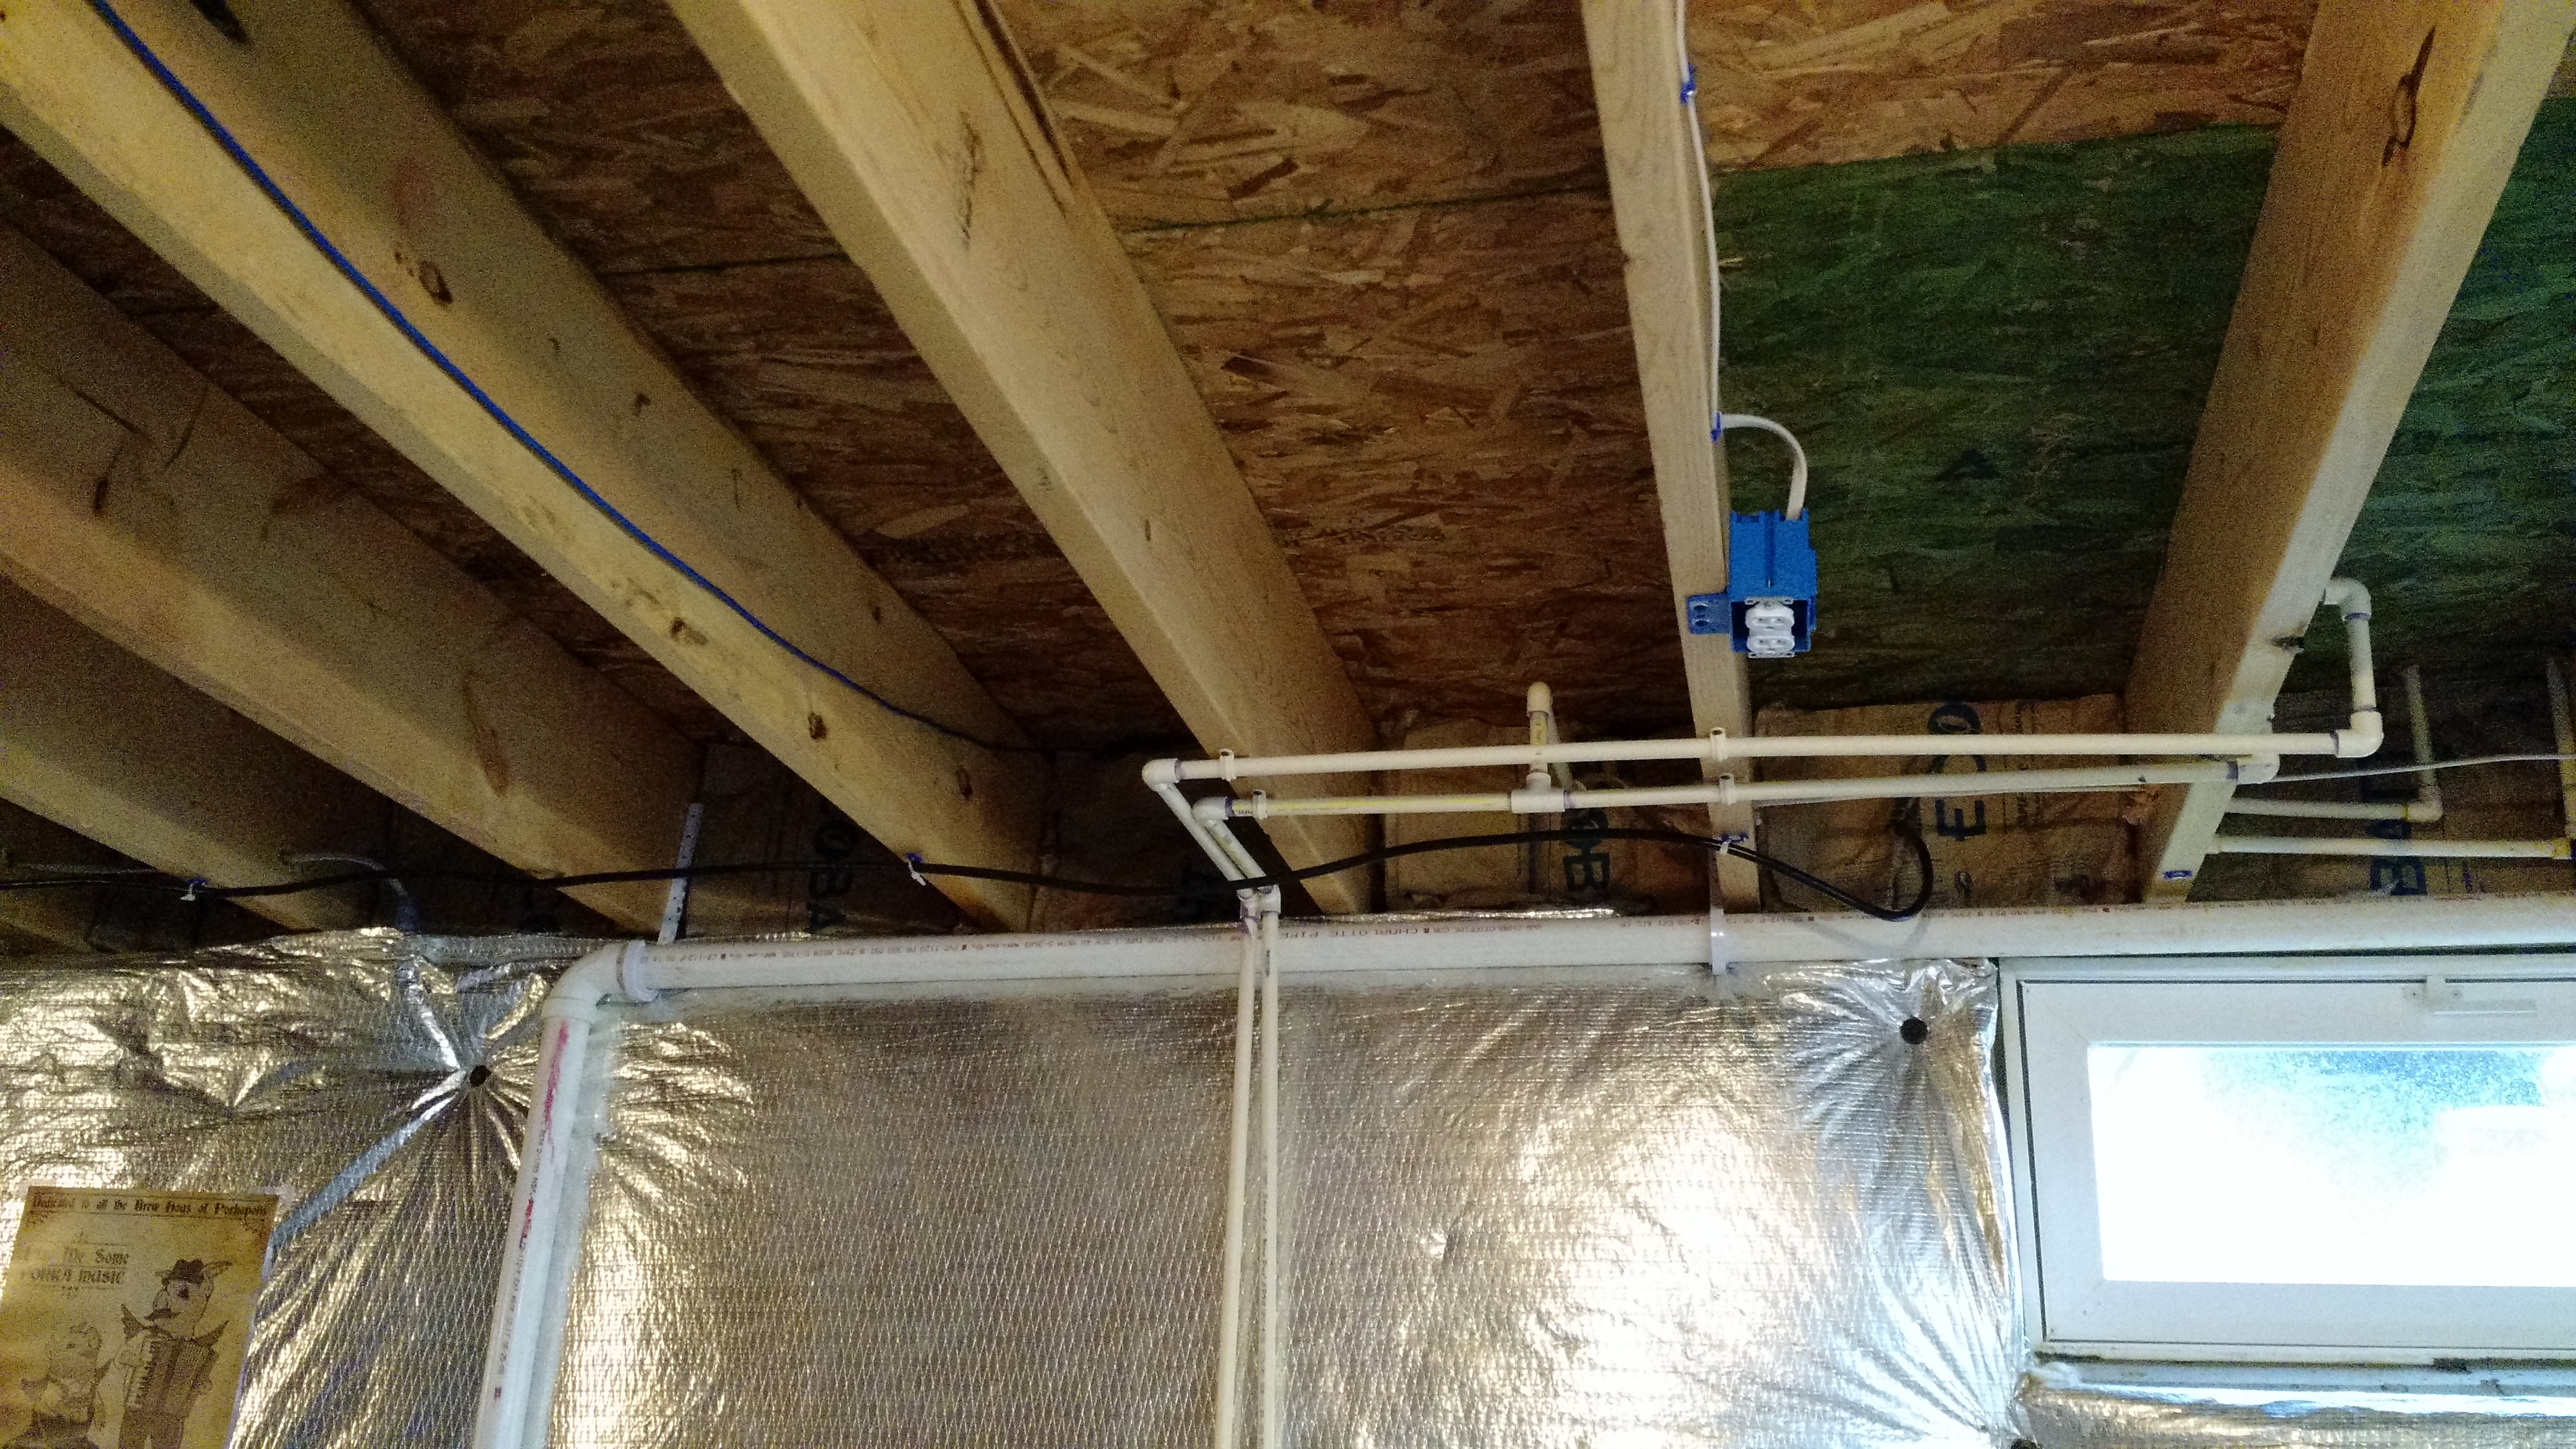
So the first part was an outlet somewhere near the brewing area. I’ve never actually needed an outlet for brewing, but the counter sometimes serves other purposes (my food dehydrator, for example), so having some outlet space is useful. Plus, if I want to plug in a radio, my phone, or something like that, I don’t want to run an extension cord across the basement. Safety first and all that!
DISCLAIMER: I am not an electrician. What I’m documenting here is a result of research mixed with a little bit of theoretical knowledge and some experience. This is not a guide or how-to on how to do this.
So extending the outlet isn’t difficult. Black to brass, silver to silver, and bare to bare. Running it is a pain, but hooking up wires is easy. Testing is easy.

Test
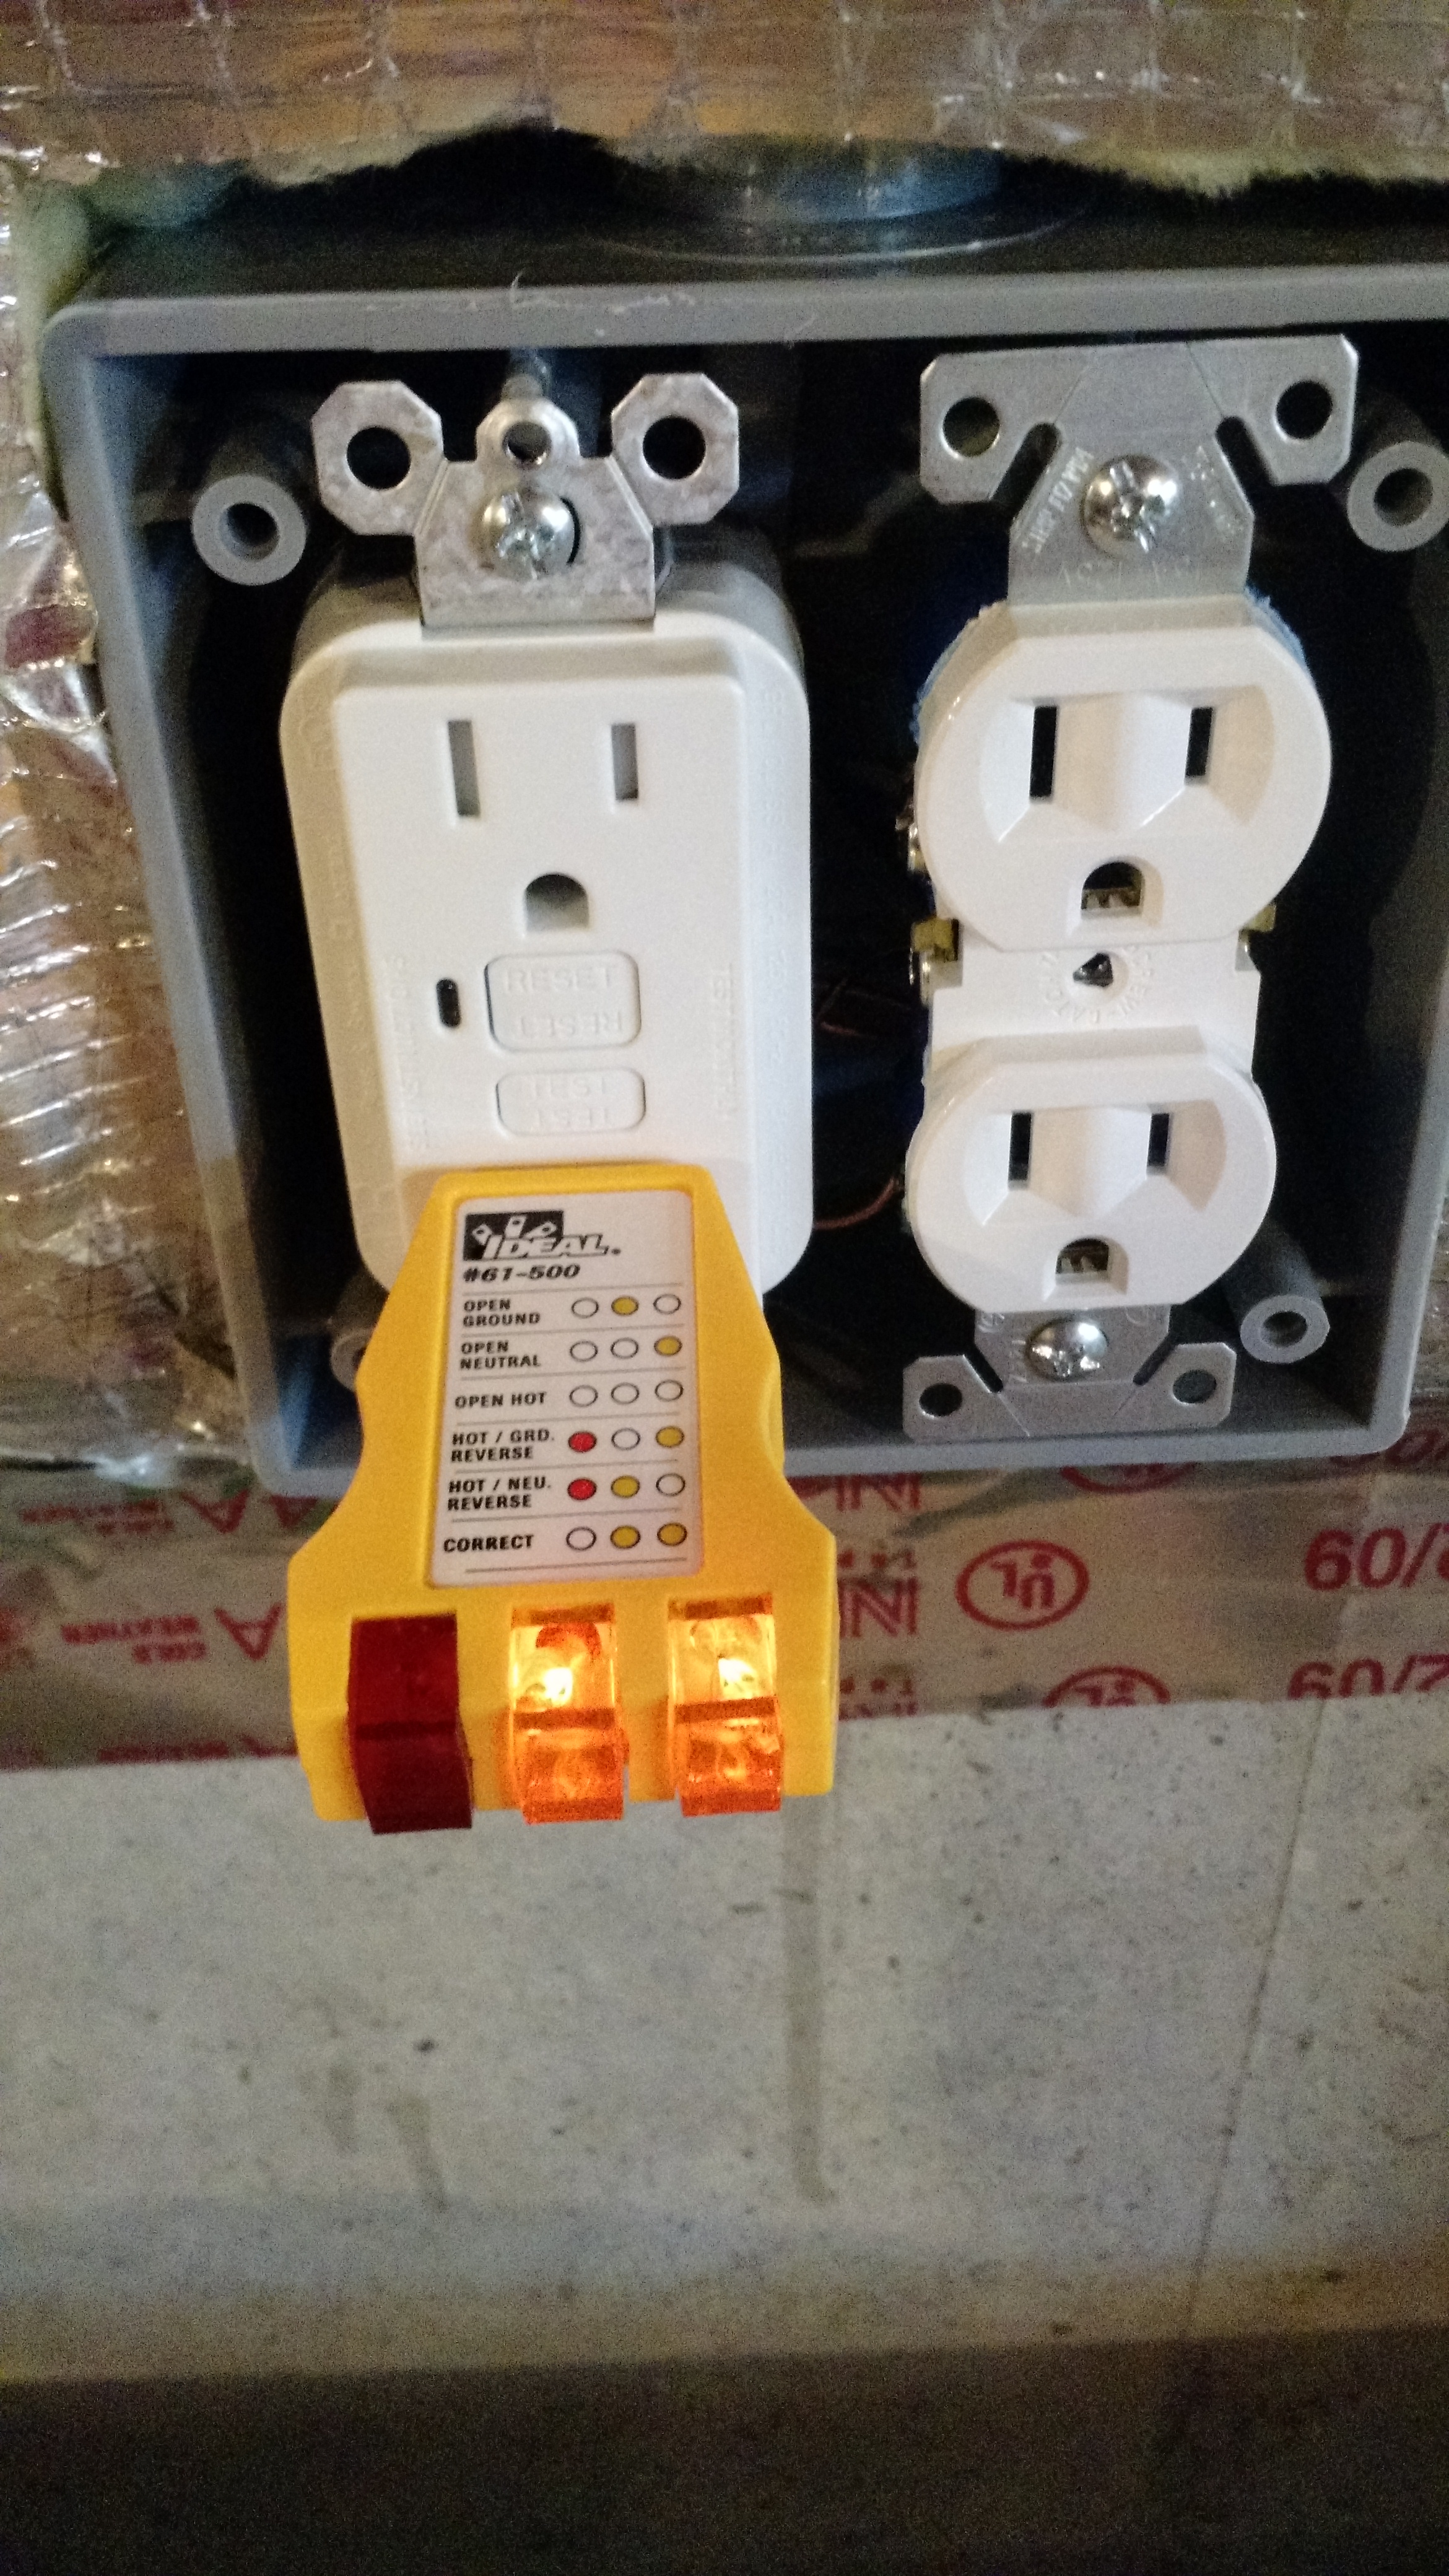
Every

Outlet
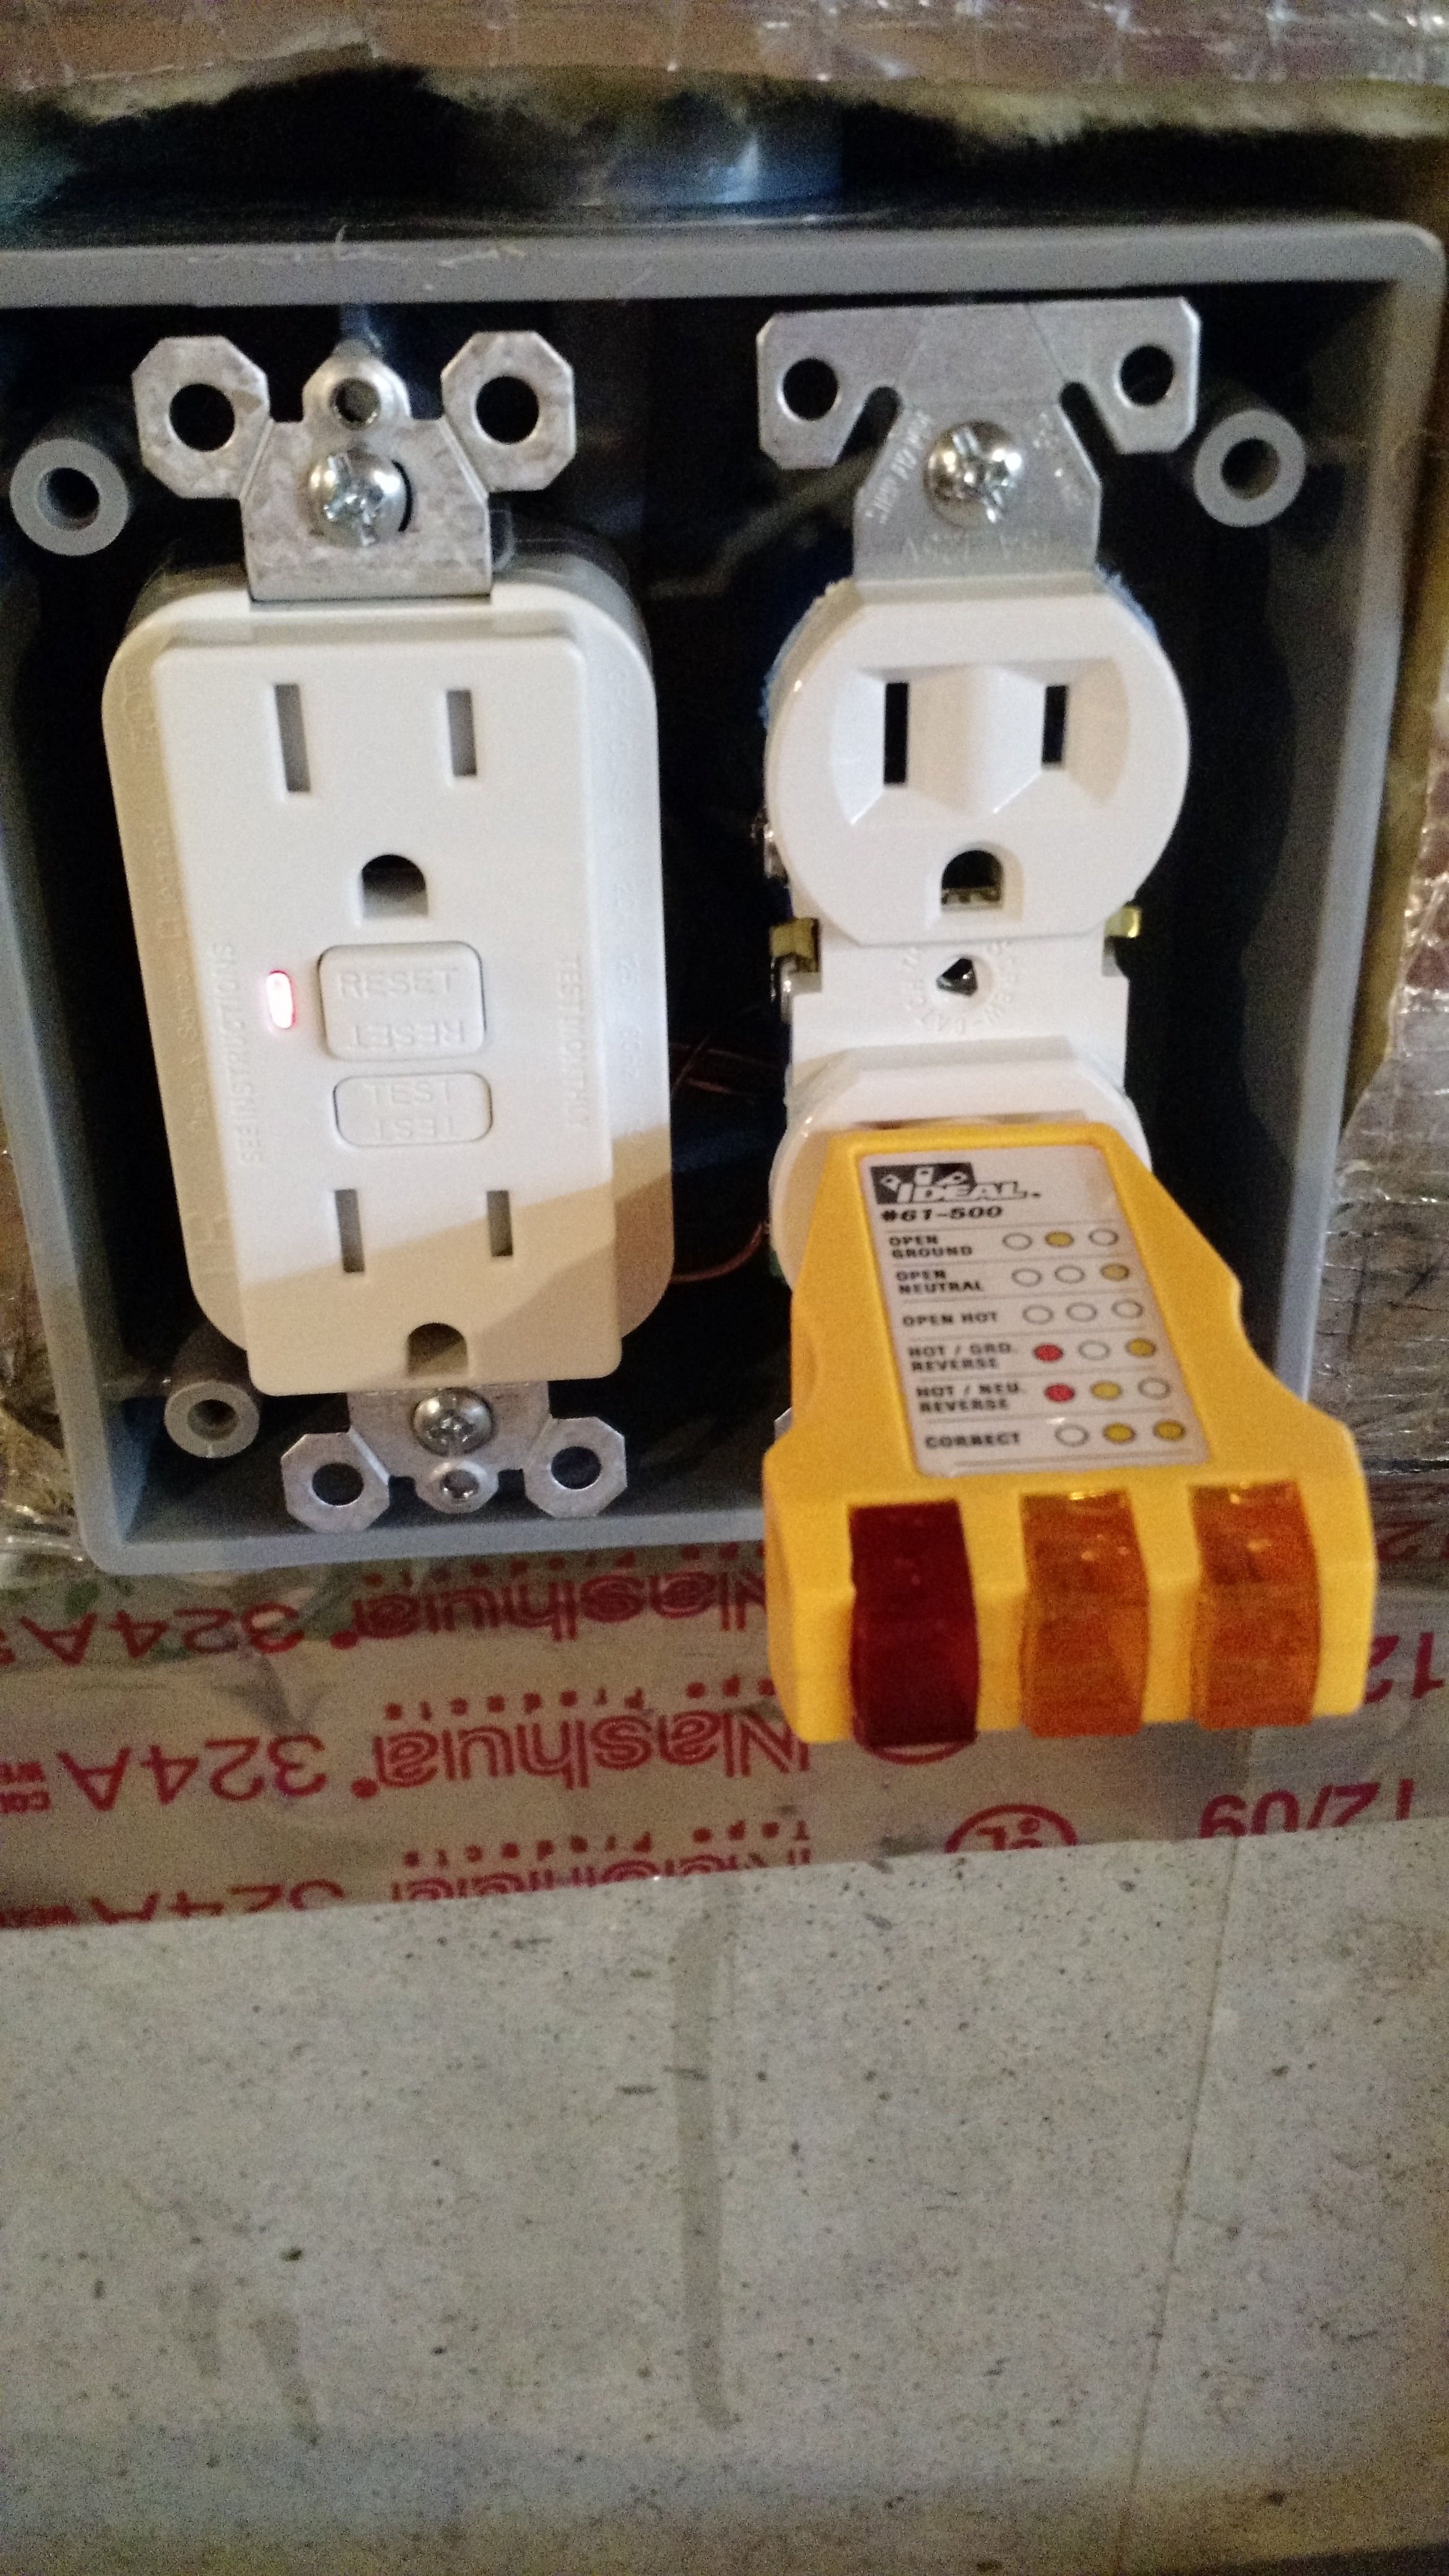
Sometimes twice (note the GFCI light is on, I pressed the test button and wanted to ensure that the other outlet was actually protected)
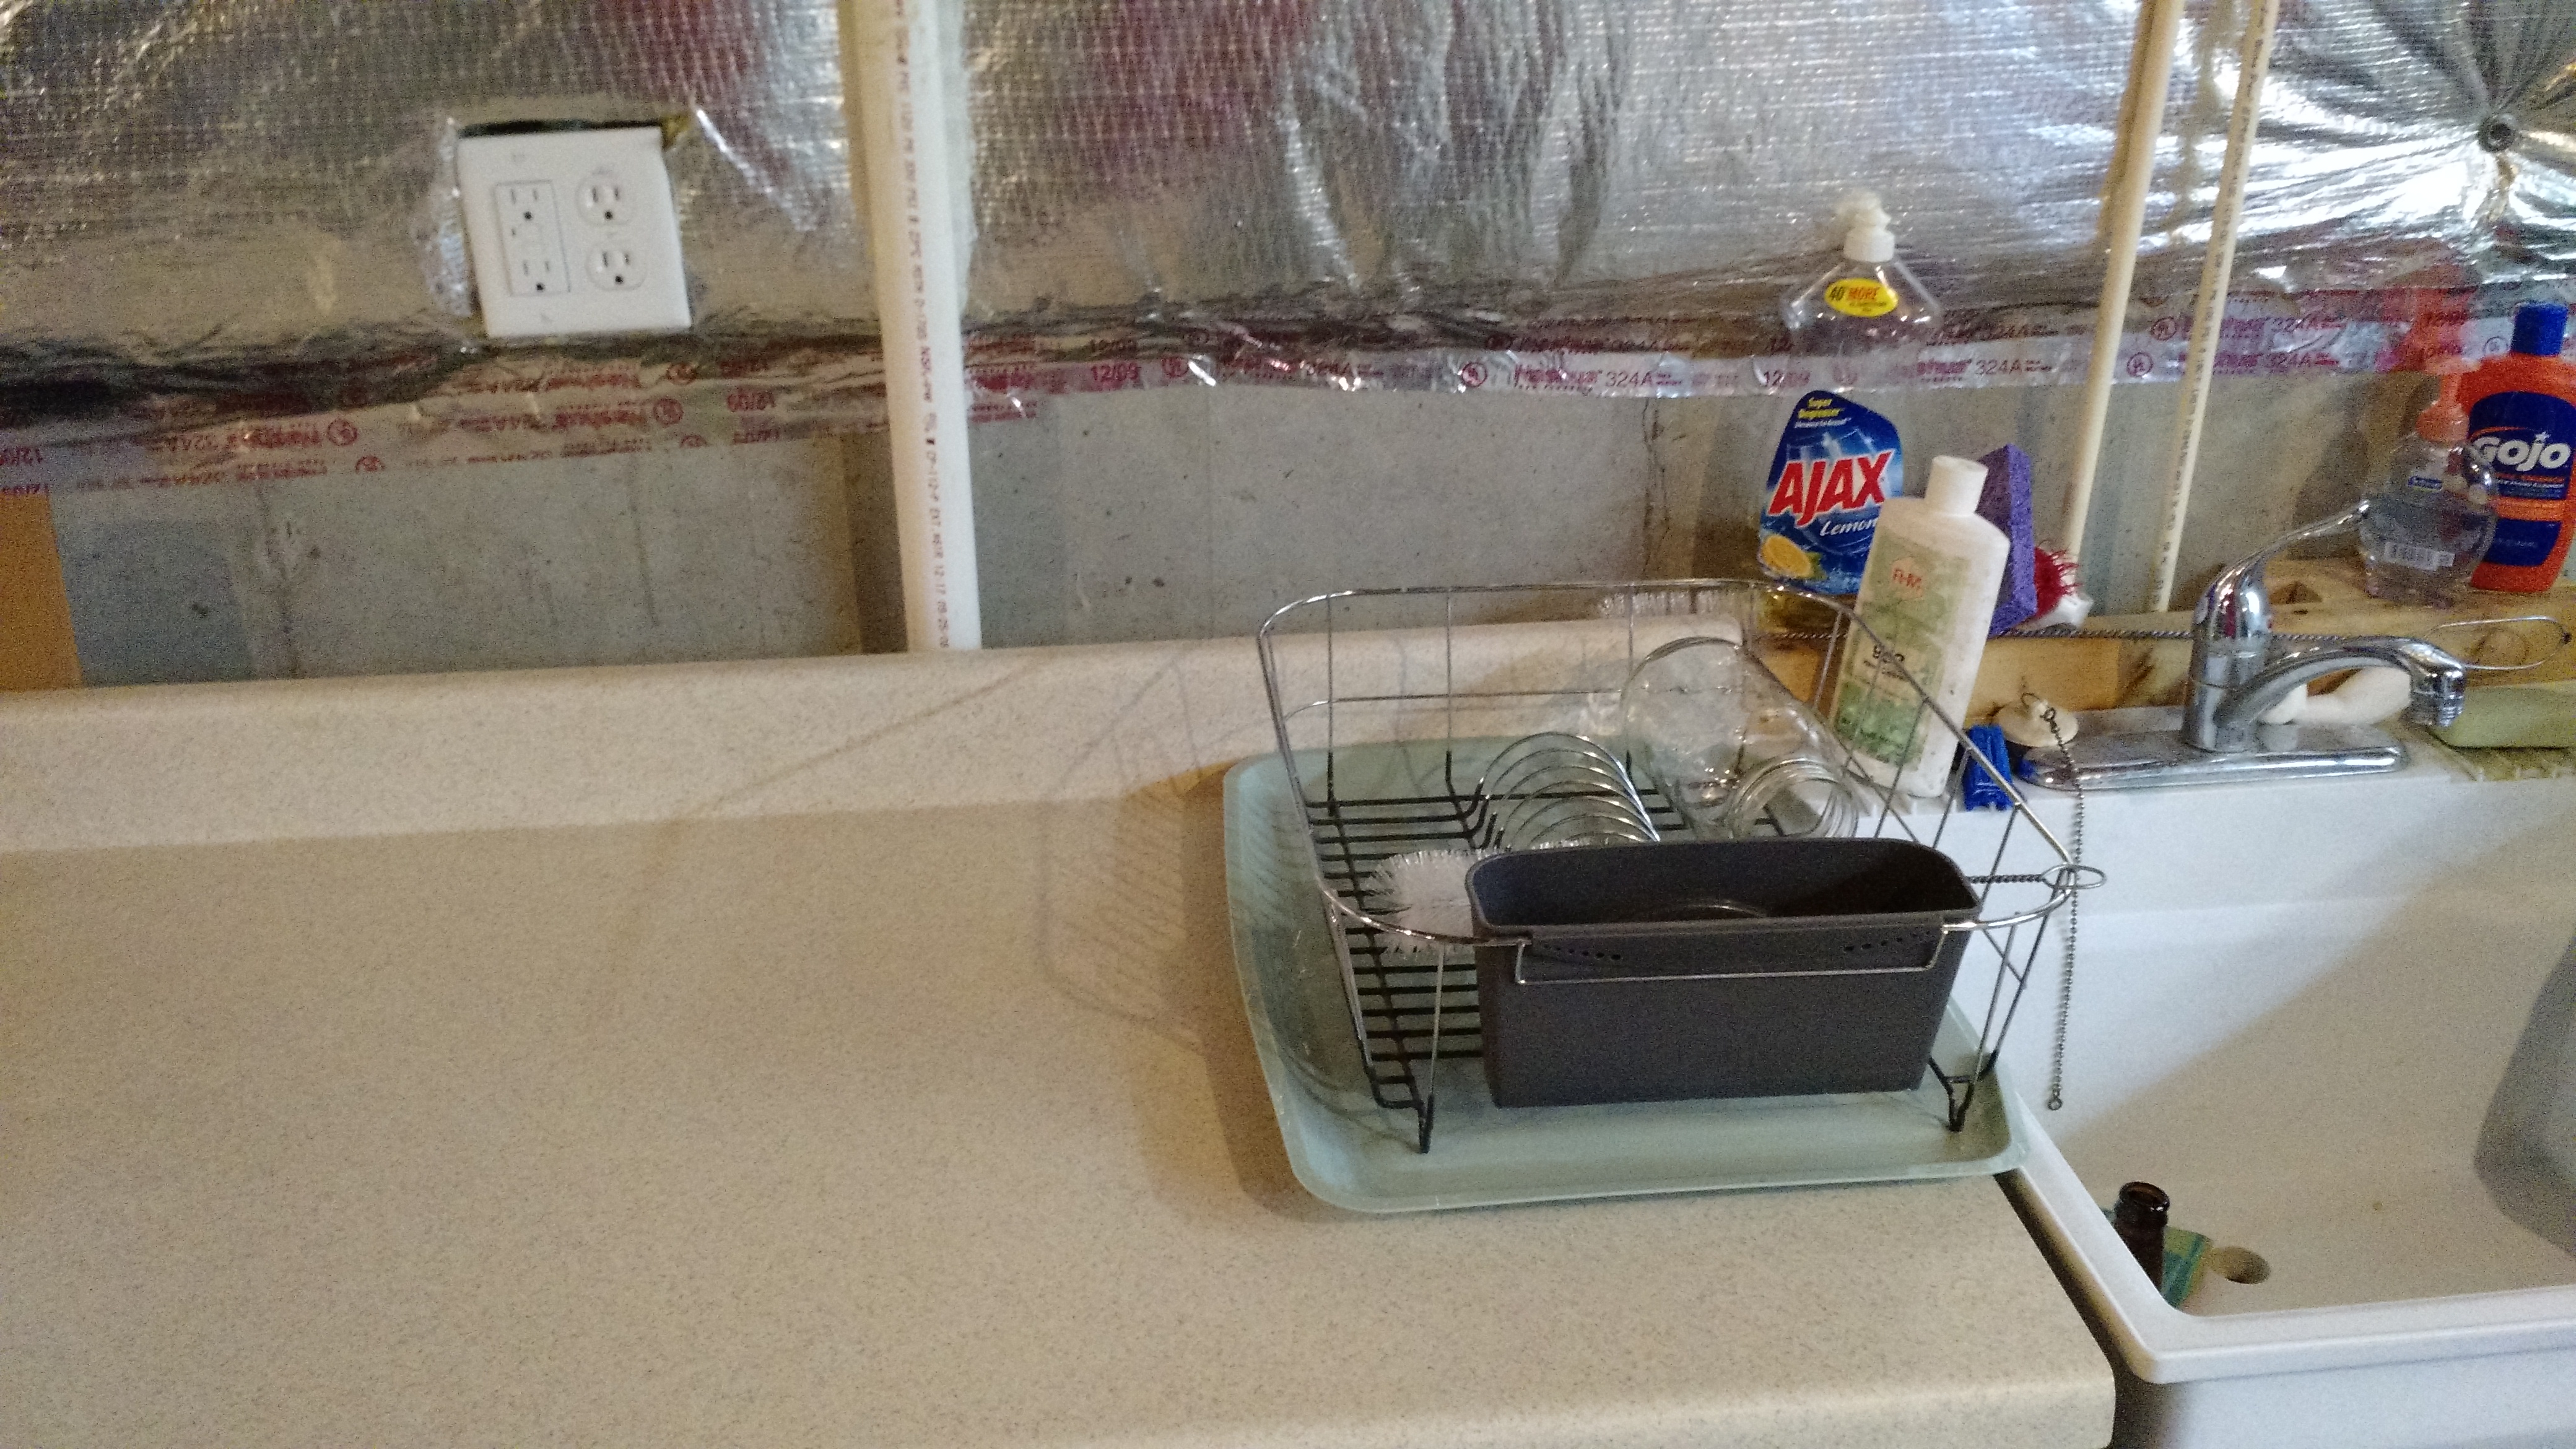
Finished outlet
That was the first part of the improvements. The second part was another outlet, but this one was for a light. I tied it into a light socket nearby.
The outlet.
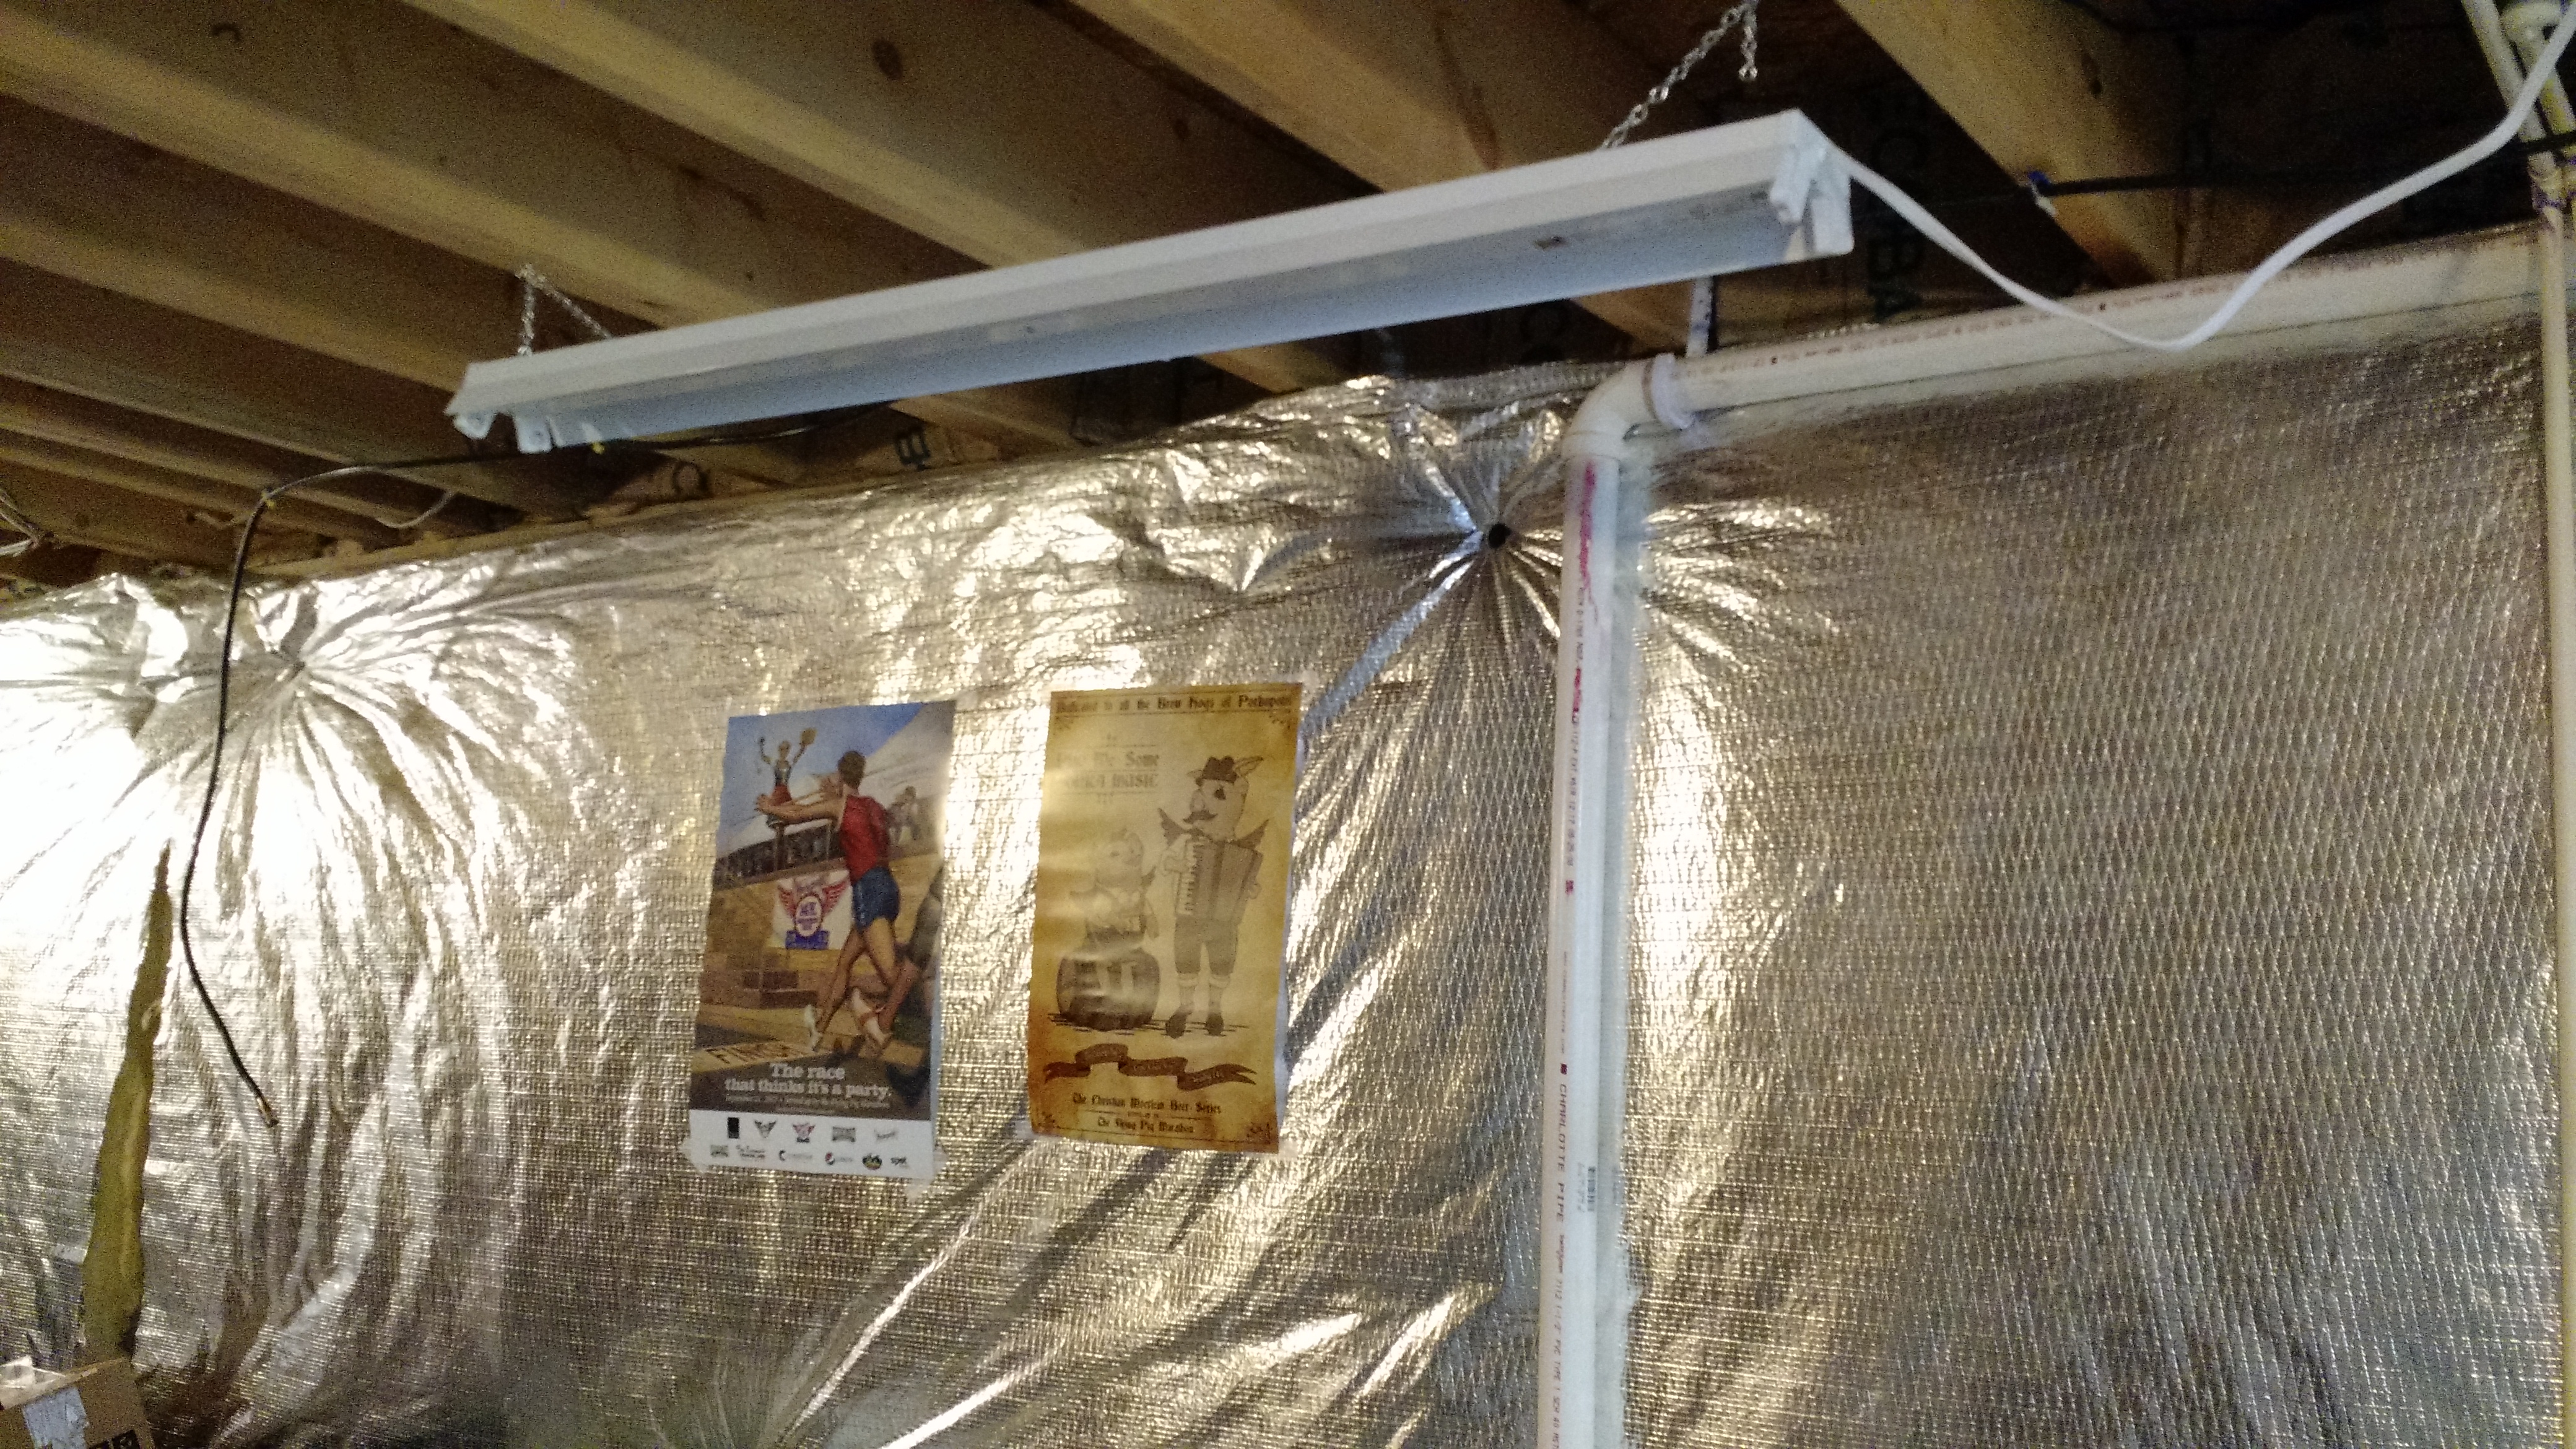
The finished light, sans bulbs (they didn’t come with the kit). This will operate with the switch to turn on all the basement lights.
So that’s phase 1.
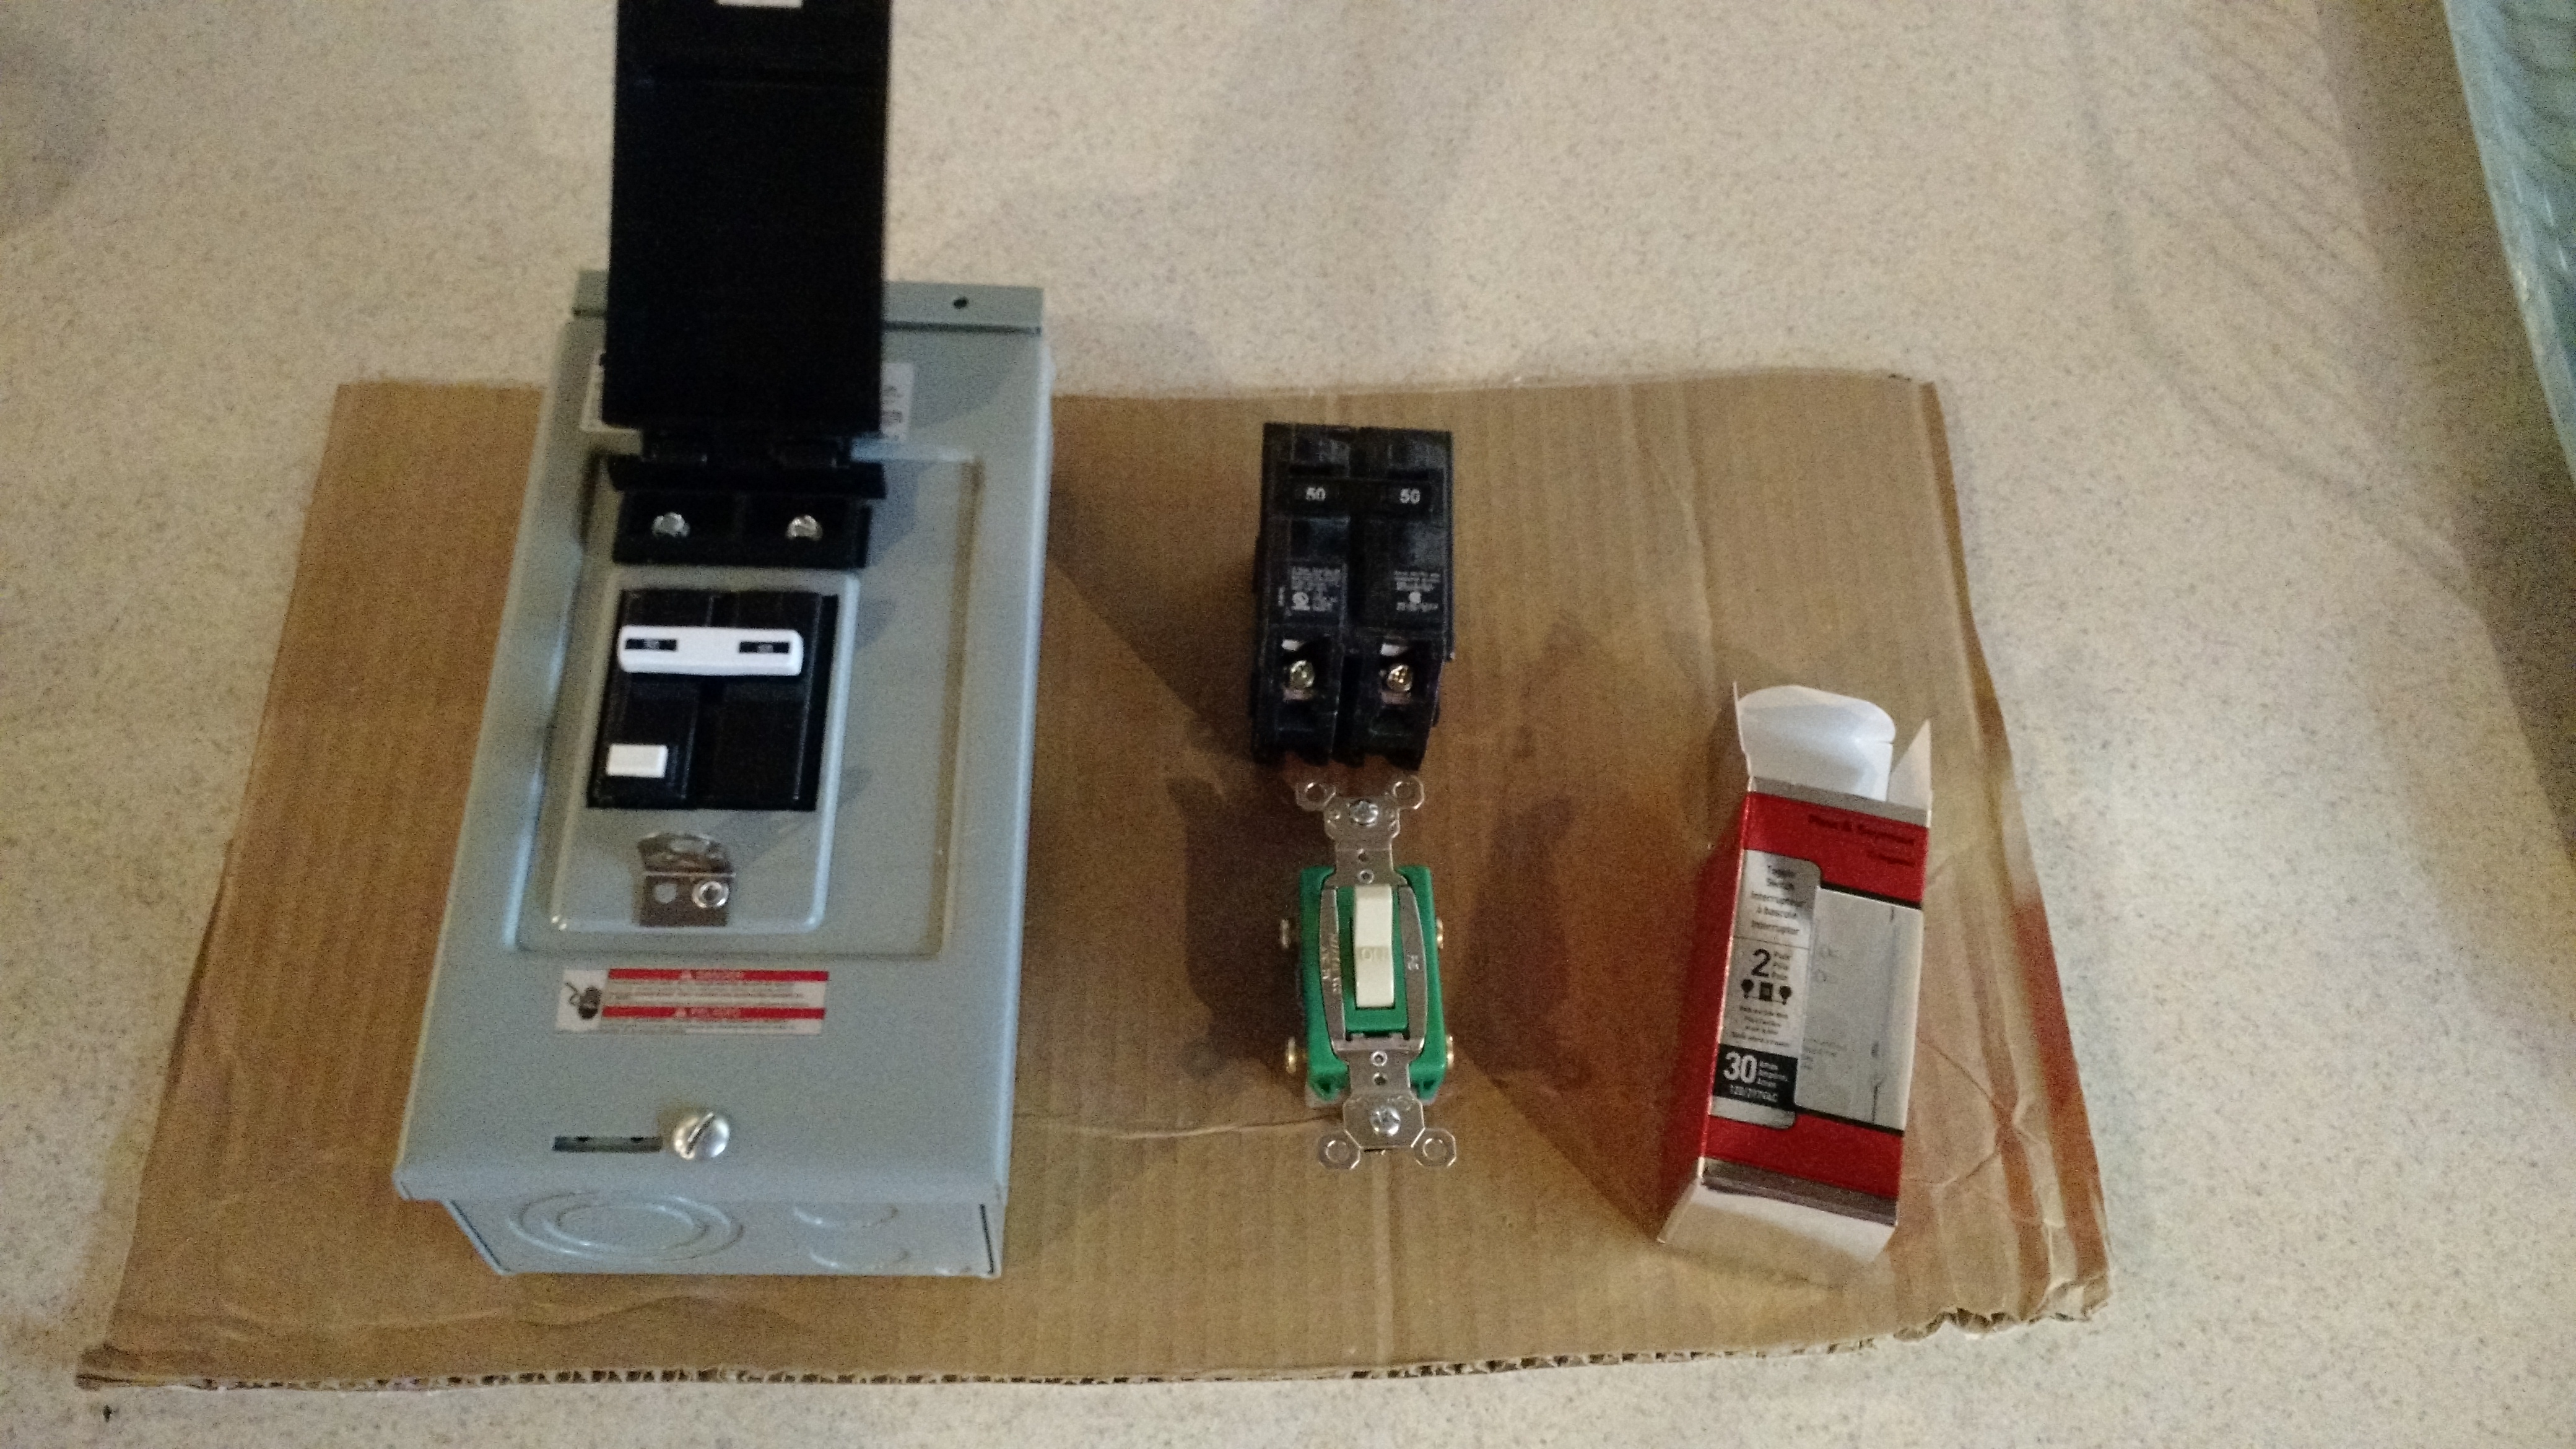
Components of Phase 2
Stay tuned for phase 2
Cheers!