Author Archive: Andrew
Road to BJCP 1: Introduction
This is the first of several videos with the aim to get me to actually study for – and pass – the BJCP web exam.
The next videos will include tasting and off-flavors, and then I start talking about specific styles. Cheers!
Homebrew Wednesday July 8, 2020
I’m going to start posting these videos here so my website doesn’t look as dormant as it really is!
This Homebrew Wednesday update talks about the busyness at the end of May and the things that have been keeping me busy – BJCP training, live video streaming research, and some video improvements. I also talk a little about my now-clean keg lines, the pilsner I brewed on Memorial Day, and the upcoming Marzen beer. Cheers!
Brew The Book 2: Northern English Brown Brew Day
For my second brew of the Brew The Book challenge, I brewed a Northern English Brown Ale. I wanted something that was interesting, and I’ve never brewed a brown ale before, so I thought it was a nice start. After reading the descriptions in the book and on the old BJCP guidelines, I decided on the Northern English Brown.
Sidebar: Brown Ales and BJCP Guidelines.
When I started brewing and learned about the BJCP guidelines, the guidelines in use were from 2008 and listed the Northern English Brown and Southern English Brown as separate sub-styles of the English Brown Ale category (along with Mild). American Brown Ale was, of course, separate.
At the time, Southern (11B) is listed as malty-sweet with very low to no hop aroma with low hop bitterness and a ‘low to non-existent’ hop flavor. Northern (11C) has a ‘light but appealing fresh hop aroma’ that may be present, and the flavor has a medium to medium low hop bitterness and an even malt-hop balance.
Fast-forward to the BJCP 2015 Style Guidelines. Dark mild, British Brown Ale, and English Porter are moved around. The British Brown Ale sub-category seems to mostly mimic the old Northern English Brown, and it seems that a Southern English Brown would have to either go into the British Mild or Historical – London Brown Ale.
Recipe Development
Starting with the book’s guidelines, I used the following grain
9 lb Maris Otter
0.5 lb Special Roast
0.5 lb Victory
0.5 lb Caramel 40
0.25 lb Chocolate Malt
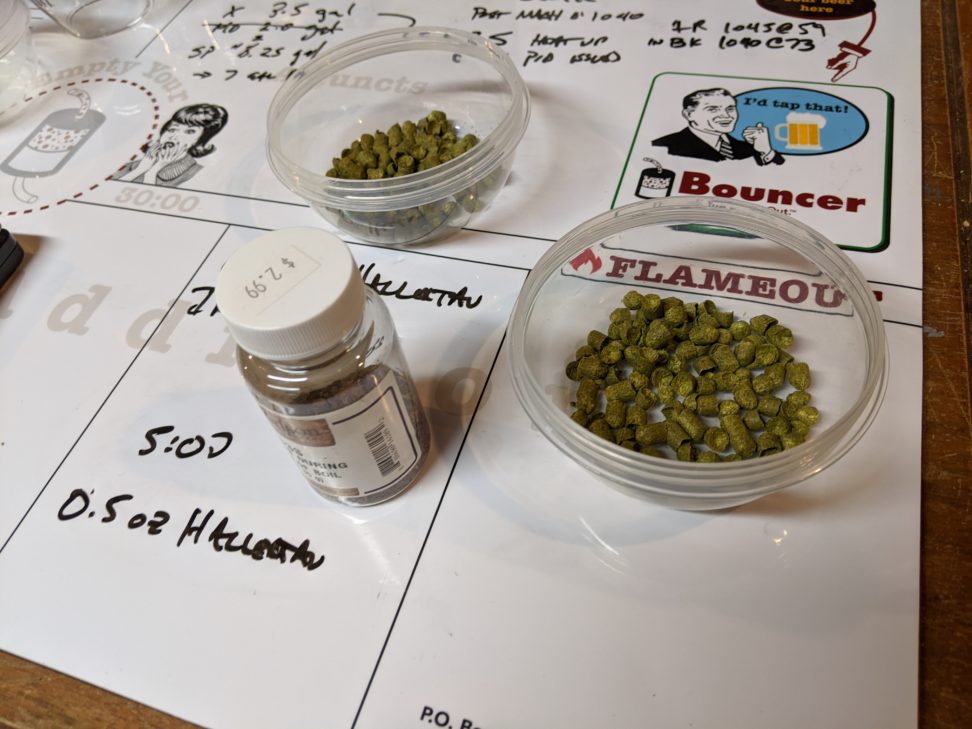
Hops were simple, 1.5 East Kent Goldings at 60 minutes and 0.5 EKG at 5 minutes. I used 1/4 tsp of Irish moss at 15, and used Imperial Pub yeast.
Brew Day
Brew day began early since I was also smoking a pork shoulder.
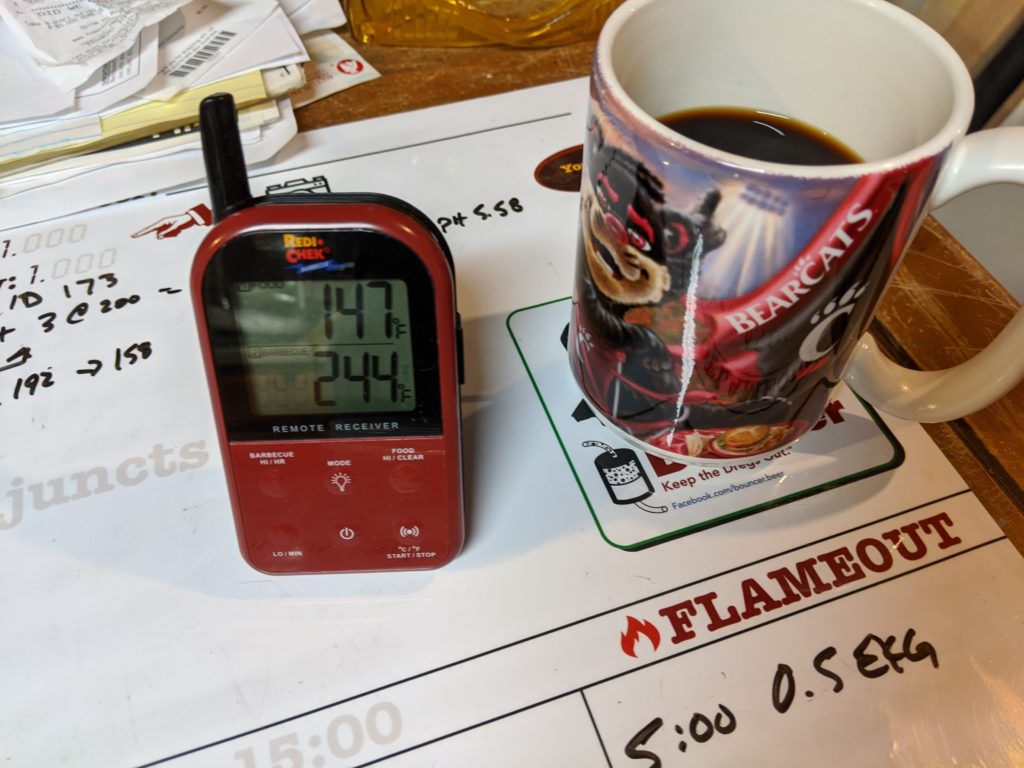
I did have a problem with my mash temp – my initial strike (with 173F strike water) was coming out low and my initial temp was in the 130s. I heated up more water and brought it up to around 149F and started a timer. From then on, there was nothing (fortunately) notable. I didn’t use a hop screen/filter in the boil this time (for the first time in a very long time).
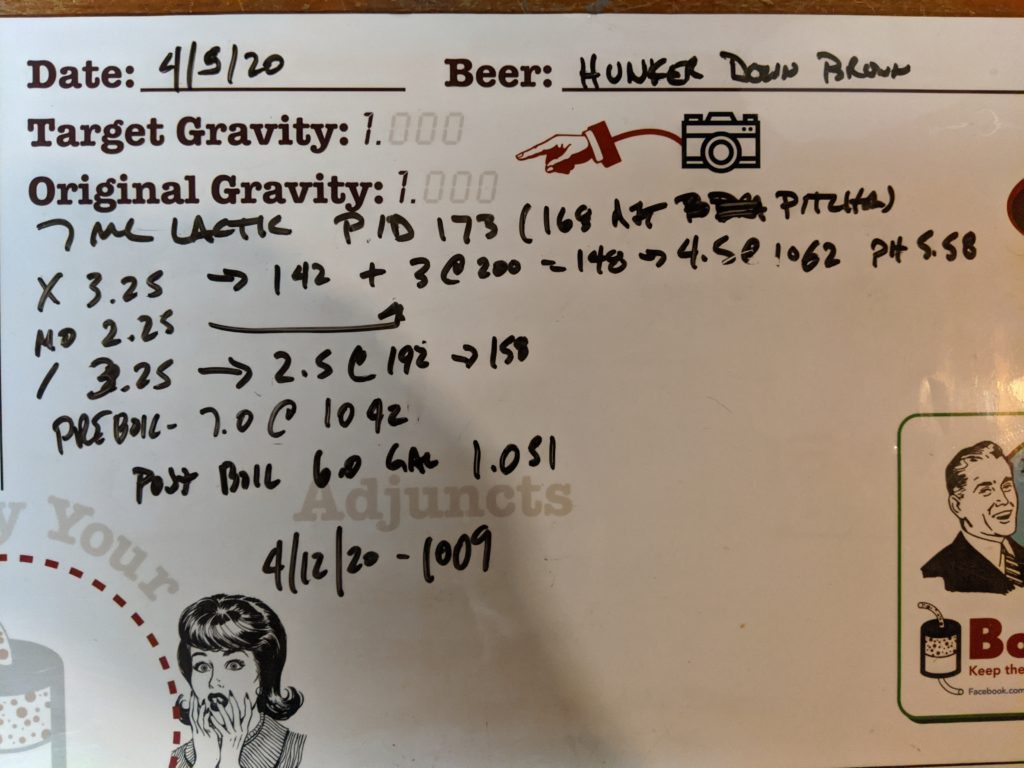
OG: 1.051 (goal 1.052), FG: 1.009 (expected 1.014??? WTF BeerSmith???), 5.5% ABV.
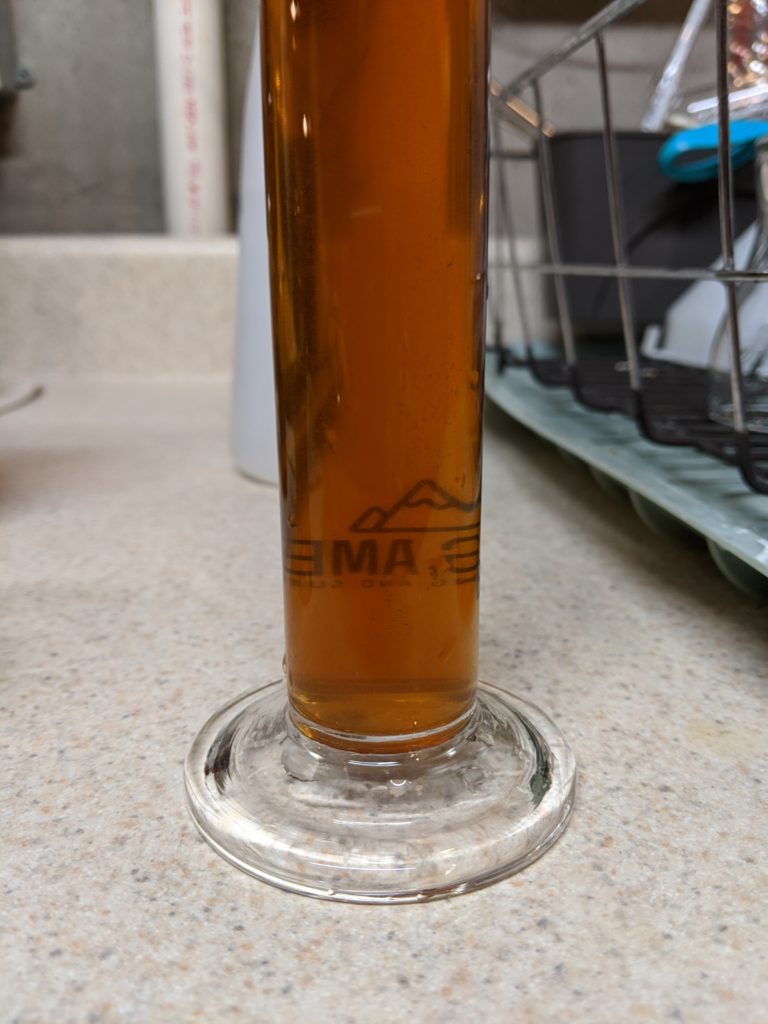
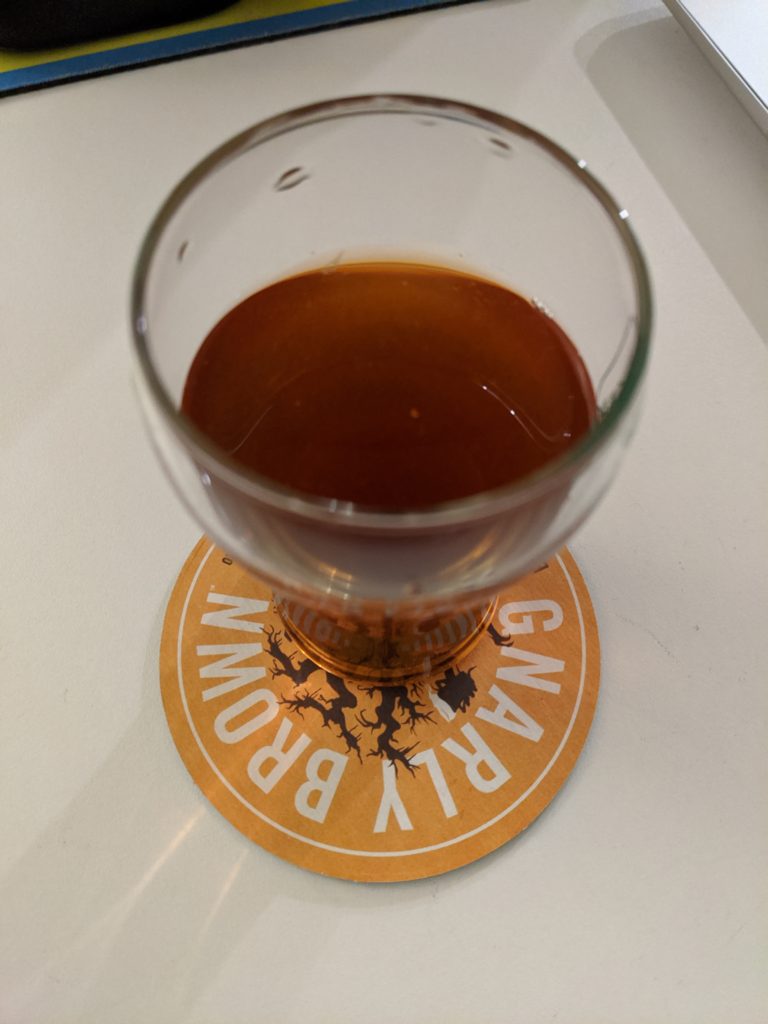
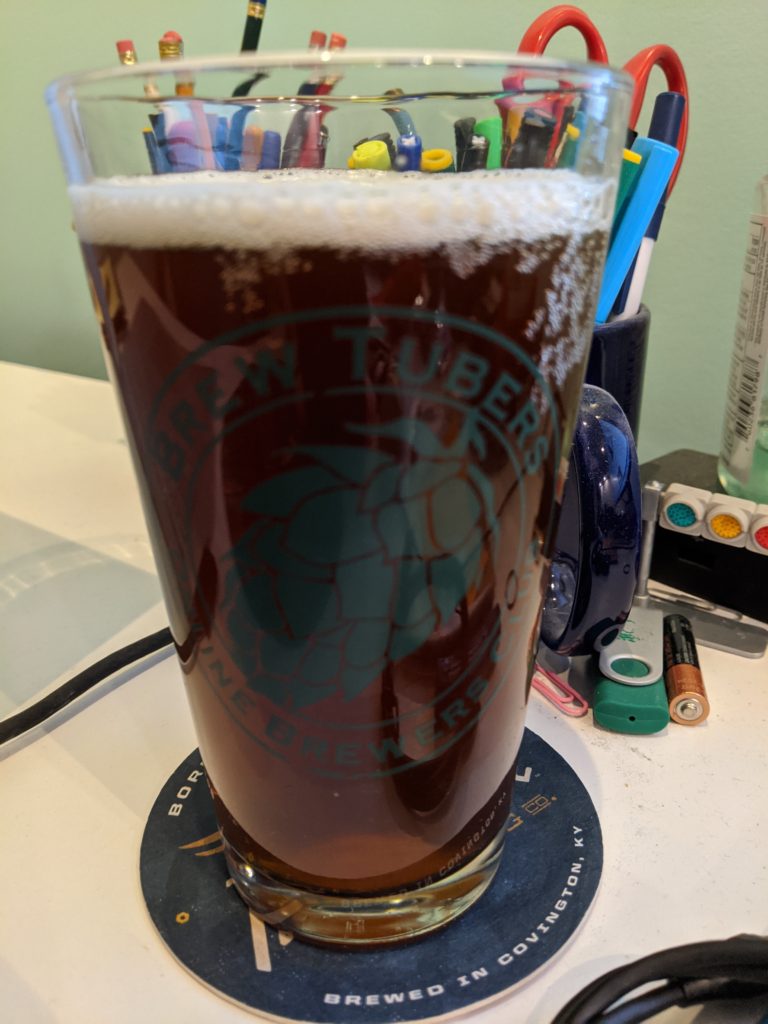
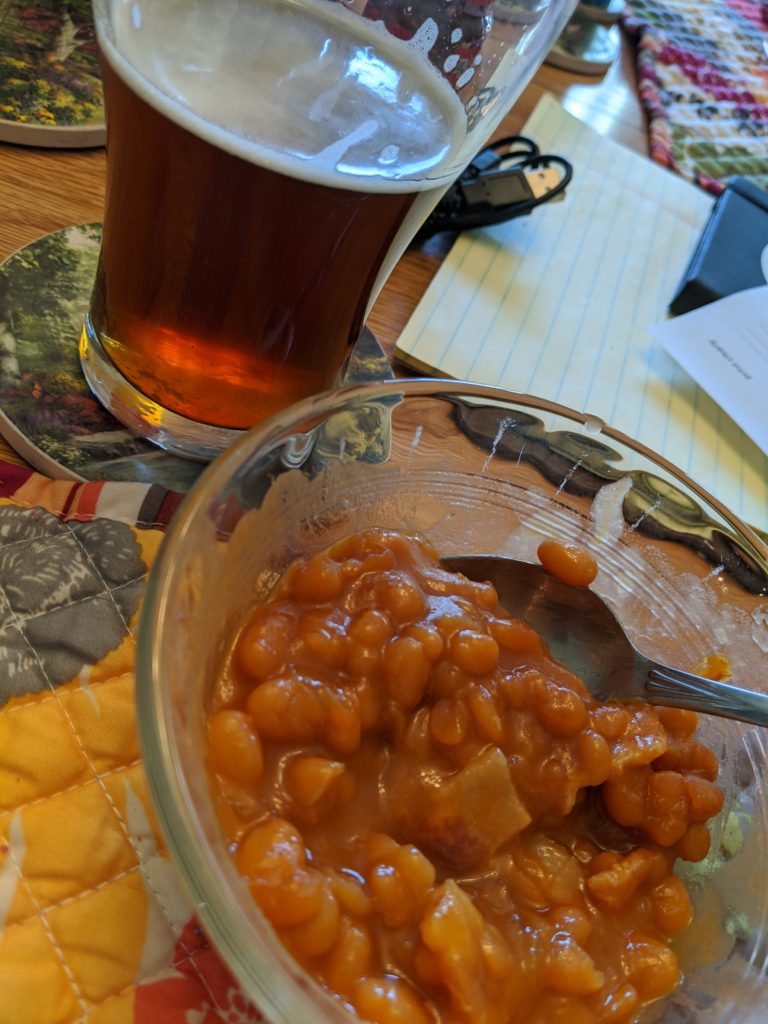
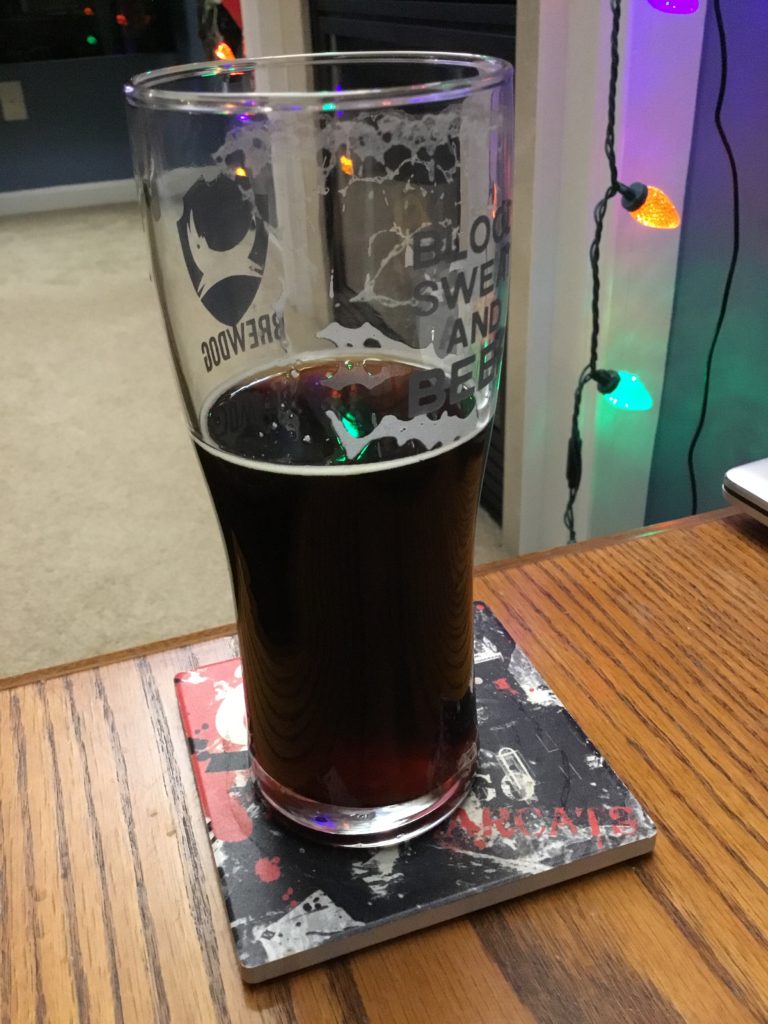
This fermented for a few days, I gave it two weeks and racked it to a keg. It’s a little sweet toasty with caramel and toffee notes. It’s pretty clear (particularly when using no gelatin in the keg). It goes well with my wife’s pork and beans (she uses canned beans but adds onions, mustard, and brown sugar… all by taste).

Cheers!
Brewtubers Yeast Experiment Brew Day
Brewtubers is an online club of homebrewers that use YouTube. I have only a few things on YouTube and have visions of more grandeur than I currently have.
Anyway, at the persuasion of Exit 12 Brewing, I jumped into this thinking “I’ll want to brew an IPA sometime around early February.” I was correct, but I promptly forgot about it in favor of a kveick white IPA. So I was brewing this at the last second.
I selected “Unicorn Dust” – Imperial A20 Citrus / WLP644 Saccromyces “Brux Trois”. According to White Labs, I might see a pellicle, but they’ve done some sequencing and determined that it is a saccromyces variant. It is diastaticus-positive, which is a concern, but it shouldn’t be a major concern since I keg and the bottles won’t be sitting around for too long.
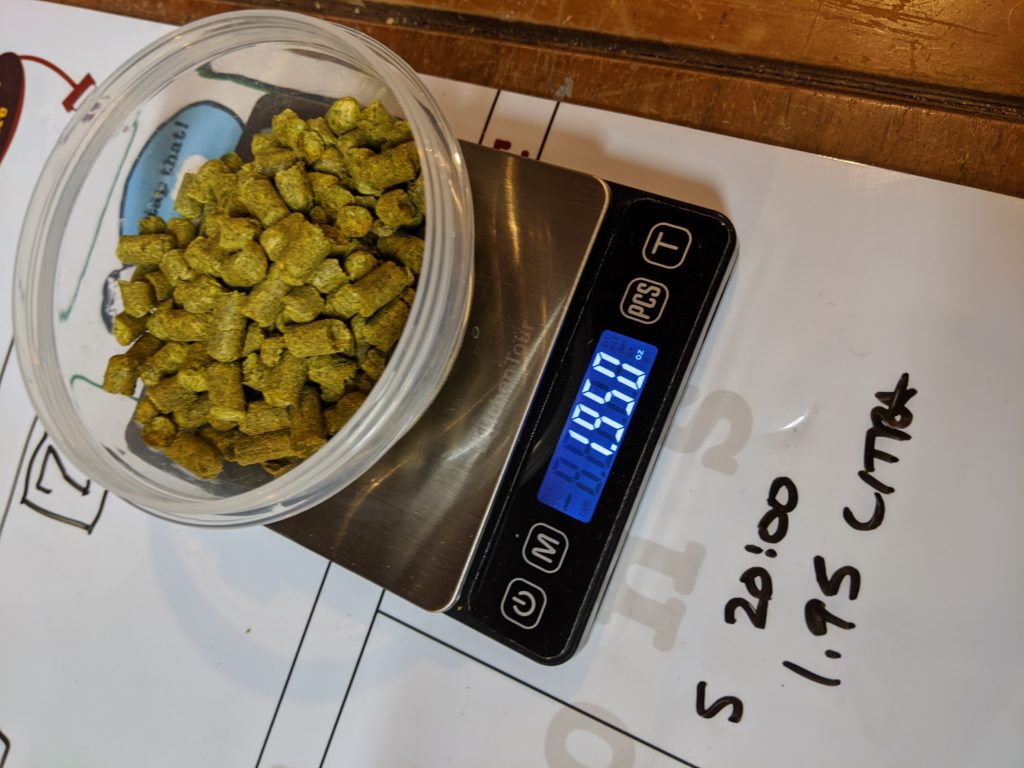
The premise of this experiment is to try to control as many factors as possible – distilled water, specific water additions (thank God I happen to have calcium chloride, I forgot to make sure I did when buying stuff) measuring hops to IBUs instead of ounces, and ensuring the OGs match.
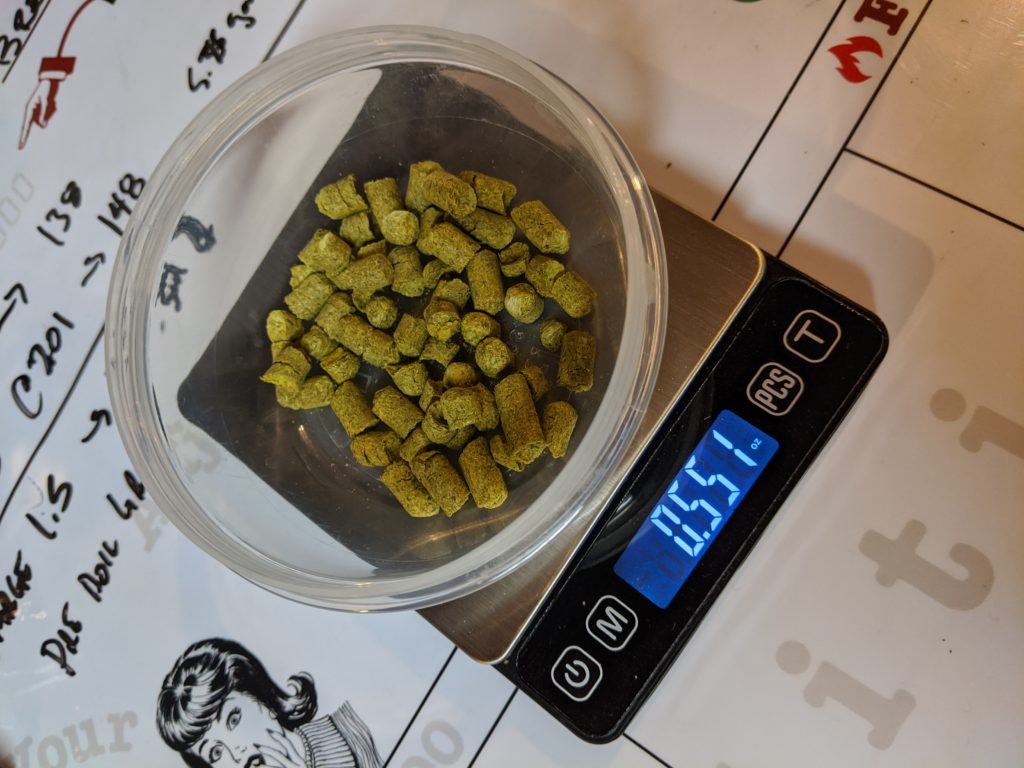
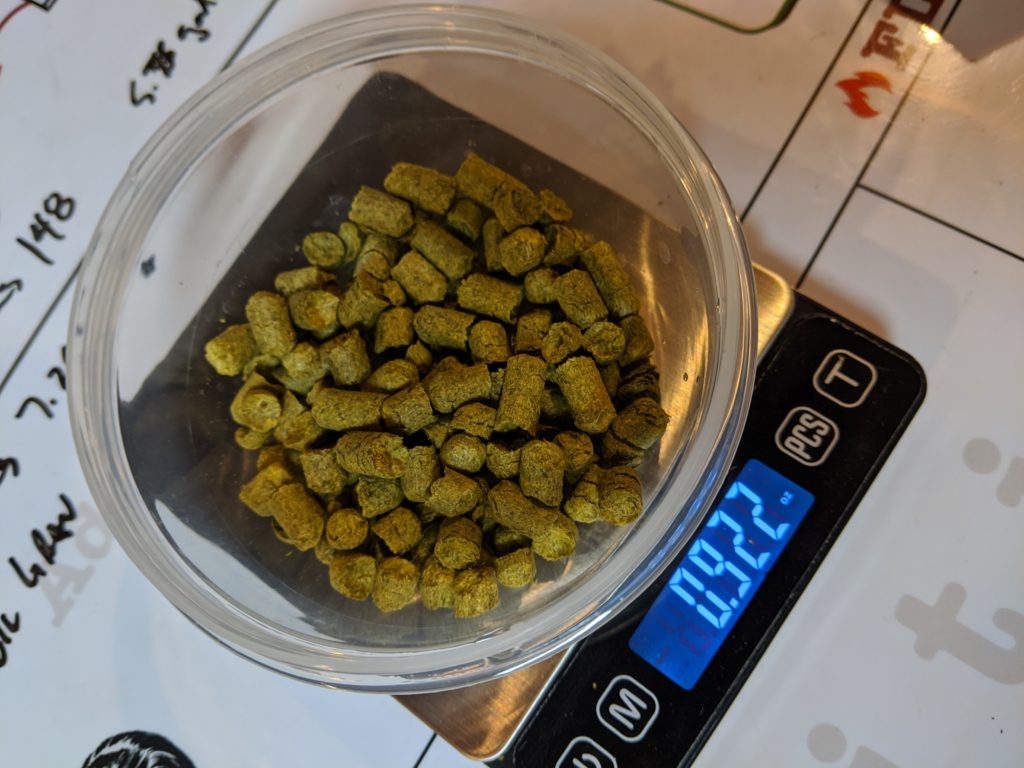
The base recipe is here. I didn’t make any adjustments to the malts – based on my inputting them into my system setup on BeerSmith, they came out to an OG of 1.066. I did make adjustments to the hops – and made the most accurate hop measurements I ever have…
One of the things I was wondering about was the mash pH. I’m used to my water, which goes between pH 75 and 8.5, so I normally use lactic acid. Part of the control of this is using distilled water and 4 grams of gypsum and 5 grams of calcium chloride as the brewing liquor, and a small amount of acid malt. I’ve never used acid malt, so I put the small amount of malt into a separate bag at my LHBS and about halfway through the milling the grain, I dumped it into the mill. The pH didn’t look too bad…
After the 20 minute steep, I went to chill the wort and see if I needed to add some distilled water or malt extract by immediately pulling off some wort to test. I realized it was at 68F, so I immediately transferred the wort to the carboy… which was ultimately 61F. The yeast prefers it to be warmer, 67-80. It did warm to the mid-70s over the next few days of fermentation.
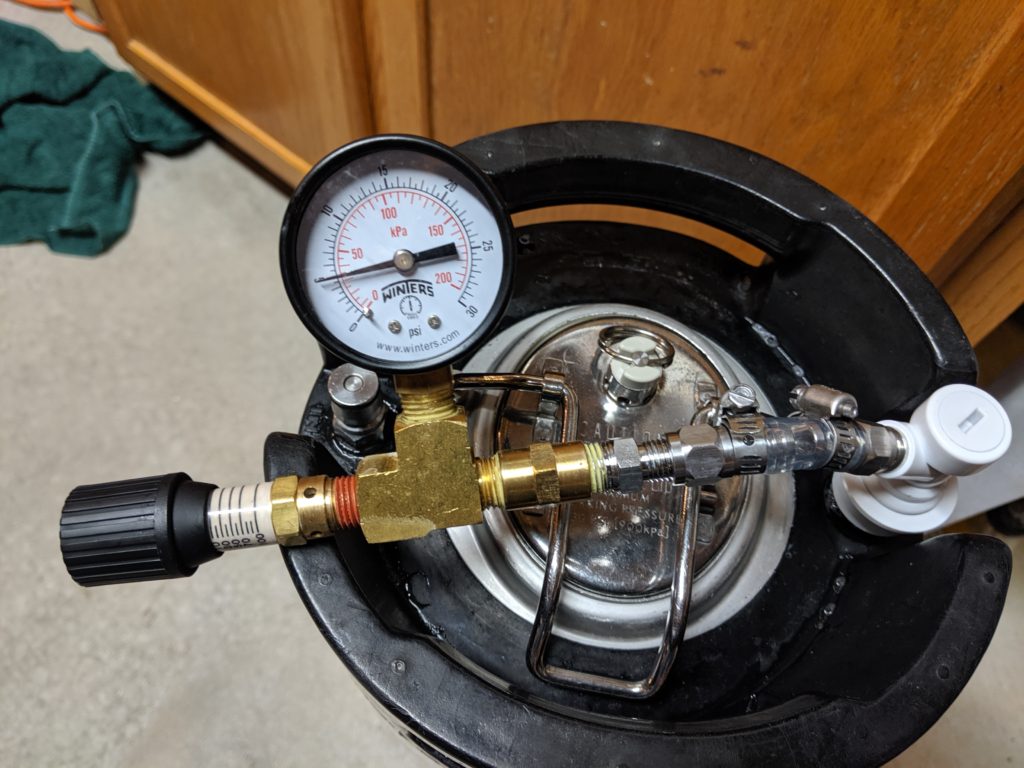
This was kegged using my closed-kegging method, which is shown in the video below.
Evaluation
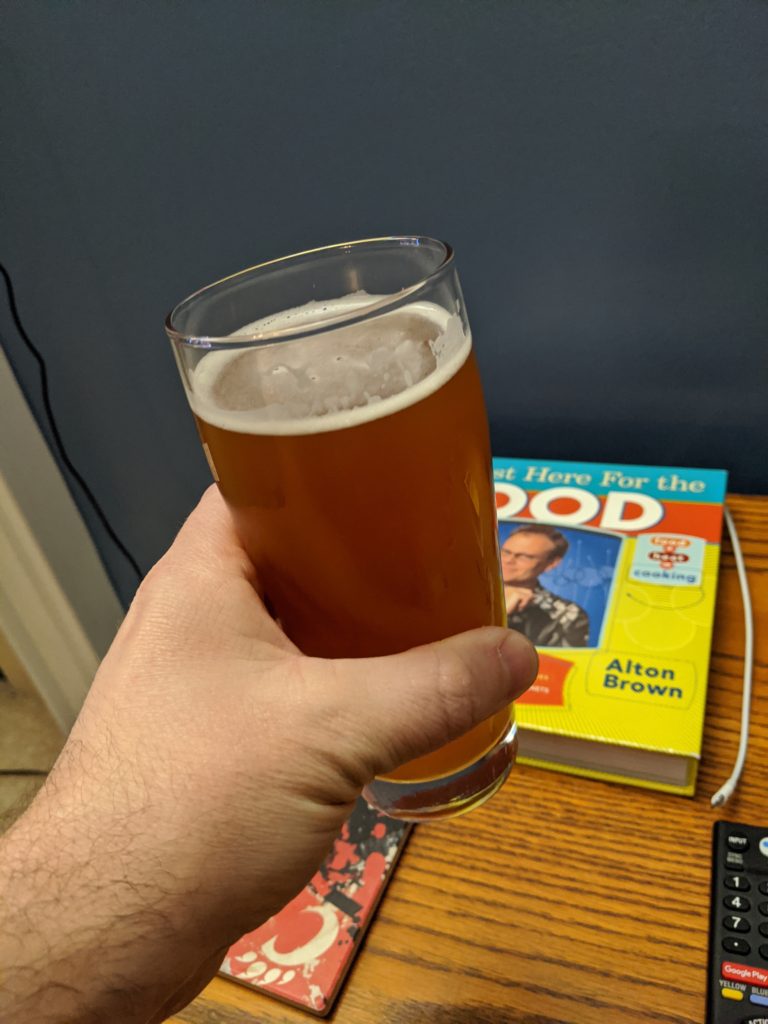
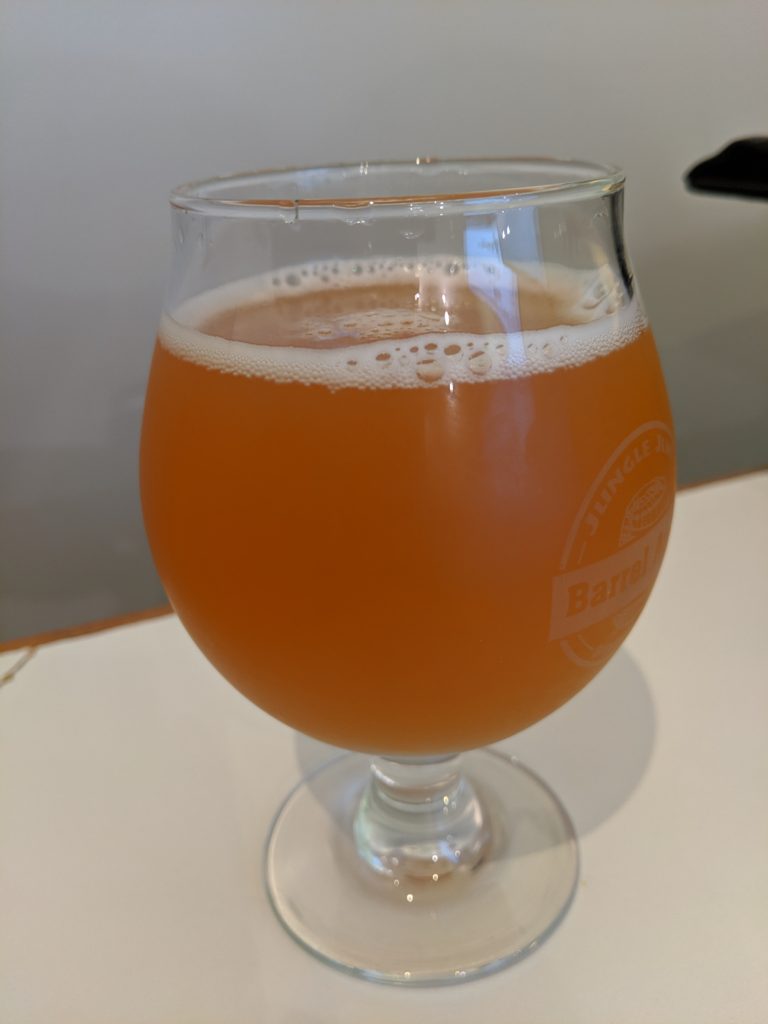
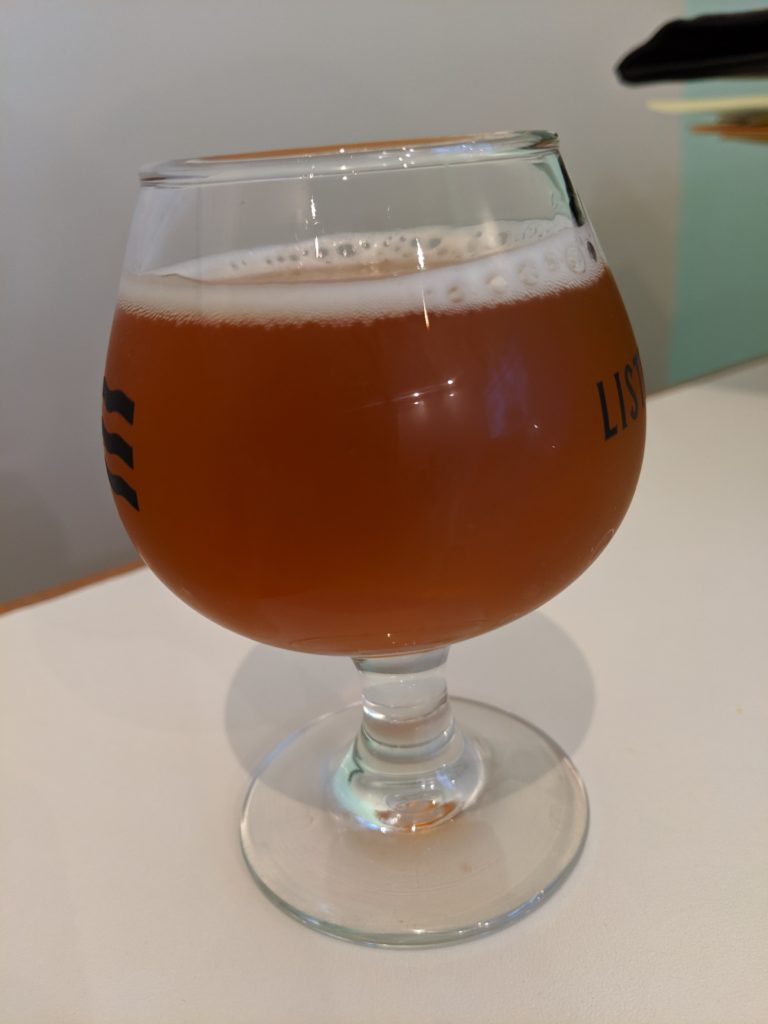
Appearance: Hazy copper color with a fine off-white head. It has cleared a little since being in the keg.
Aroma: Banana and orange flesh. As the keg aged, I noticed some peach coming out.
Taste: Orange flesh, banana, and some peach. Moderately bitter.
Mouthfeel: Medium mouthfeel with light non-lingering bitterness. Medium carbonation appropriate for style. Juicy orange flavors linger.
Overall: This is a tasty and juicy beer, although the bitterness is very low for the style (it should be west coast IPA).
Cheers!
Brew The Book 1: German Pilsner Brew Day
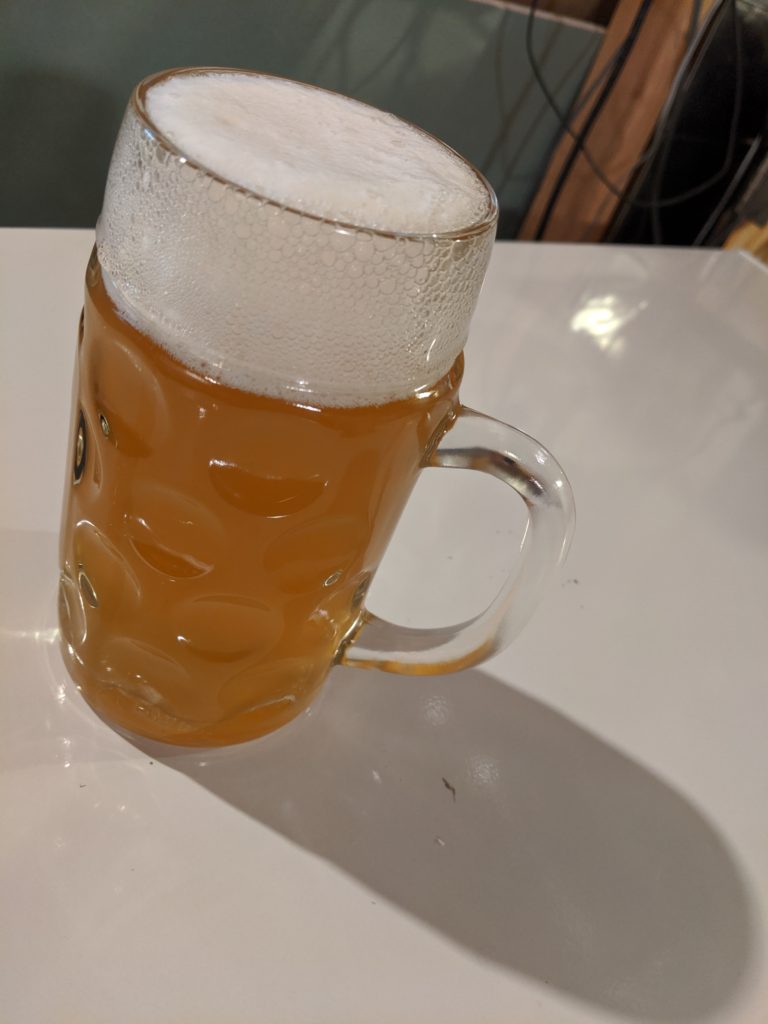
The first of the four from the Brew The Book series is a German Pilsner. I tried to make as few changes from the book as I could, but keeping within what a German Pilsner should be – a light, dry beer with crackery malt, floral hop aroma and flavor, and a bitter finish and aftertaste. It shouldn’t be strong (the style guidelines call for a 4.4% – 5.2% ABV beer with an OG of 1.048 – 1.056 and an FG of 1.010 – 1.015.
The book calls for 10.8 pounds of malt – I used 10 pounds of German Pilsner malt since my system would have yielded a significantly higher OG than the recipe calls for and also require more hop adjustments. I used Horizon hops for bittering instead of Perle, and adjusted to the same IBUs as the original recipe (~28 IBU). The final change was using two rehydrated packets of Saflager W34/70, which is supposedly the same yeast as the other recommended yeasts – WY2124/Bohemian Lager and WLP830/German Lager (the book recommends Saflager S-23 is the same as WY2206/Bavarian Lager and WLP820/Oktoberfest Lager).
During the brewday I mostly hit my numbers. The pre-boil and post-boil numbers seemed off until I double-checked and they were just about right on (my OG ended at 1.048, the expected was 1.049. This was nice since my mash was a little on the cool side (146F or so) and after I initially added a gallon that was supposed to be at 190 and saw no change, I realized there’s something wrong with my PID controller connection.
Everything else on the wort production side went as planned – in fact, the only things that generated a 🤬 or 🤬🤬 involved water (I spilled some while lautering).
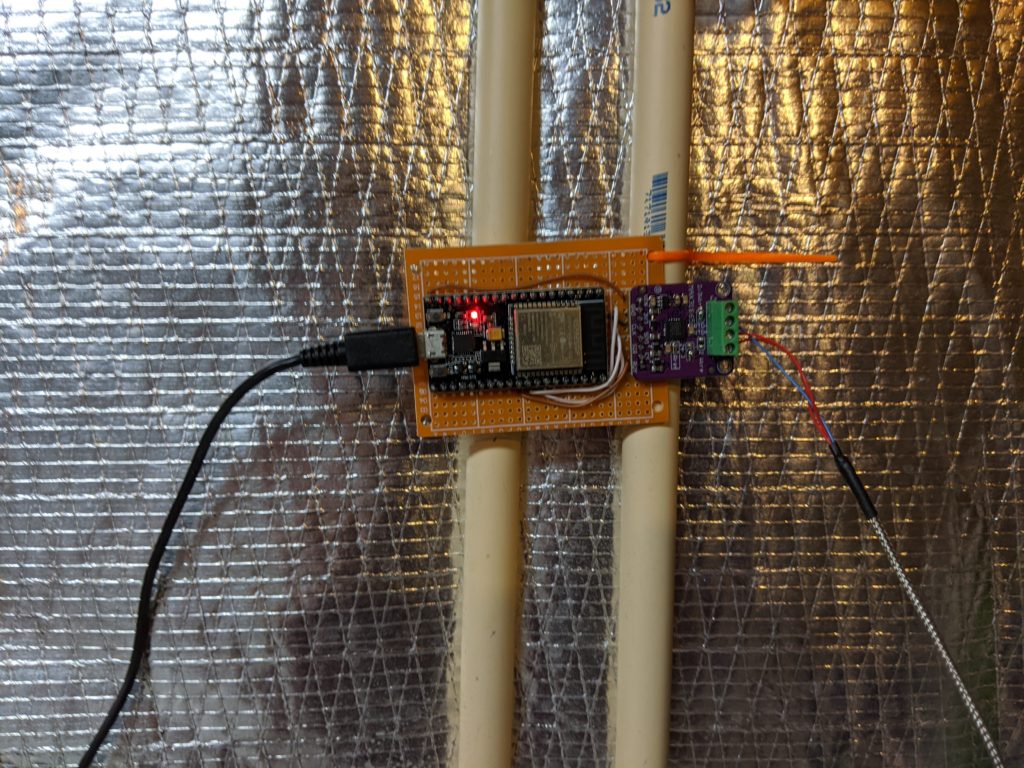
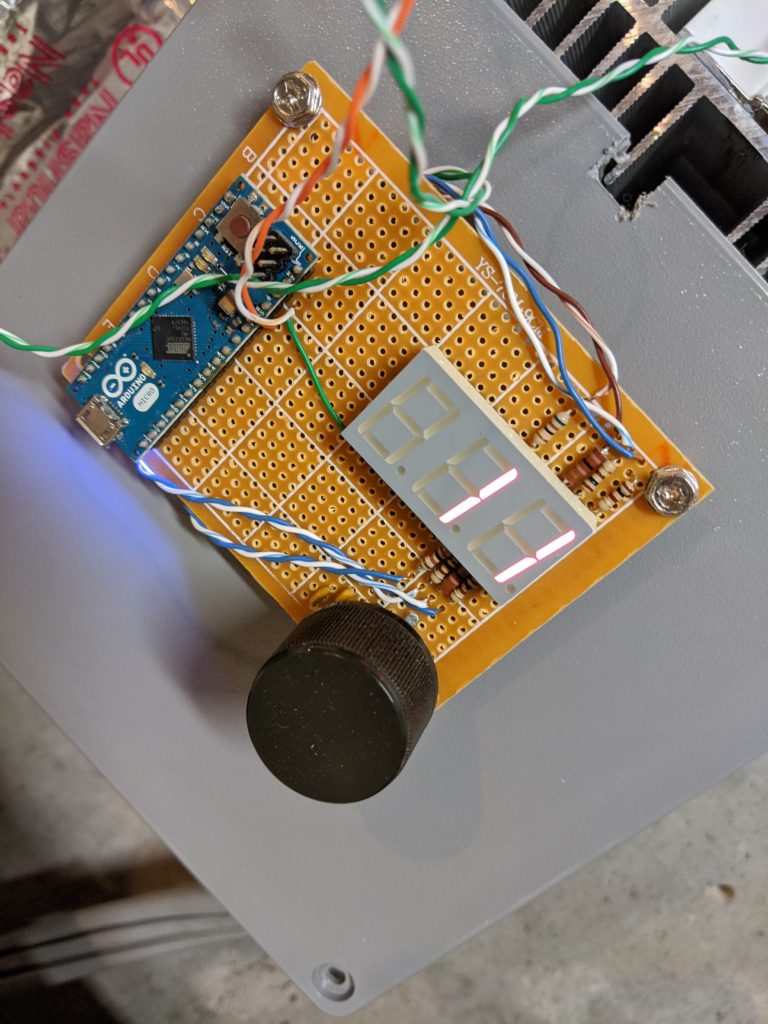
One of my concerns after my last lager is getting a fruity mess – that lager still has some fruitiness that is likely some yeast esters. So I wanted to keep the fermentation cool. And after having some success cooling that lager down (and heating up my last IPA, which used Kveik yeast). To go one step further, I decided to install a monitoring probe. I started with a pt100 temperature sensor in the bottom of a scrap piece of PVC pipe. I then connected that to an ESP32 device running Micro Python and set it up with a way to see the temperature from anywhere on my home’s network.
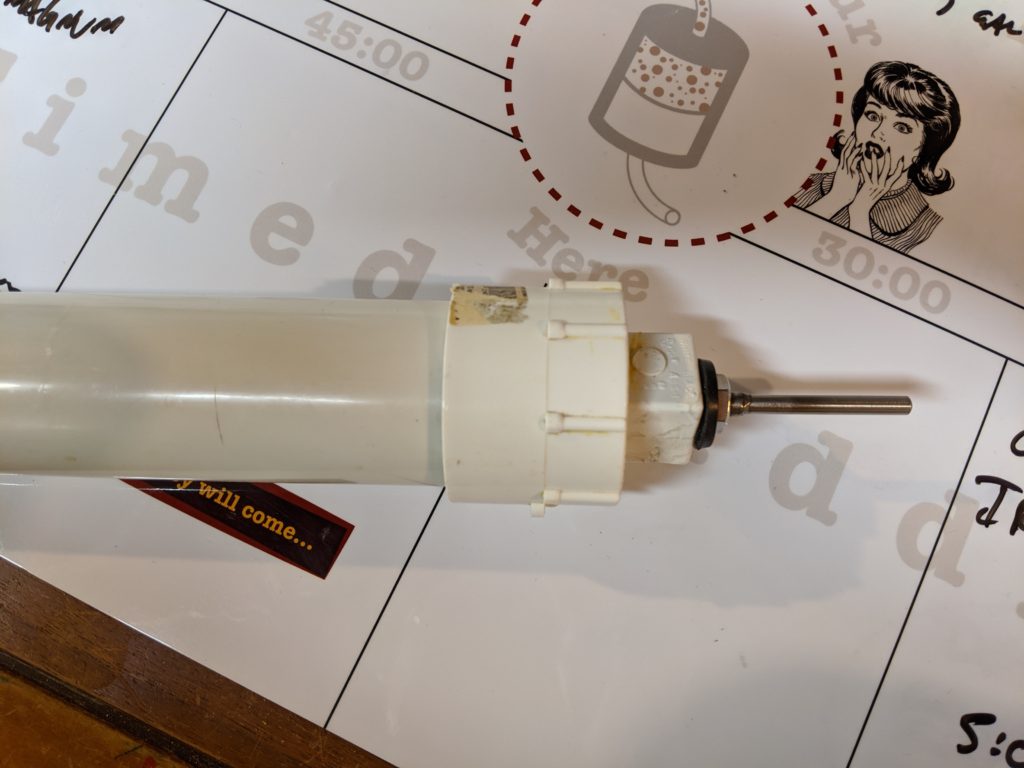
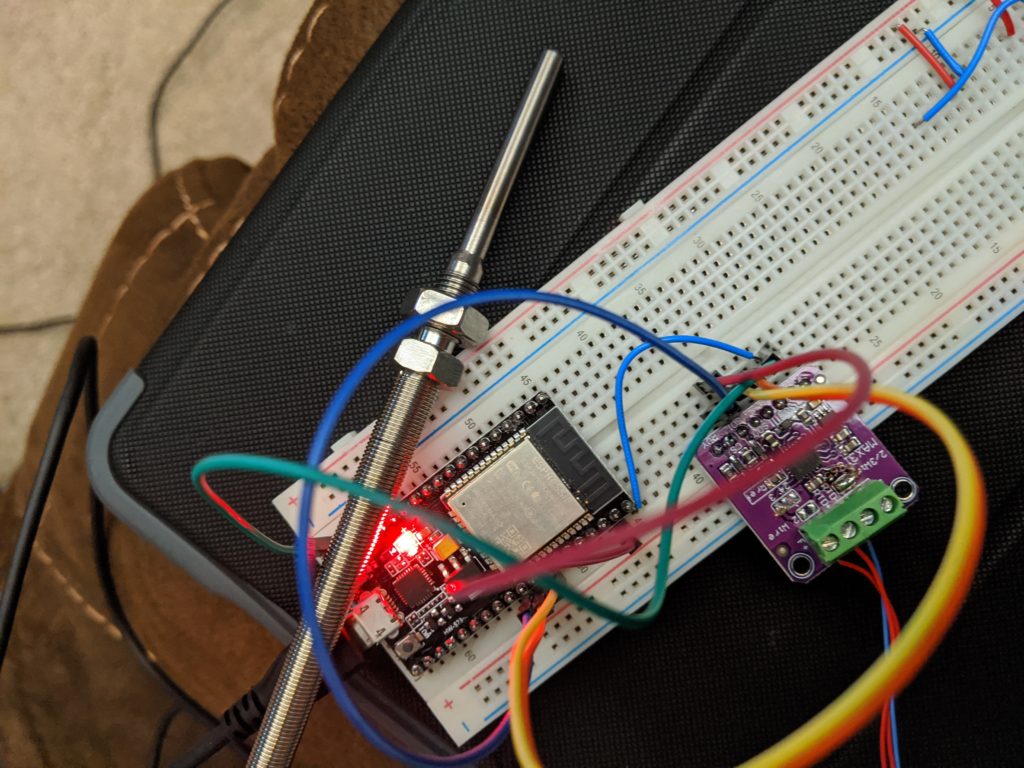
It looks better when I have it soldered up and in place… but not that good when zip-tied to a water pipe to keep it out of the way. I’ll fix that someday.
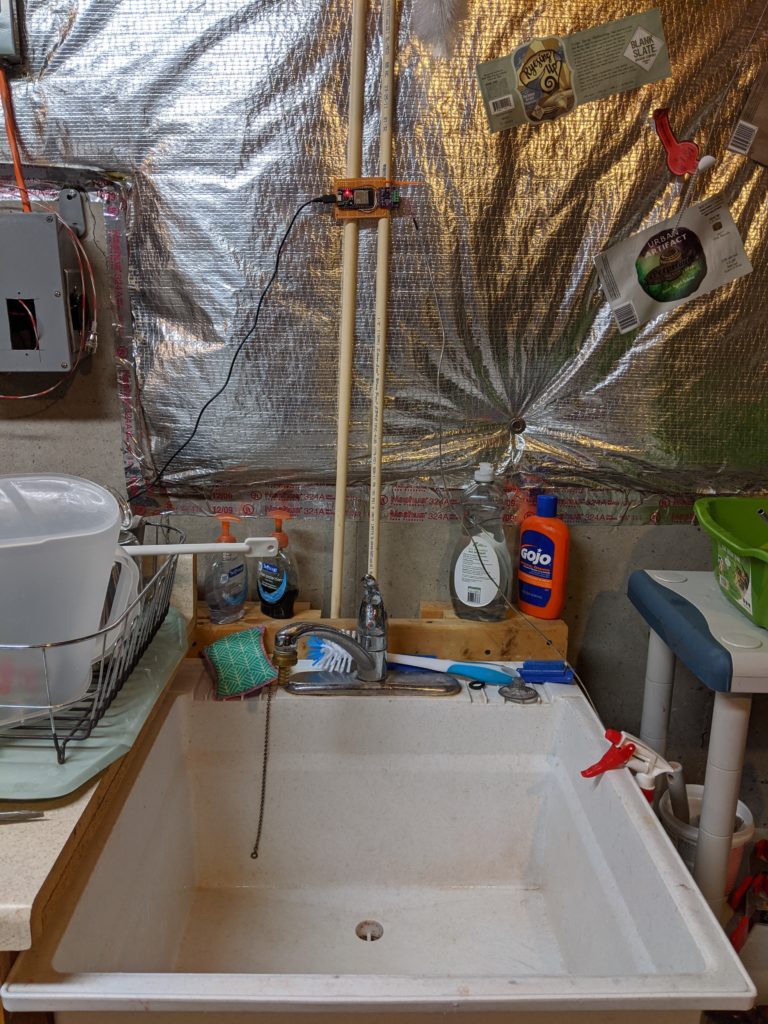
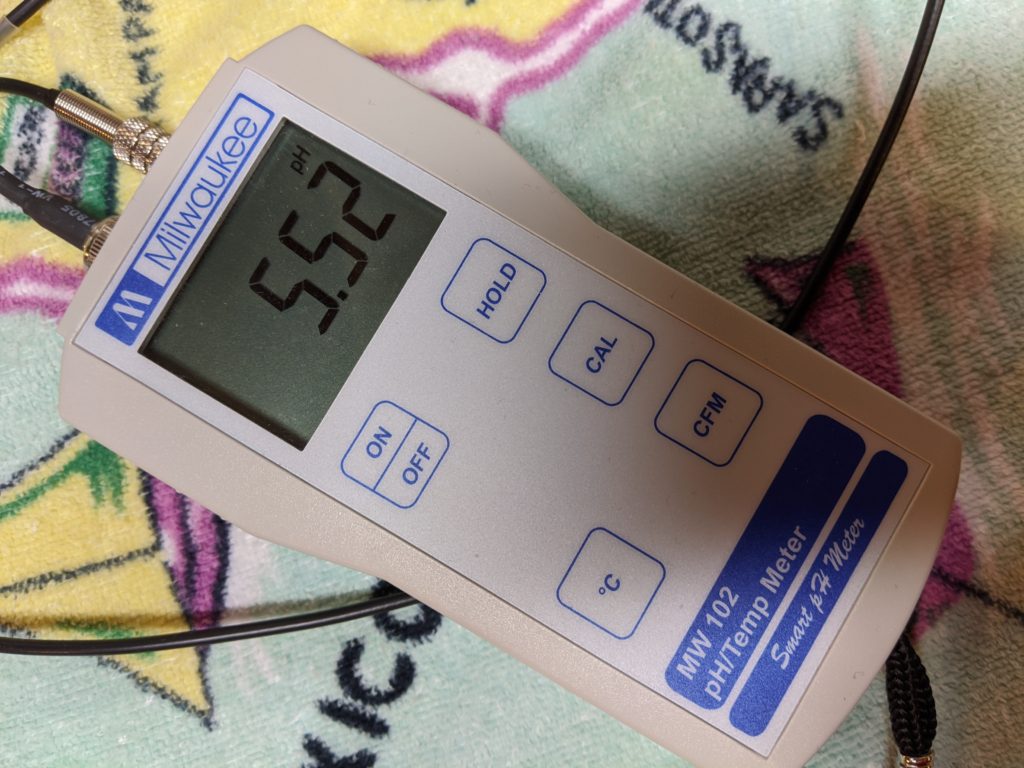
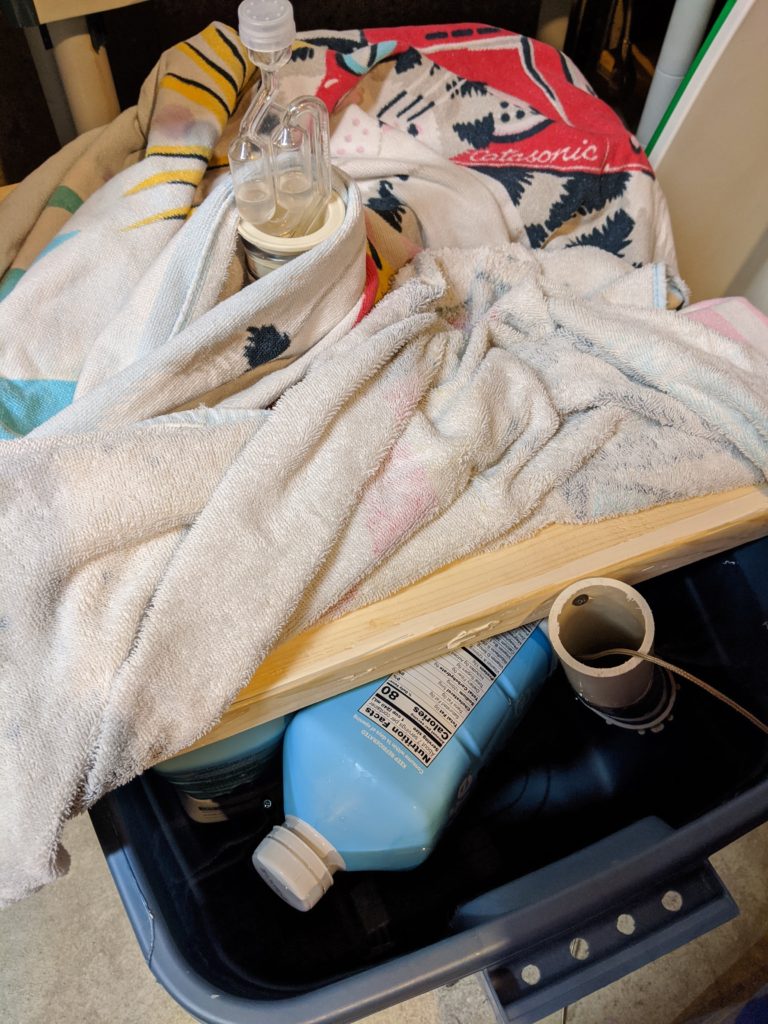
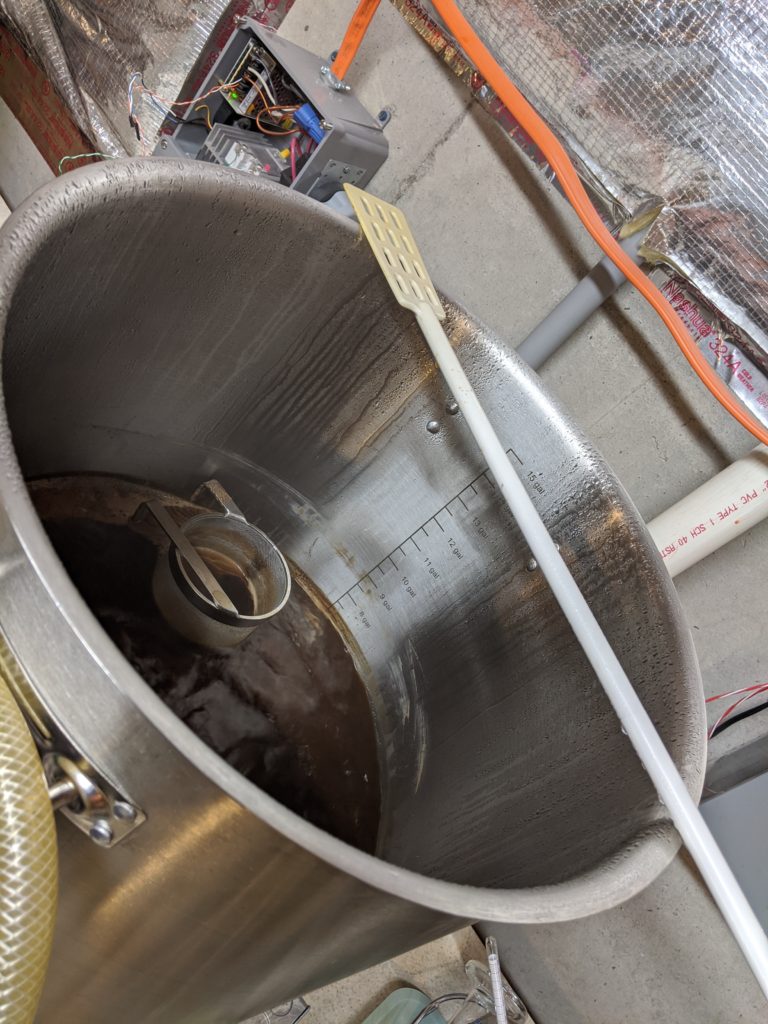
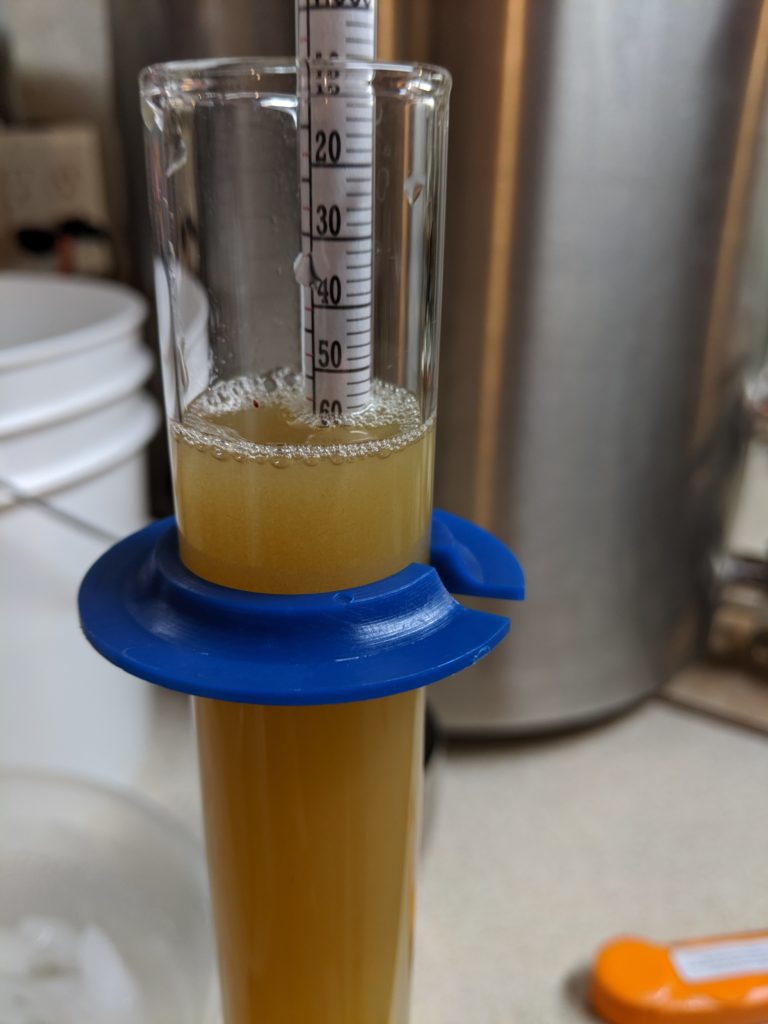
One of my concerns was how the water bath temp and fermenter temp interacted. Curiosity got me, so during the height of the fermentation, I pulled a sample from somewhere around the middle of the fermenter and compared it with the water bath…
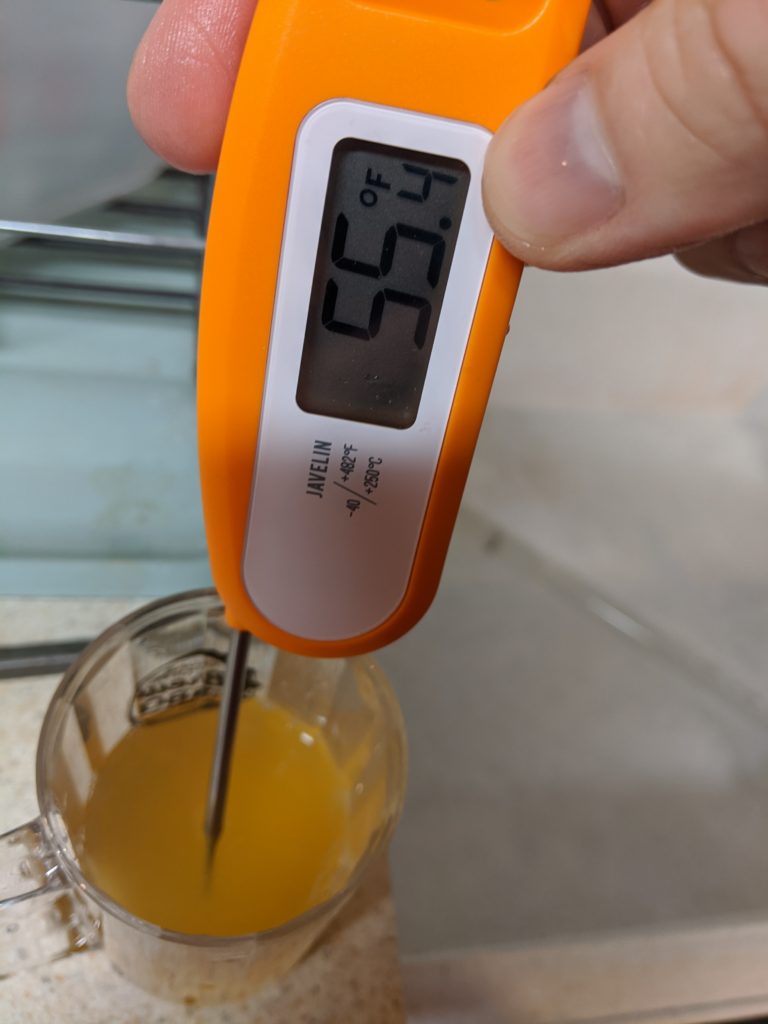
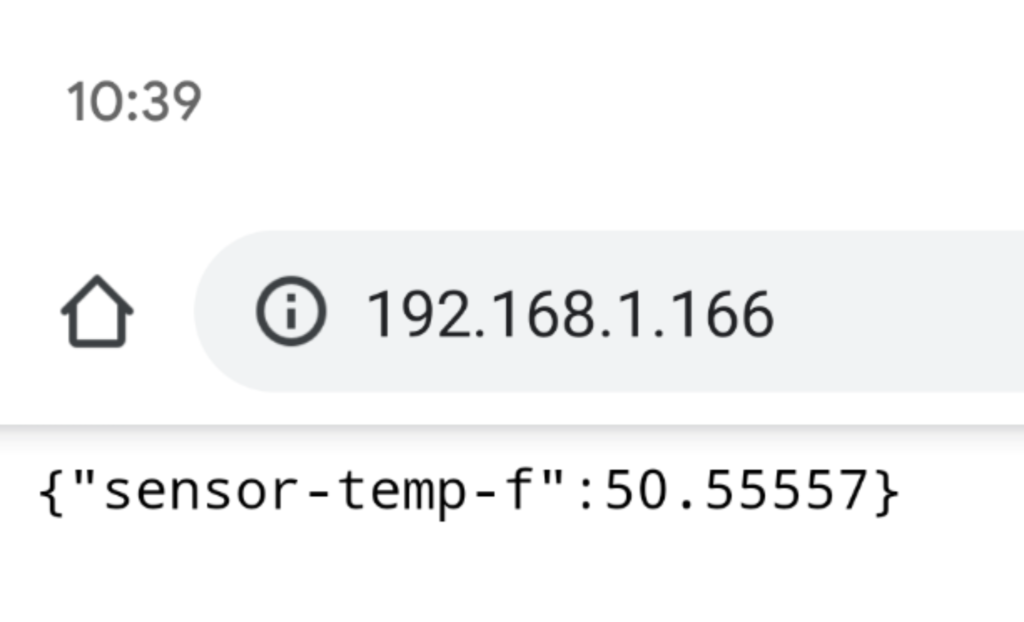

The gallery above shows the temperature in the fermenter at 55.4F, and the water bath at 50.6 (which reads a degree high compared to the Javelin at the top of the water bath, but it may not be entirely homogeneous). The fermentation range (per Fermentis) is 54-59F, so 55 isn’t a problem, and it did start that low, so I’m hoping this means far fewer esters. 🍻
Stay tuned for the next episode!
Brew The Book: Series Intro
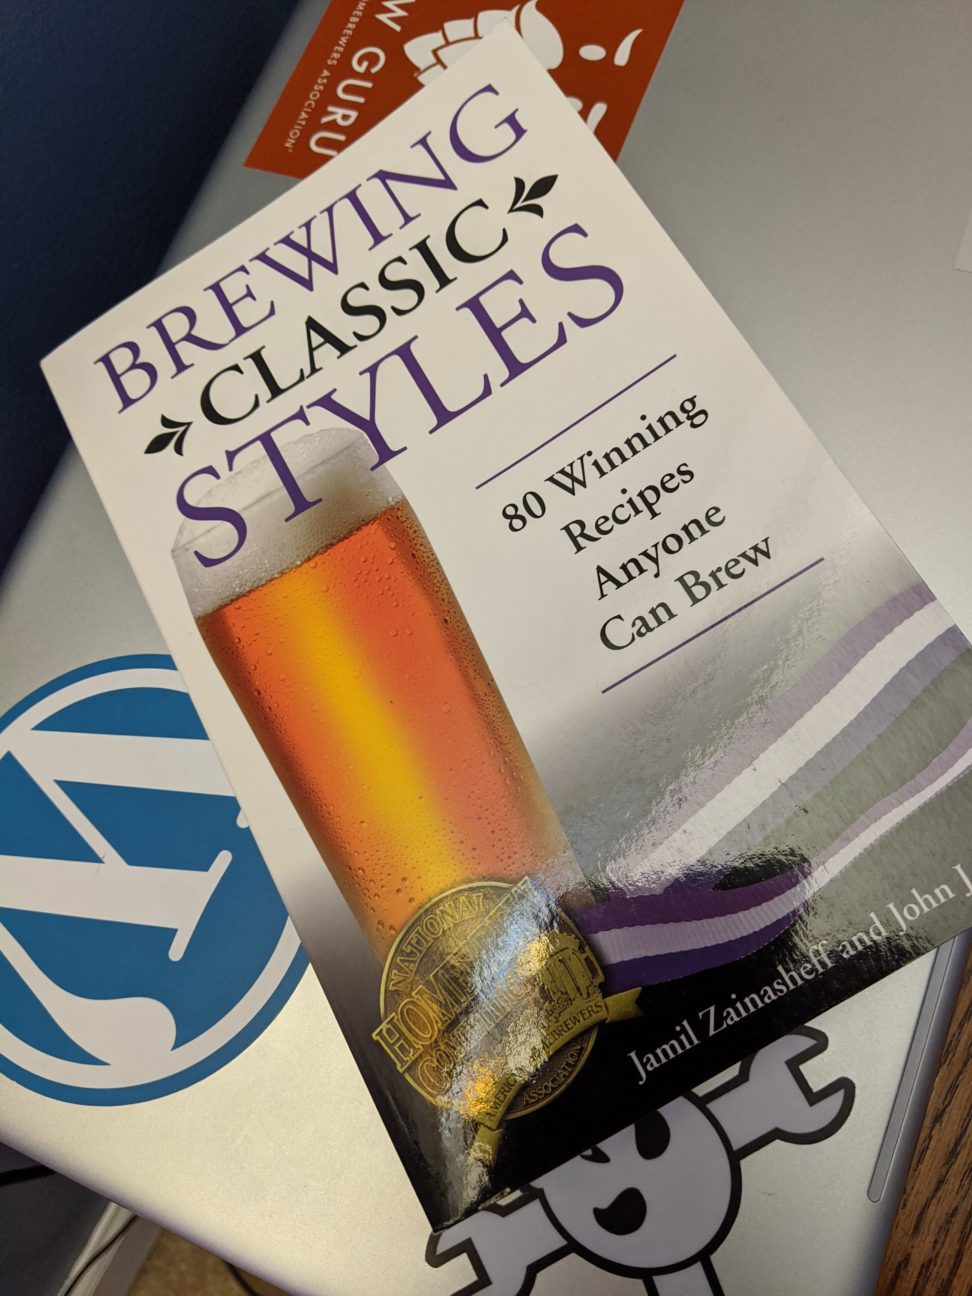
This started with a thread on Reddit. I decided to join in when I decided I wanted to make a lager and selected the German Pilsner “Myburger” from Brewing Classic Styles.
The premise of “Brew The Book” is pretty loose. There’s no set number of brews, it’s not expected to do something like restrict your all your brewing to one book for a year. I decided I’m going to brew four from the book, roughly quarterly.
The first for me is the German Pilsner. Maybe it’s all the #crispyboi and clear lager posts I see on Reddit’s r/TheBrewery, maybe it’s because I have more appreciation for some of the classic styles, but that’s what I want.
The second is going to be the Northern English Brown Ale. I was really torn between these two and a few other British styles and after reading the descriptions I decided on the Northern English Brown because it’s not quite as malty and sweet.
For the remaining two, I’m thinking the Marzen, and a hefeweisen or dunkelweisen. I expect that I’ll be brewing the Marzen in early summer to be ready for the traditional Oktoberfest timing of Late August to Early September. If I do the hefeweisen, it might be in March; dunkelweisen might be later in the year to be ready in November.
I’ll update this post as I go.
Beergun!
I’m in a predicament… I have a keg of wine barrel aged saison that is very nice, but also not a ‘daily drinker’. I also have to prepare some bottles for the SJ Poor Challenge. So I broke down and bought a Blichmann Beergun v2.
For starters, it comes in a nice box with most of the stuff you need. I had to make some modifications because I use pin-lock kegs, but the modifications were easy enough. Blichmann recommends cleaning prior to the first use, and not only is it a smart thing, it looks like there may have been some machine oil residue in the beer tube of mine…
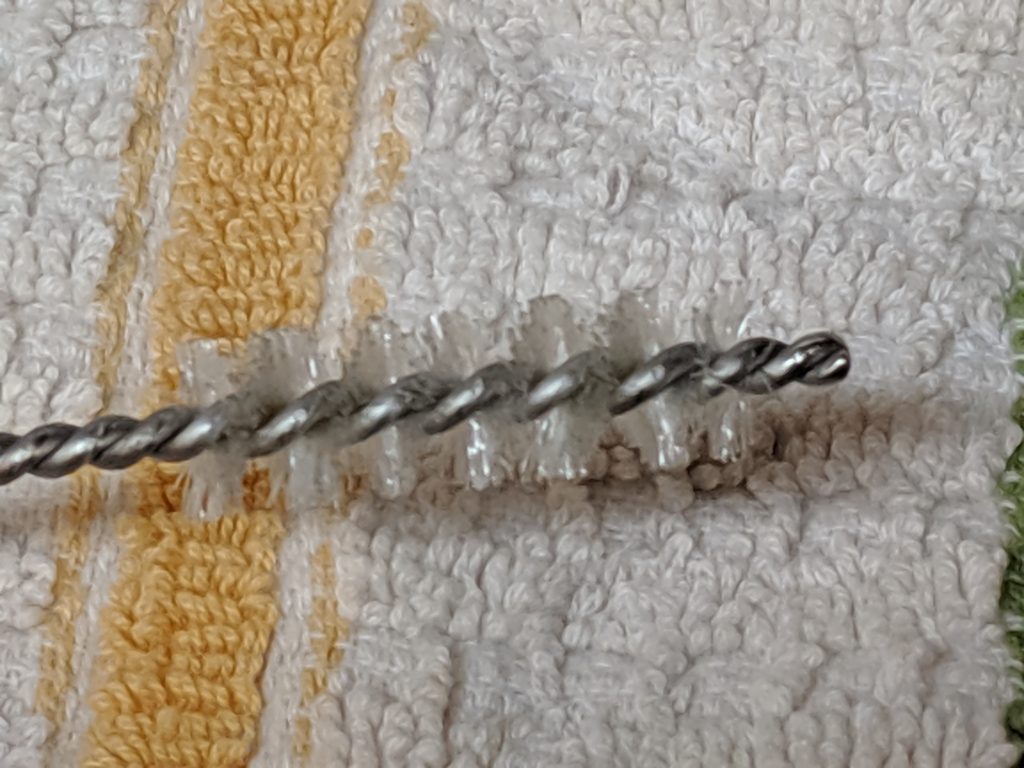
This was the brush after using it to clean and re-clean the CO2 tube. 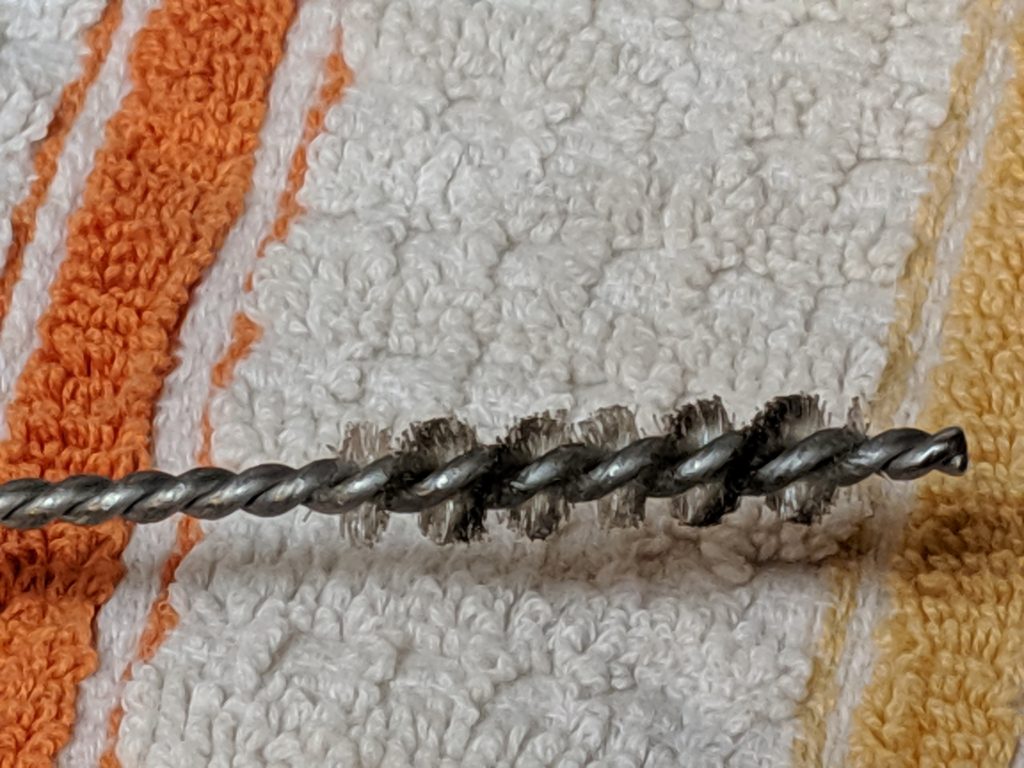
This was the brush after using it to clean and re-clean the beer tube. The dark oily stuff was from the first cleaning.
The Setup
Prior to actually using my Beergun, I looked on YouTube at a few videos. One video showed a nice setup and I took an idea from the author – I used a pitcher full of Star San to hold the Beergun between filling. The other (which I’m not going to link to) showed how important organization is when doing something like this.
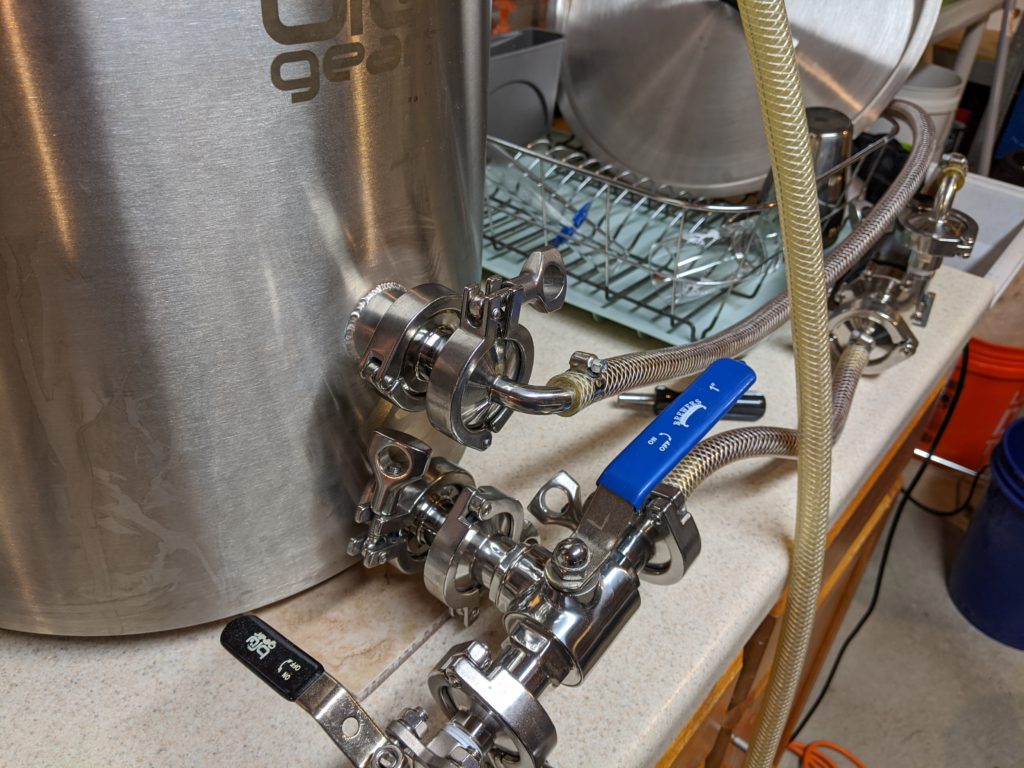
My initial setup was less than ideal, but it was semi-functional, and temporary. My table was a piece of plywood on a stool (not the greatest), and that presented some difficulties (if I were to push down at the wrong spot, the whole setup could end up on the floor). The second time I did this (sorry, no picture), I used some sawhorses (definitely more stable) and an old tray to keep the spillage contained.
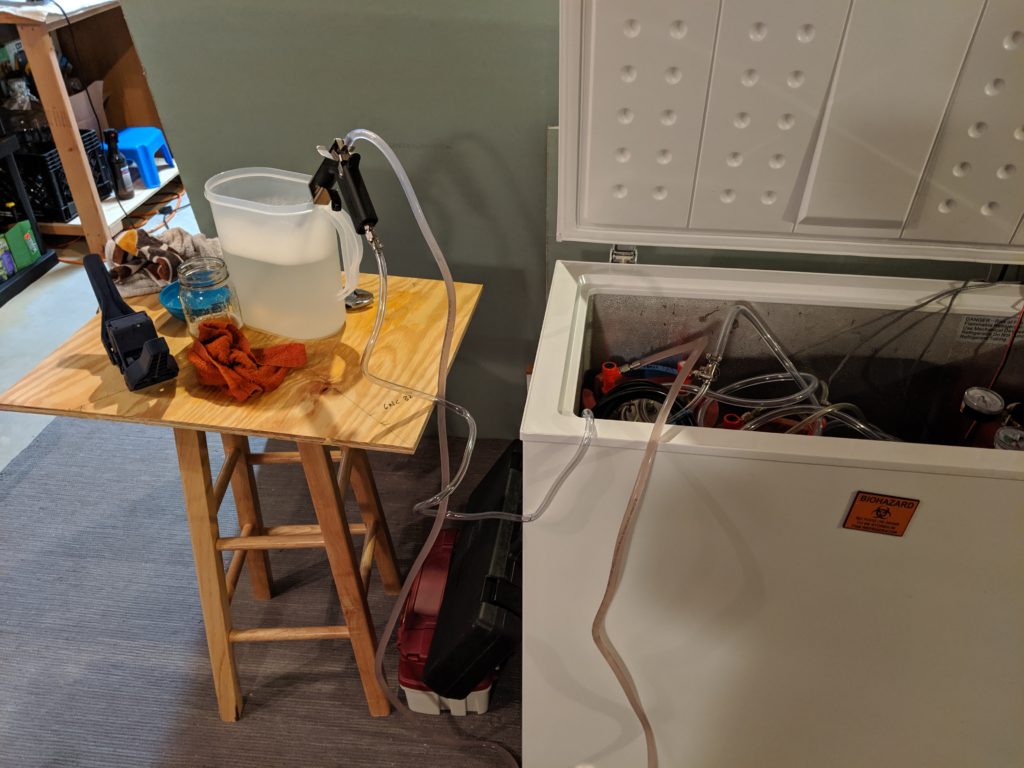
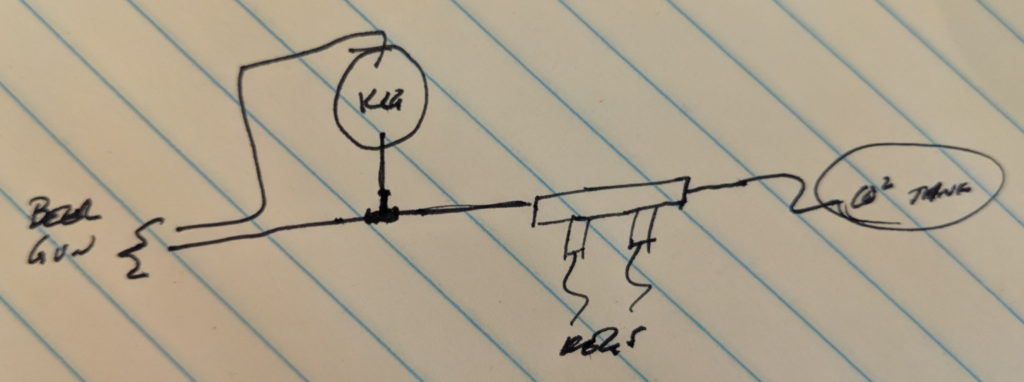
In the image above, I have the beer CO2 line go from my second manifold to a T connection that goes to both the keg and the beer gun (see the diagram below).
My process went largely the same as in the video I linked to, just a bit more rough. Fortunately, nothing ended up on the floor, and I bottled 12 bottles with only one with a low-fill (I need to send 10, so the extra two will stay at home including that low-fill bottle).
A few weeks later, I bottled that keg of red wine barrel aged saison, and with the exception of one low-fill, it went well.
Homebrewery Improvements: Grain Milling Cart
After a wortsplosion caused me to need to clean part of my mill and the cheap drawer-bottom not-even-particleboard piece that I was using to attempt to hold my drill and mill as I milled grain, I decided that an improvement was in order.
Specifically, I wanted to improve three things:
- I don’t want to use my foot to keep the mill from moving off the bucket
- I don’t want milled grain to get ‘stuck’ in the wood frame the mill is attached to
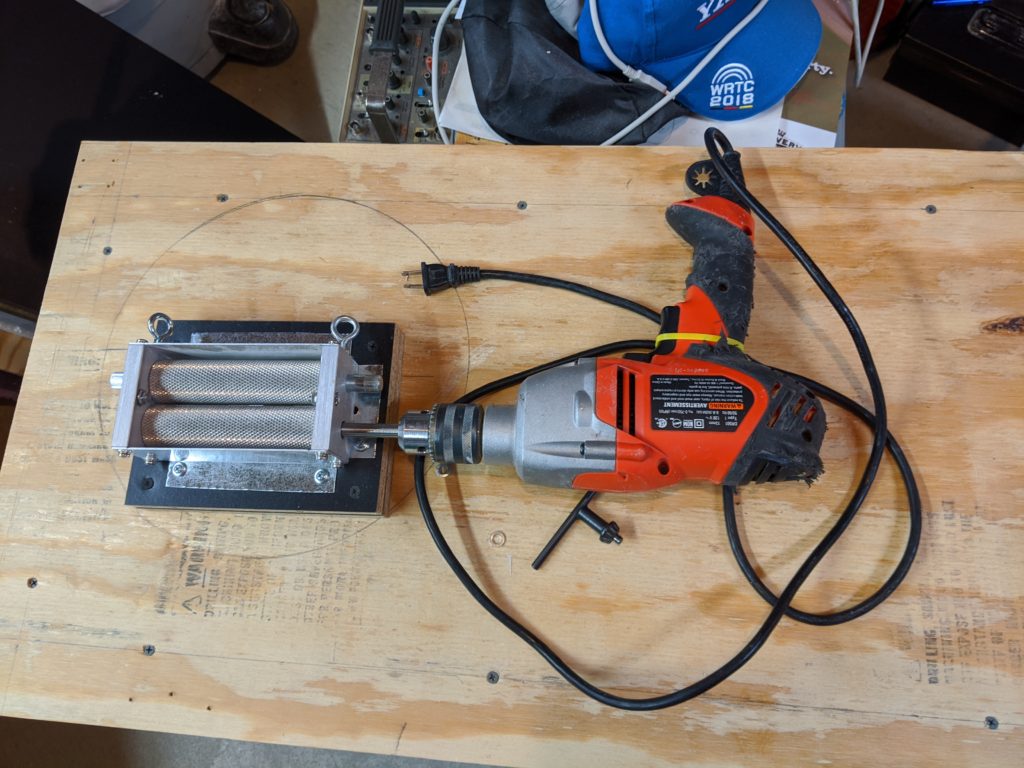
- I don’t want my drill to bind on the platform and I want both hands free of controlling the drill
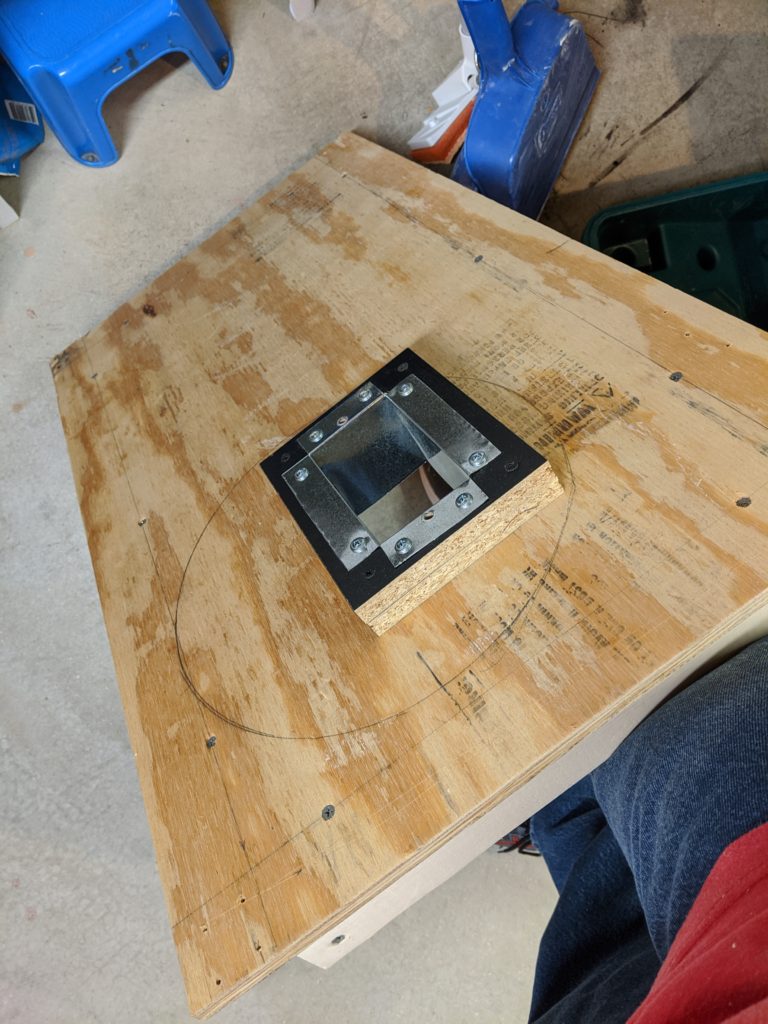
While it isn’t a criteria, I didn’t want to spend a ton of money on this, so I used a lot of recycled materials. I started with getting a more substantial piece of wood – some half-inch plywood from what was going to be a lagering chamber (I’m going to stick to the water bath method used in the last post) and some shelf pieces from an old stereo cabinet.
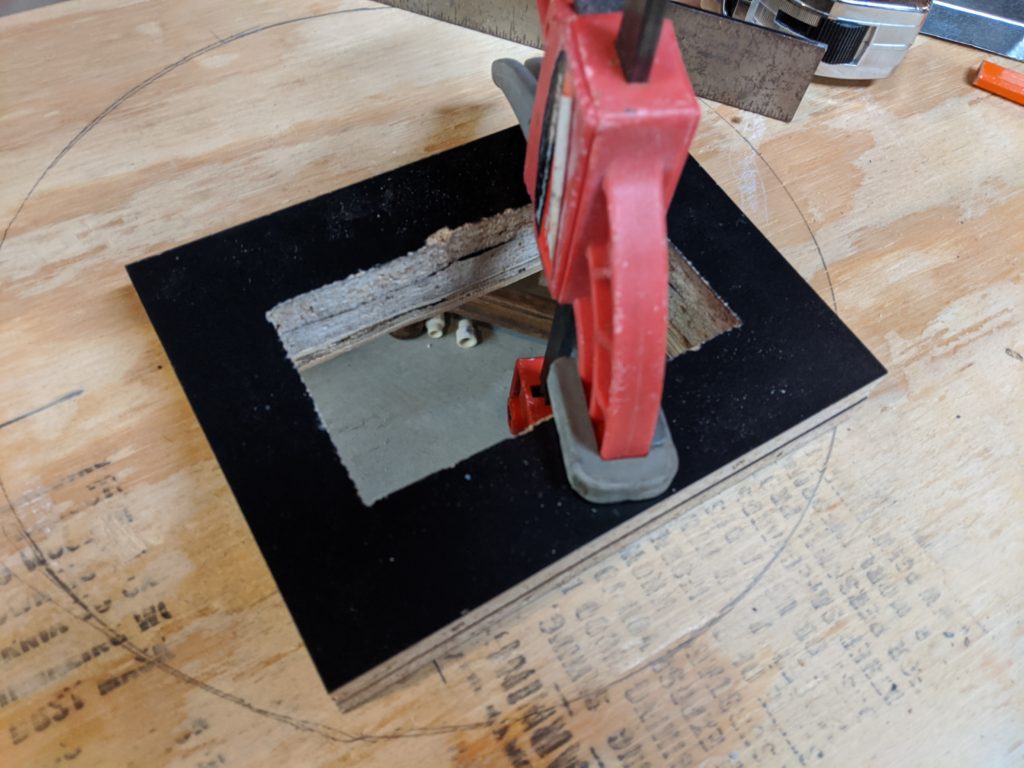
Since I didn’t want a way for milled grain to stick into the ‘chute’, I used some leftover duct metal to build a chute.
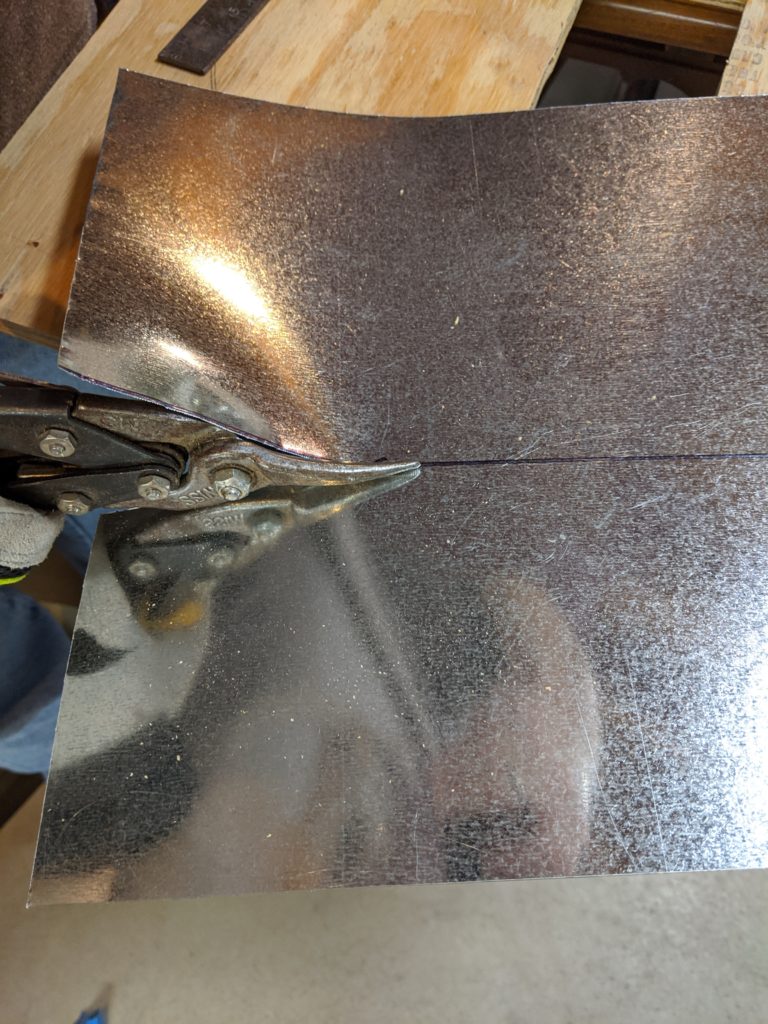
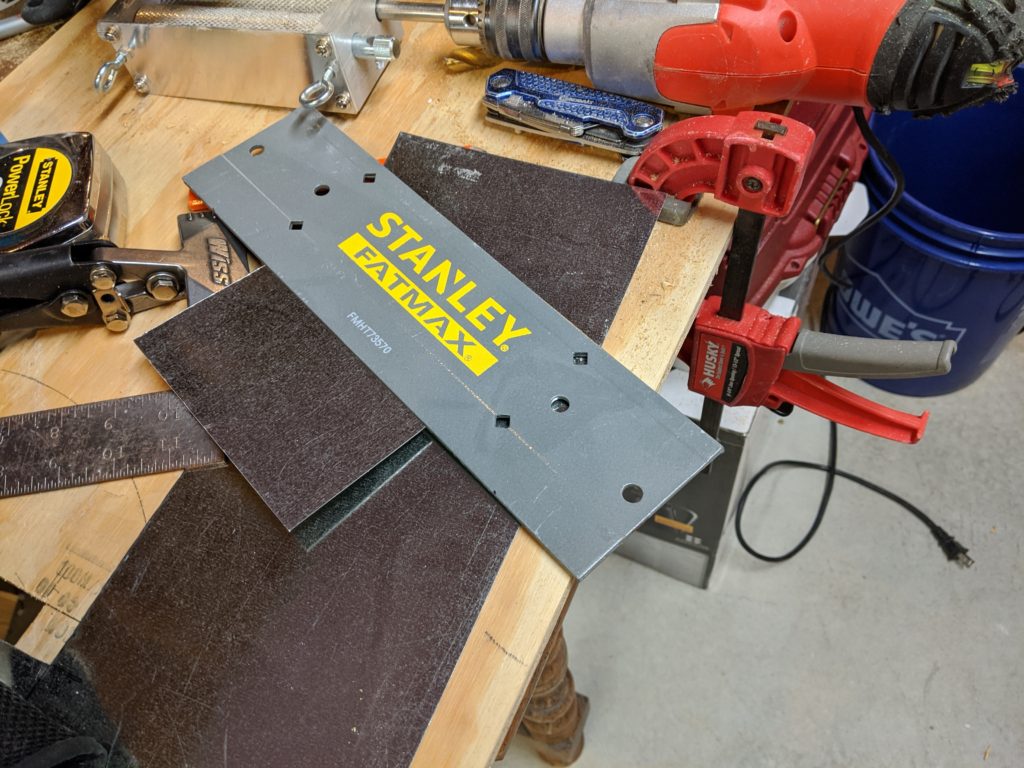
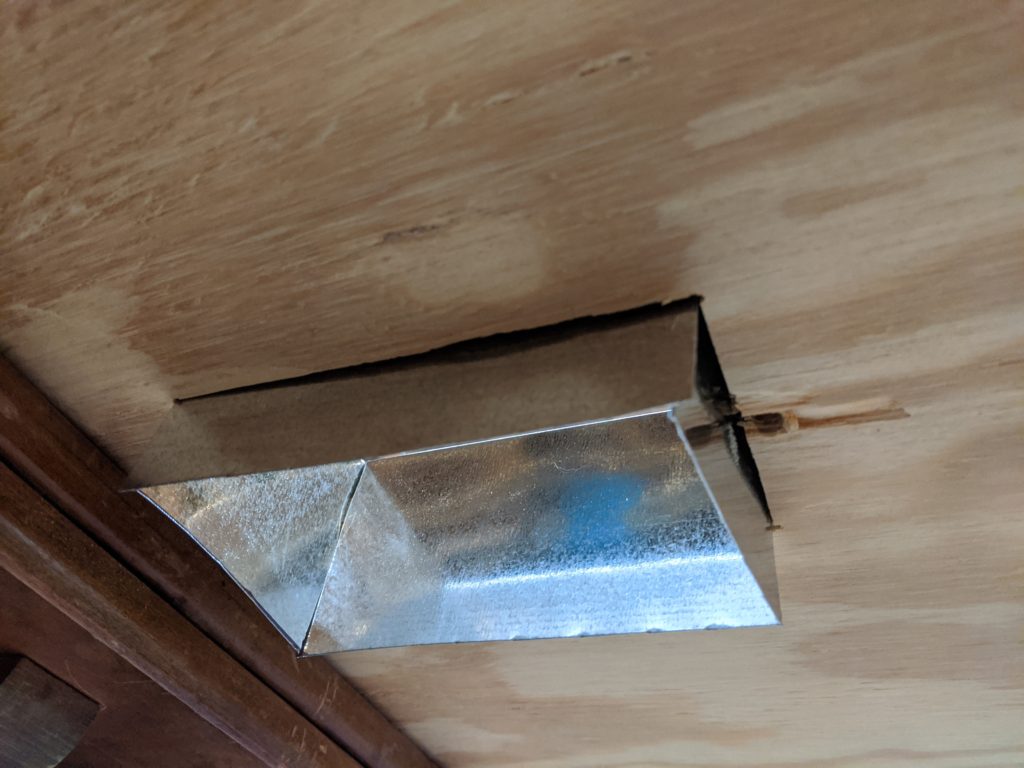
Even better, I still have leftover metal for an exhaust hood that I desperately need to build.
After making the chute, I added some legs. I had some leftover casters, so I added those to the legs, although I’m not 100% sure I’m going to keep them (or all four of them – I might change two of the legs to adjustable feet).

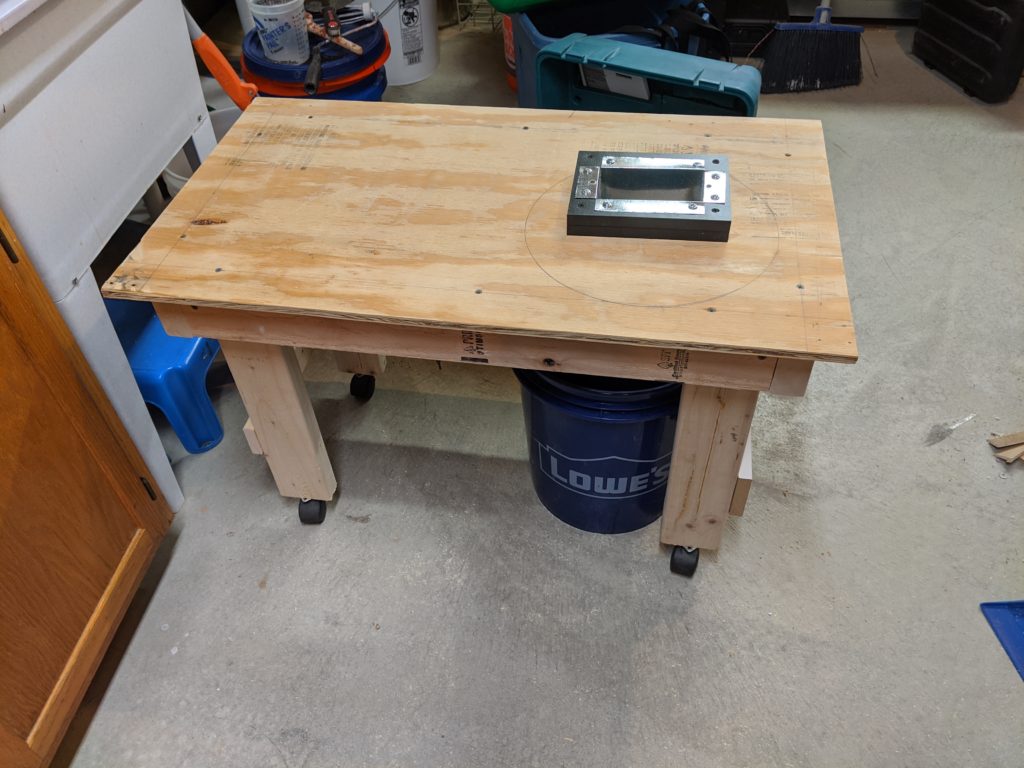
At this point, the only materials taken from new are some cabinet kickplate material (I’m not even sure why I have some) and two 2x4s. Everything was already purchased and was “extra” material except the 2x4s. I will need to purchase a few bolts to hold the mill on, but that is it. I may paint the top also, in case the plywood gets splashed. 🍻
First Holiday Homebrew!
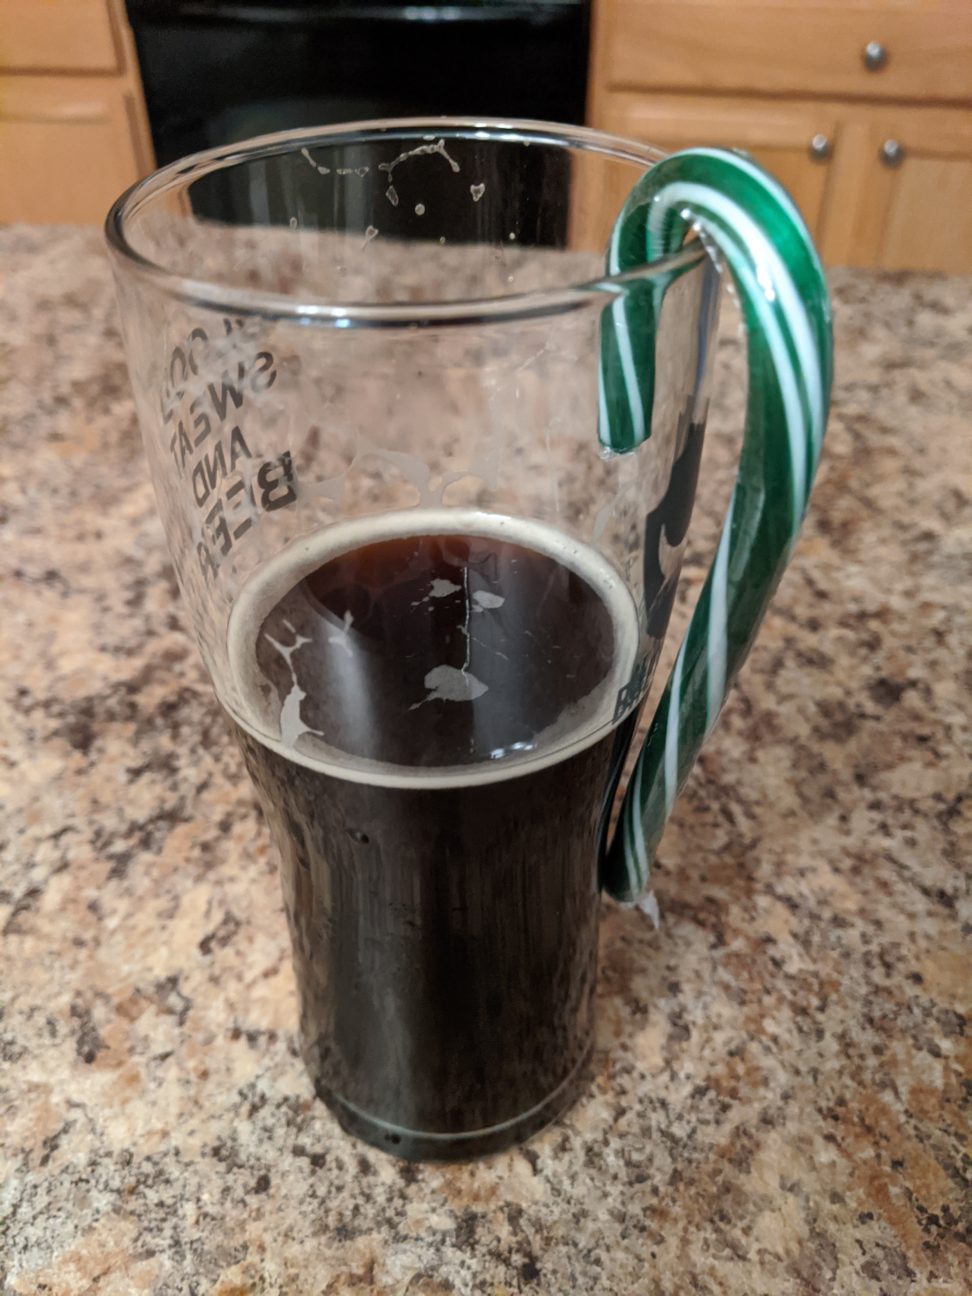
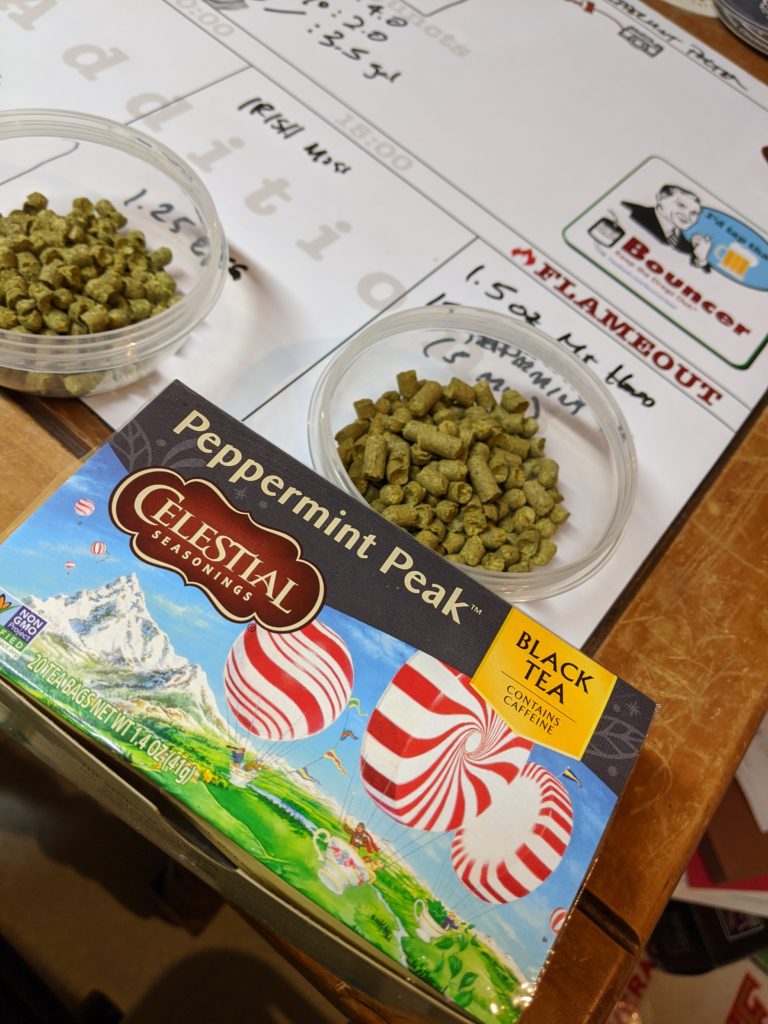
In five years of homebrewing, I have never made a holiday beer. Then, while looking through Zymurgy I saw a Peppermint Porter that caught my eye.
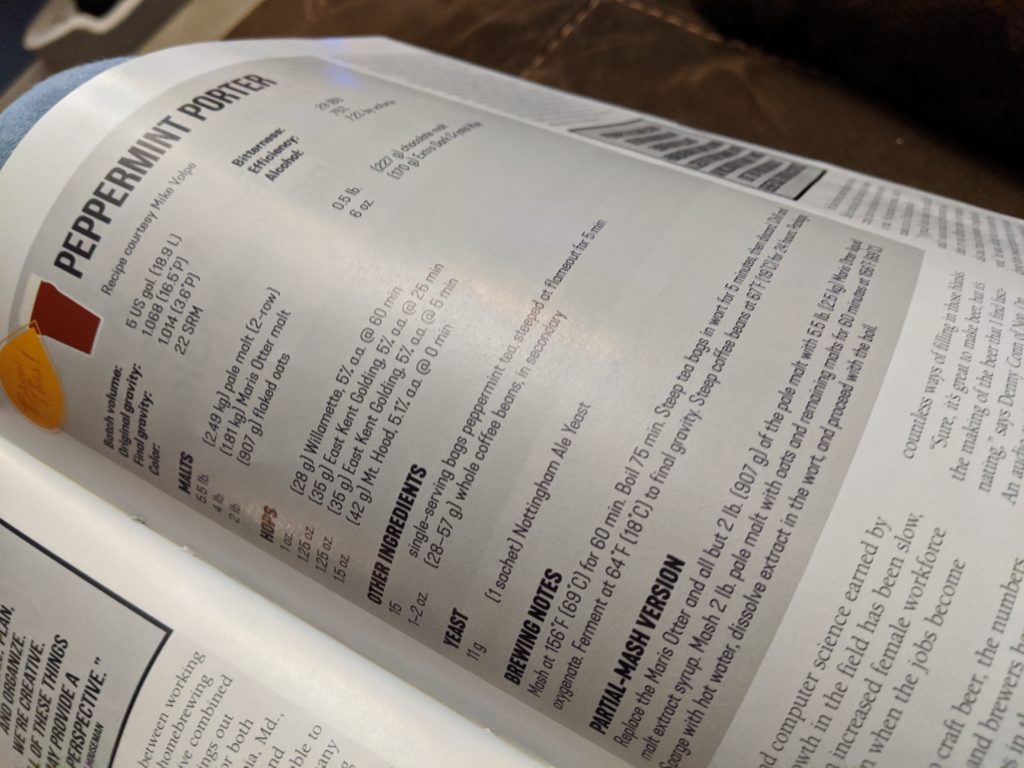
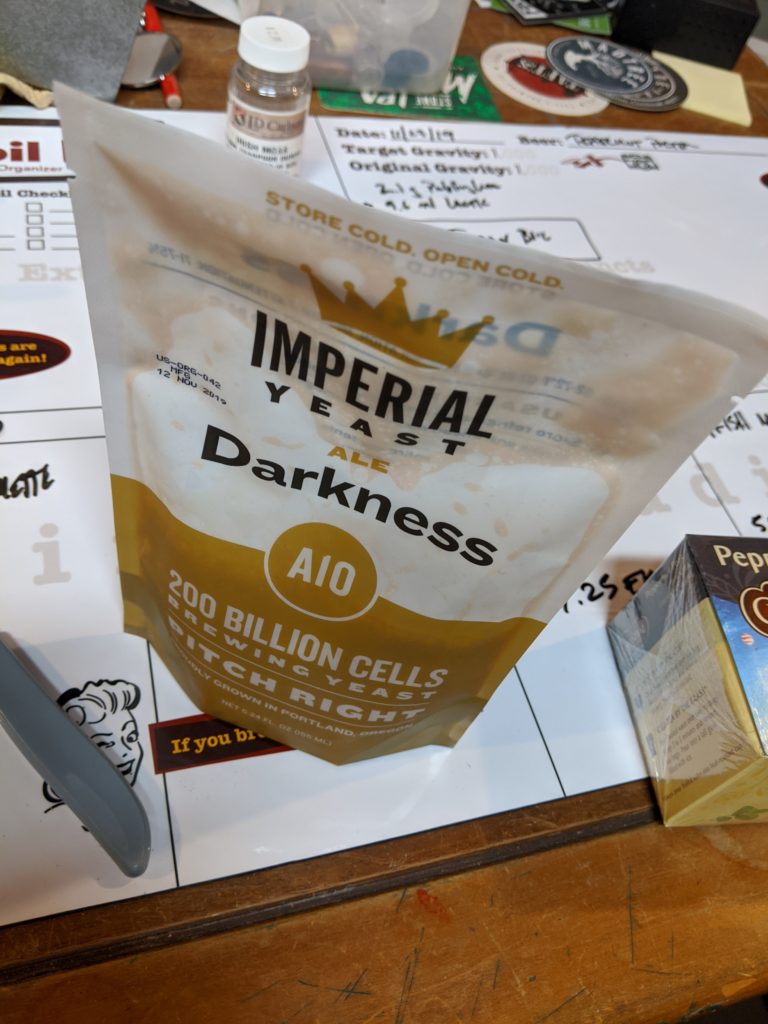
I didn’t make a bunch of changes to the recipe from the magazine – I did change the yeast (I used Imperial A10 Darkness instead of Nottingham), and I used Chocolate 350L instead of what appears to be Chocolate 450L, and I used a peppermint holiday tea blend instead of straight peppermint tea. Otherwise, I used the recipe as-is.
I did use some water adjustments. The dark grains and my alkaline water tends to push the pH high and it’s low on bicarbonates for a brown balanced beer so I added some pickling lime (I didn’t want to bring sodium up with baking soda).
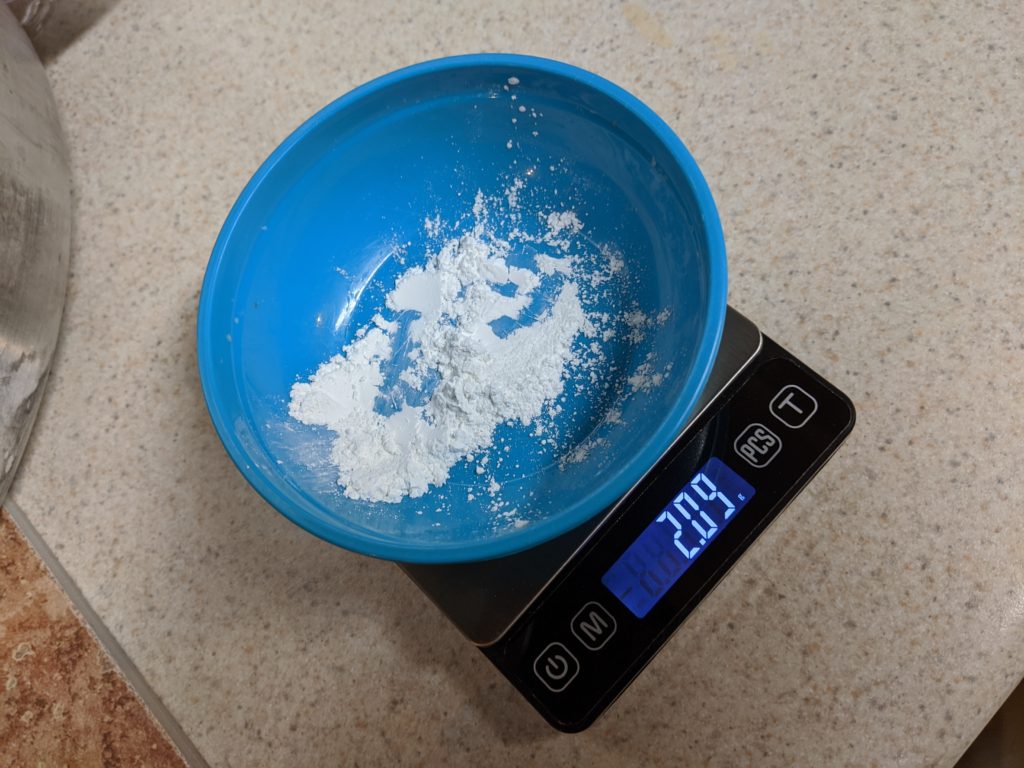
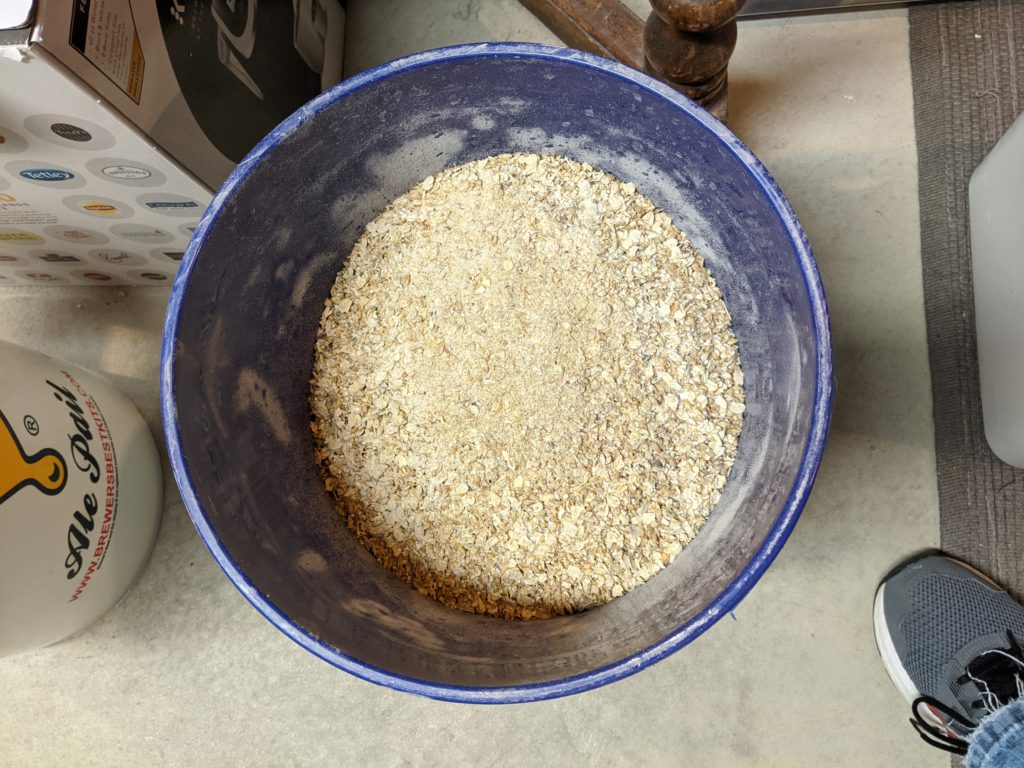
With the grain milled, mashed, boiled, and hops measured, everything proceeded as normal…

After getting the boil setup, I realized that I forgot to change out the upper port on my kettle with the dip tube that I use for whirlpooling. I was able to tilt the kettle towards the end of the boil and replace it. After that I didn’t stop to think what else could go wrong.
Little did he know, something else would go wrong
–Narrator
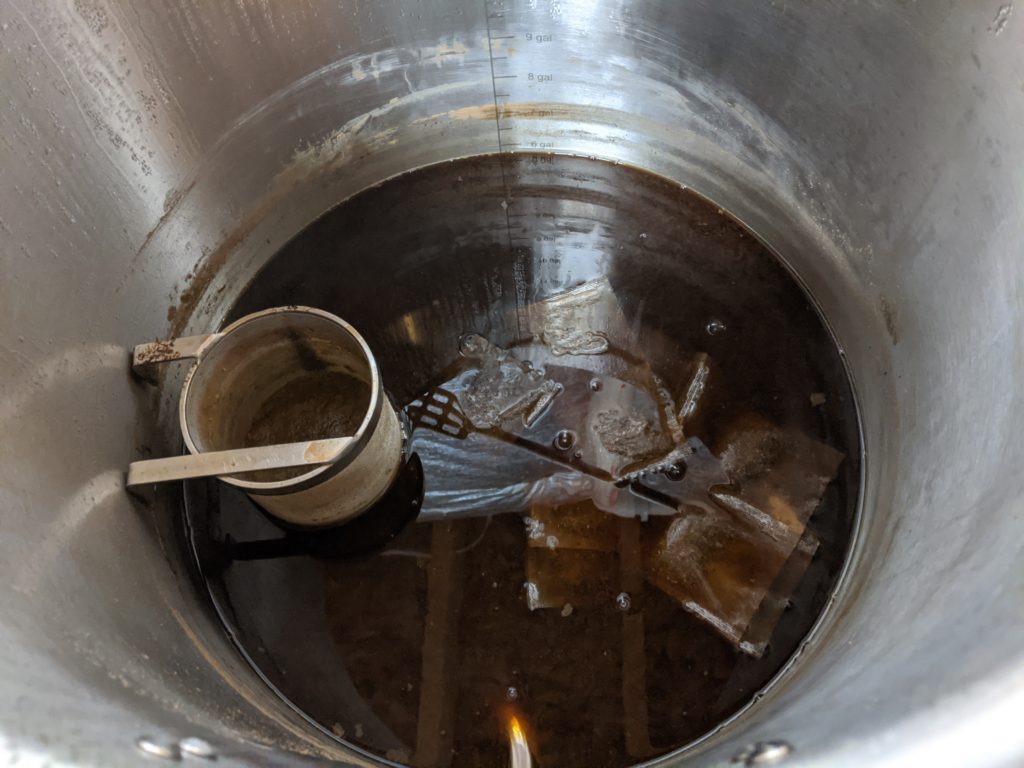
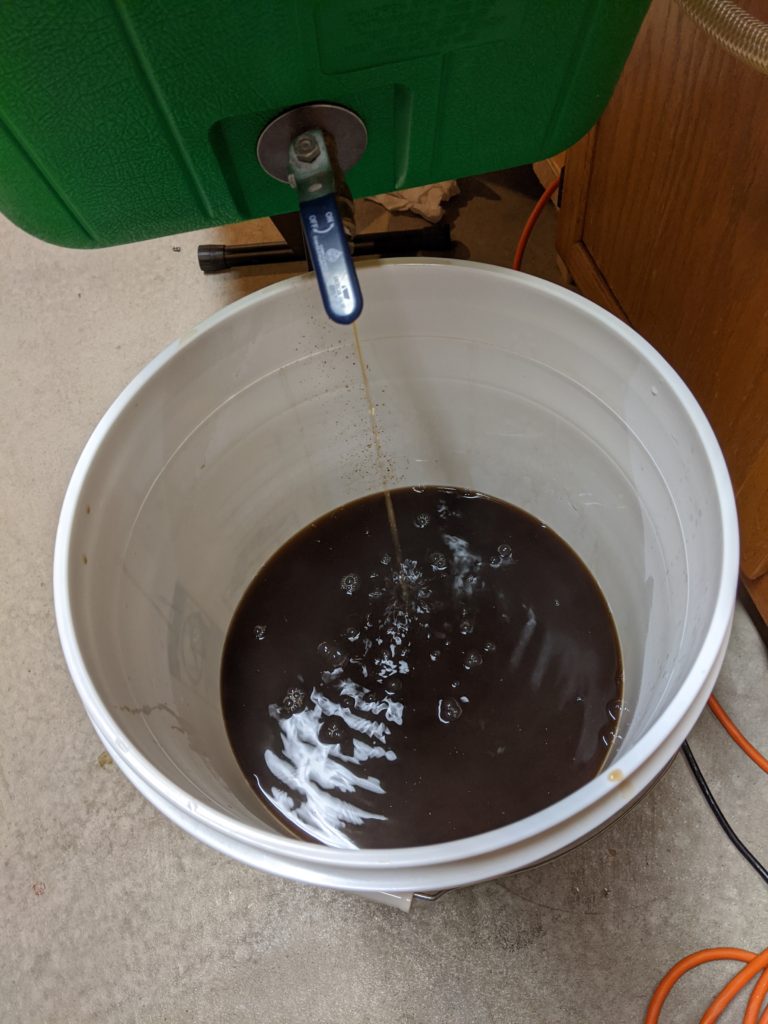
I got to the end of the boil and brought the temp down to about 185-190, which was my recollection of the proper tea steeping temperature (it was black tea, it should have been higher, but whatever). I added in the tea bags, which had no strings or tags (this was swanky mass-produced tea, not low-class-Lipton mass-produced tea!). The screen was full of hops (this recipe calls for 4 oz of hops) In hindsight, I should have thought about the fact that those things could sink and clog the dip tube.
And clog the dip tube, they did
–Fucking Narrator
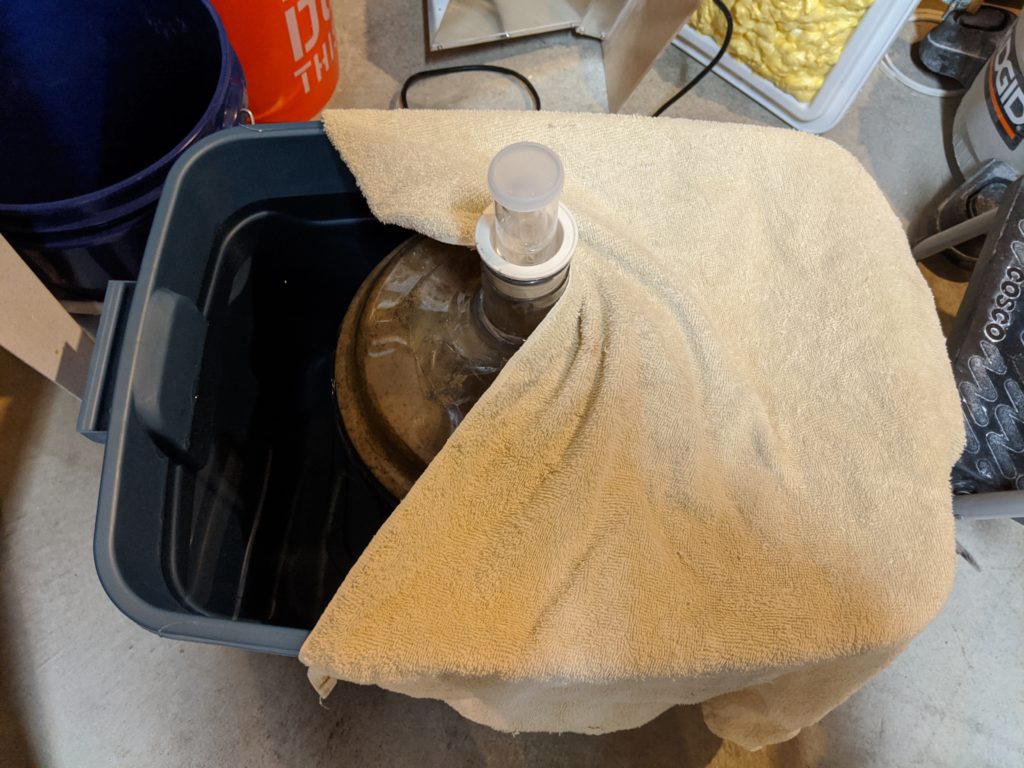
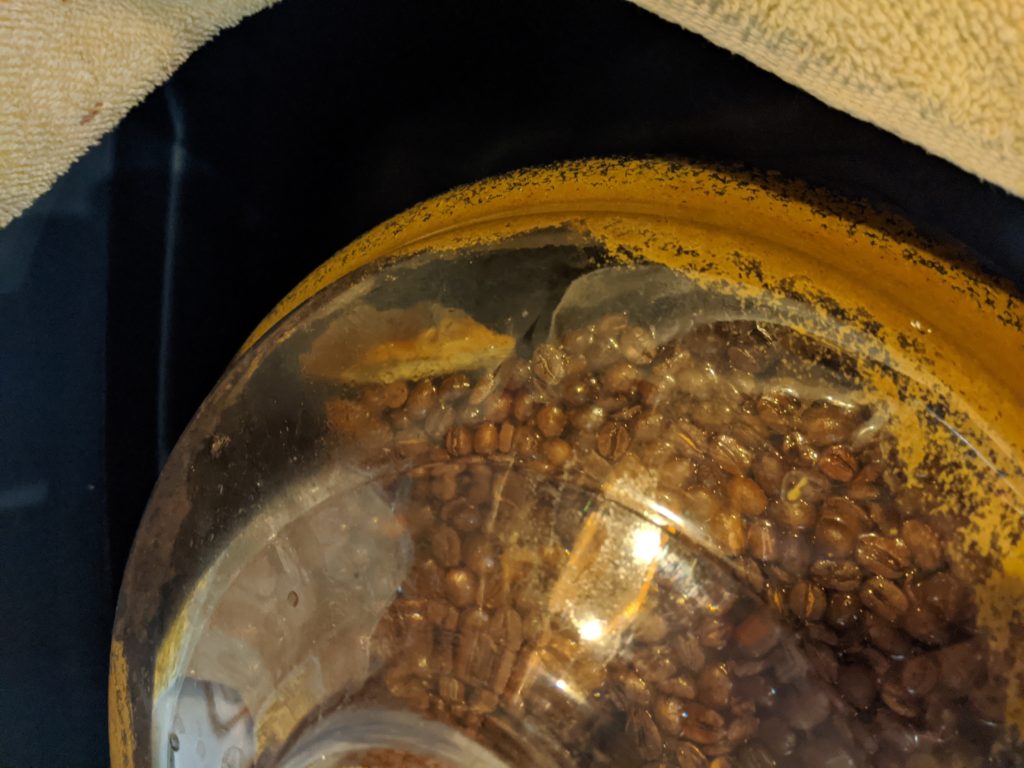
After dealing with the clog from Hell (aren’t they all?), I got the wort down to 68F and added the yeast. I let it rock for a day and saw that it was getting a little too warm, so I moved it to a water bath (something I will likely do more of). This brought the temperature back down to 68F. Fermentation went QUICK. I brewed on Saturday, by Monday evening, it was at 1.012, and Tuesday evening it was at 1.010 I added around 2 oz of Kona coffee beans on Tuesday evening and noticed something in the fermenter. I don’t taste any off-flavors, so I’m hoping it’s just some krausen or tea bag that made it through or something.
Fortunately, it was just a part of a tea bag
That damn narrator again
The numbers:
OG: 1.059
FG: 1.011
ABV: 6.4%
Taste
Aroma and flavor are light peppermint and coffee. The flavor also adds some cream and a hint of smoke. It’s very pleasing and very festive. 🍻
Top Ni… Whatever. (Back/Forward 2019/2020)
Apparently, there’s a thing going on with Instagram that people are posting “Top 9s”. I’ve had a mostly-hate relationship with Instagram because of a variety of reasons… not limited to the lack of a chronological and un-curated feed and a shit ton of newlines ending with a list of hashtags for reasons I don’t care to give a shit about.
I looked back at my post list for the end-of-2018 post, but it wasn’t there. Apparently I care a lot about resolutions! Well, to be fair, I was building out my office as I had just changed jobs from one that required me to drive to downtown Cincinnati every day to one where I work from home.
There was a post at the beginning of 2018… my how things have changed since then! I was complaining about blowing up cheap $20 pumps from eBay and doorbell transformers (and other power supplies). I’ve since graduated to the real world of a pump that plugs into the wall (and thank God I haven’t blown that one up!)
I also talked about building a wall. I’m not sure how my speed relates to that of the Federal Government, but I’m close. I have about two feet built.
Last Year’s Progress
On the equipment front, I bought some stainless stuff. I got sick of dealing with barbed connectors and began moving towards tri-clamp fittings on everything. Also, I decided to use an upper port on my kettle for whirlpooling.
I also got extremely angry at my plate chiller and decided to buy a counterflow chiller. I’m pleased with it (even more pleased that I didn’t clog it in a recent brew).
I decided I’d build a spunding valve setup. I haven’t used it yet, though.
The last equipment news is that I bought a Blichman Beergun. I entered the SJ Poor Challenge and wanted a better way to bottle beer, this was particularly due to some differences in scores between the only two competitions I entered.
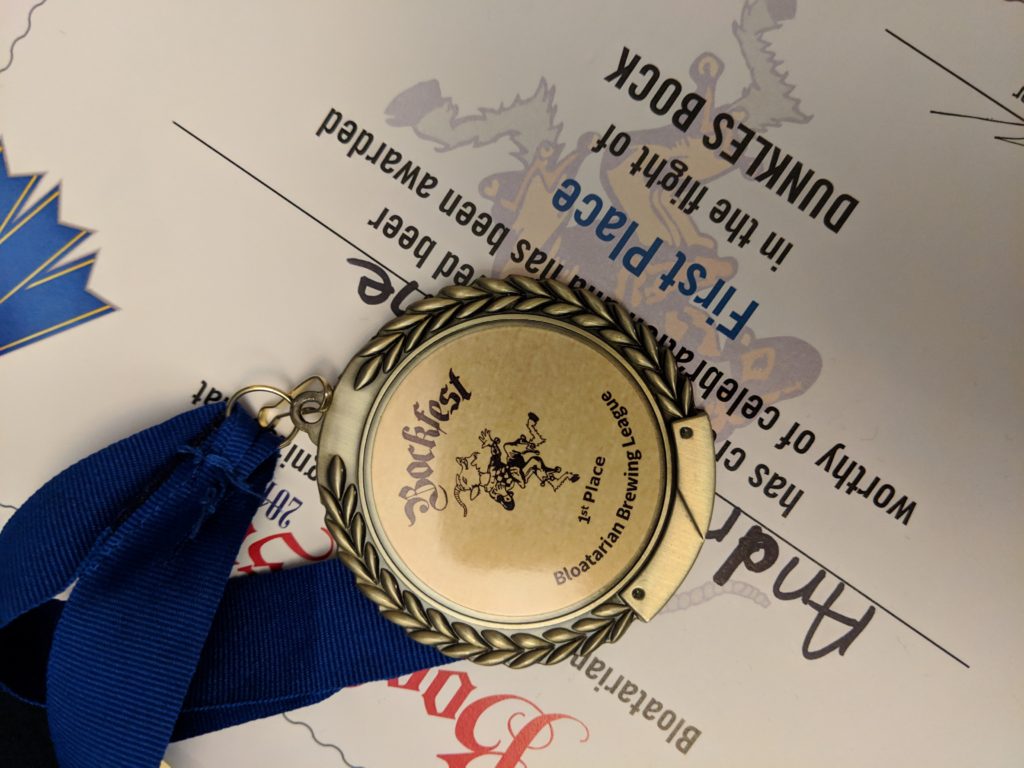
On the brewing front, I won a gold medal in one of the competitions I entered, with a Dunkles Bock. The same beer went into a second competition a week or two later and the scores were not as good. When I entered the SJ Poor Challenge with a fruited milkshake IPA, I decided I wanted to ensure oxidization was not a factor.
2020 Stuff
There’s a few things I want to do in 2020 (other than brew more).
I want to get started on being a BJCP Judge. I want to get my Provisional (I think… it’s hard to figure out which/what when their websites have been a hot mess for the past three years). The other side of that is trying to ensure I can actually USE the certification (e.g. SWMBO will let me go drink beer all day).
I want to continue improving my homebrewery. There’s already a few improvements that haven’t been posted by this blog, and there’s one big one that I still need to do – an exhaust hood. I run a dehumidifier in my basement, which generally runs for two days following a brew session. I do need to change that. I also have some drywall that can be installed, although I need to add insulation and studs first.
I want to try to post more on this blog. I posted six things last year. I want to try for more. I do have a backlog, so every week in January (on Wednesdays) will have a post. I also want to fix the format/look/feel of this blog. The one I have is free (and feels like it). I’m not really all that pleased with it, and I have a ton of WordPress experience from the other sites I work on.
Finally, I want to do more with video. I’ve always had a mild interest in doing video ever since working in 3D Visualization in the early 2000s. I’ve been kinda following along with a few people, and probably overthinking the video thing (although I do want good sound, good video, and good everything else too). Video is one of those tough things to get right because a simple YouTube search shows that, like nutrition, everyone is an expert… unlike nutrition, there are many experts with many different approaches that all work!

That’s all for now. Happy New Beer… er, I mean Year! 🍻