Latest Posts
Hammerdown Brew Cup Soapbox
I entered four beers into the Hammerdown Brew Cup. This is by far the most that I’ve ever entered into a competition. These beers I feel really good about.
![]()
Mesa Cerveza Vienna Lager
This is from a recipe I copied and adjusted from Five Blades Brewing. The adjustments were because of my less efficient system and because my LHBS didn’t have Blackprinz (and I’ve never seen it there). I used Carafa III instead, which is a dark de-bittered malt. The taste is slightly nutty, not at the level of a nut brown, though. I find it quite pleasing and it pairs well with Mexican (or well, Mexican-styled American) food. There will be more of a blog post about this one coming soon. Entered as 07A: Vienna Lager.
Don’t Pout Cherry Stout
This is a milk stout where I racked a gallon onto some canned cherries. While the base beer is just okay, the cherries make it taste quite pleasing. The base beer uses Carafa II, which doesn’t really have the roasty flavor of roast barley that I was looking for (the LHBS was out of roast barley when I was getting ingredients). Entered as 29A: Fruit beer.
Brew United Kölsch
This beer has been talked about extensively before and it scored pretty well at Brew United. However, I’m not a huge fan of the beer and gave away copious amounts of this beer – everyone else loved it. So I’m seeking validation. Entered as 05B: Kölsch.
Vampire Dust
Sometimes I just want to experiment. So I did. This is a pre-prohibition lager, but with Citra instead of historical hops. The BJCP 2015 guidelines specifically say that for pre-prohibition lagers, “a fruity or citrusy modern hop character is inappropriate” (57). So entering it in category 27 (historical beers) would not have been the right thing to do and would have guaranteed a poor score. Entered as a 34C: Experimental Beer. Not guaranteed to place well, of course, as it isn’t really an experiment… well, yeah, it actually was.
Judging is on April 23. Cheers!
Kegs!
So last week this happened:
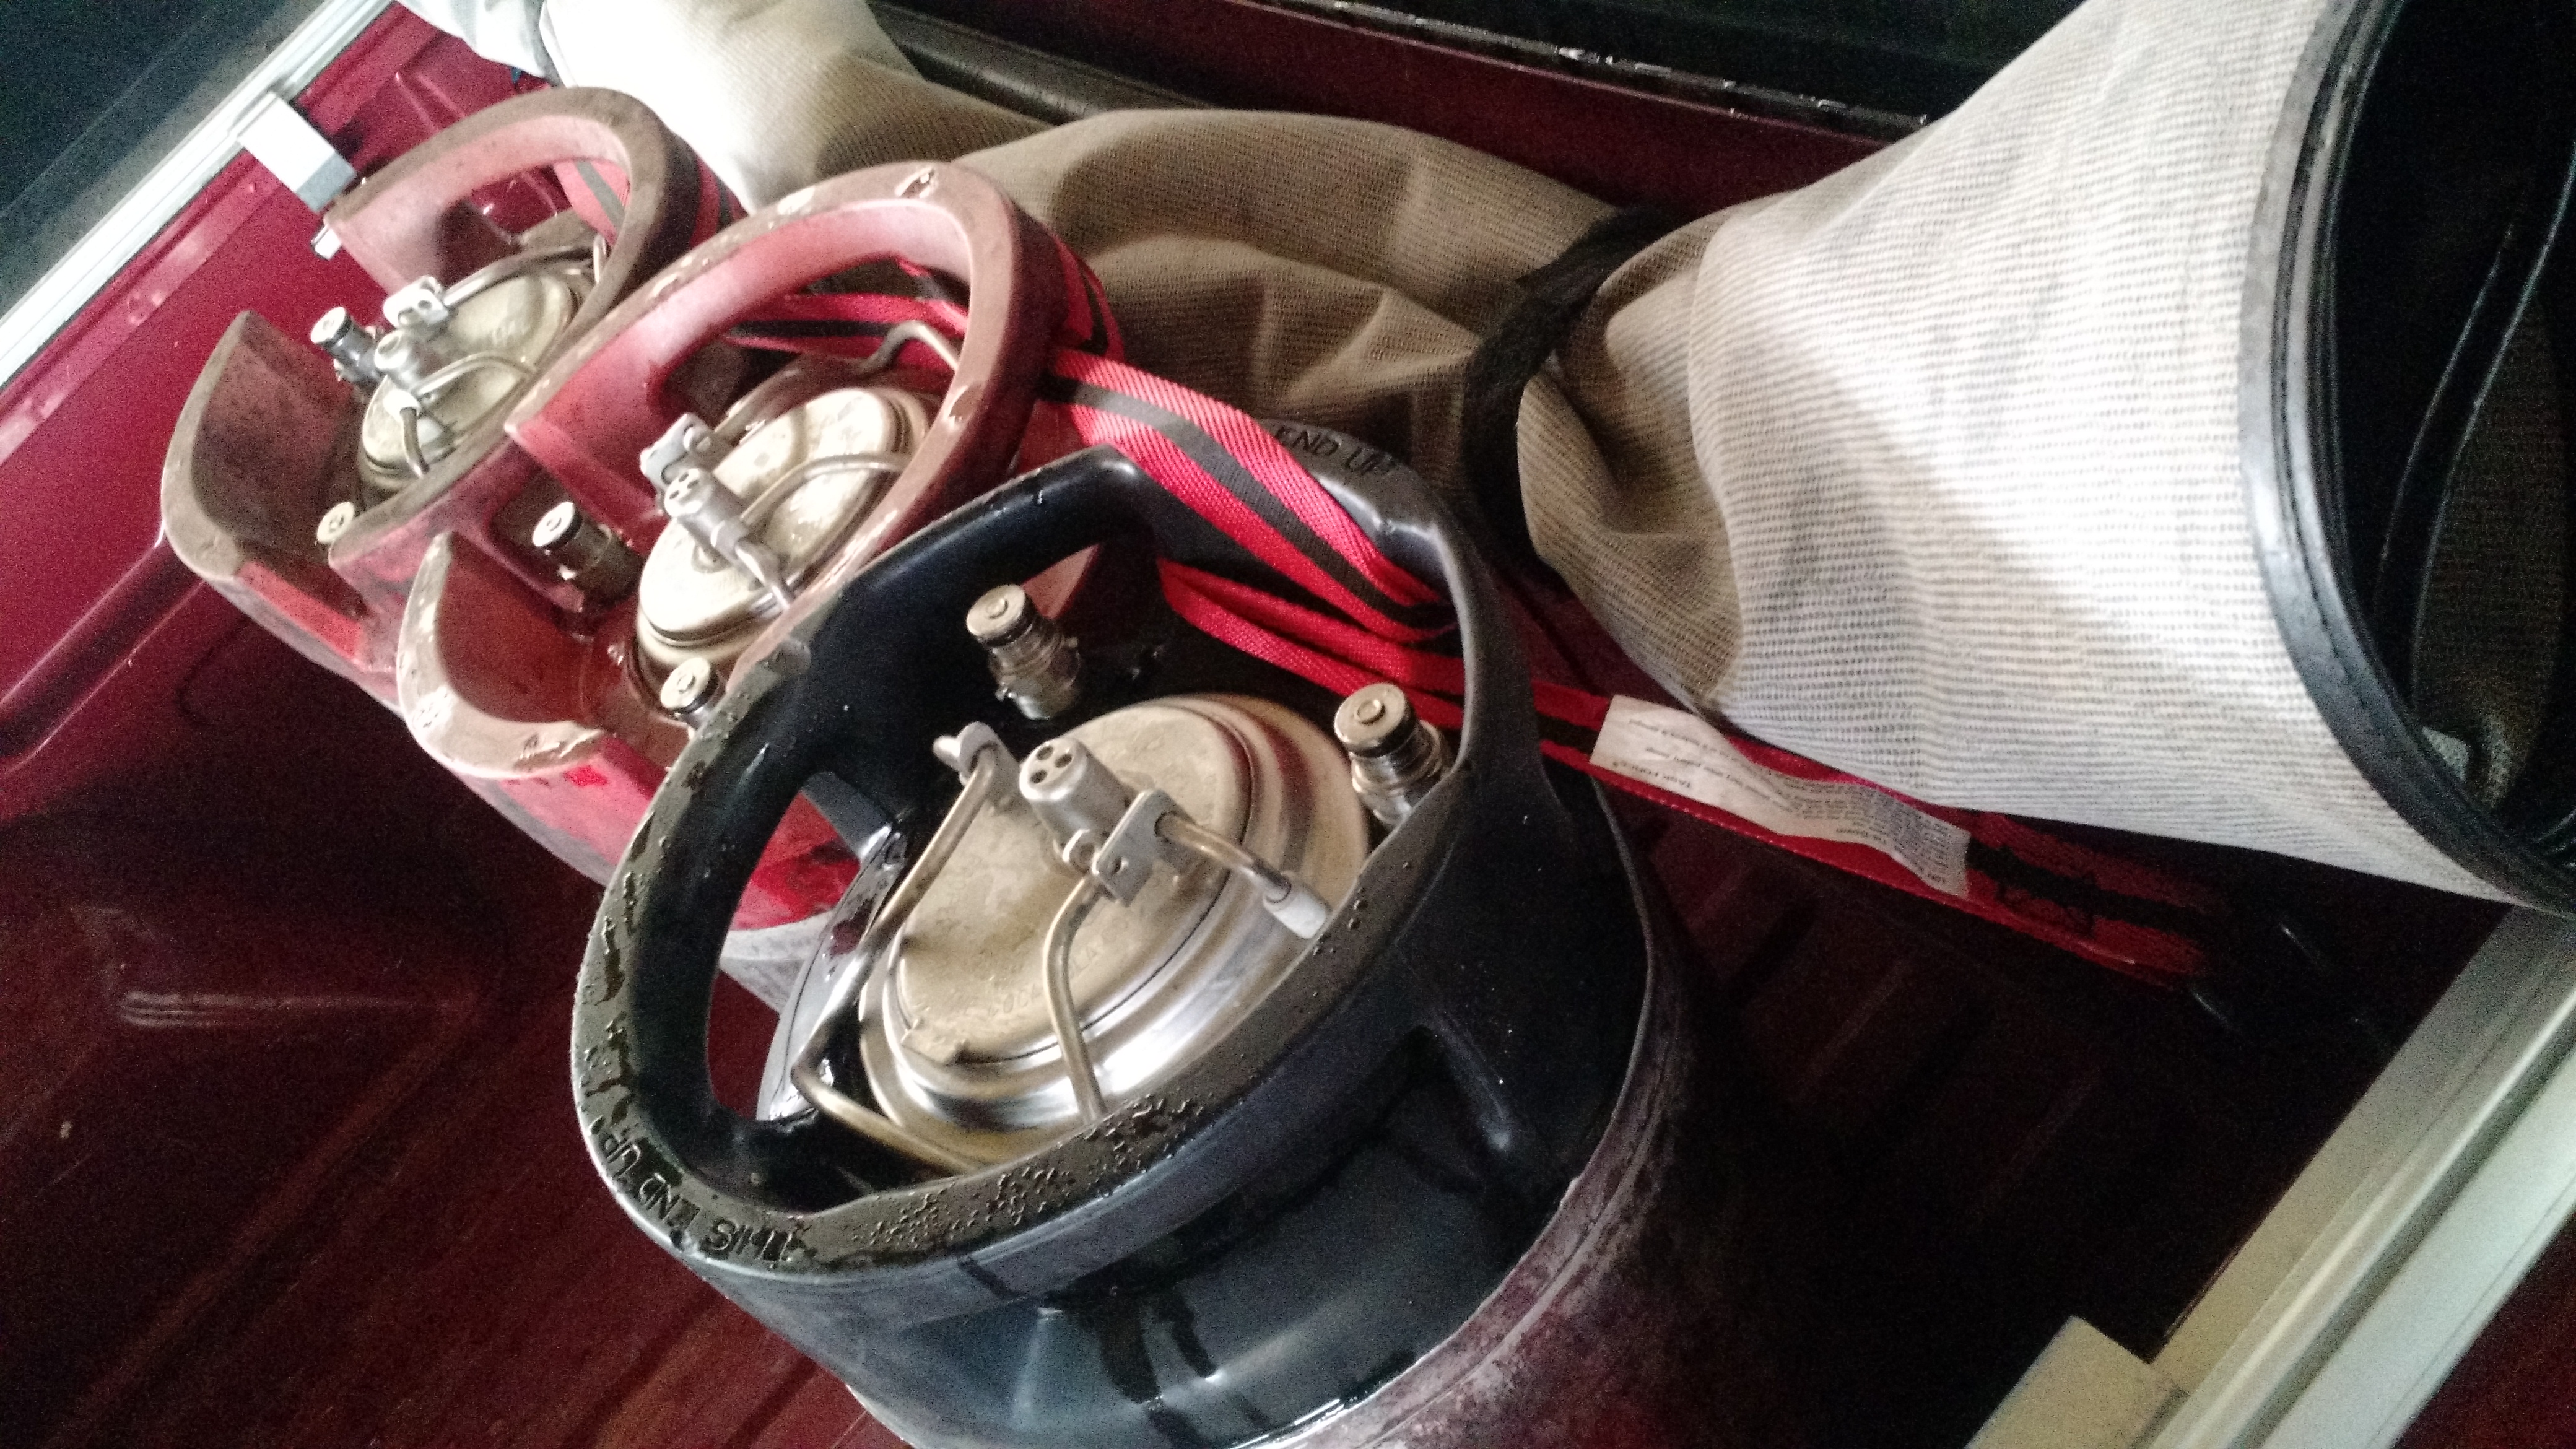
Three kegs getting hauled home!
I spent an evening scrubbing – the kegs were reasonably clean inside, but the outside was a bit of a mess. PBW and an Ocello scrubbing pad were the tools of choice there. I then proceeded to learn a few things, some of these will make it to a poster in my basement:
- The black-handled keg has a different diptube
- 3 pins = liquid
- 2 pins = gas
- The Pin Lock Socket is worth the exorbitant price tag
- Keg lube is pretty important. It may not be totally required, but protect your O-rings!
- Corny Keg in Cincinnati gets a five star review. The prices are inexpensive compared to a lot of what I’ve seen out there.
- Before putting a beer in one of these, it’s probably best to test these babies!
Testing
I did a fairly simple test – water! After cleaning everything, I put about a gallon of water in each of the kegs, sealed, and pressurized to about 12PSI. I wasn’t really trying to make carbonated water (else I would have let it go for several more days), but just wanted to make sure the kegs held pressure. I did not leave the kegs hooked to gas during this. I checked each of three or four evenings to ensure the kegs had enough pressure to dispense the water. After the three or four evenings, I rewashed everything. They’re ready for the Vienna Lager, which is not ready yet.
Cheers!
Down The Rabbit Hole of Water Adjustments
Where I got started on this subject
This all started when I saw a blog post on Practical and Low Cost Water Adjustments. The author there is pretty convincing on the importance of this. Following links from that site, I found this. “Rerun” claims to live “just inside of Clermont County, about a mile east of Beechmont Ford”. I happen to live 5 miles east of Beechmont Ford. Our water in Clermont County comes from three sources and goes into a common distribution system (in other words, they’re all connected).
Coming Brew Day
I eat a lot of Mexican food (well, perhaps “Mexican inspired and styled American food”), and I know that two styles seem to work best: Amber Ale and Vienna Lager. I decided to go with a lager since my fermentation chamber is going to become a keezer. I happen to also see a traditional Vienna Lager on Five Blades Brewing’s website.
Due to availability, I had to substitute Carafa II for the Blackprinz,and carapils for carafoam (there is a lengthy discussion on the difference here). I also added and extra half of a pound of Vienna to compensate for the slightly lower efficiency of my system.
Looking at my source water compared to what John Palmer’s spreadsheet says to use, I’m in range for most of the minerals except for being low on chloride and high on hardness (both calcium carbonate and residual alkalinity).
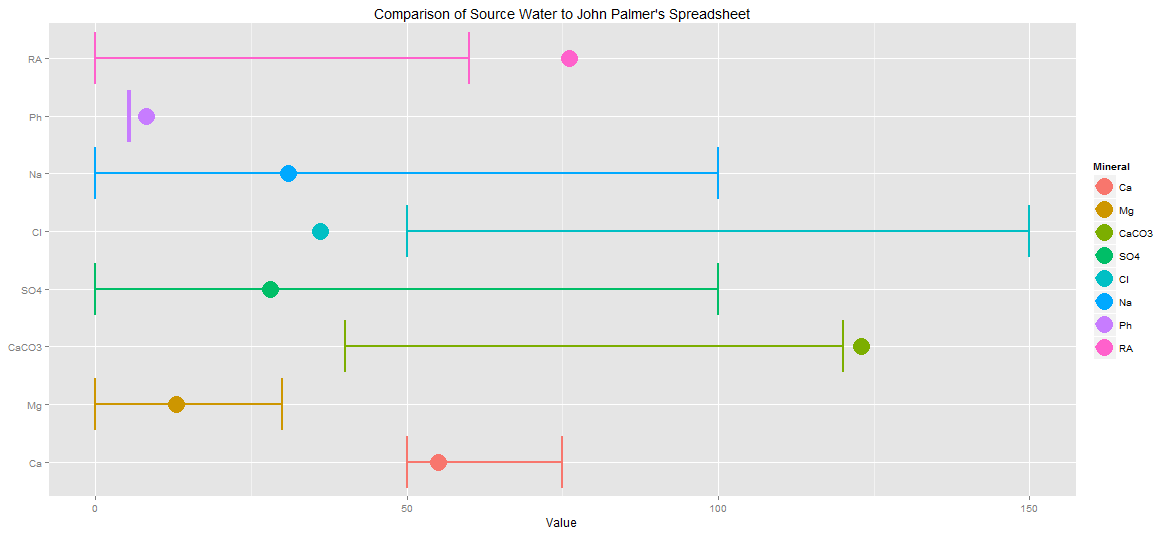
Source water from report with Vienna Lager ranges.
Water Adjustments
I got John Palmer’s water spreadsheet from the BrewLab kit website. It’s an older version, an updated one is on the How To Brew website. The spreadsheet is fairly easy to use – select a style (from the 2008 styles, not a big deal, really), input my source water info (the boxes are YELLOW), input my RA (I used 0) and my strike water (3.53 gallons). I skipped dilution (left the rate at 0%). The next parts – mineral additions, acid, and results all work together – I looked at where I wasn’t in the range – which was only chloride, and added a gram of a mineral that provides chloride. That mineral is canning salt (NaCl, sodium chloride), so after adding a gram I noticed I was near the middle of the chloride range without exceeding the sodium range (up to 100 ppm). I also saw that total alkalinity was too high (by a measly 3 ppm), but that kept the residual alkalinity up high (76 compared to 0-60) which appears to cause the beer to be darker than expected (and this is expected, as I think all my beers have been darker than I planned). I added a milliliter of 88% lactic acid which reduced the total alkalinity to the middle of the range and the color to 7 – 14 SRM (the target is 10-16, the beer as planned is 10.4 SRM).
Finally, I went down to step 8, which is sparge water treatment. I’m sparging with 6 gallons, so I input the recommended 4 ml of lactic acid for my sparge water.
In the end, 1 gram of canning salt (pure sodium chloride) and 1 ml of lactic acid to the strike water, and 4 ml of lactic acid to the sparge water.
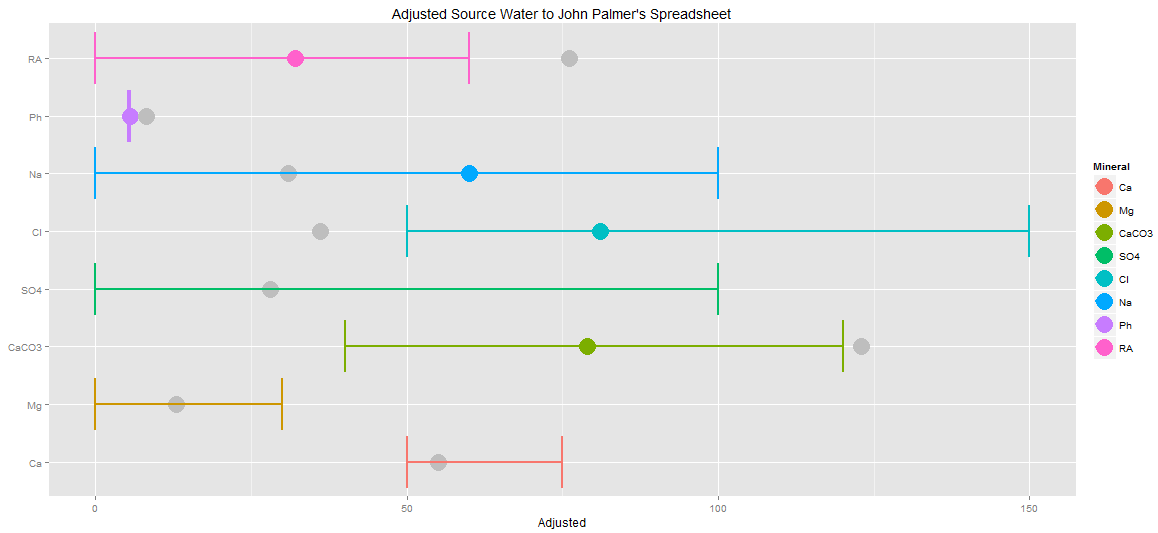
Adjusted water minerals
I’m typing this on Saturday night and I brew on Sunday. We’ll see how this works out.
Cheers!
Blogging Lull (but not a homebrewing lull)
I logged in to this blog today with the intent to post something. I have five drafts started, but none of them are finished. And I somehow doubt that I’ll finish any of them soon.
Lots of stuff going on:
- I bottled my first lager a few weeks ago
I LOVE the flavor – it’s everything I wish American Lagers were. It has a slightly sharp citrus flavor that makes me feel like it’s summer when I’m drinking it. Unfortunately, it’s undercarbonated. I can’t seem to find any style for it in BJCP, so it might be in 34B or 34C in the next competition, because even if undercarbonated I think it’s worth getting some comments from the judges (especially because it’s clean). I have two more beers for that competition. I’m absolutely going to get beers into this one since I missed the last one.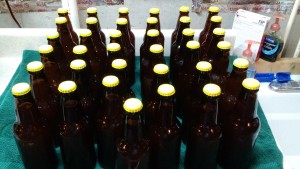
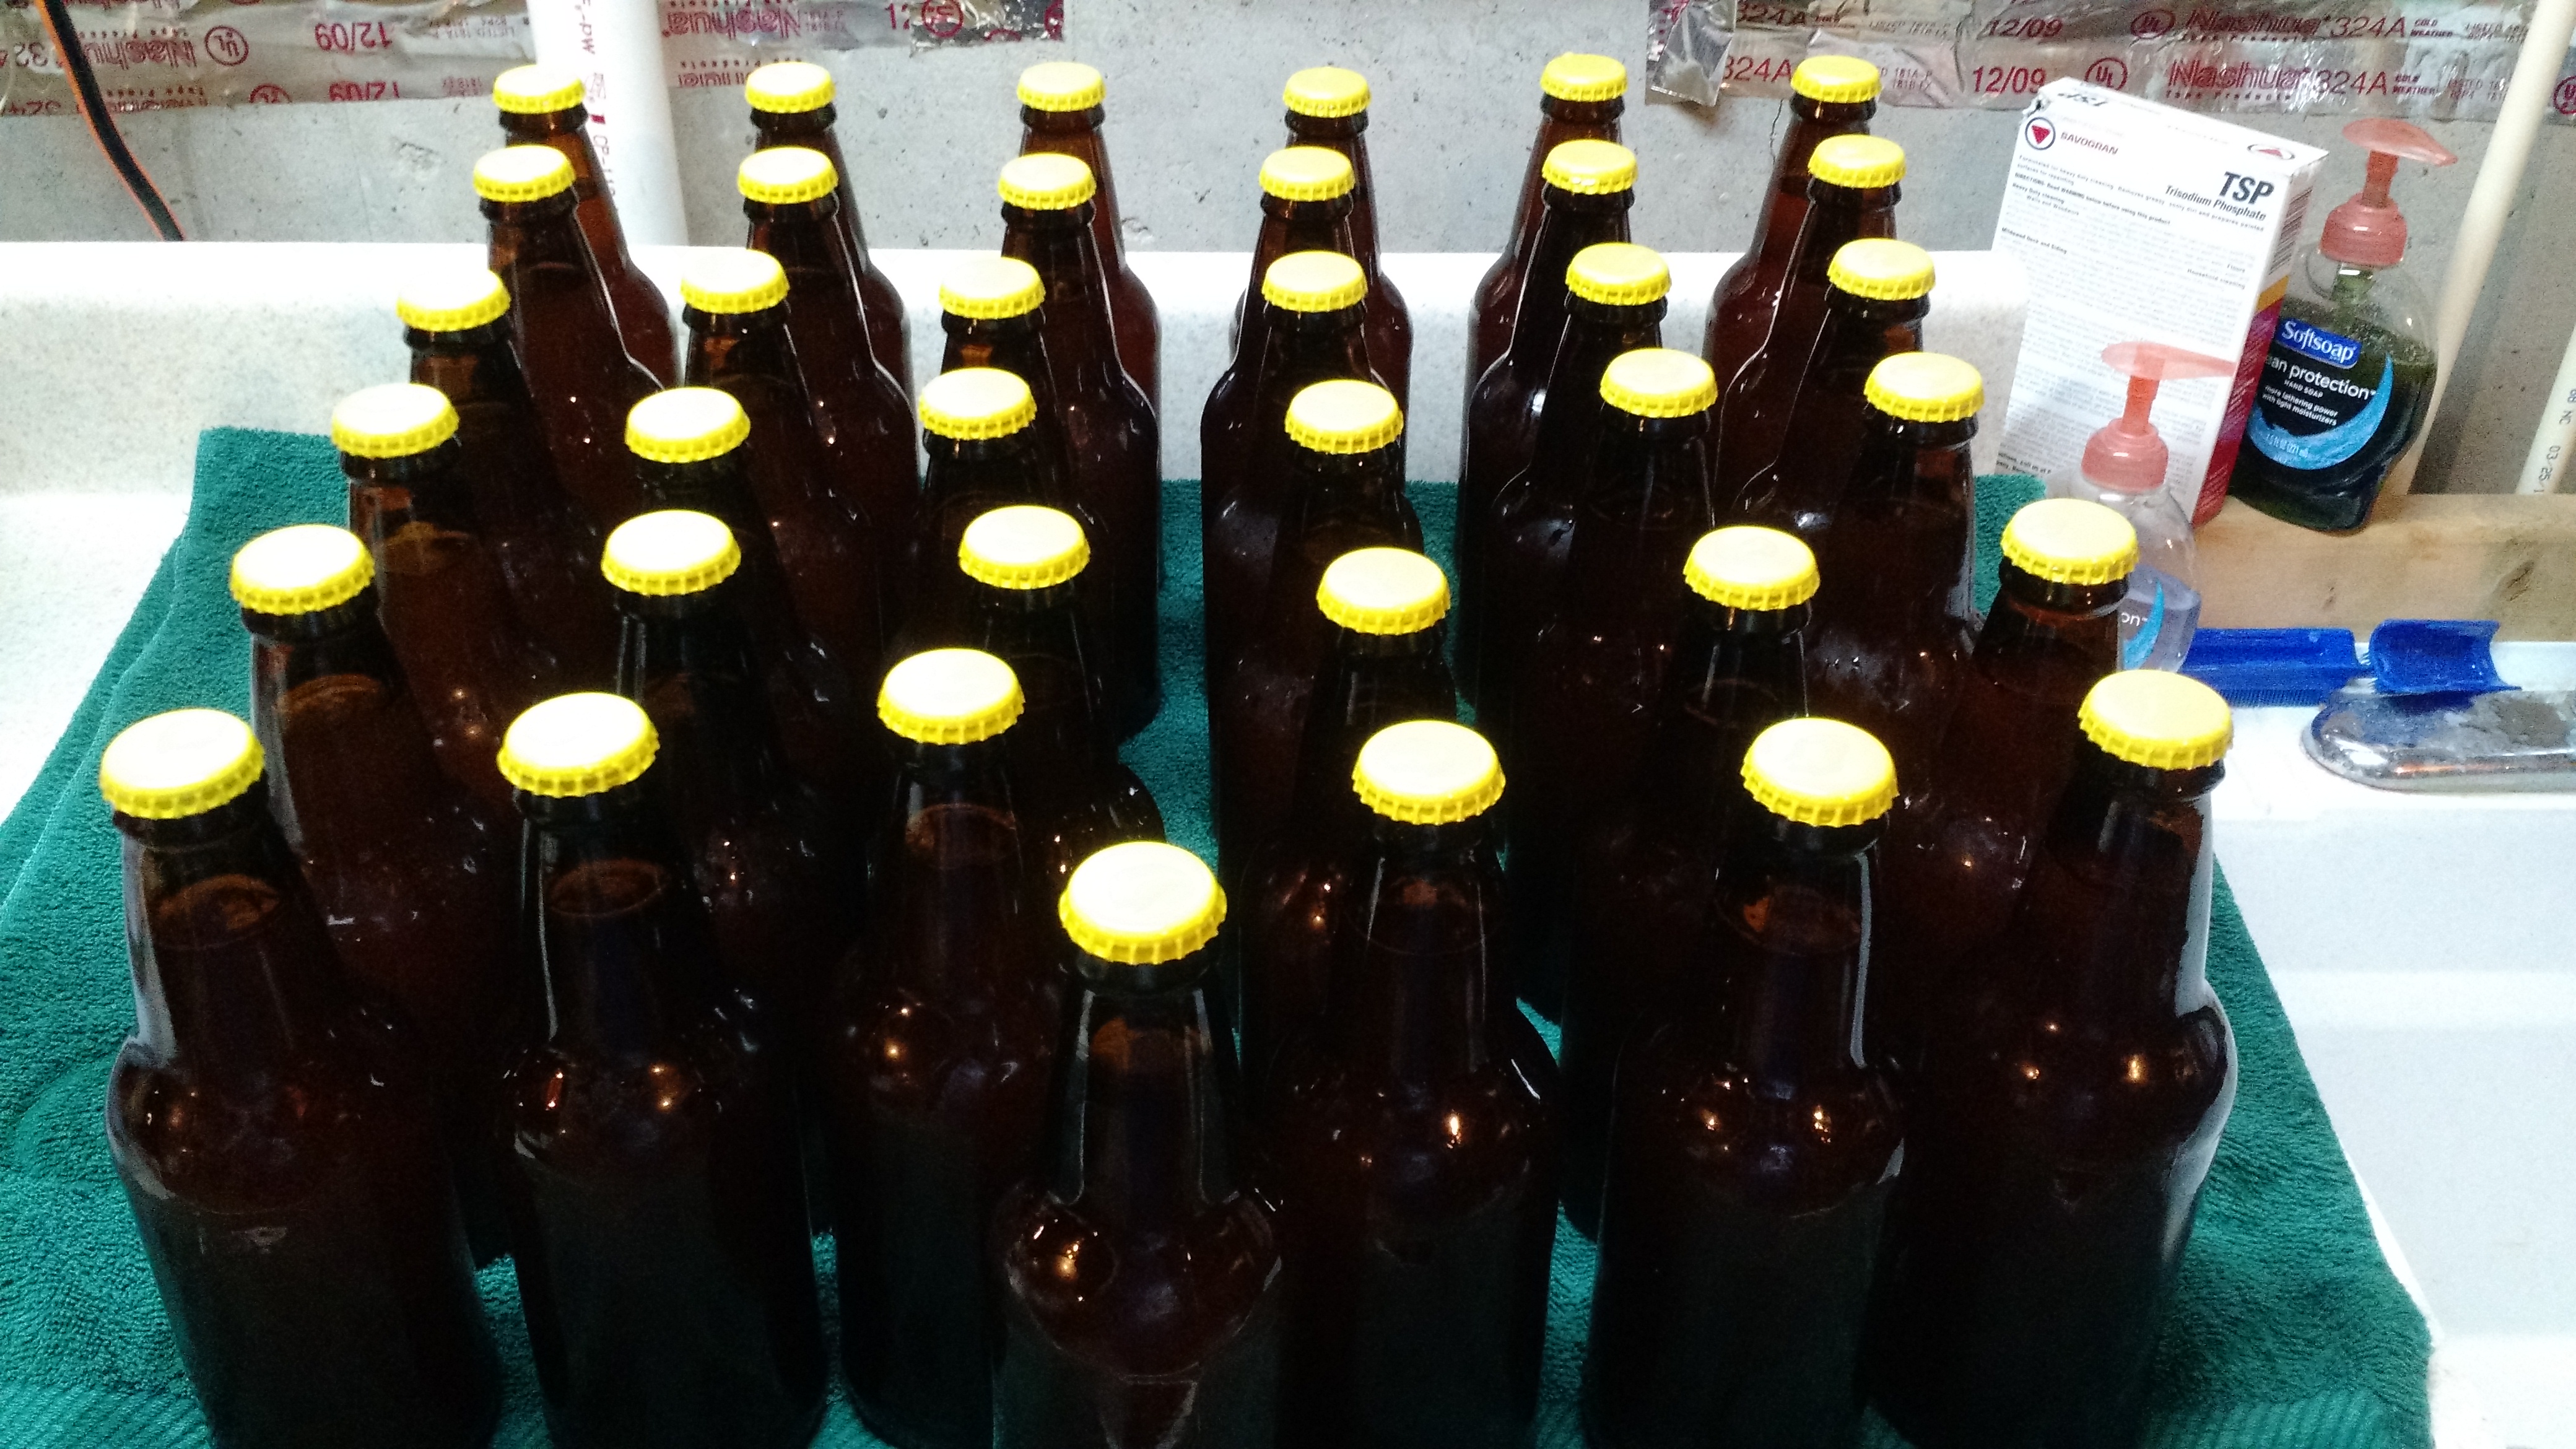
Boring pic of yellow capped bottles of lager
- I bottled a black IPA
I haven’t tasted this one in a carbonated form, but it took FOREVER to ferment. I had issues with my mash temperature, I used lactic acid for the first time (to bring the strike and sparge water down to a pH of 5.5), fermenting initially stalled at 1.030 (from 1.062), and the temperature in my basement fell to 60º F. Some of the tastes had a very harsh bitterness, but that fermented out (thank God!). I think it’ll be good enough, but I’m not sure if I’m going to enter it into the next competition.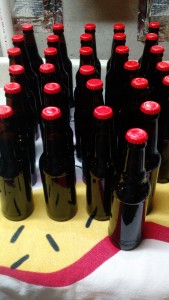
Boring pic of red capped bottles of black IPA
- I chased a WHALEZBRO
Local brewery MadTree released a BBA/Red Wine Barrel Aged Rubeus Cacao. Given work meetings, a conference call, a run over lunch, it was tight but I made it… and man, I haven’t ran that fast on a training run in a long time! The beer, BTW, was excellent! - Grain Absorption
I learned to keep copious notes since I was having some difficulty hitting my mash temperatures. I decided to log everything I could think of. In looking back in the last few logs, I found that my grain was absorbing A LOT more than BeerSmith’s default 0.96 fluid ounces of strike water per ounce of grain. In fact, I’m around 1.4720 fluid ounces per ounce of grain. In searching for this on Google, this number is not out of line, but it does mean more sparge water (I find it slightly interesting, although not wrong, that it has no effect on strike water volume). - Mash Tun Modification
Since I tend to feel like I religiously have a stuck sparge, I cut my mash manifold slots deeper and added a few more. Of course because of that, I’m going to continue to monitor the grain absorption to see if I need to make on-the-fly adjustments. - Expansions
I just looked on the “Where’s My Refund” tool and found that my Federal refund is due in a few days. As soon as it hits the account, I’m buying kegs. I’m also going to buy another boil tun (going with a 10 gallon instead of an 8 gallon). Lastly, I’m going to buy a few more fermenters. The current one may become a sours fermenter. - Science!
I ordered an inexpensive eBay China special microscope. It’s a waste of money. I started a post, but I have a few things to do before it is ready. The tl;dr: “buy a real microscope, don’t skimp on cheap crap from China”. The other tl;dr: “You can’t see yeast with something you paid less than $20 for”. - MOAR BREWING!!!
I have three or four or five things I want to brew, including an IPA (of course!), a saison, an American wheat (or maybe a hefeweizen), a berlinerweisse, and a Vienna lager. I am going to run in to an issue with controlling fermentation temperatures and having a kegerator. I have ideas, but nothing that I’ve done… yet. - This Weekend in Beer Drinking
I may start posting something weekly about notable beers I’ve drunk. This could get interesting. - Running
I’ve managed to keep my injuries at bay since before Christmas and I registered for the Moerlein Beer Series for the fourth year in a row. I’ve made some changes nutrition-wise that may mean that I can keep things together (pun intended!) permanently.

Upcoming on the Blog
Happy New Years!
Everyone does some sort of sappy new year’s day post with some resolutions that they forget a few weeks later.

Yeah, this.
I’m going to be different – unlike last year where I actually had some resolutions, this year I have some things in progress.
Better Bottle Washer
As much as I want to move into kegging, like, NOW, I’m not – I’d rather be patient and do it right. So I want to do something better for washing bottles that uses less water.
Bottle Washer Preview
Mash and Brewhouse Efficiency
I have never had great mash or brewhouse efficiency. This is something I am going to deal with. From my last five brews, my mash (extract) efficiency ranges from 54% to 73% (as calculated by BeerSmith). My brewhouse (volume) efficiency is worse, measuring 53% to 66%. I really want these in the 70s. I am looking at potential changes to my mash tun (a cooler) as well as possibly getting a grain mill.
Sours
I think I said sometime over the past year that I was going to put off sours for a while. I don’t know how much longer. There is something interesting about a Flanders Red or a Kriek Lambic or a Berlinerweisse. This will likely be late in 2016.
The Pipeline
I just ran out of my IPA. I have a Kölsh, and an American Stout in bottles. I have a pre-prohibition lager lagering and a black IPA I just brewed. I have a very busy two weeks ahead and then I want to brew an IPA and then a cream ale. I’m going to try to have a pipeline so I buy less beer. It’s not that I don’t like commercial beer, it’s that it can be quite expensive. I do want to have a pipeline going so I constantly have a few beers ready to drink.
Cheers!
Five Retrospectives From a Year of Homebrewing
My first brew was in September of 2014. It’s now November of 2014 and I’m preparing on brew #12. Since starting into the hobby, I’ve read all or parts of a handful of books, hundreds of blog posts, and probably thousands of postings on Reddit, Homebrew Talk, and other message boards or forums.
1. Always Be Mindful of Who You’re Brewing For: YOU
One of my least favorite beers is the one I brewed for the Brew United competition. It is the highest scoring beer I’ve ever made. I’ve given lots of it away. Lots of people seem to like it. I don’t. I have at least 2 6-packs of this stuff sitting on my storage shelves and one bottle in my fridge occasionally. I brewed it because I thought I liked Kölsch beer and to try something different. It was an experiment of sorts, but I didn’t really have ME in mind when I brewed it.
My IPAs aren’t brewed for anyone but me. Consequently, they are the least-shared and fastest consumed.
2. Be Above Craft Beer Elitism
Maybe a week before I wrote this, Ballast Point sold. I’ve seen good reactions and bad, with one prominent brewer saying that they will remove them from their bars. I guess their bars don’t carry Goose Island or Kona Brewing, either. The same people gave Lagunitas the same shit. And Founders.
I understand there are things that happen with profits when we buy non-craft beer. And I understand the drink-local attitude. But don’t be so pretentious to put down good beer (like Sculpin, KBS, CBS, and nearly everything else by Founders) over some definition that doesn’t actually include ‘good beer’. Yes, some AB-SAB-InBev-owned products are actually good. Personally, I’ve tried a lot of stuff from Goose Island once. Some more than once (I’d take Goose Island over Bud Light!), and some I have my eye on.
3. Read With Caution
I’ve noted above that I’ve read hundreds of articles and blog posts. I read about both homebrewing and the craft beer business. I’m on Reddit Homebrewing all the time – I rarely post but I read (and have learned) a ton. There’s hundreds of posts that will tell you that you must do certain things to ensure good beer. Most of it is right – for example, I recall one that includes “healthy fermentation” by using yeast starters – definitely smart in very many cases. Some is less right – for example, I recall one (possibly the same list) that said to control fermentation temperatures using something like a fermentation chamber or device – not necessary in all cases. Many homebrewers in the midwest have basements that will maintain a fairly stable 65-70 degrees (although it helps to ensure that is the case).
Additionally, I’ve read things ripping on malt extracts. While I do not use them, if you’re happy with the beer with them, use them. I’ve brewed a very good IPA using all DME with some carapils steeped. There is a different skill to using malt extracts, and it is one that deserves a little more respect. And I say that as an all grain brewer.
4. Don’t Be Afraid to Experiment, But Do So Intelligently
My first experiment was a stout that I split and fermented in two batches, one with vanilla and the other with coffee. Both had a bitter cocoa bar added to the boil. It was a failure.
After that, I decided to be smart about experimentation. I bought a 1 gallon carboy. Occasionally, I rack a gallon of a base beer off into it when bottling (the rest of the batch gets bottled). The first experiment was a Saison with brettanomyces added. The second (which is currently in the carboy) is a cherry stout. If something goes bad, I’m out a gallon, not 5. Of course, as Murphy would have it, I haven’t had a bad batch come out of the 1 gallon experiment carboy!
5. Don’t Stop Brewing
A kitten dies when a homebrewer stops brewing. Don’t be that guy. If you’re in a slump, look at the BJCP style contents and brew something new. Brew something different. Brew something that isn’t beer (root beer, wine, kombucha). Experiment. But don’t stop.
Cheers!
Chasing 2 Degrees Loss in the Mash Tun
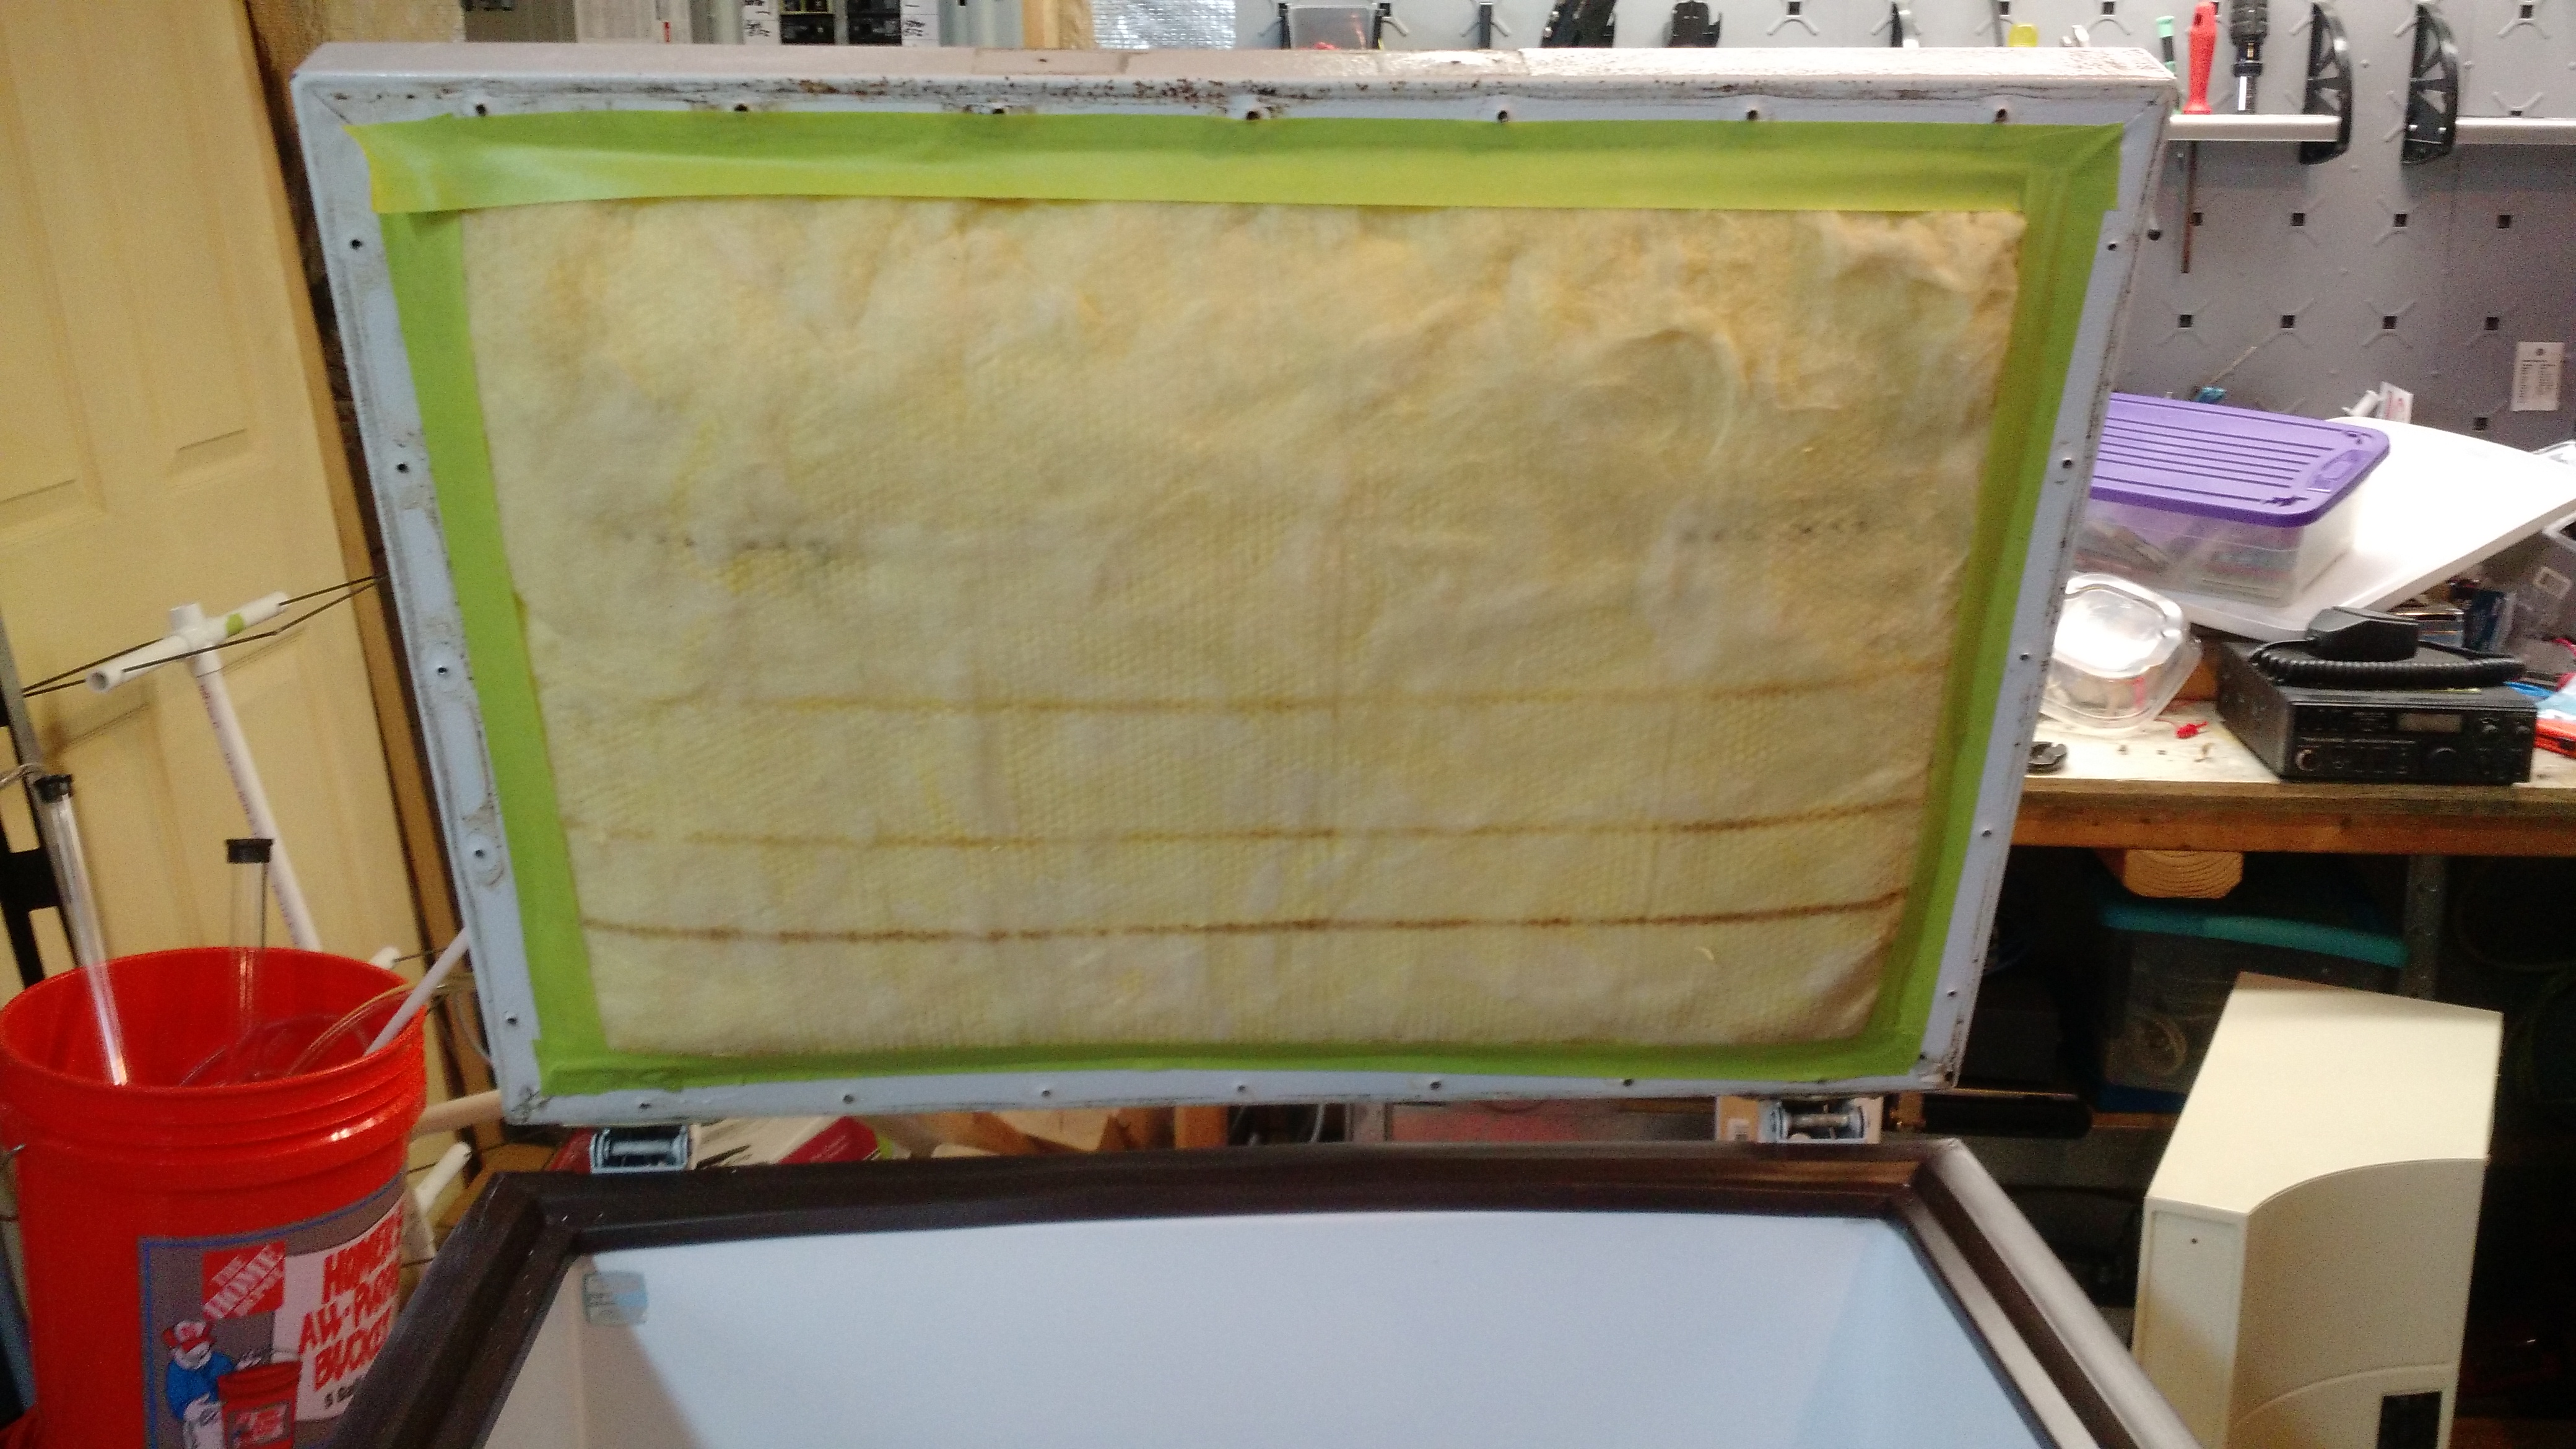
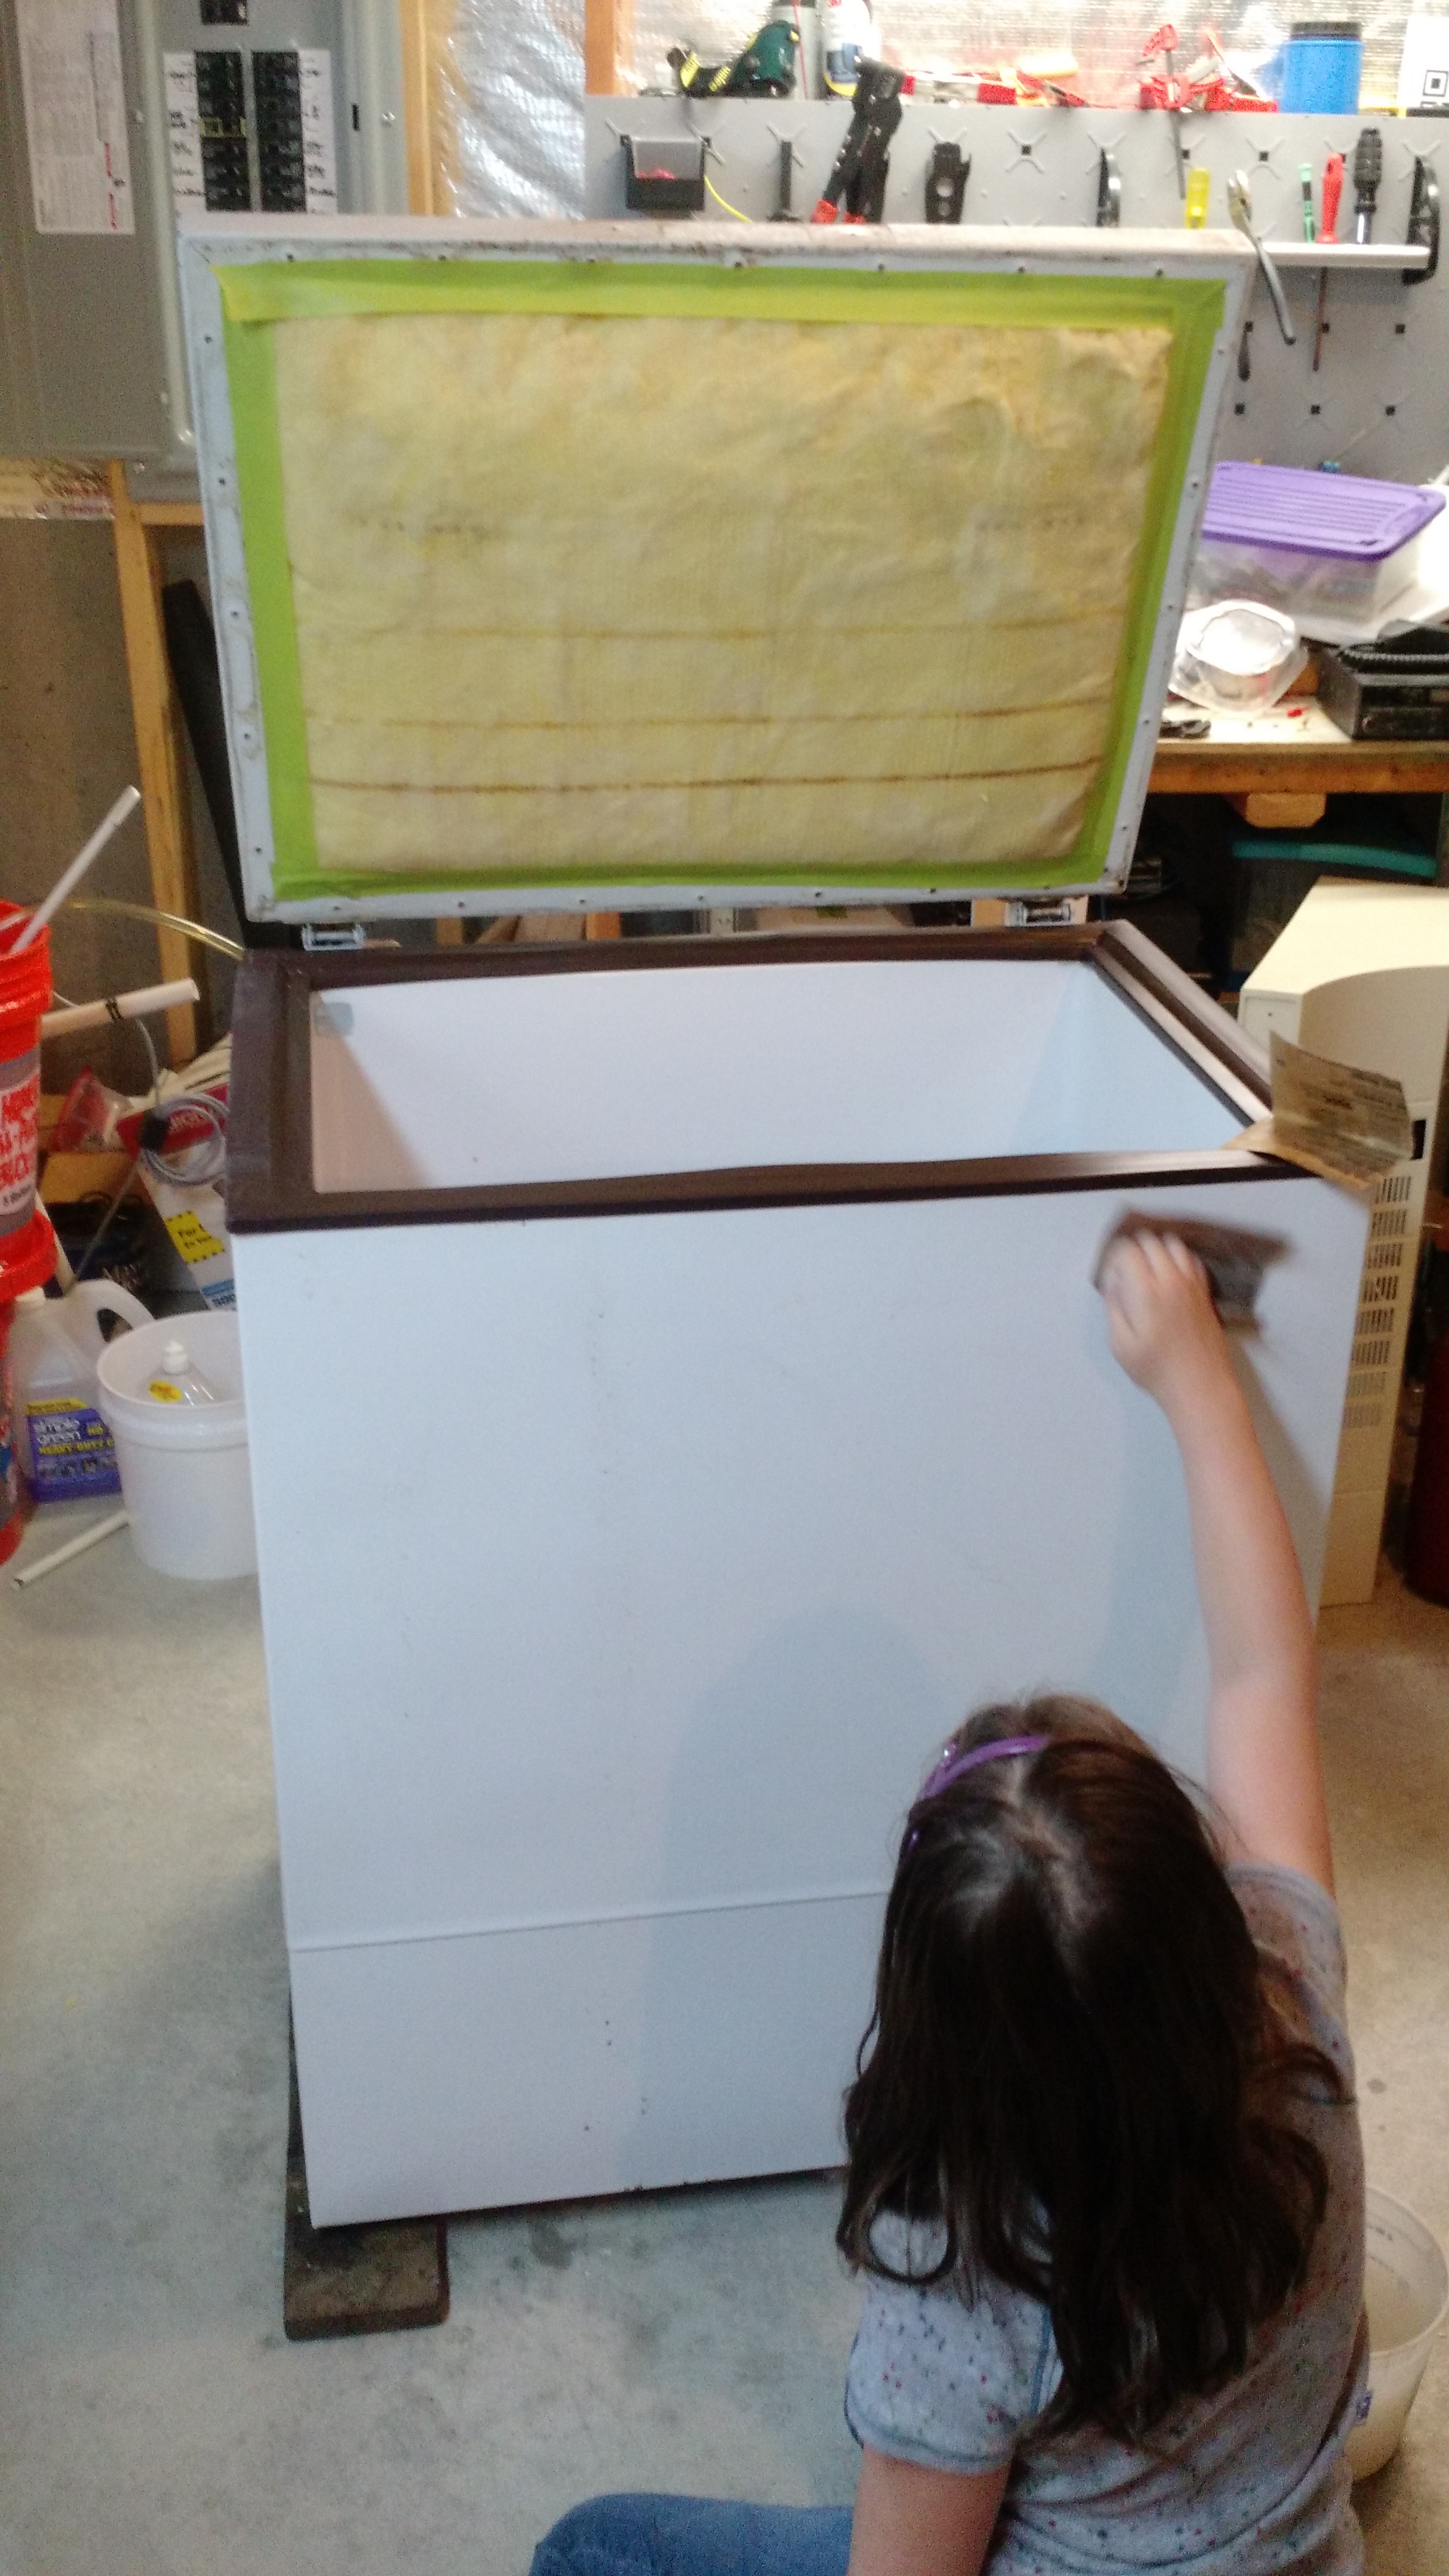
A few months ago, I thought I’d fly sparge in my Mash Tun. I had built a sprinkler to help in this. I’ve since decided to batch sparge, since fly sparging is more difficult and is cumbersome to do with my setup. So for a while I left the sprinkler in place and didn’t use it. I noticed after my last brew day that I lost 2°F during the hour-long saccharification rest. I decided to get the sprinkler out of the way and removed it, which left a big hole in the lid. So I decided to add some extra insulation to see if I can ensure that there is less than 1°F of temperature loss.
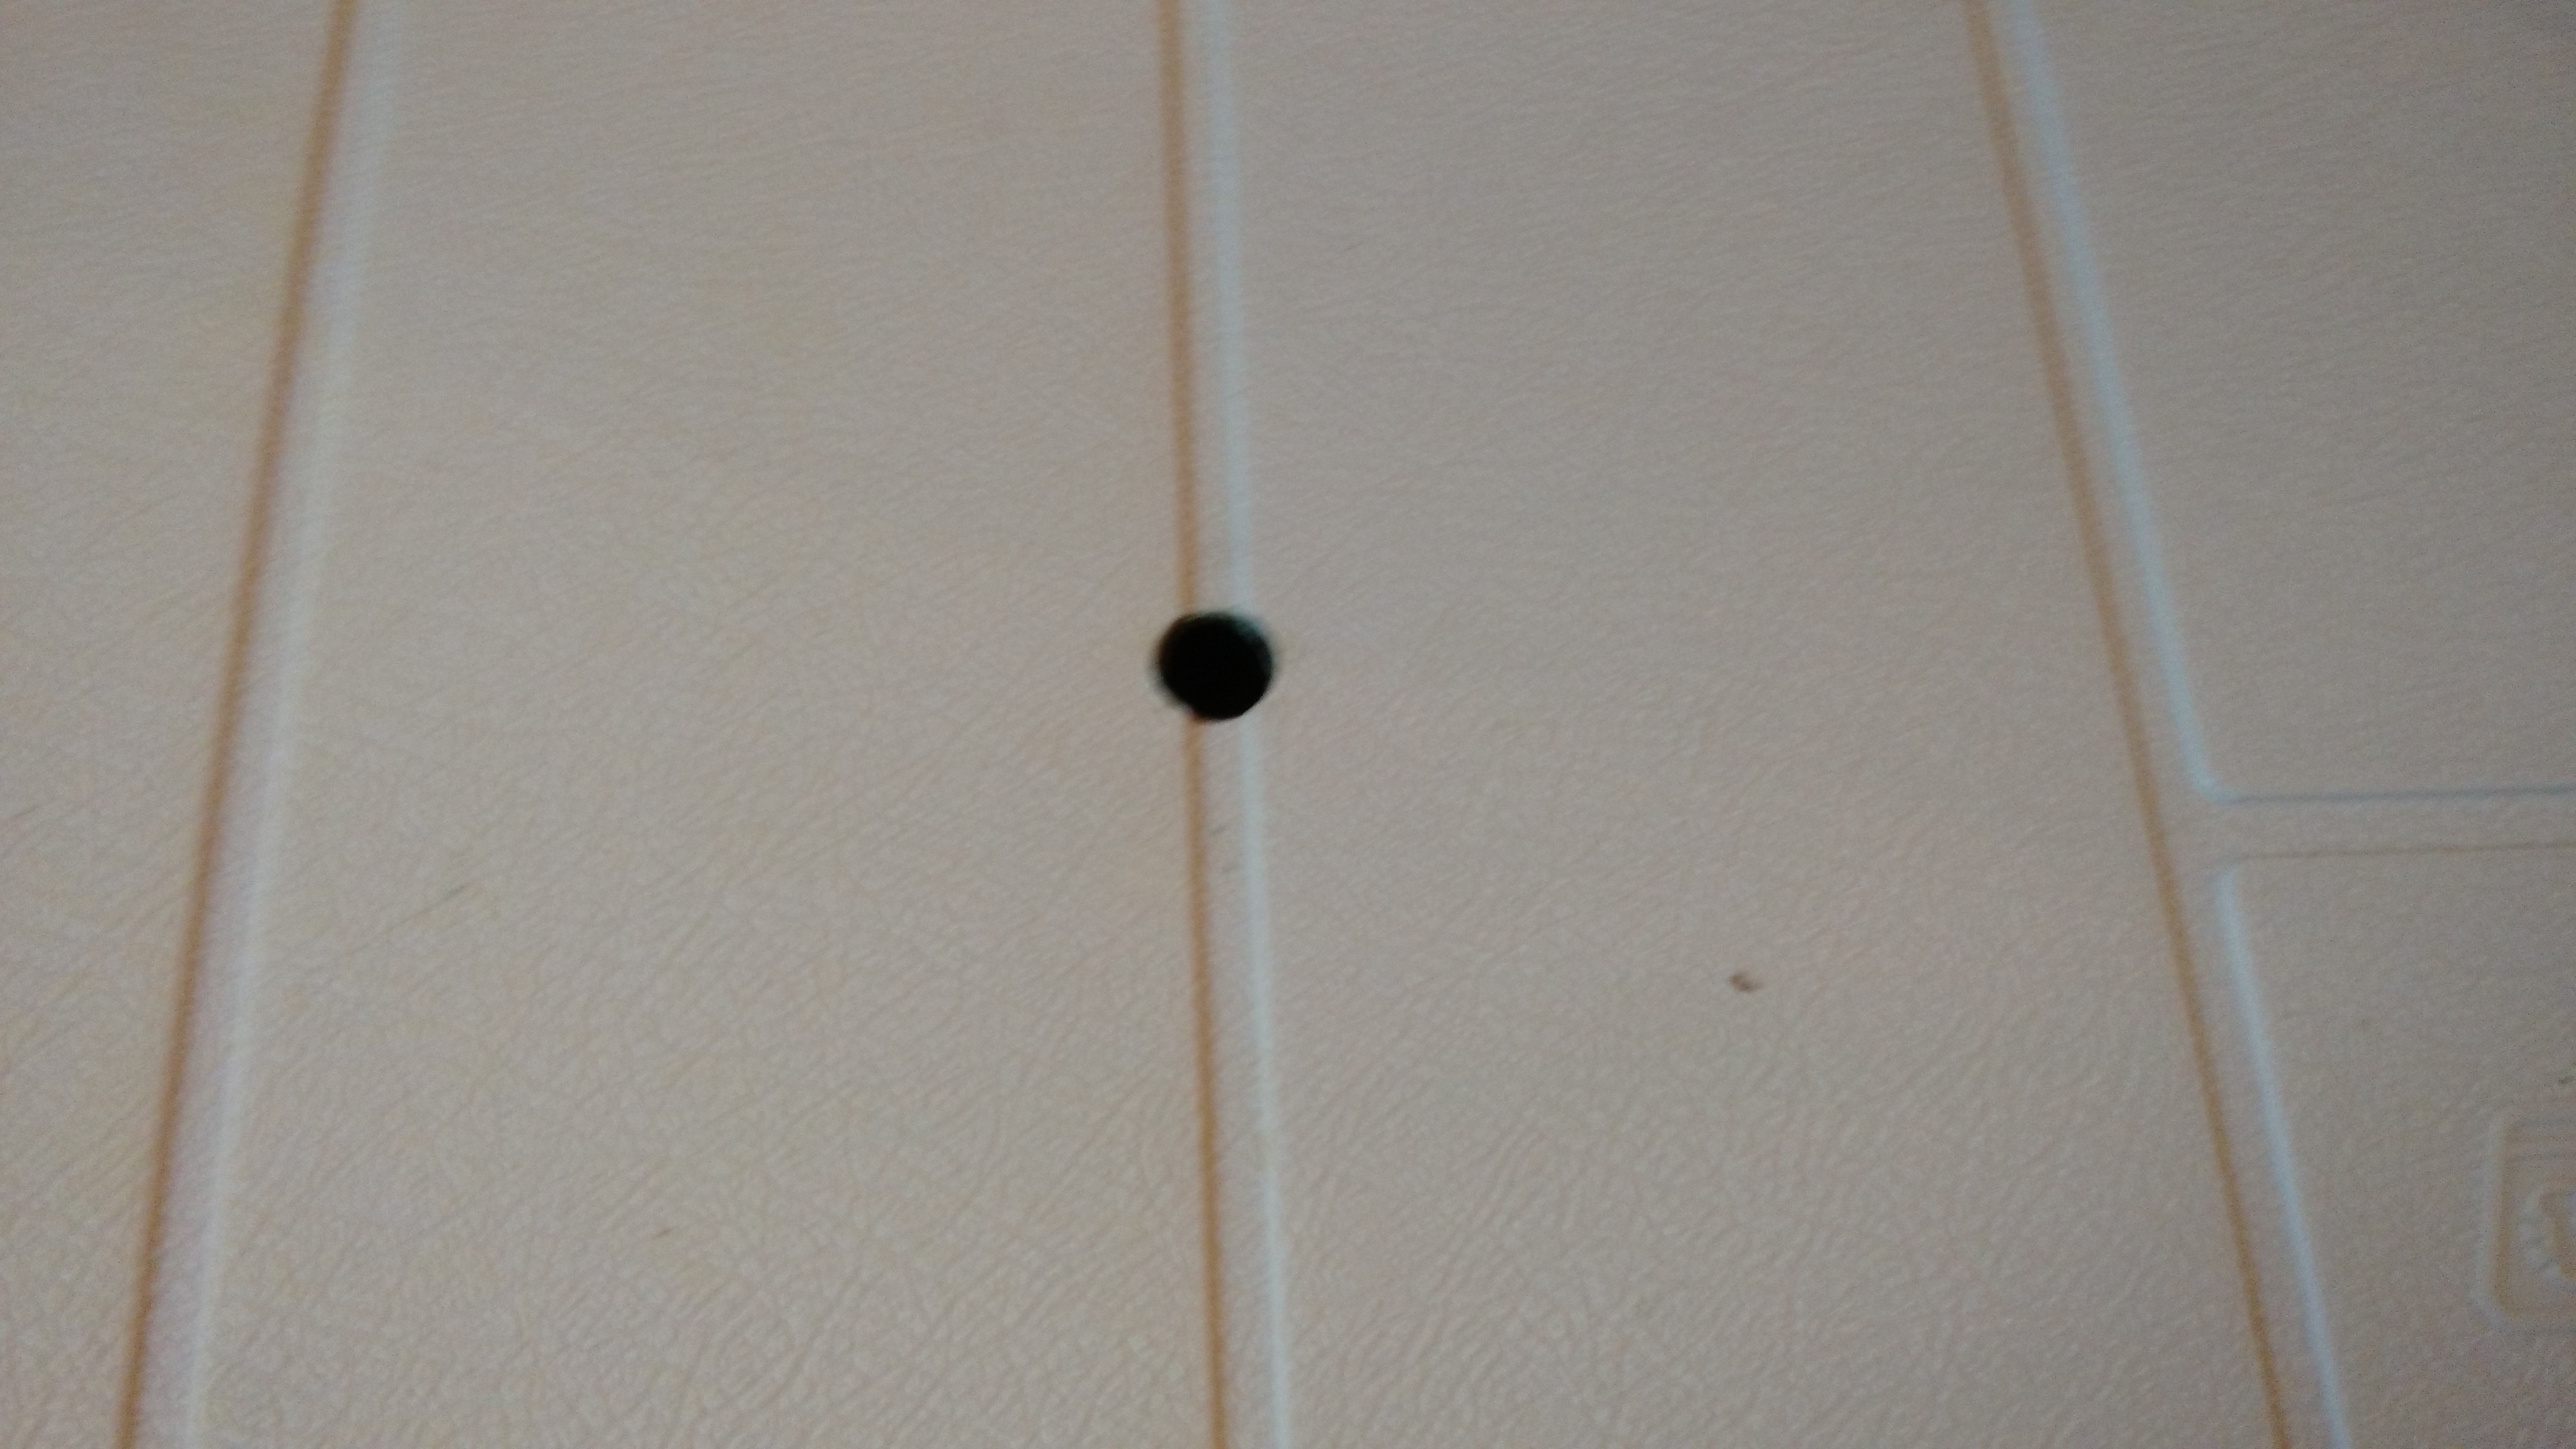
The hole. Seems like this would cause a lot of temperature loss over an hour.
Cover over the top.
Cover inside.
This is what I tried.
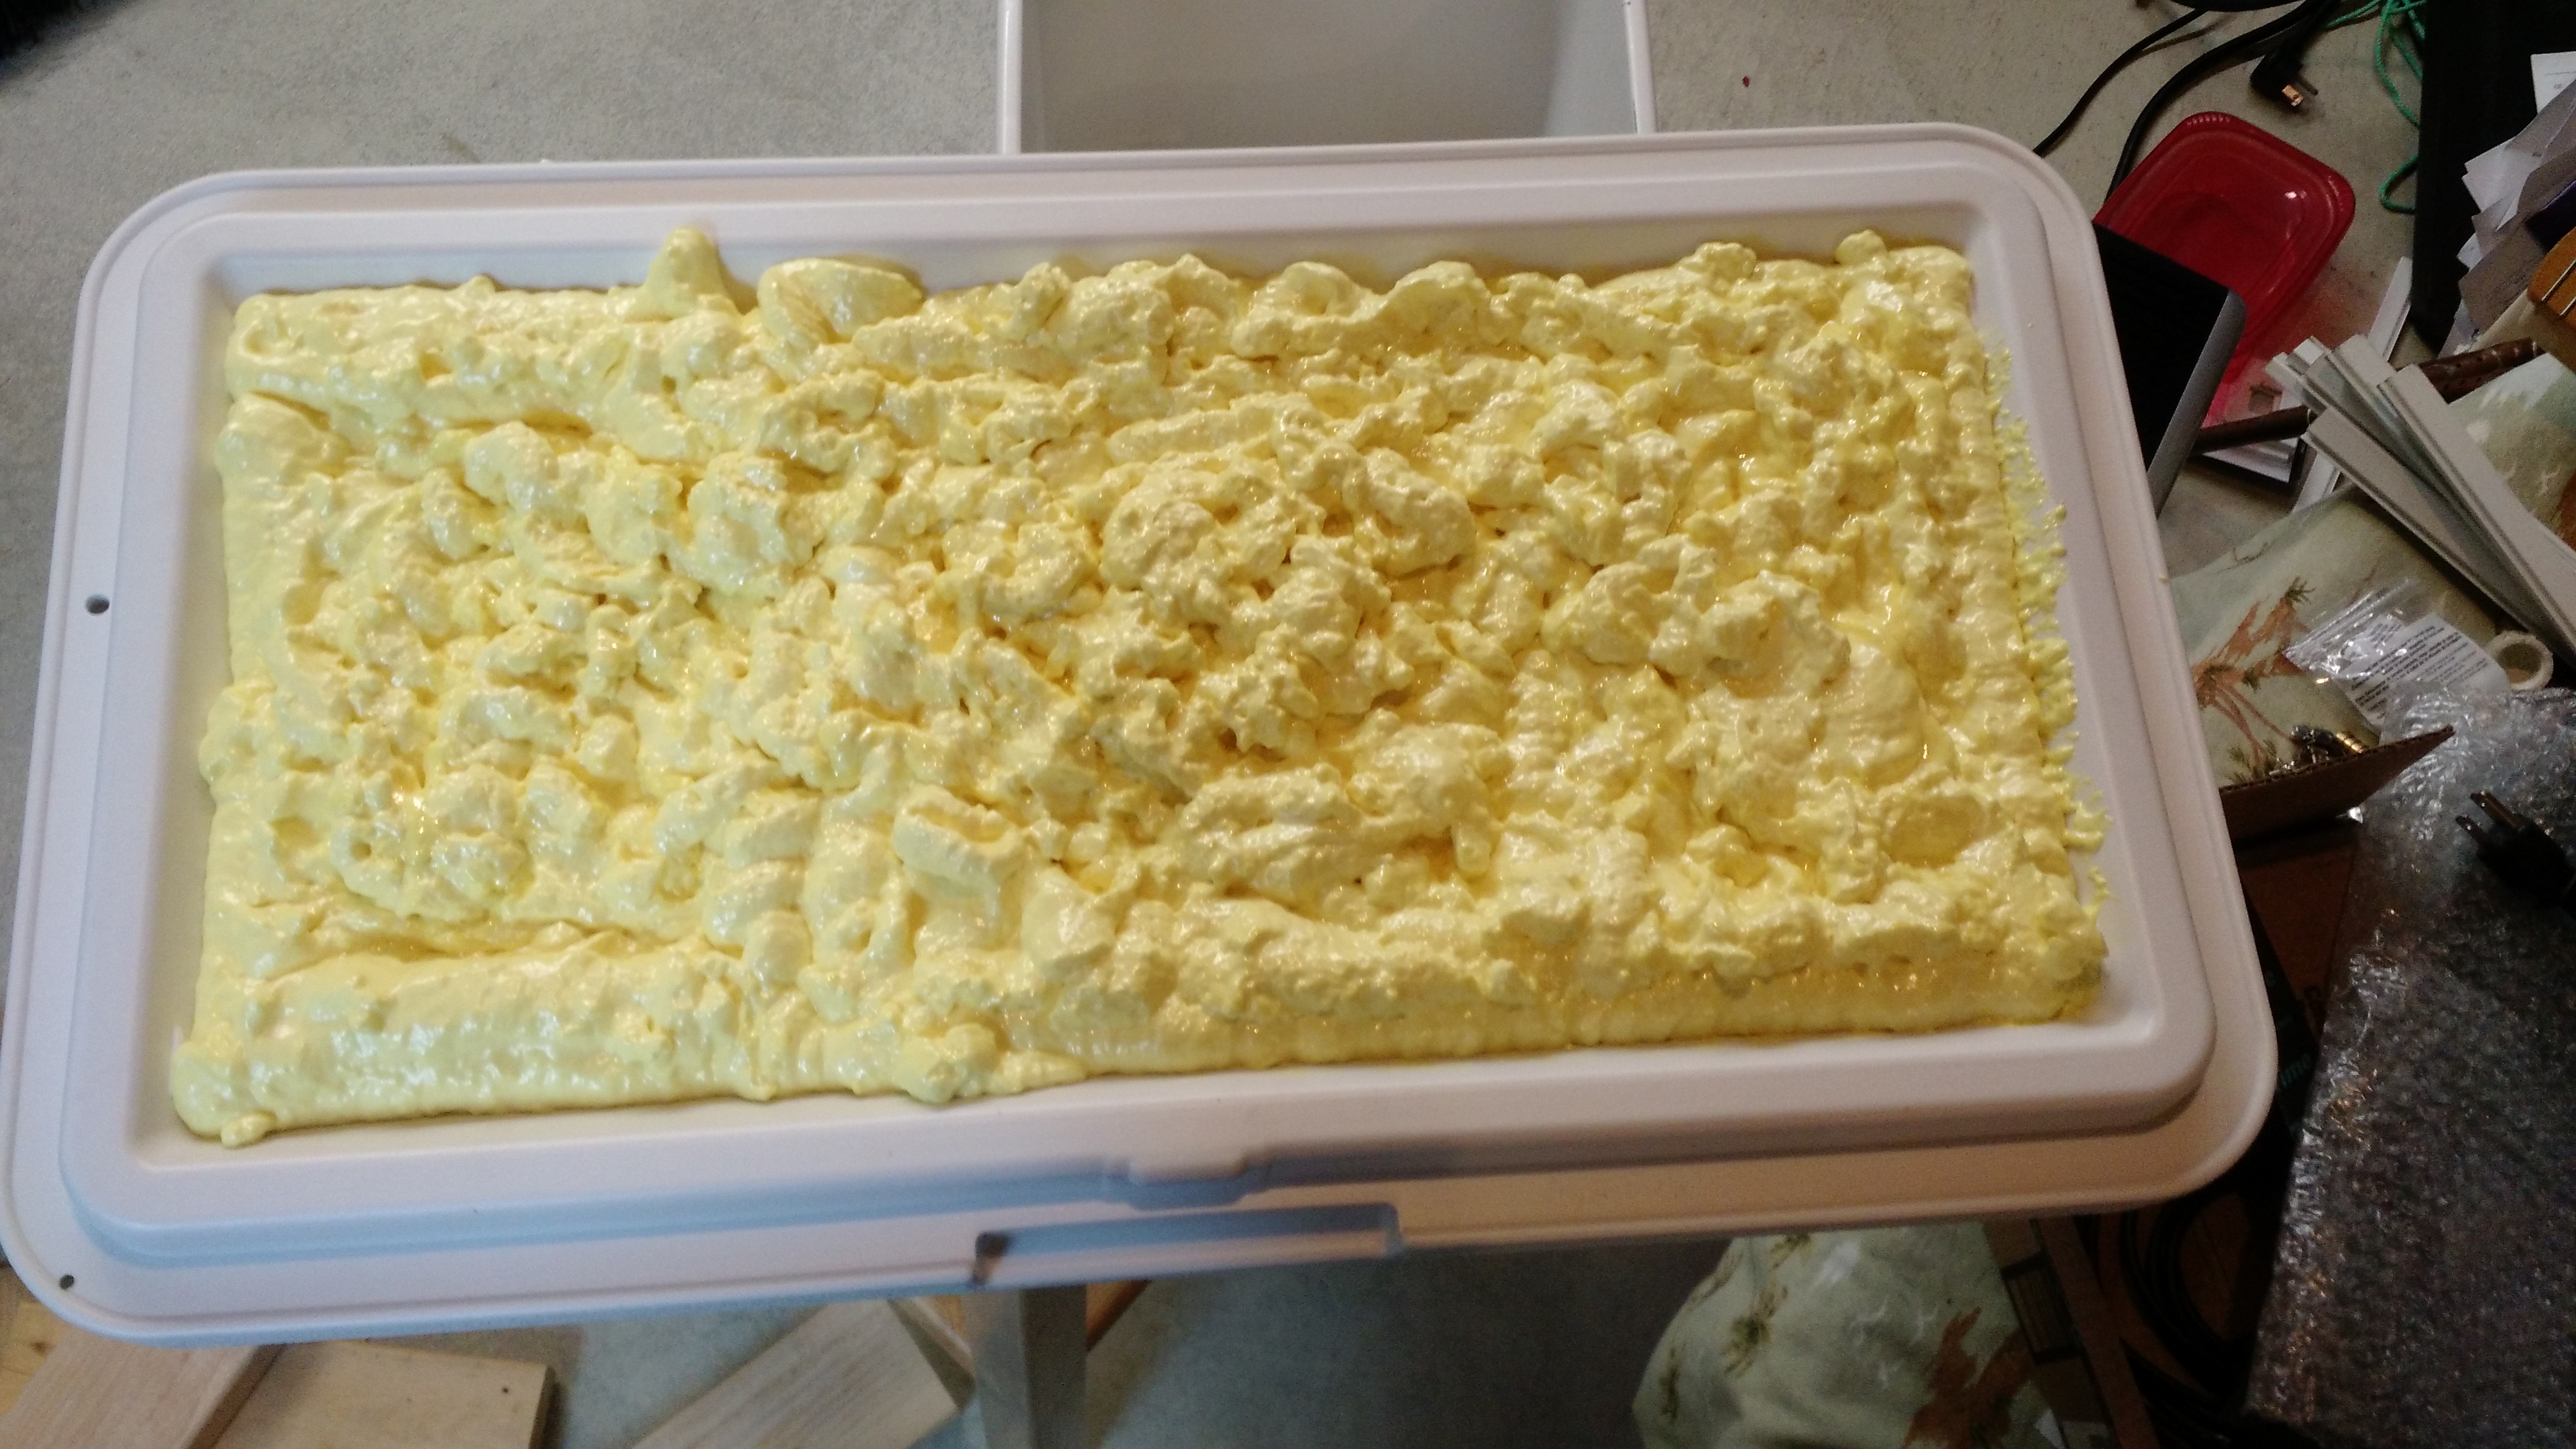
Looks like a popcorn ceiling for a cooler.
So after nearly a day, I checked on it. It seems to have stuck – I couldn’t easily pull it off, although I don’t know how well it’ll hold during an hour-long mash… we’ll see next weekend.
It expanded a little. Which is okay.
It throws off the balance of the lid a little, but not too bad. Heck, the cheap hinges will probably go someday soon anyway.
Cheers!
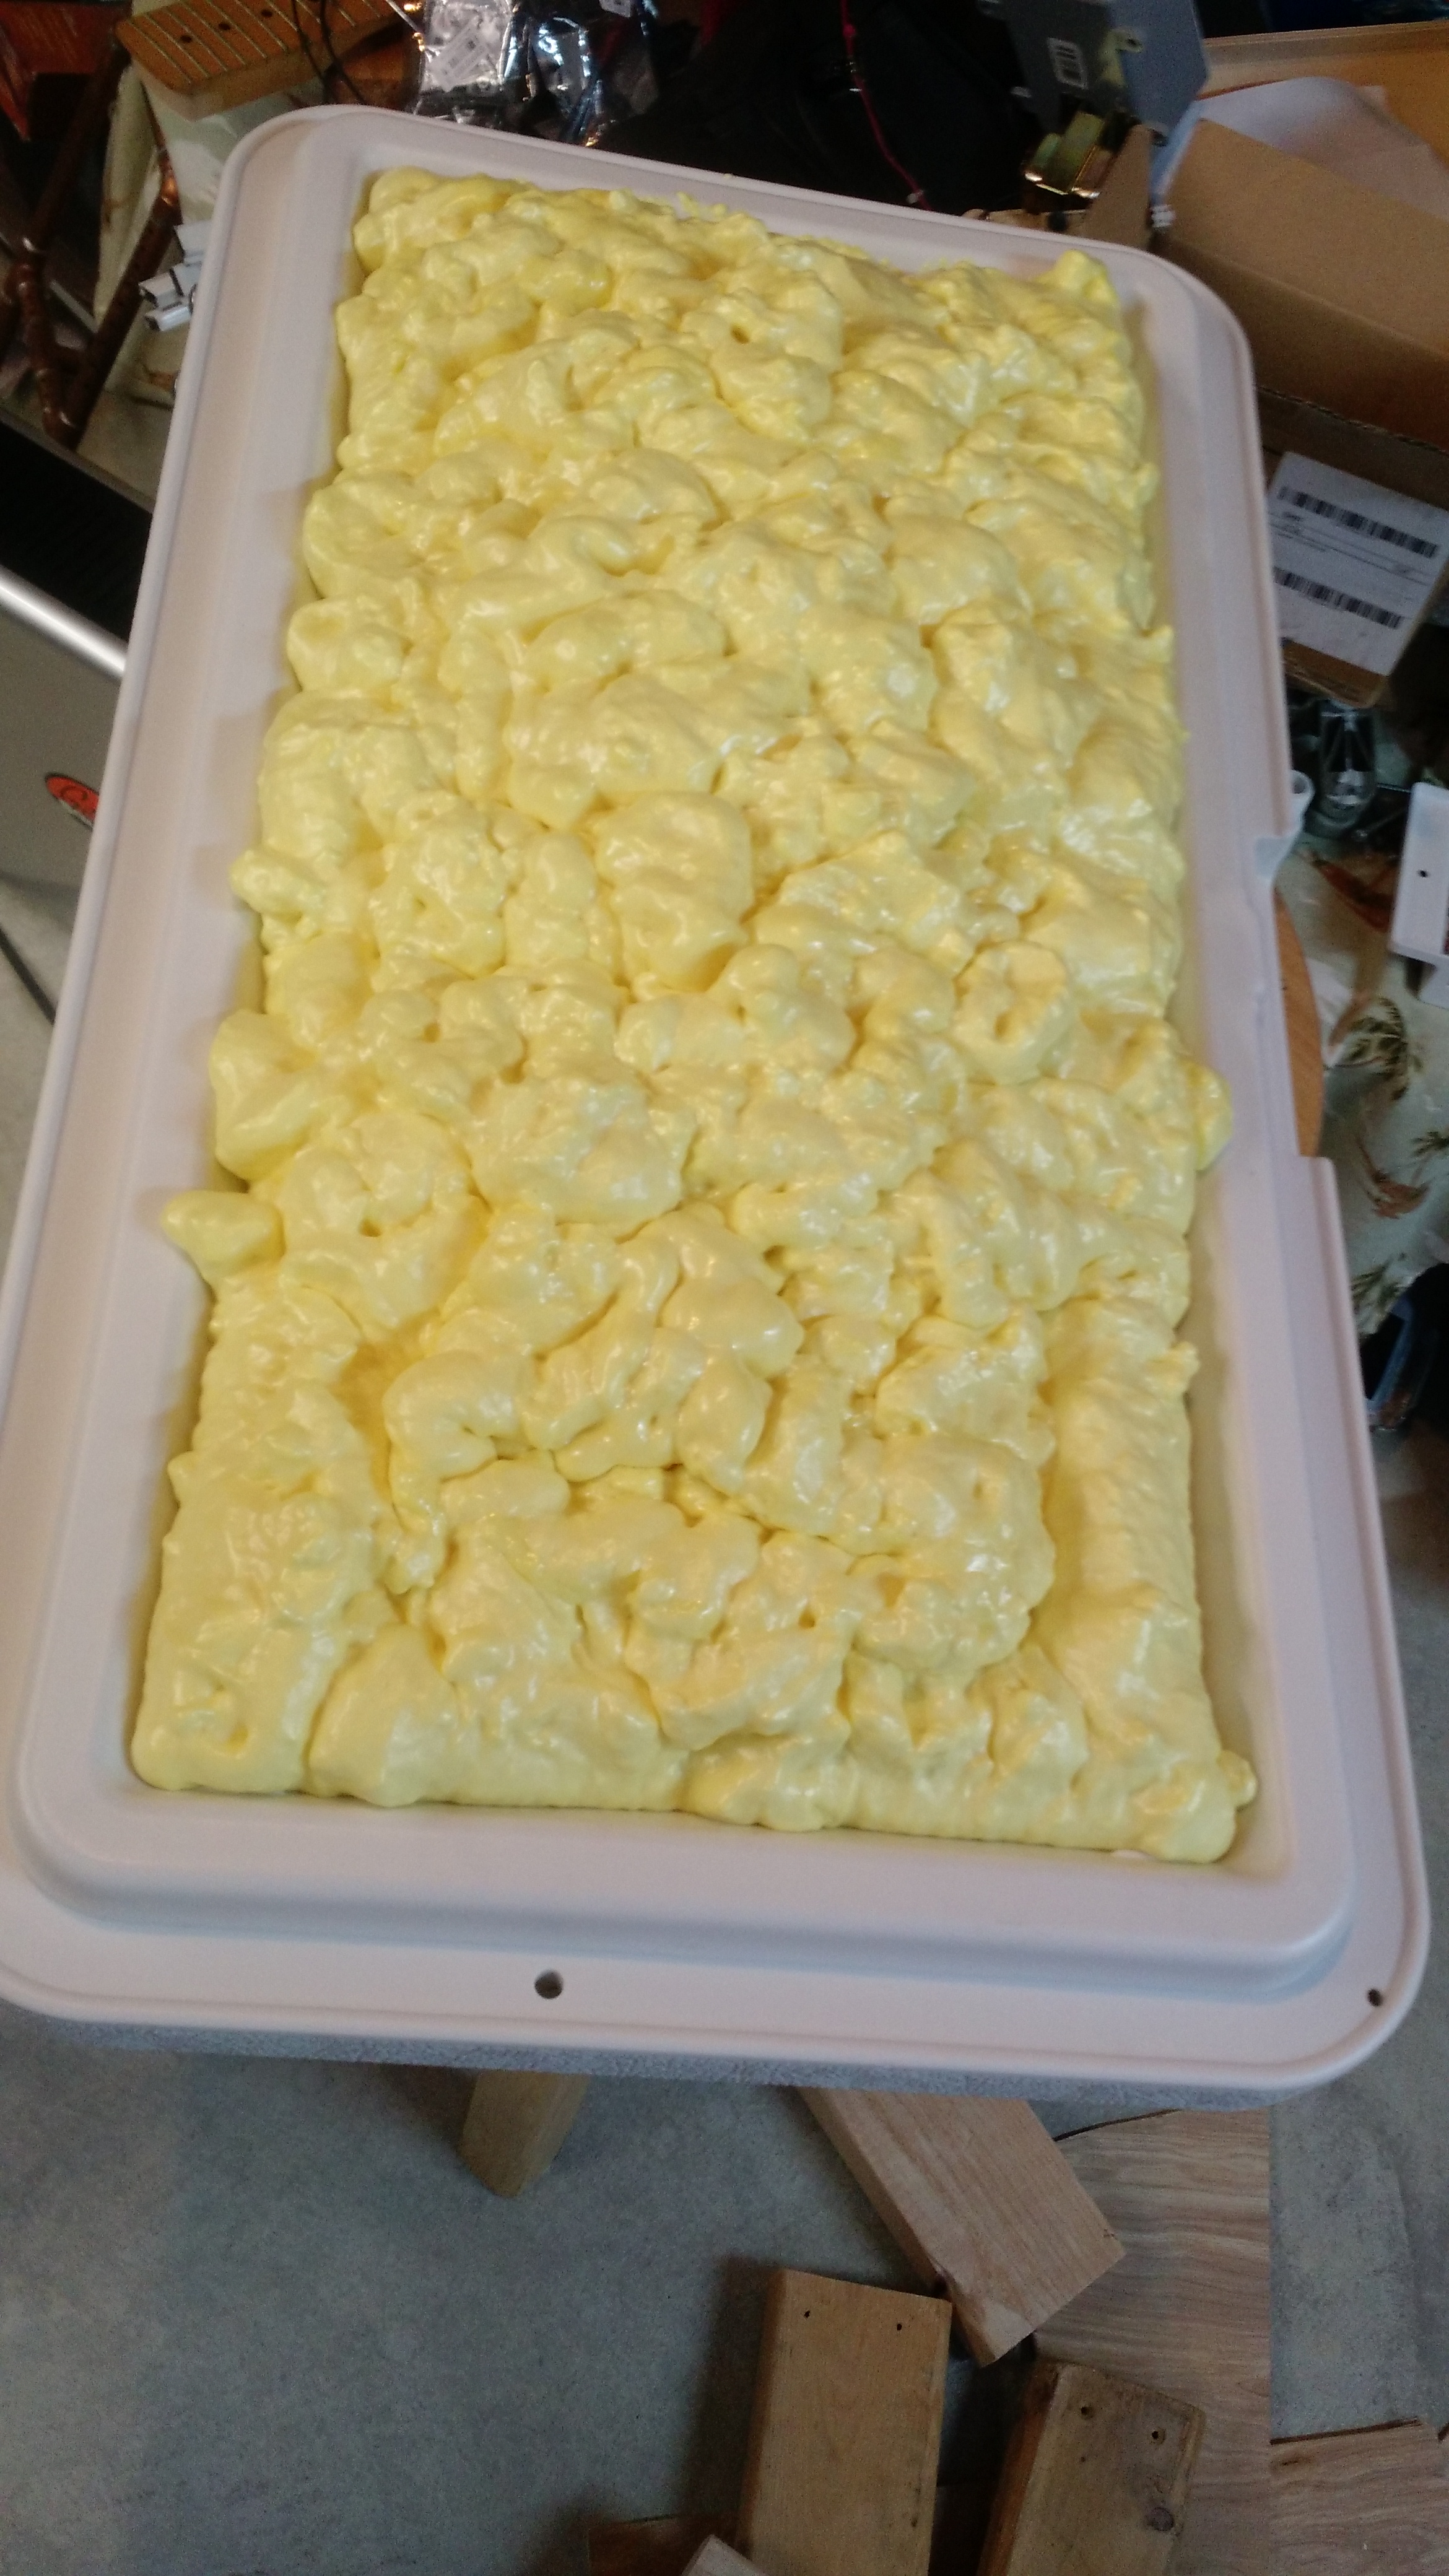
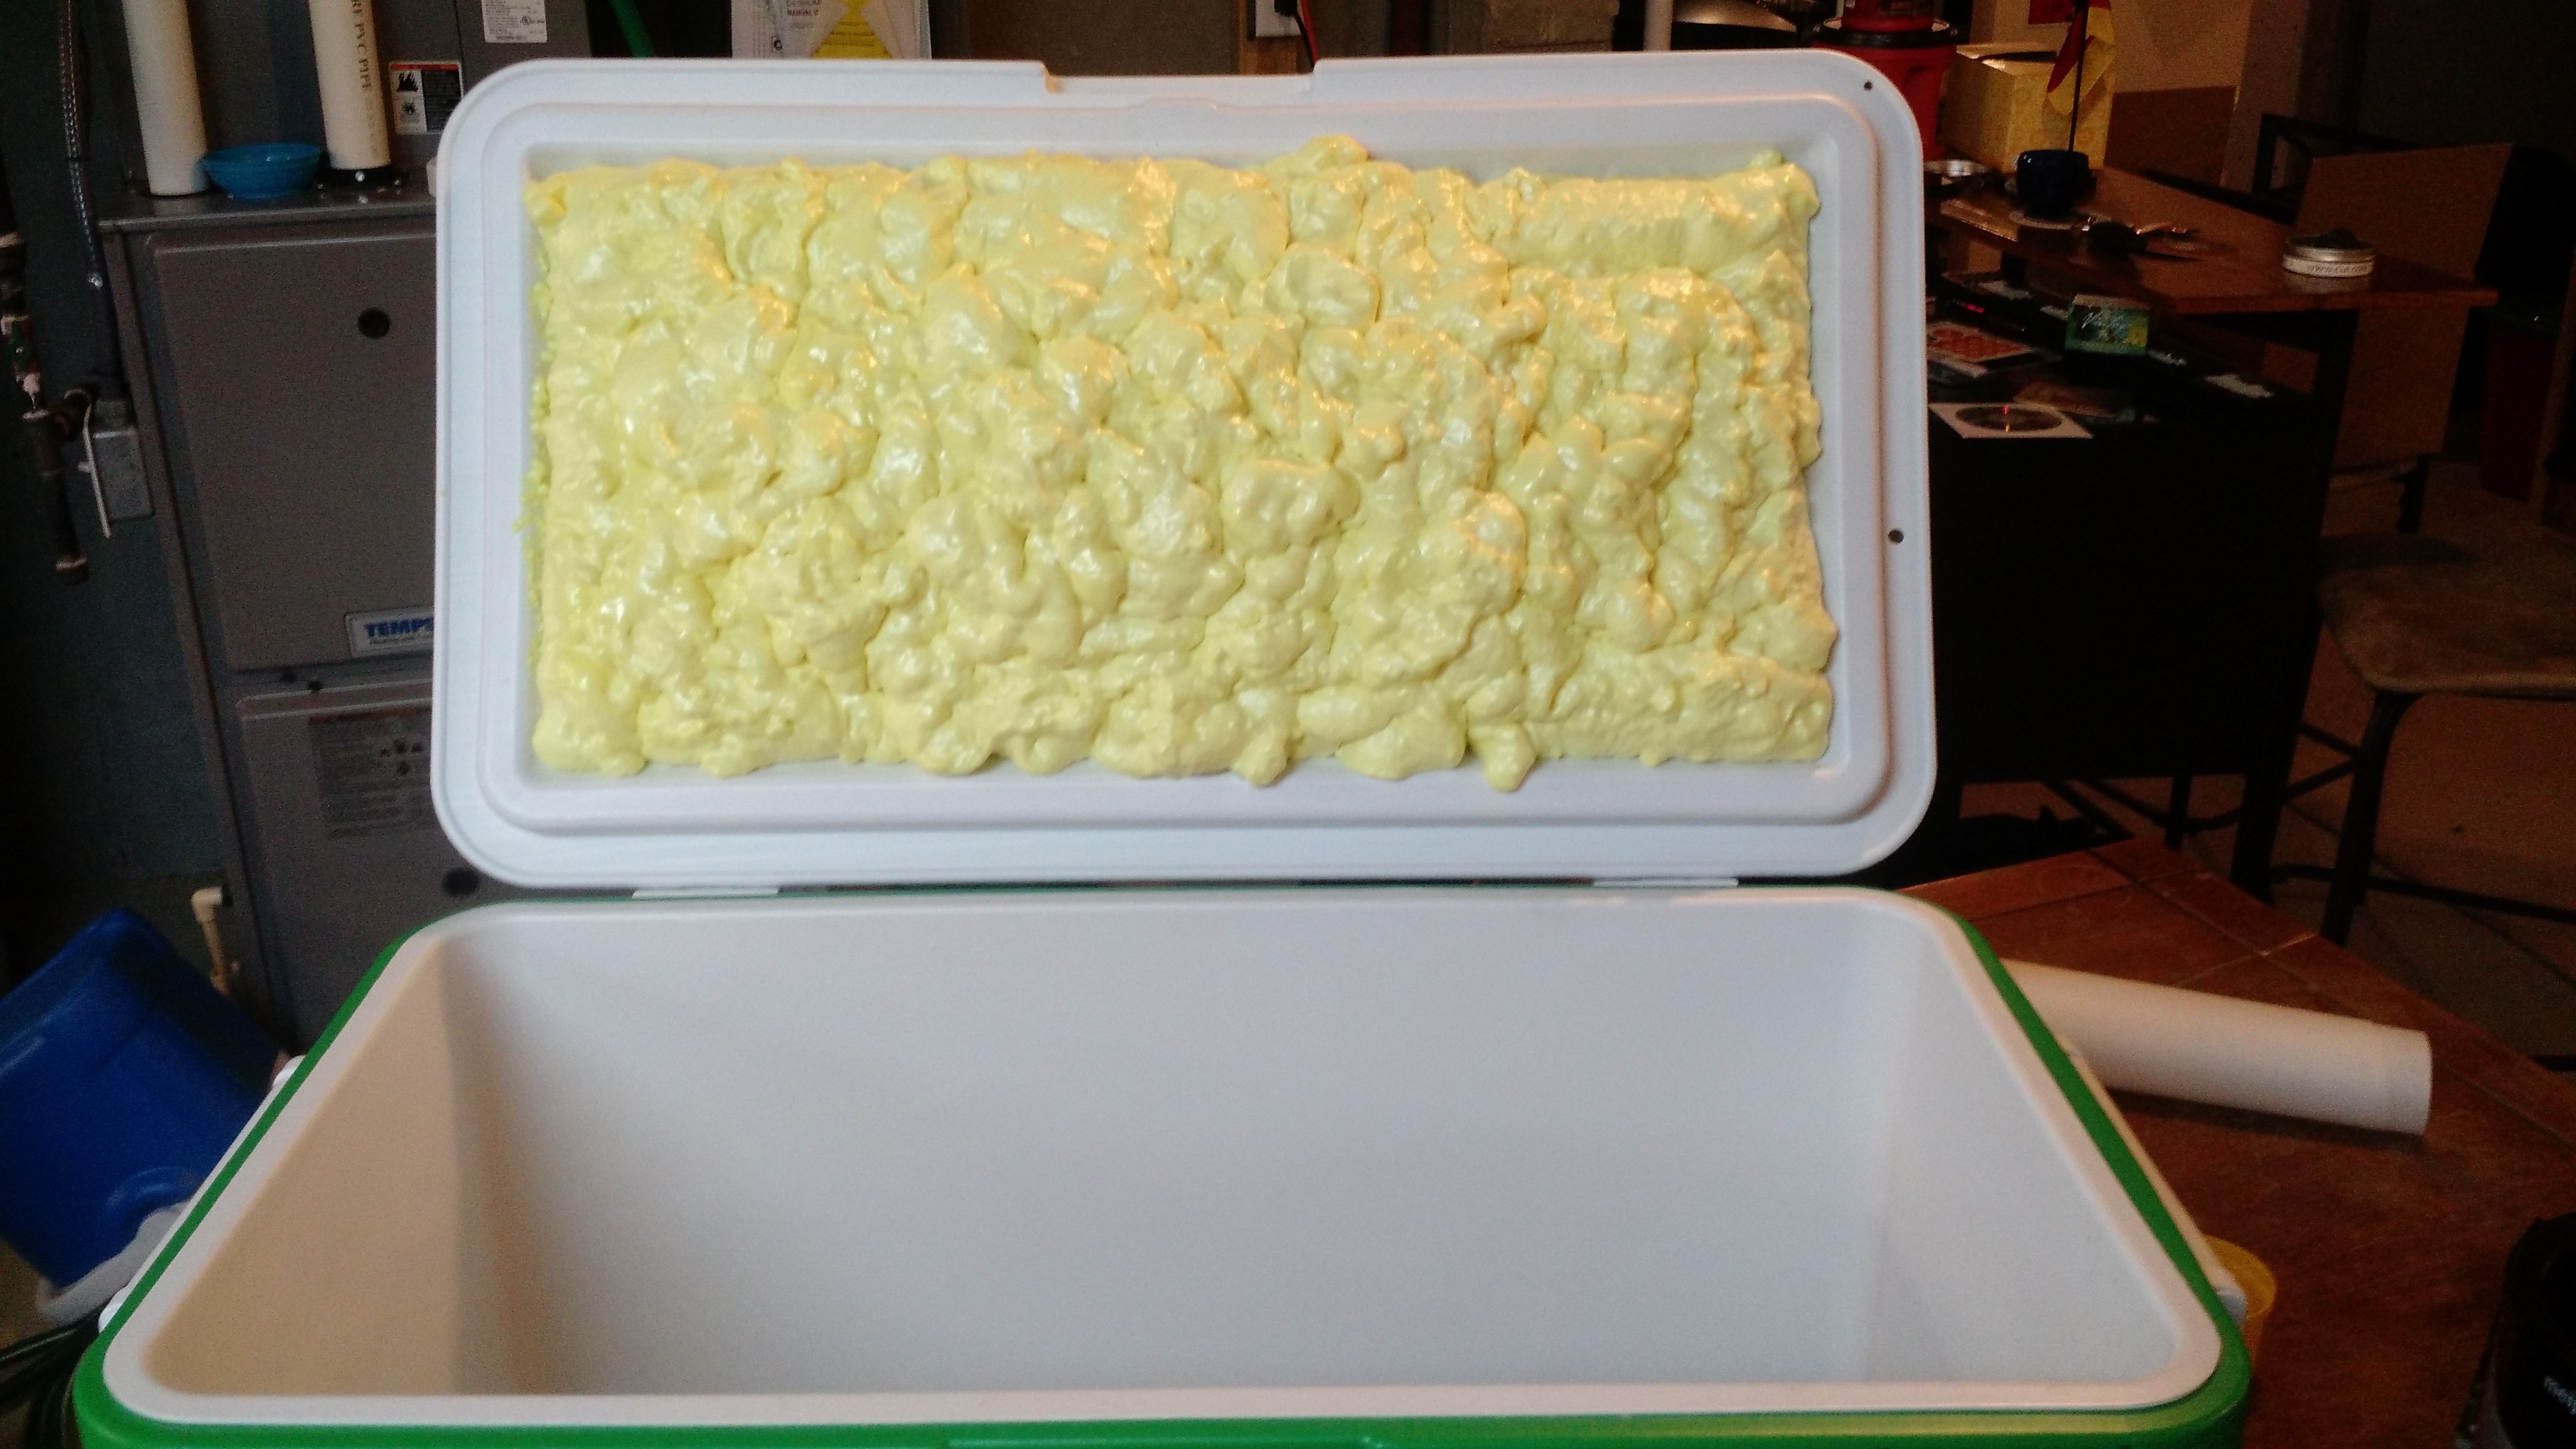
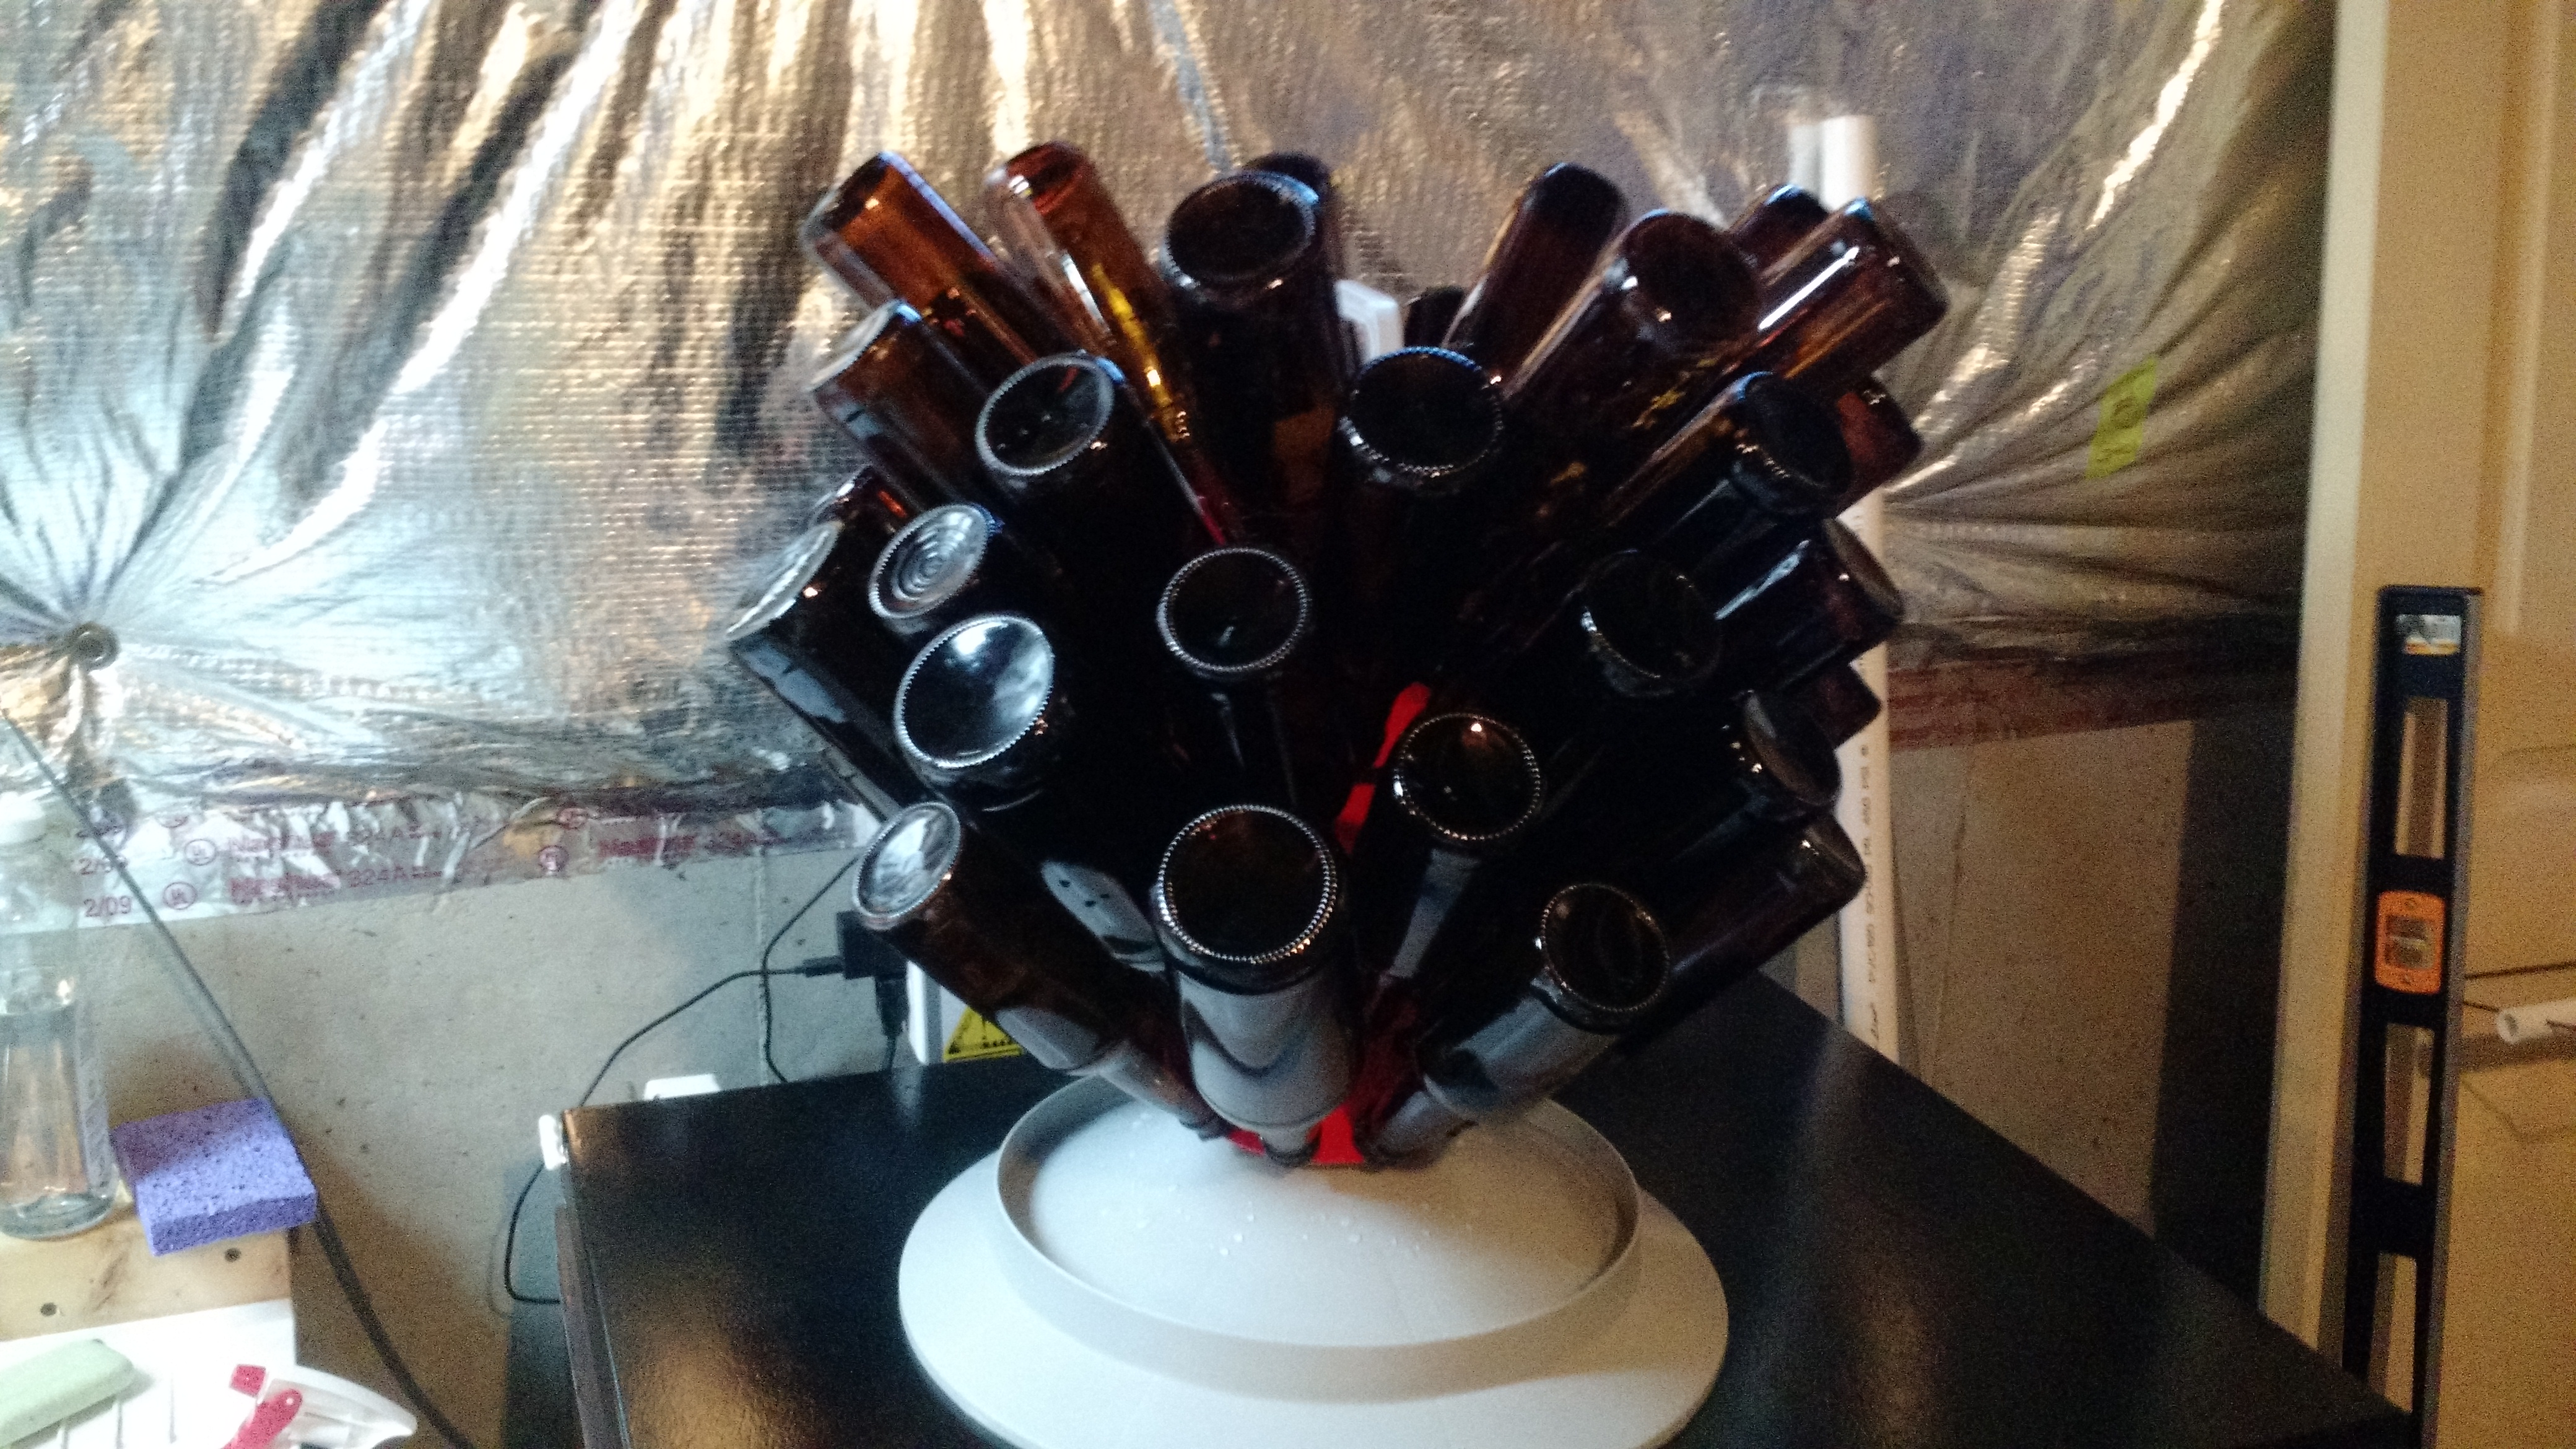
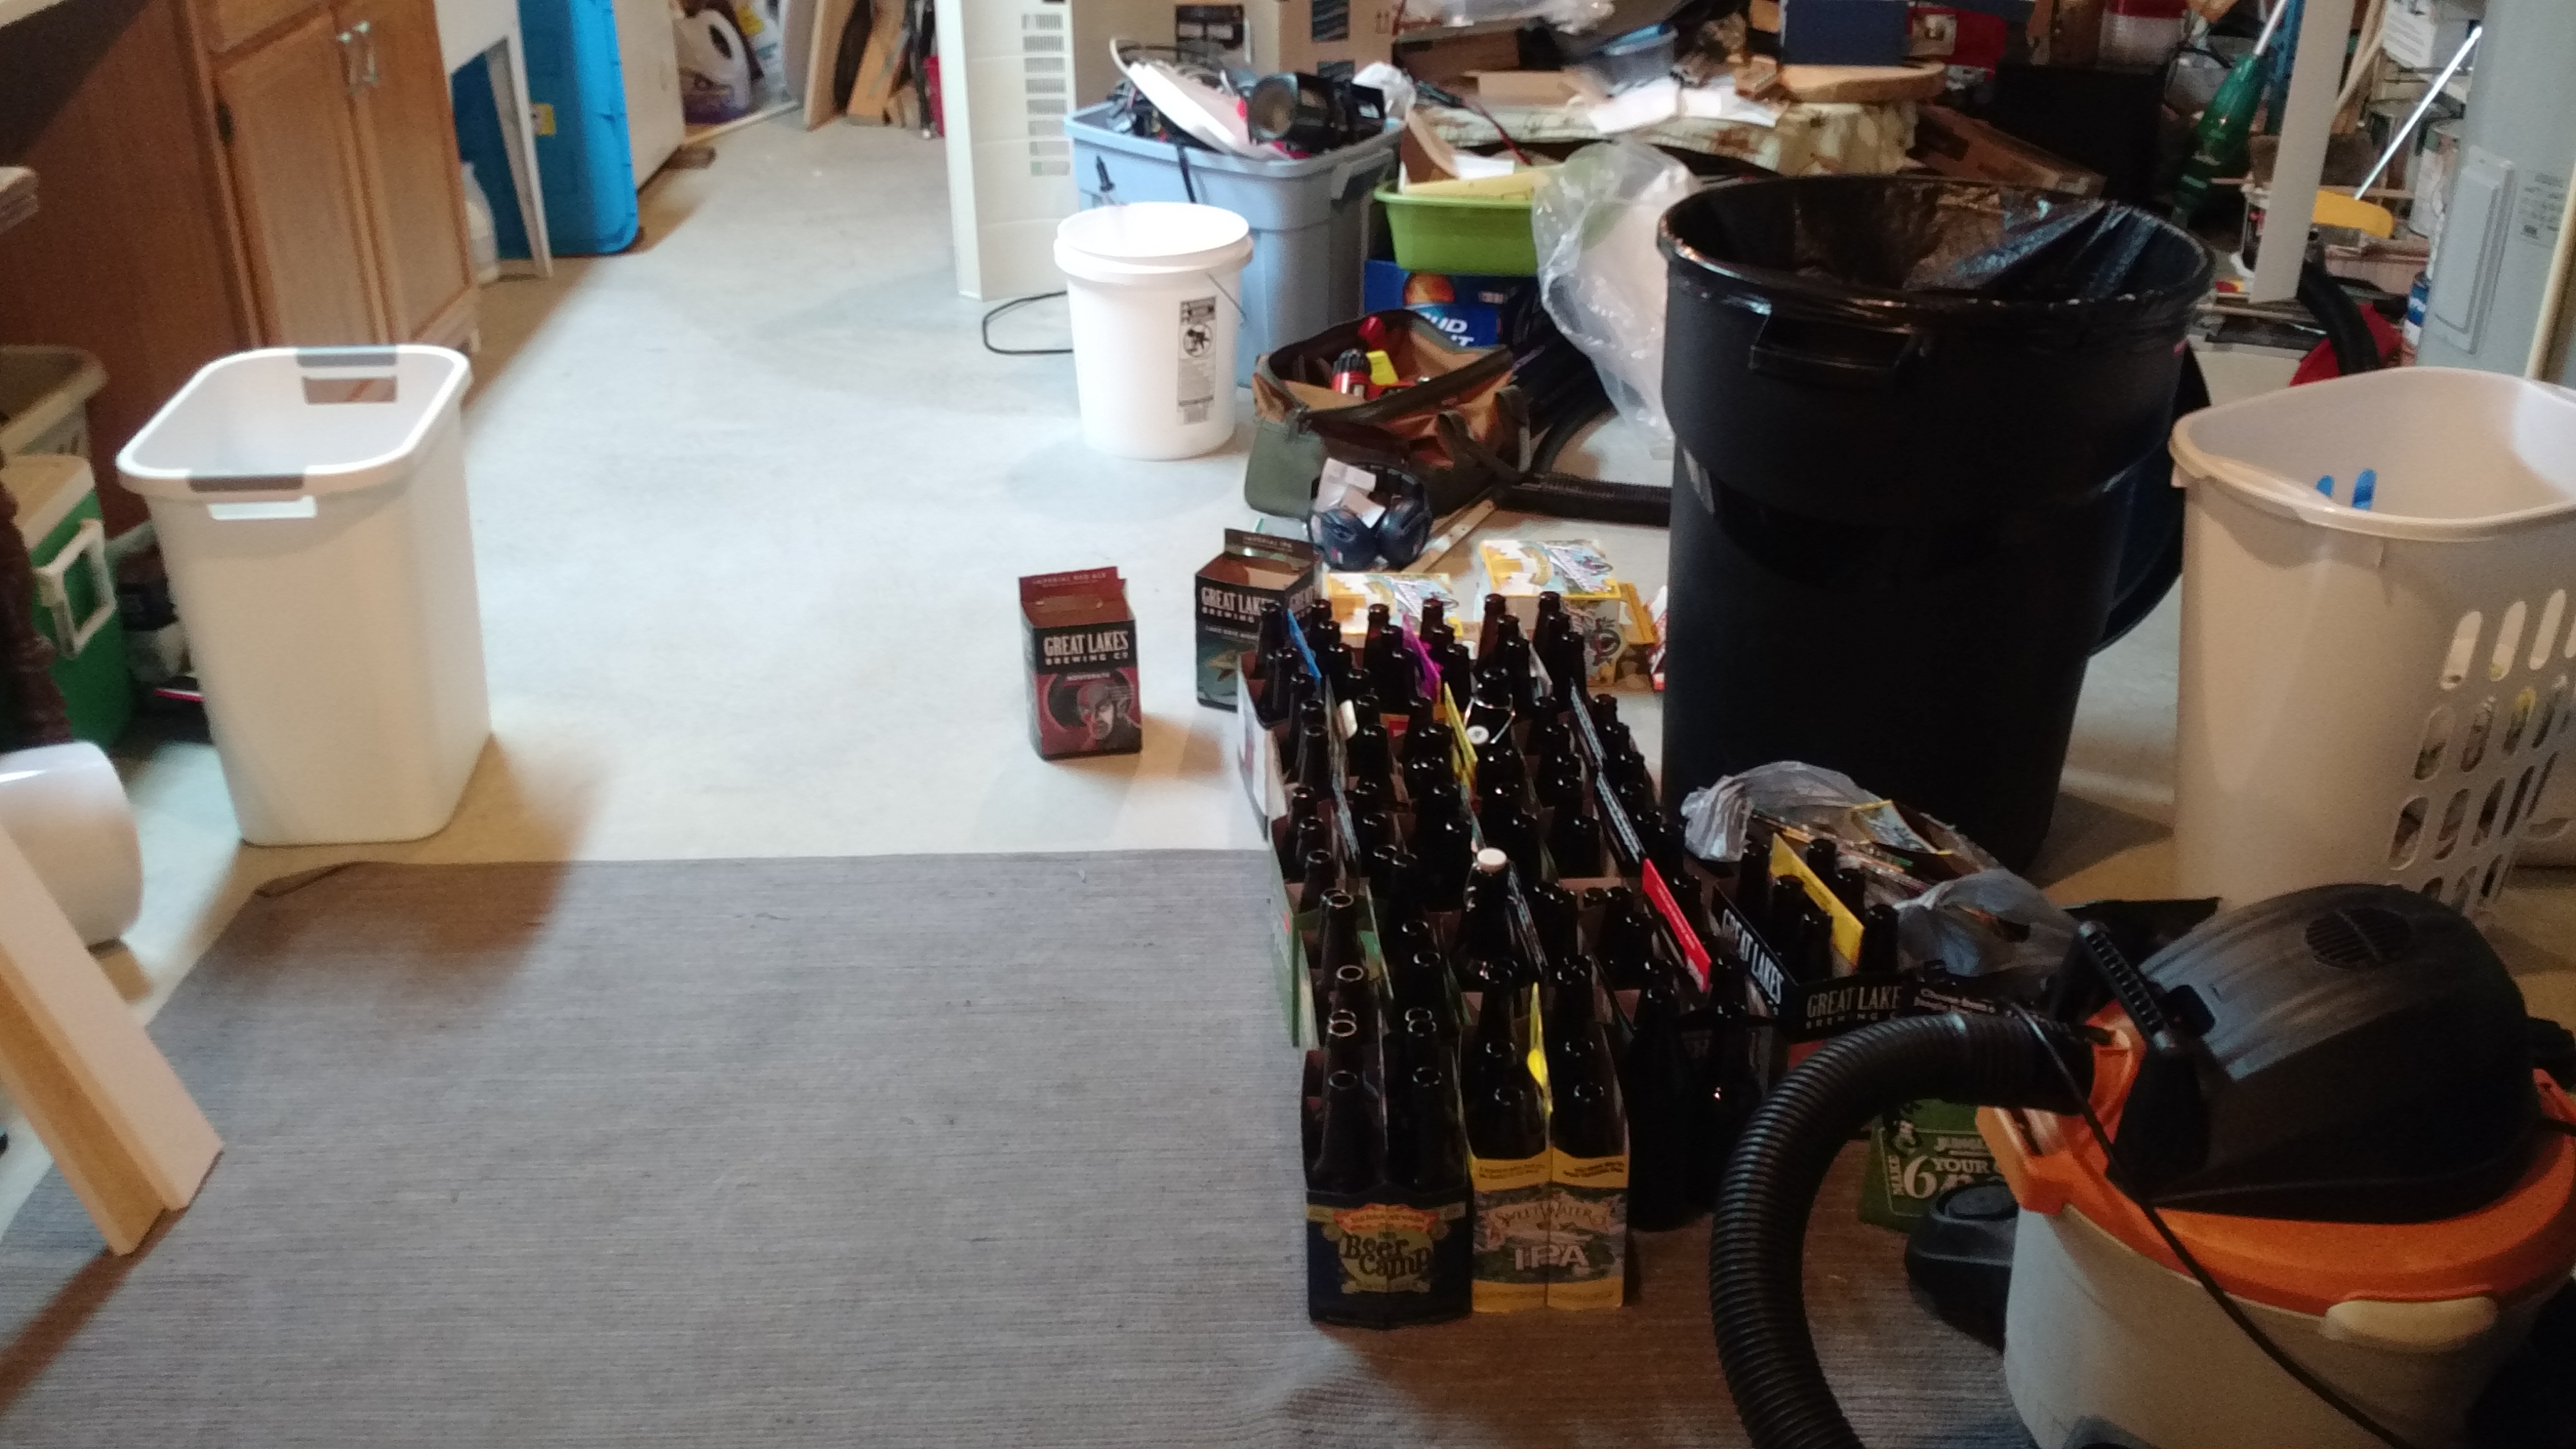
Bottling N’ Stuff – Cream Stout
As much as I was hoping to make this my first kegged beer, I haven’t actually purchased any kegs and my keezer is currently in use as a freezer. Since I was given a $25 Amazon gift card, I decided to make my life a little easier in bottling with one of those bottle trees.
New Equipment in the Batavia Basement Brewing Company.
It looks lighter than it is, courtesy of the foil-backed insulation in the basement.
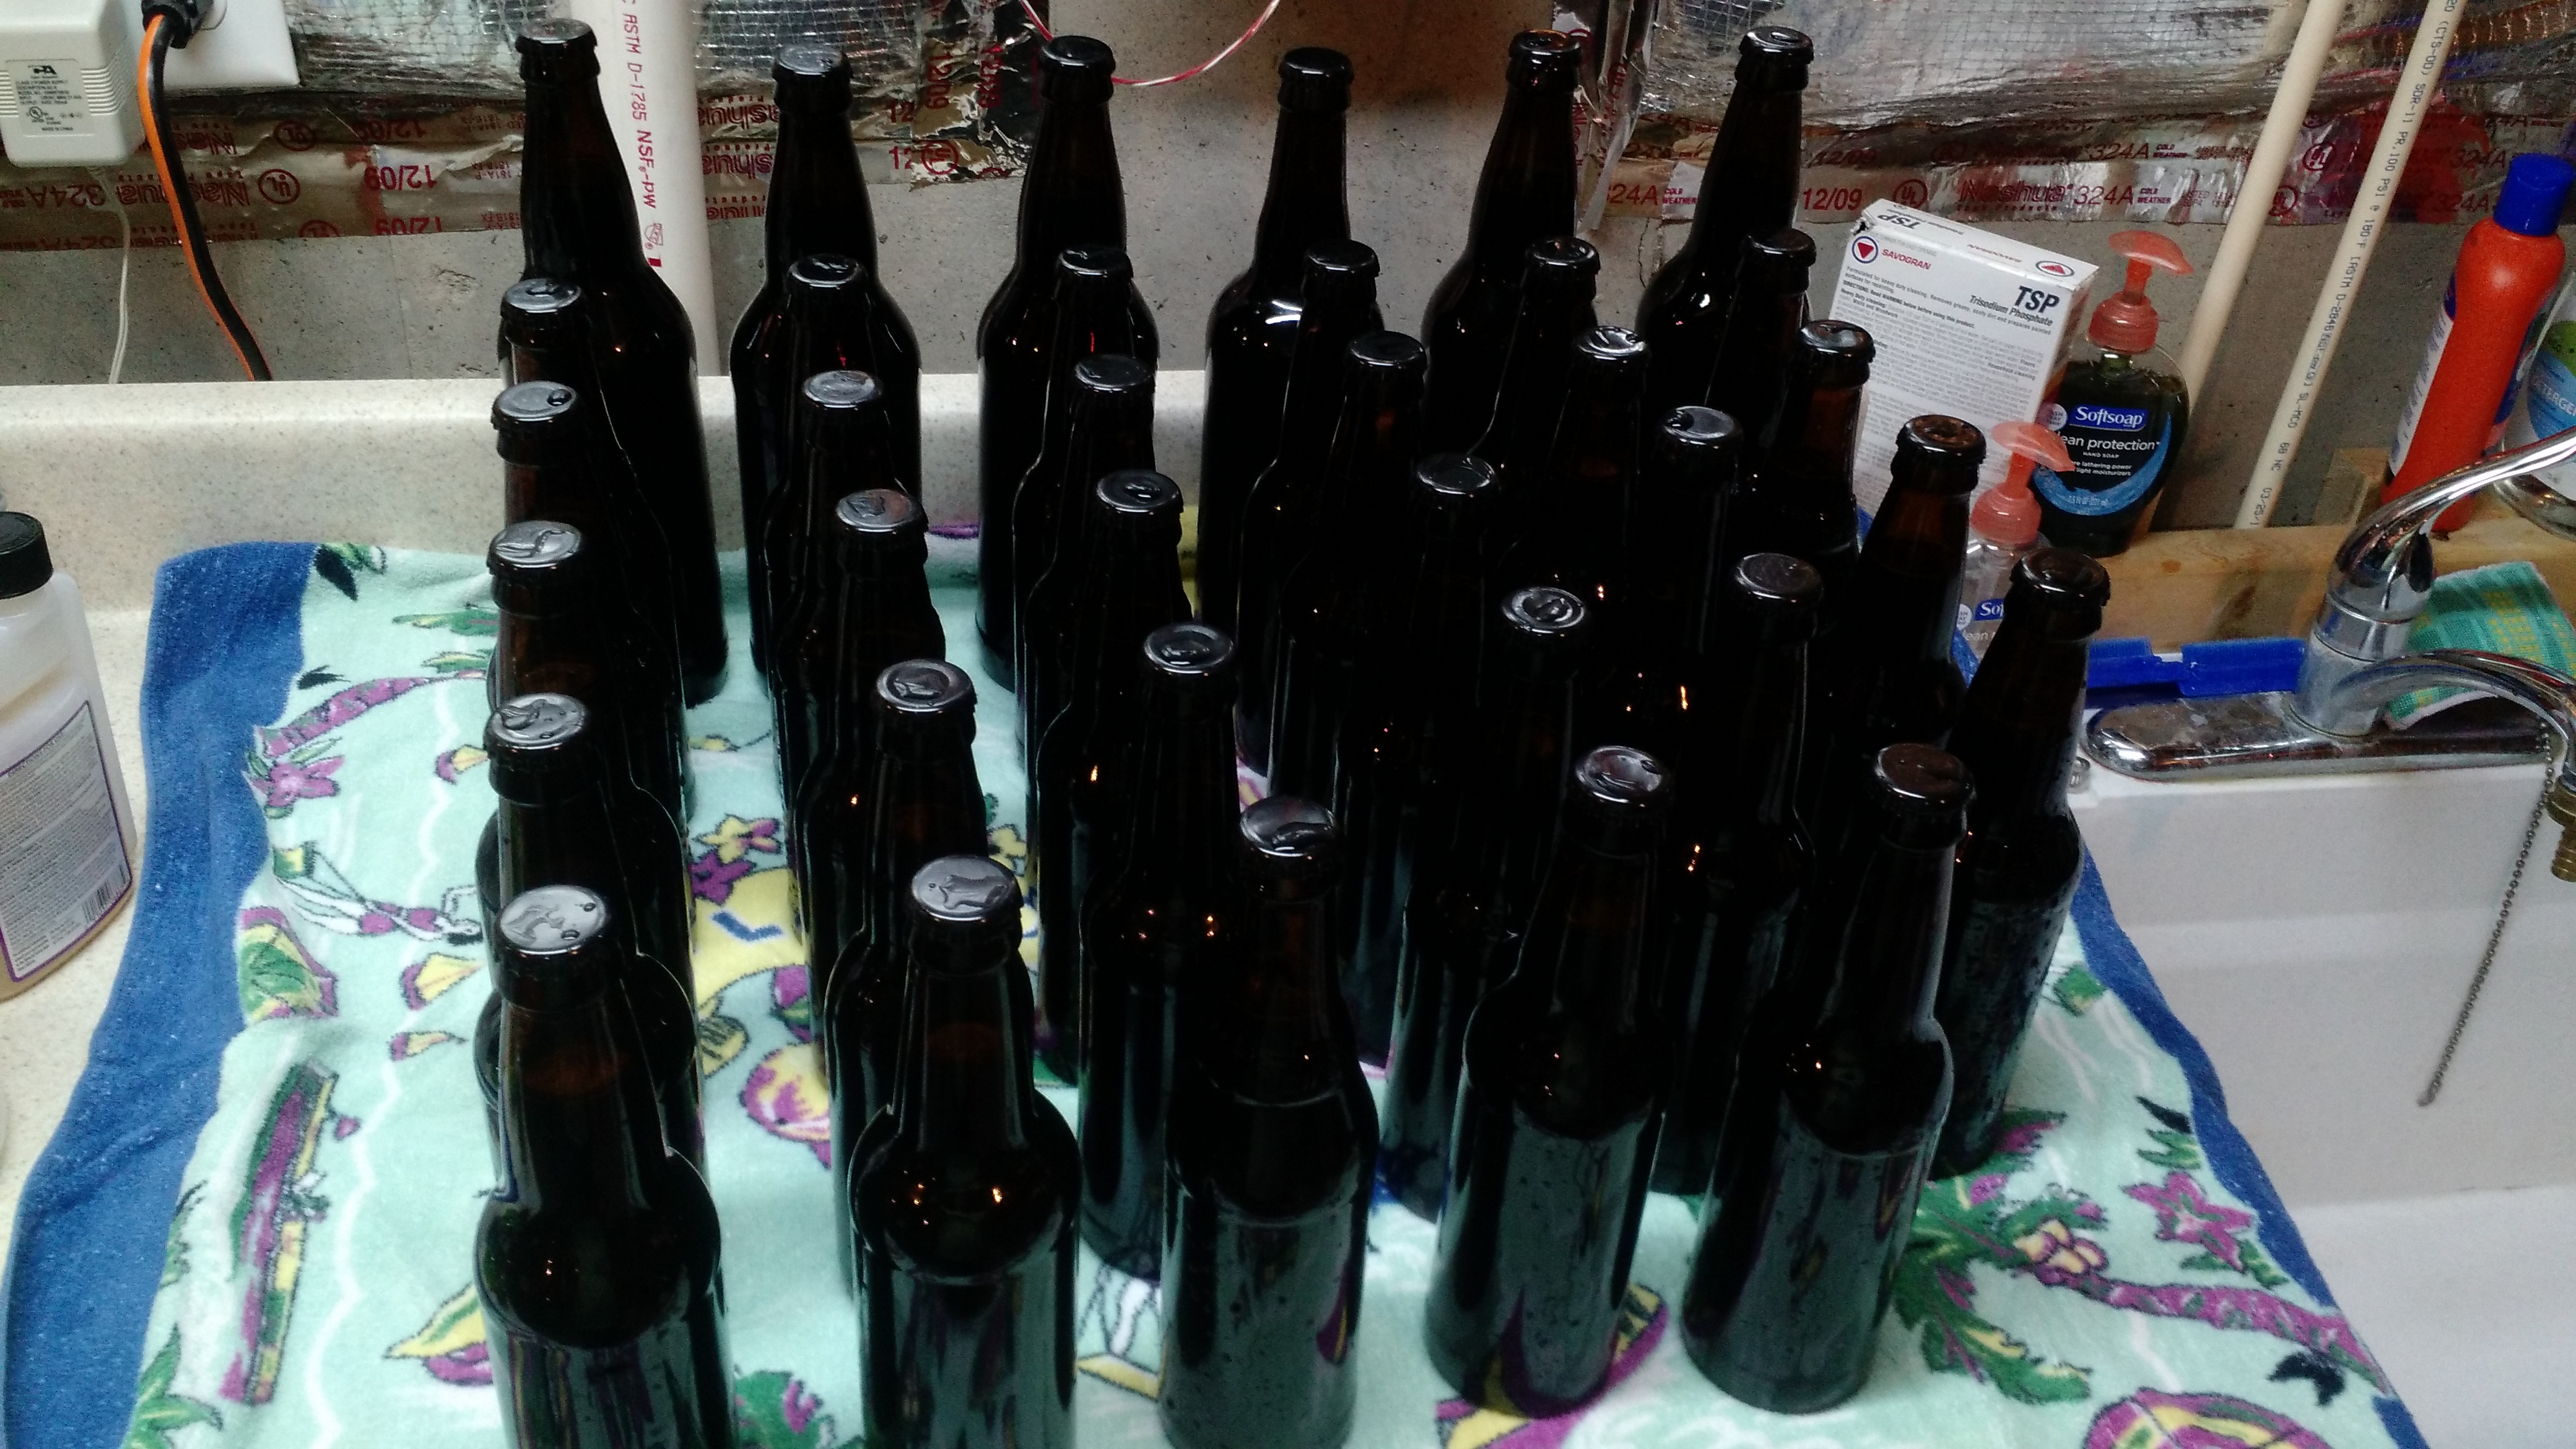
Pretty little bottles all in a row. 29 12-oz and 6 22-oz.
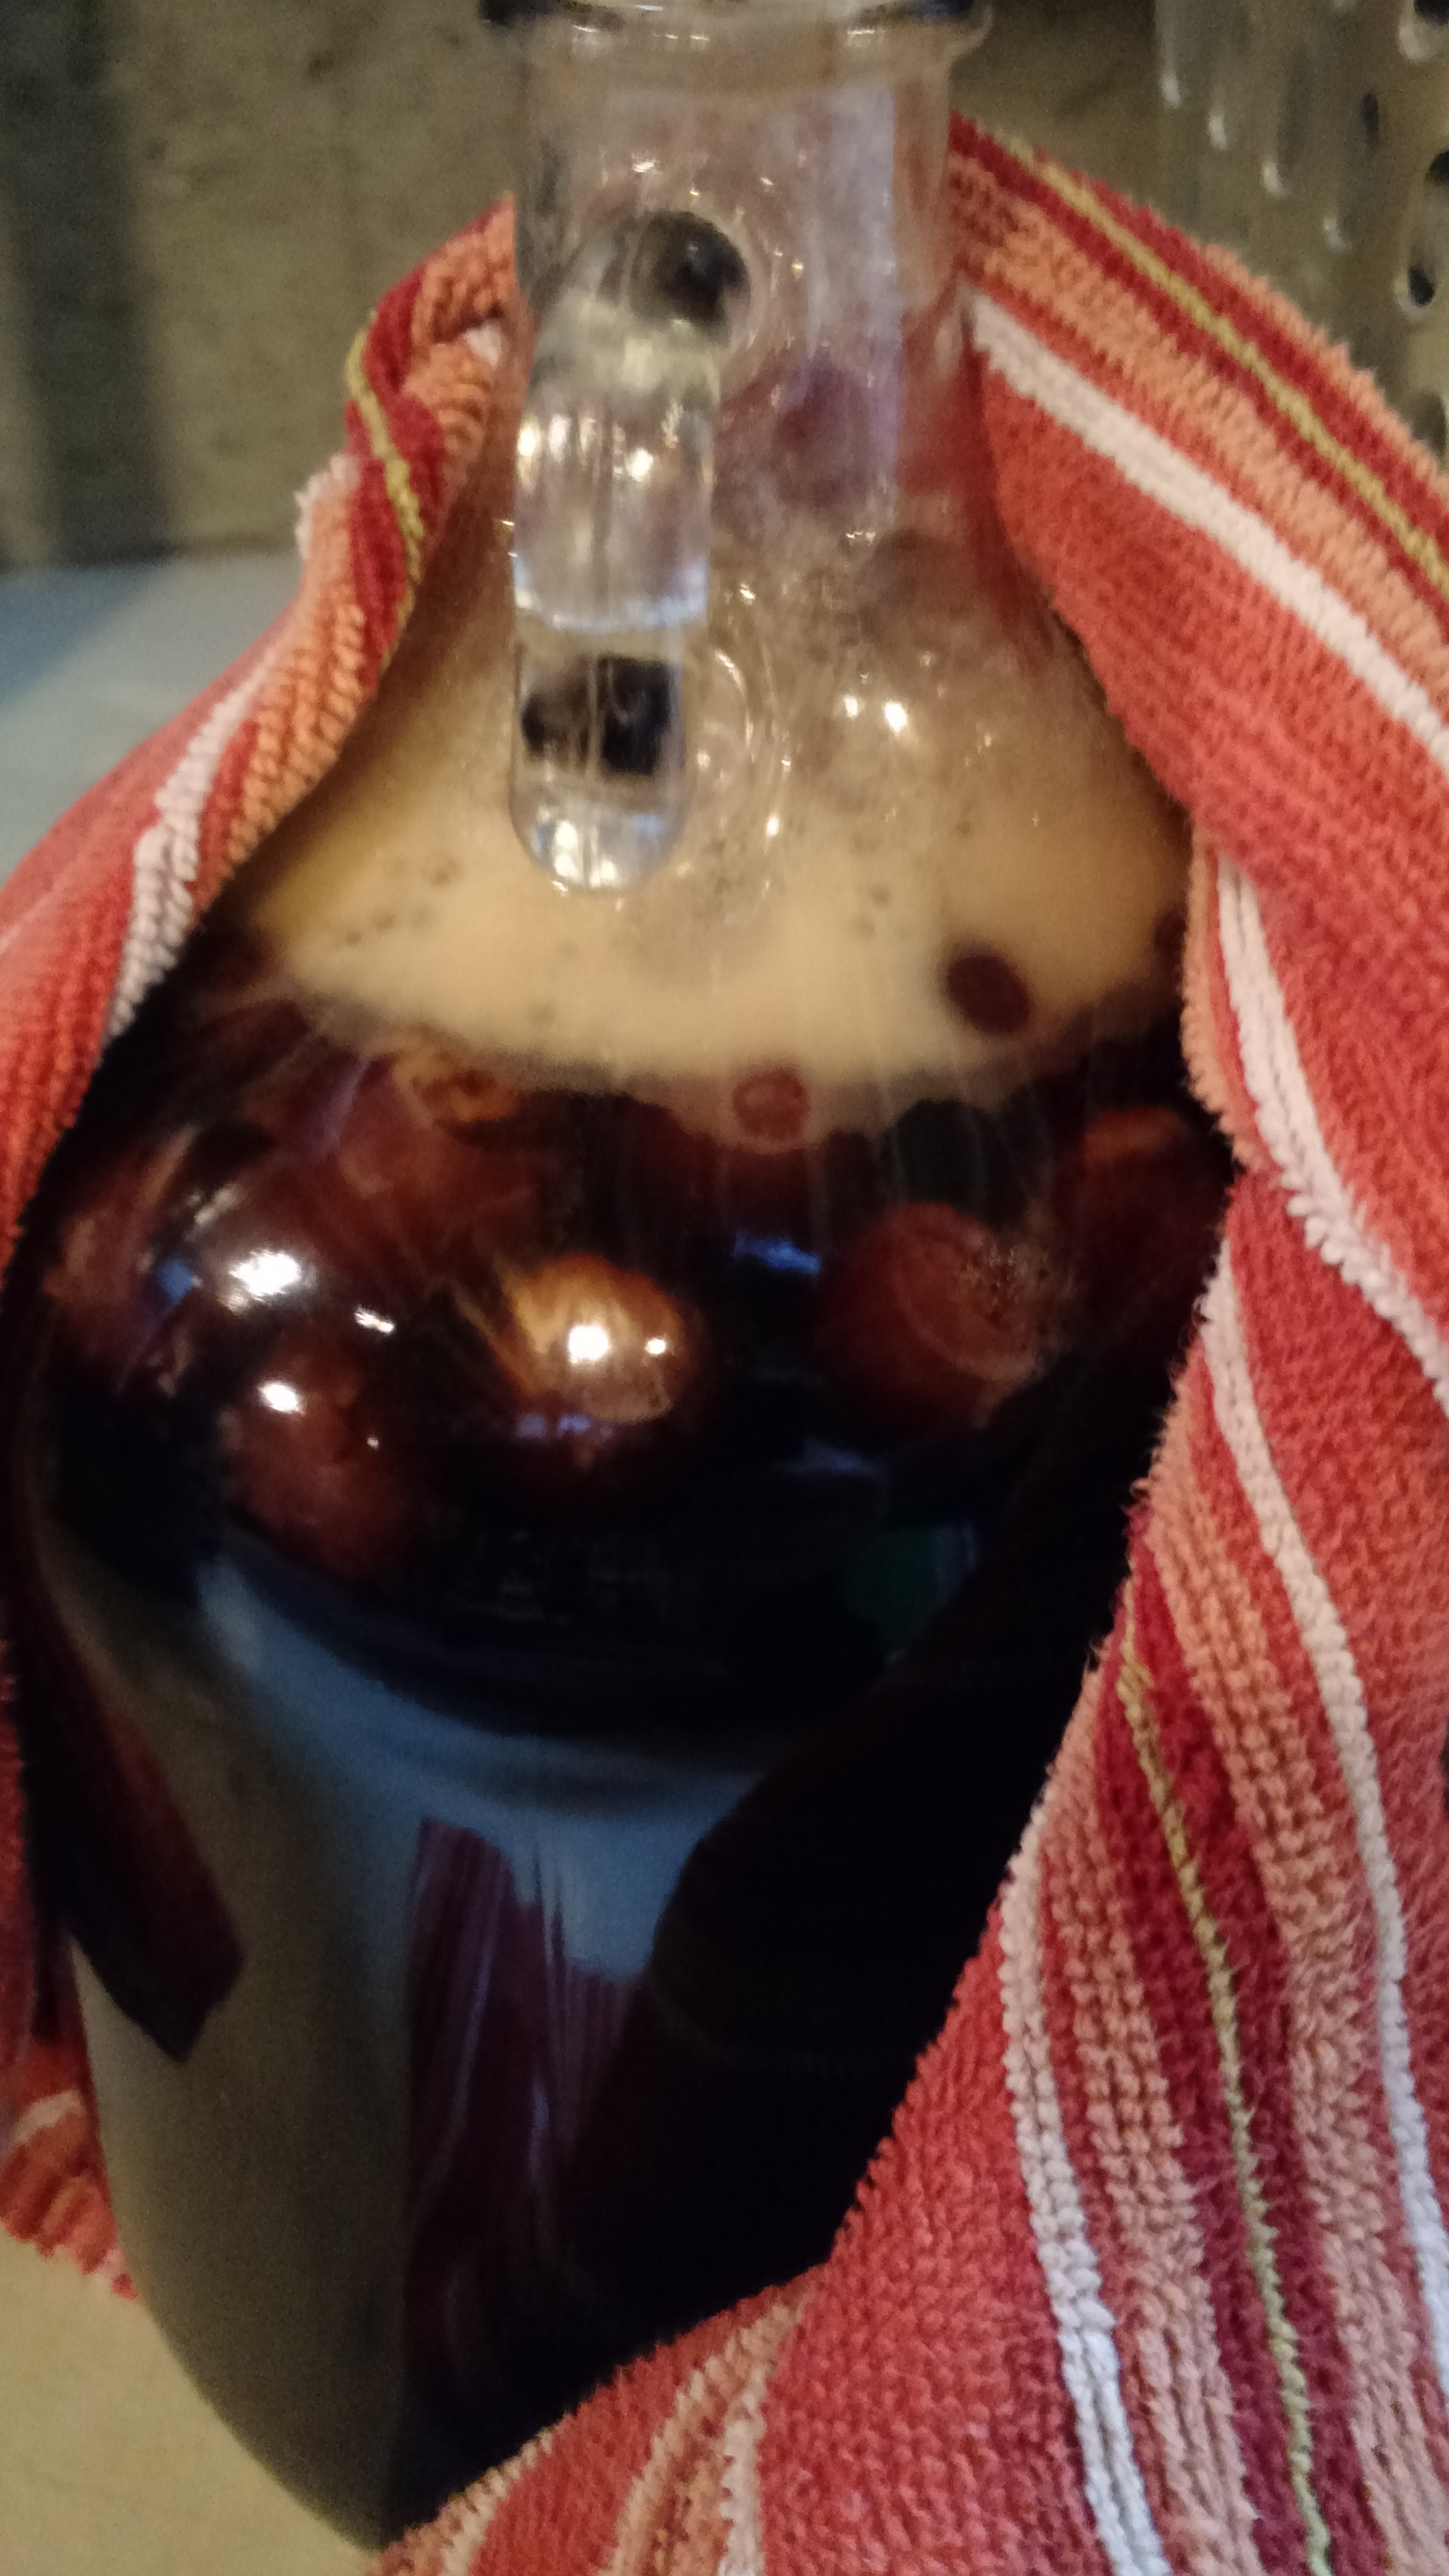
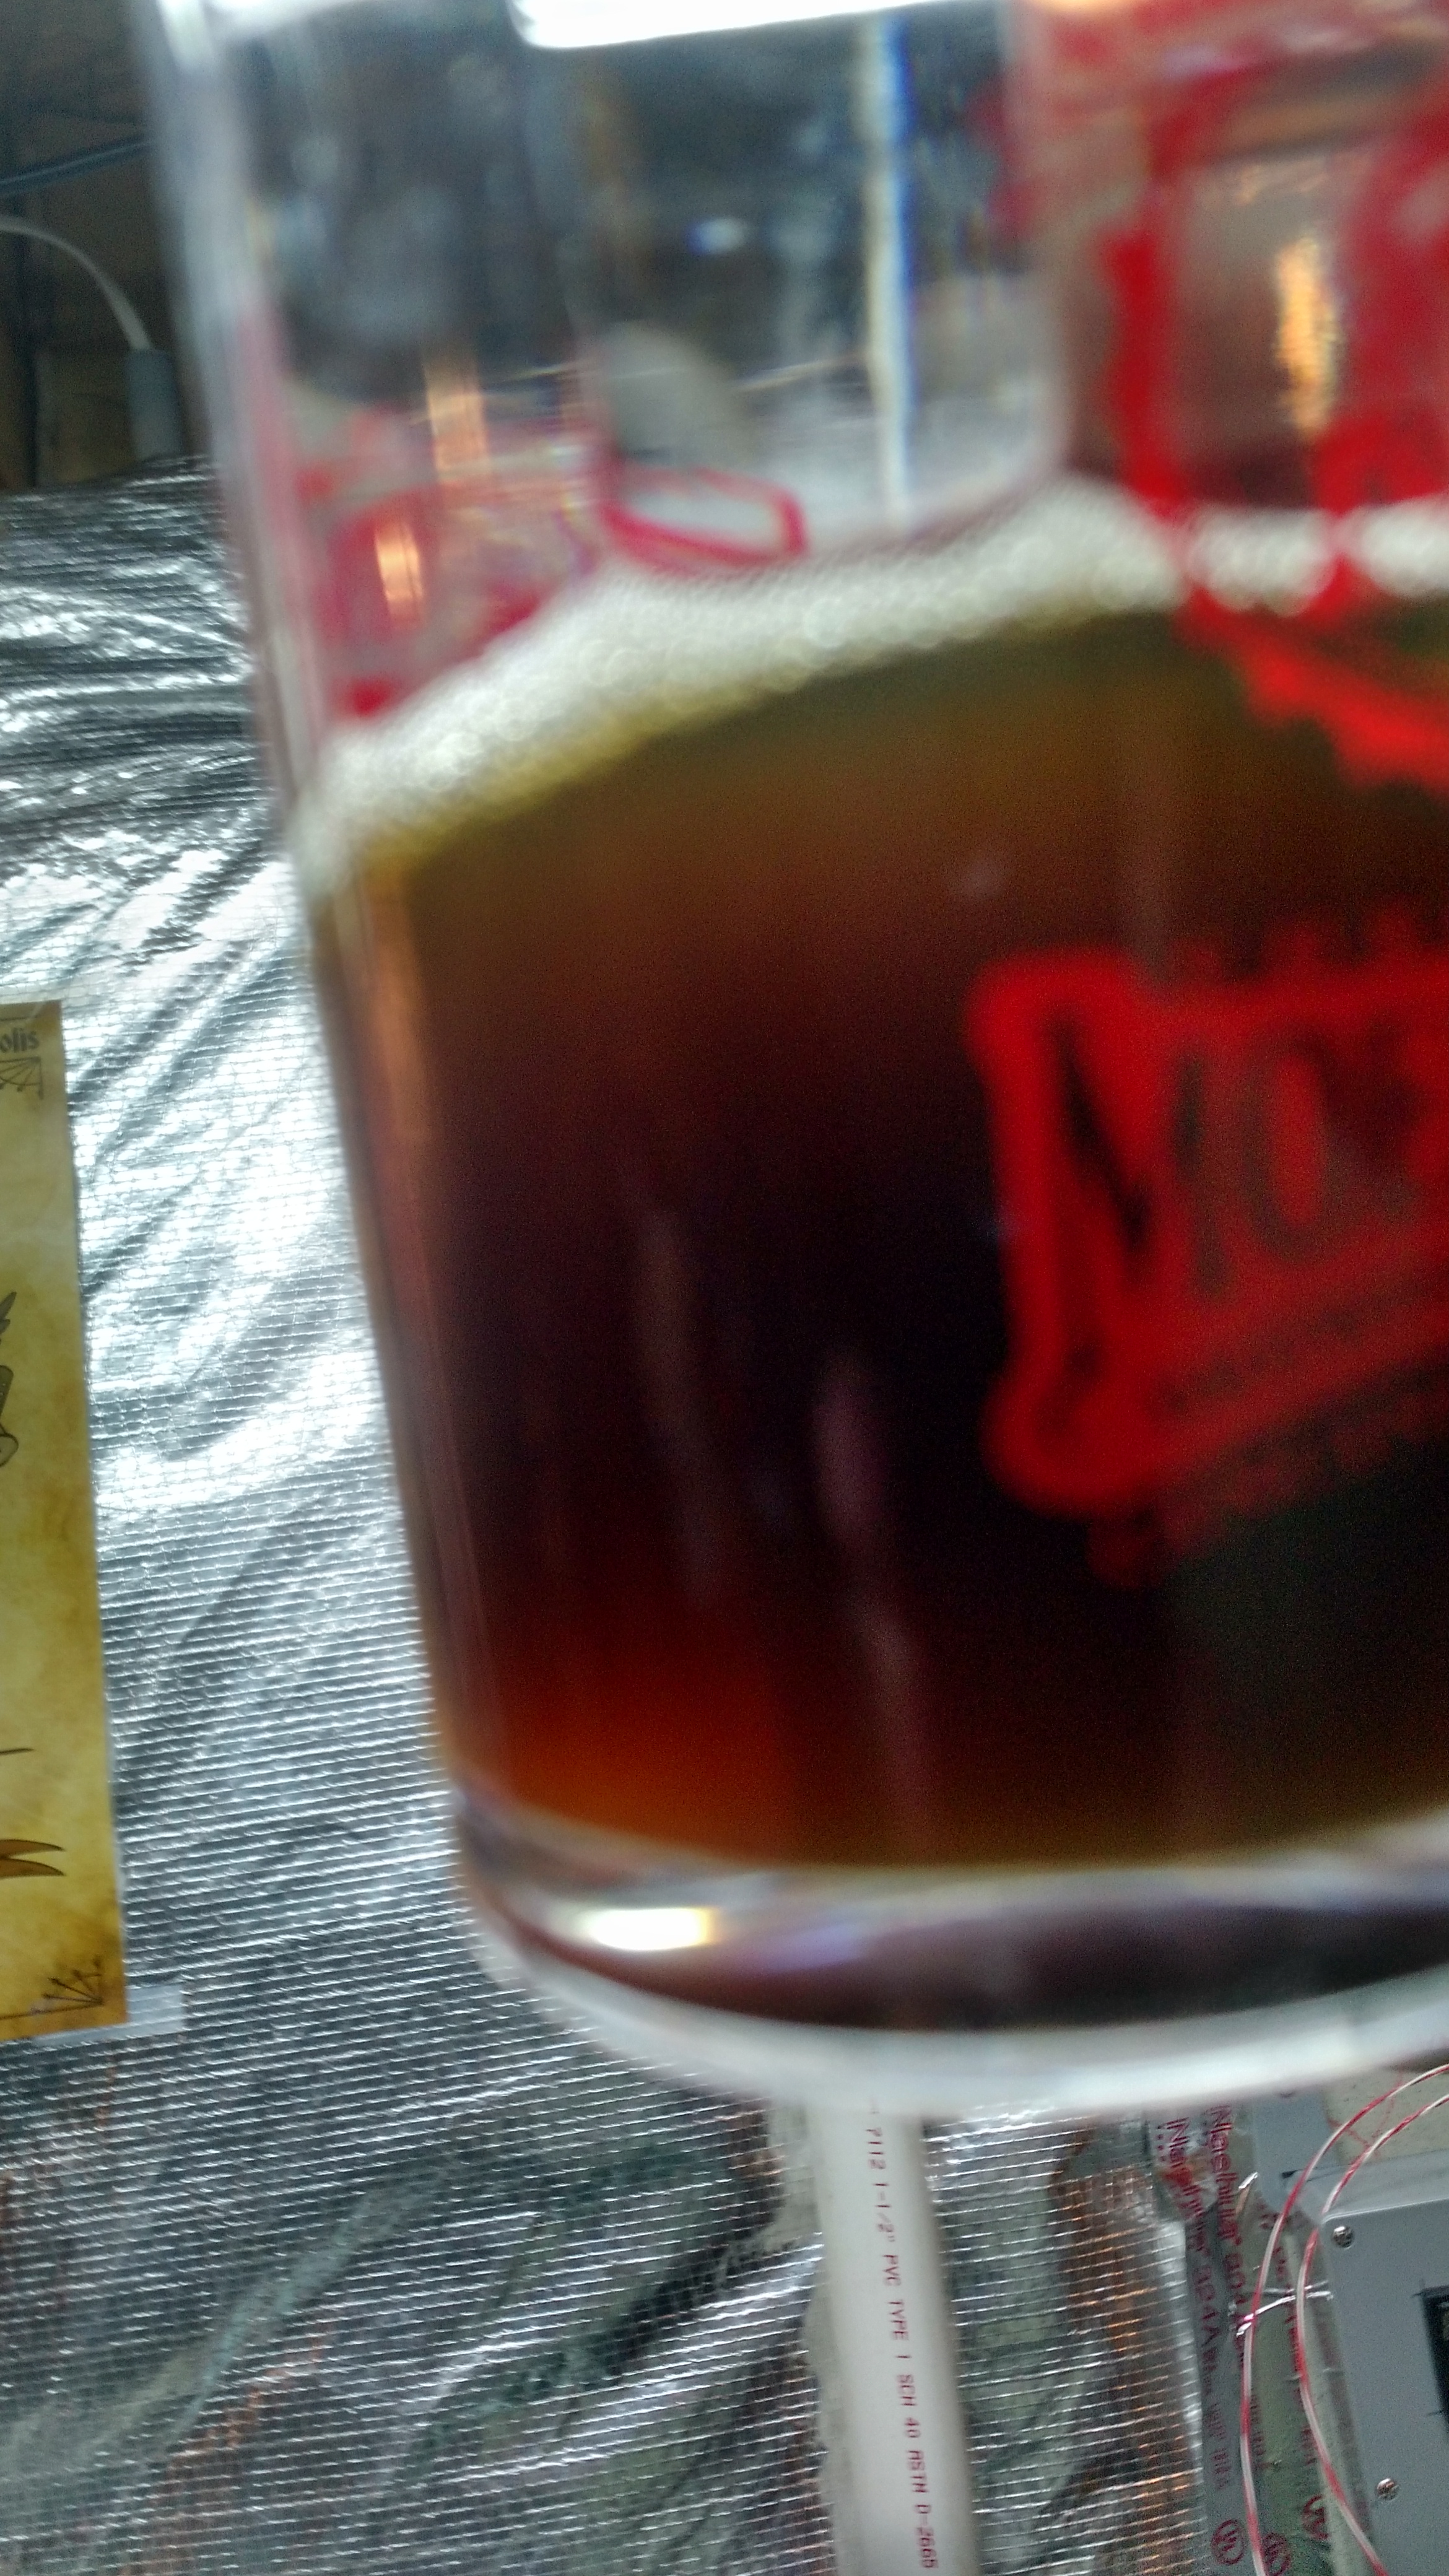
Racked one gallon off and put it on cherries.
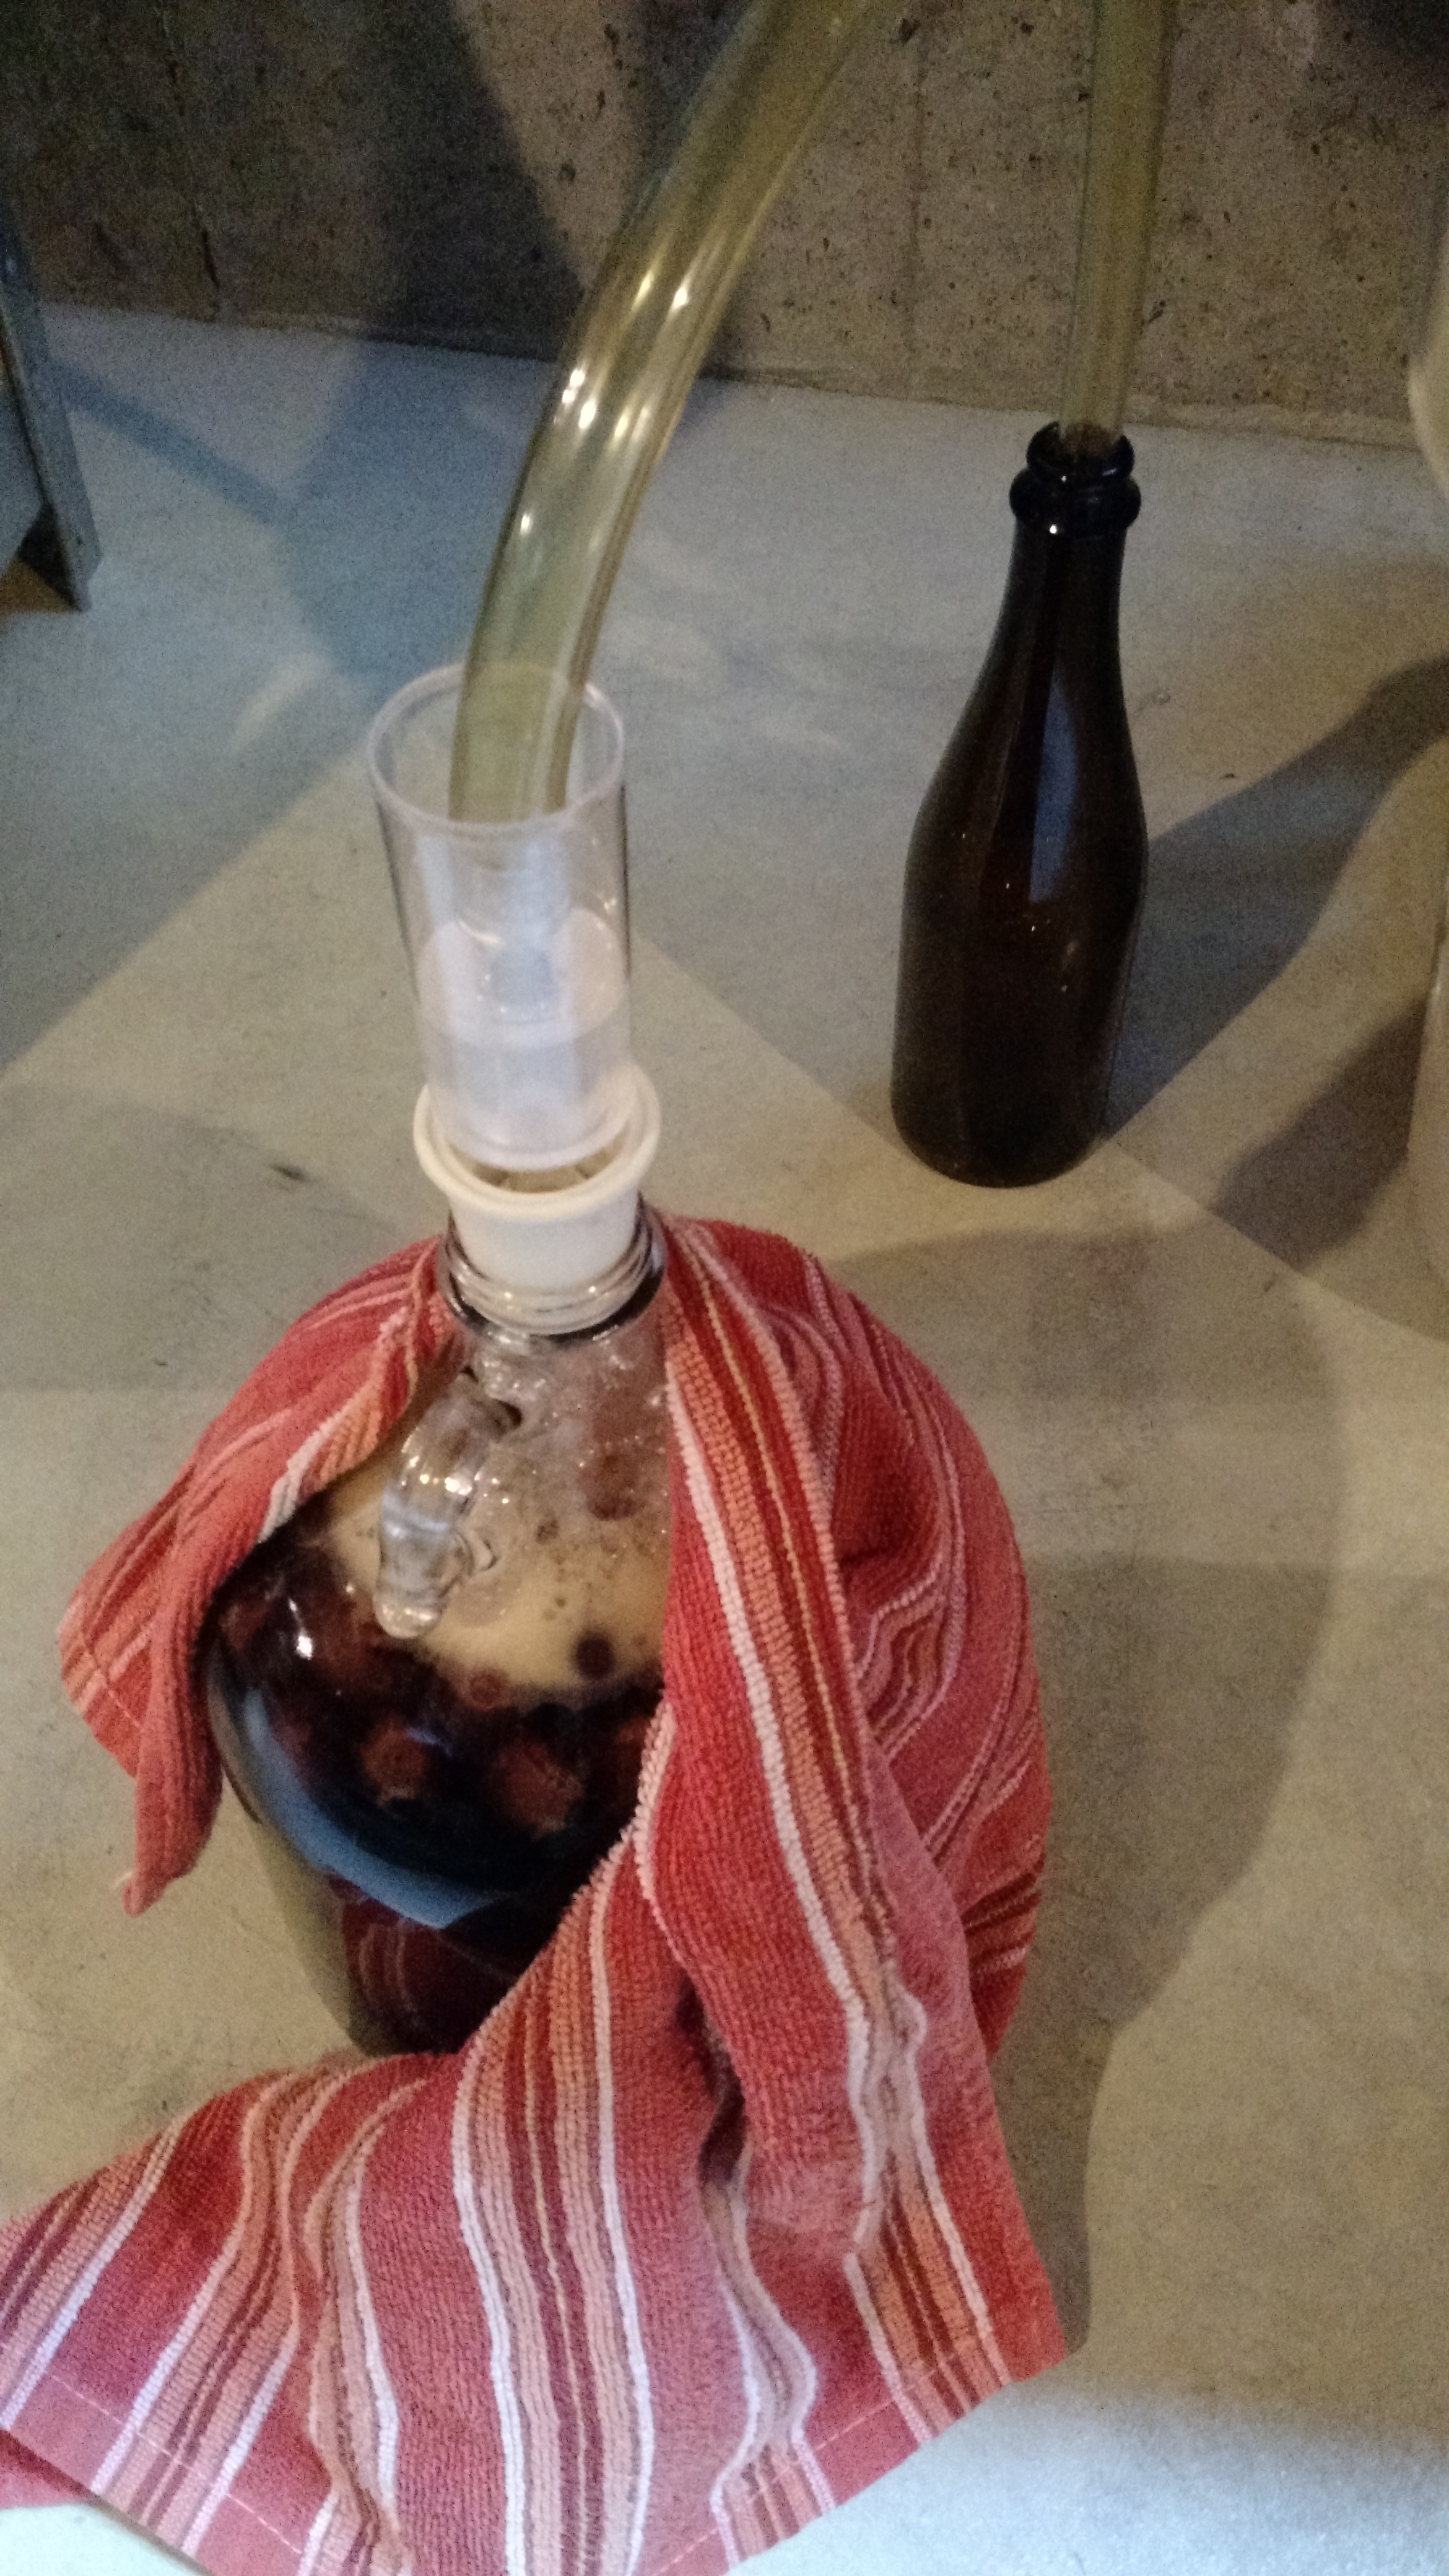
Definitely used a blow-off tube for this! The towel is to protect from UV light.
I have some pictures of the brew day and was intending to write that blog post before this one, but there is a lot more that is going to go into that, so things will just have to be out of order. Regardless of that, first taste of this will likely be on 11/21. And I’m really looking forward to it.
Cheers!
Site Expansion: Tasting Notes of My Beers
I’m starting something a little interesting with this site – tasting notes. It’s under the “My Beers” link on the menubar.
I’m following what appears to be the general consensus on how to taste, rate, and review beers. There’s some slight differences, but it’s what Beer Advocate, BJCP, and many others use. A lot of bloggers use it too, like Queen City Drinks (example). This involves scoring the beer on five criteria:
- Appearance
- Aroma
- Taste
- Mouthfeel
- Overall Impression
Additionally, I am going to try to be better on Untappd when it comes to reviews on my first drink of a beer. I’m trying to do the first four of the five, but I tend to run out of characters (damn 140 character limit!), but even if I veer from this, it will never be as bad as “Not my thing”, which I’m sure I’ve left once.
The first of these is my Friend of Hades IPA v.2. The second will be the Surfin’ Saison w/Brett, which will be posted in a few days.
Friend of Hades IPA v.2
Why?
The biggest reason is to help improve my beer tasting vocabulary. Improving my vocabulary ultimately leads to improving my homebrew, which goes back into the tasting notes, which improves my vocabulary, which improves my homebrew… this is a vicious cycle.
Who knows, maybe I’ll improve my Beertography in the process.
Cheers!
Kegerator! The Plan.
If my last post didn’t indicate that I LOATHE bottling, I’m not sure what I could have said to get that point across.

He’s really talking about bottling his homebrew, not those poor little Whos in Whoville.
While bottling has the cost part down (a 6-pack of bottles costs around $10 and comes with free craft beer), it has a number of disadvantages:
- Bottles are breakable
- Bottles take up a ton of room
- Capping 30-50 bottles at a time is no fun
- There’s no reliable, easy way to store clean bottles
The last point may be what has aggravated my wife. Despite the basement being “mine”, she is not at all happy with the several 6-packs of bottles in the middle of the floor. They’re in the middle courtesy of a crack in my foundation that leaks after extreme rains. Which has so far been twice, the second time left several 6-packs of empty bottles in a puddle. So they’ve been moved out for now. Into the middle of the floor.
This is pretty much the worst way to store bottles.
The Plan – “Begin With The End In Mind”
My ultimate goal is a three tap keezer. One tap will (occasionally?) be a stout faucet. 95% of my beer is consumed by me, so I can have an IPA, a stout, and something else on tap. And nothing says that I can’t bottle the remains of a keg if it gets low, although the bottle guns I see look like a pain to use.
After looking at this guy’s nice keezer build on Reddit, my wife feels that it must be black and I must build a similarly nice looking collar. However, she feels mine should have a red pinstripe on it because it would make it look good with University of Cincinnati Bearcat decor. It’s really cool of her to say that since her degree is from Southwest Florida College, mine are from UC and University of South Florida.
After looking at my budget, my first few kegs will be with picnic faucets. I have more budget numbers, but they’re boring. I have more plans, but that’s boring too. The overall plan is something like:
- Paint Keezer Black, fix temperature sensor issue, and run it (for now) with the Raspberry Pi
- Begin using (seriously, I LOATHE BOTTLING ENTIRELY!)
- Build collar (may be done before #2, depending on many things)
- …?
- Profit
- Add nice faucets
I taped the insulation to paint around it. Of course I used gloves when moving the insulation to remove the handle.
The kid’s on work detail. This is what happens when you don’t respect your elders!
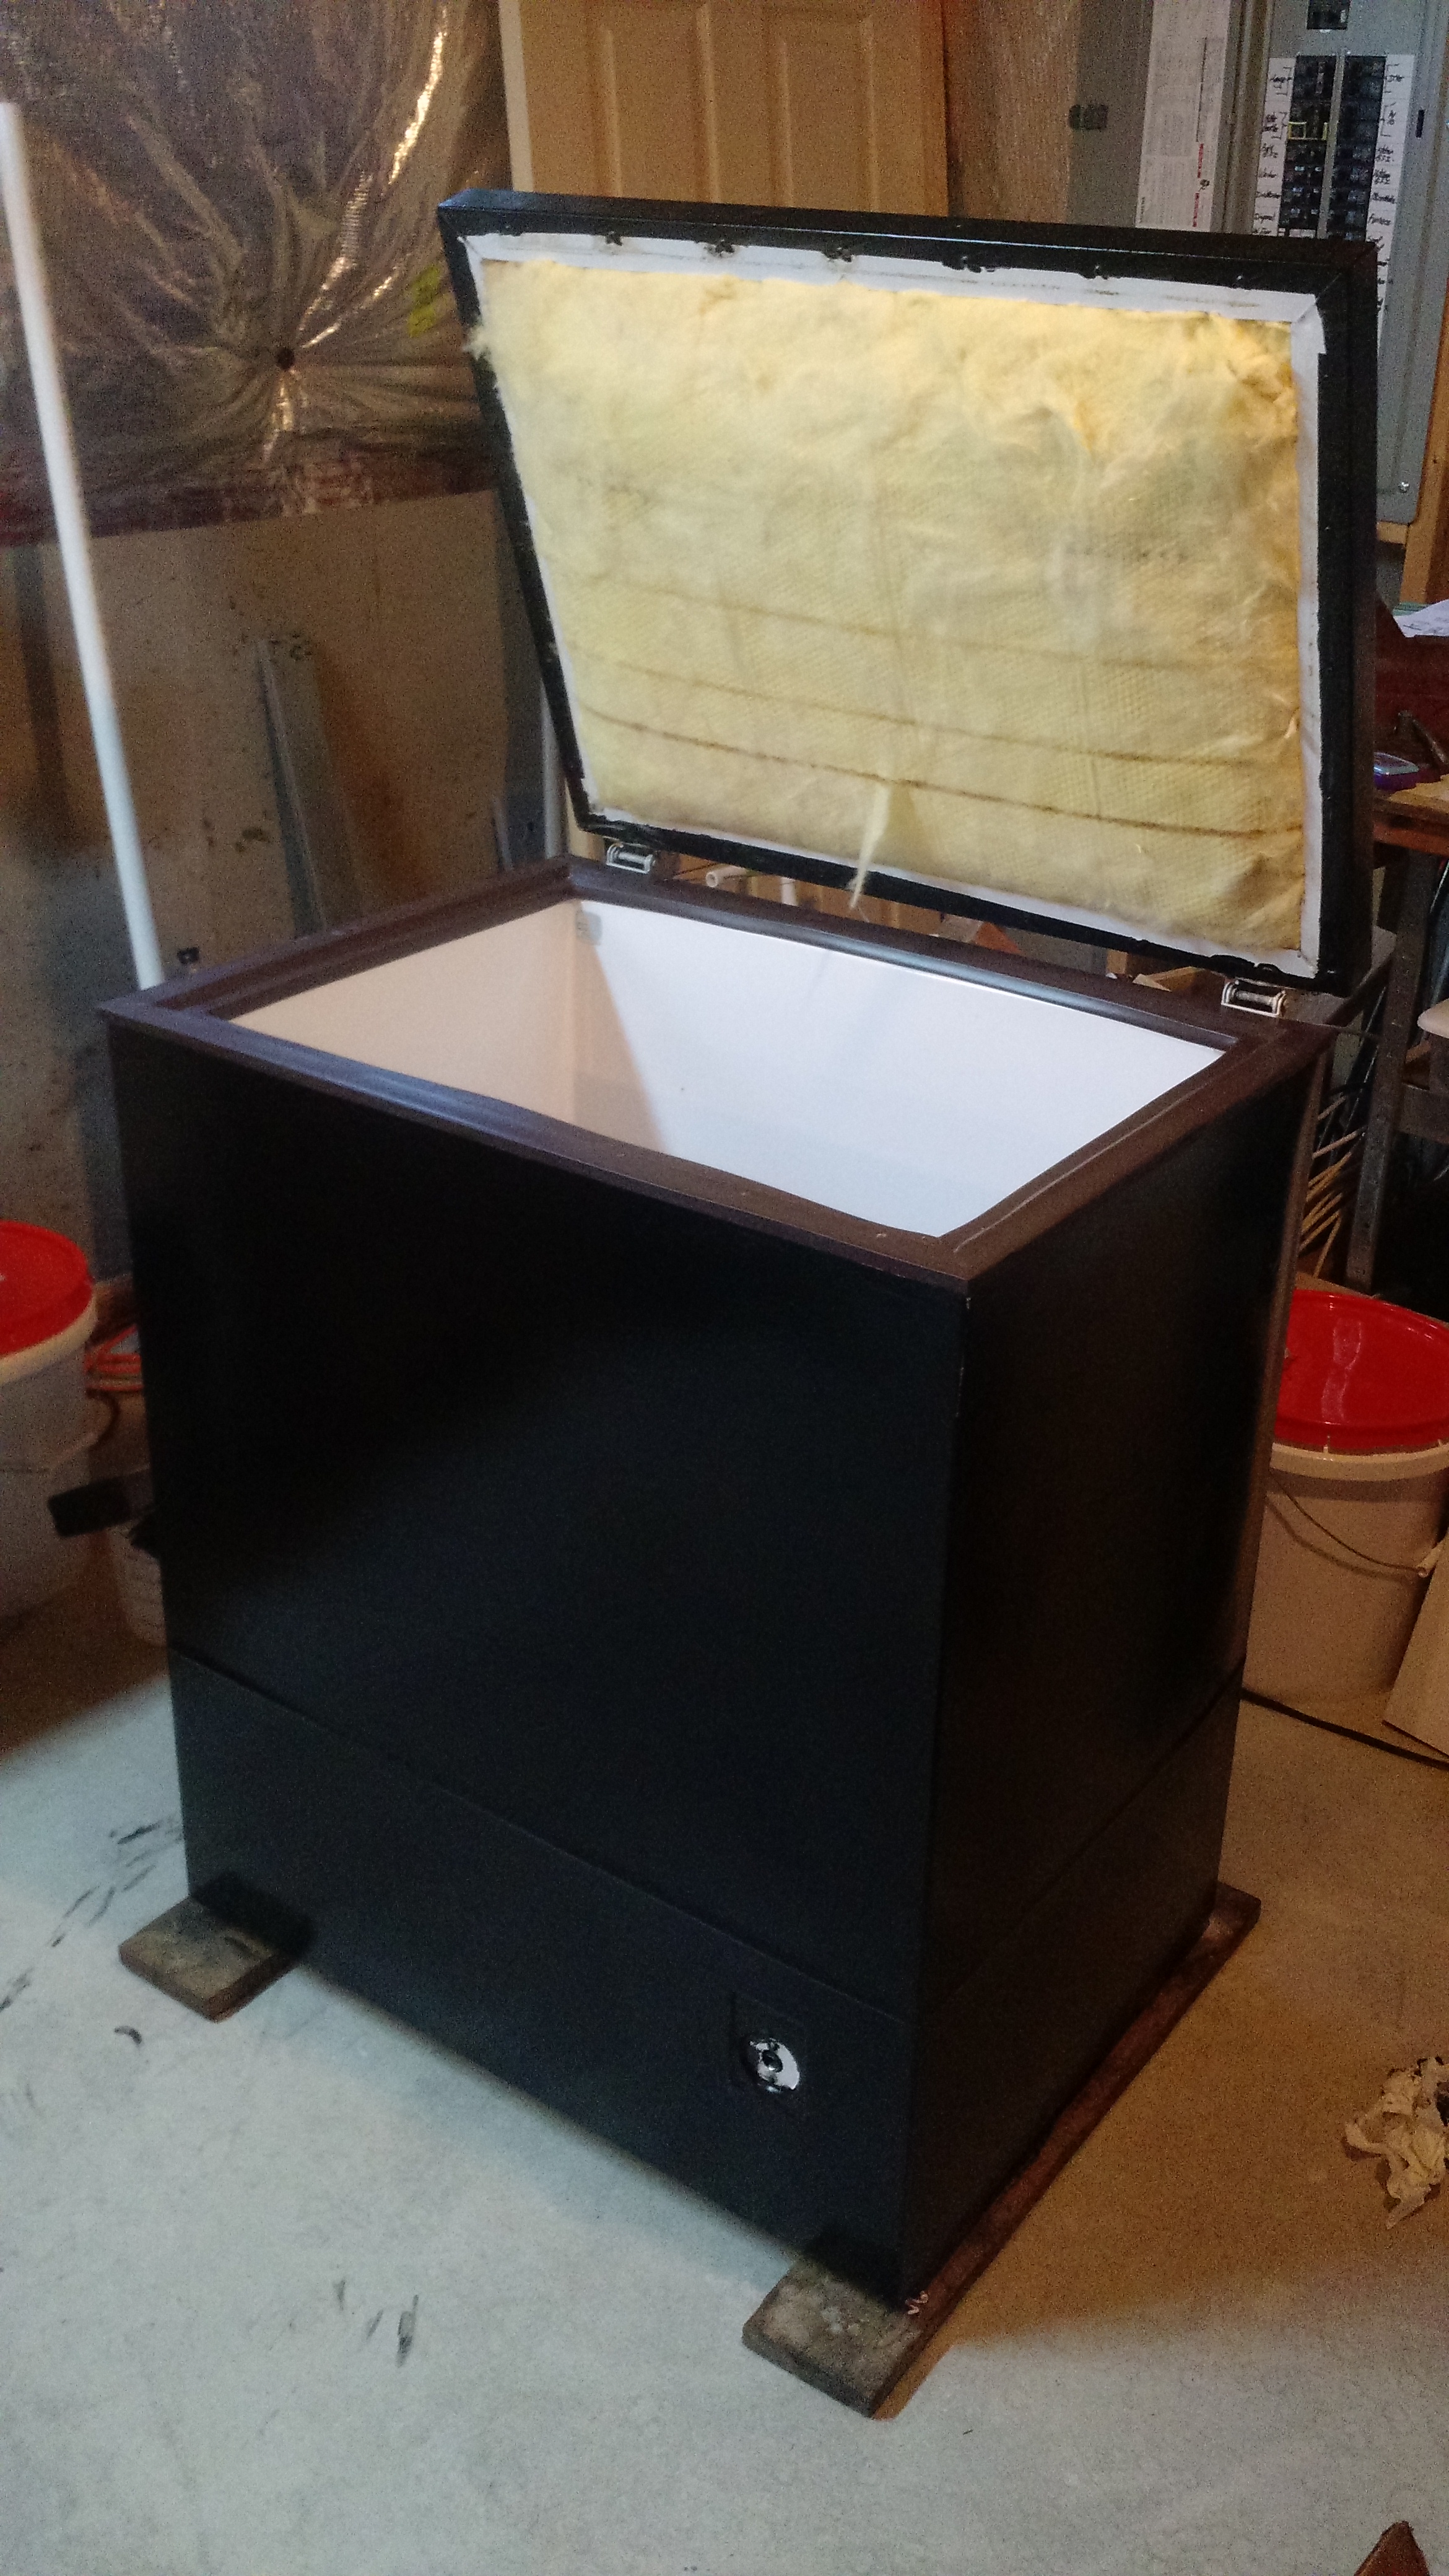
Painted!
There’s a few other things I want to do. I’d love to have some way to know how much beer is left in a keg. One way I can do this is using a flow meter (such as in this article on Adafruit’s website). I don’t like the idea of a flow meter. Adafruit’s has a 1/2″ inlet and outlet, and the beer lines are smaller, so the geeky engineer in me questions the accuracy, and the homebrewer in me questions what happens to the beer in this thing. Then I thought about using weight sensors that I saw on Sparkfun’s website. As I was typing this, I found a post on HBT that even points to Sparkfun’s tutorial on their kegerator. While my implementation might deviate from this, it will be with inspiration from Sparkfun… although the first thing I thought of was this.
The Mystery Cylinder
I have a 5 lb beverage cylinder that I evidently purchased for another use in May of 2000. Yes, fifteen years ago. The gas shouldn’t go bad, but there was no label on the cylinder ever. I thought I’d call the place that I purchased the cylinder from (because it was either “air” or “CO2”, IIRC), but it appeared they went out of business many years ago (they may not have, but earlier I thought they did). I looked into things and found that as long as your tank was filled by a legitimate business (and this was), the ONLY valve on top of the tank should be a CGA 320… Okay, it could be Methyl Flouride, but I’d be shocked if I got that from a Fire Suppression Store and that it’d have a green collar on it, normally flammable stuff is red (but I could be wrong, I didn’t look into this).
I know of no other tests, but since I’m 99% sure this is CO2, I’m going to go with it.
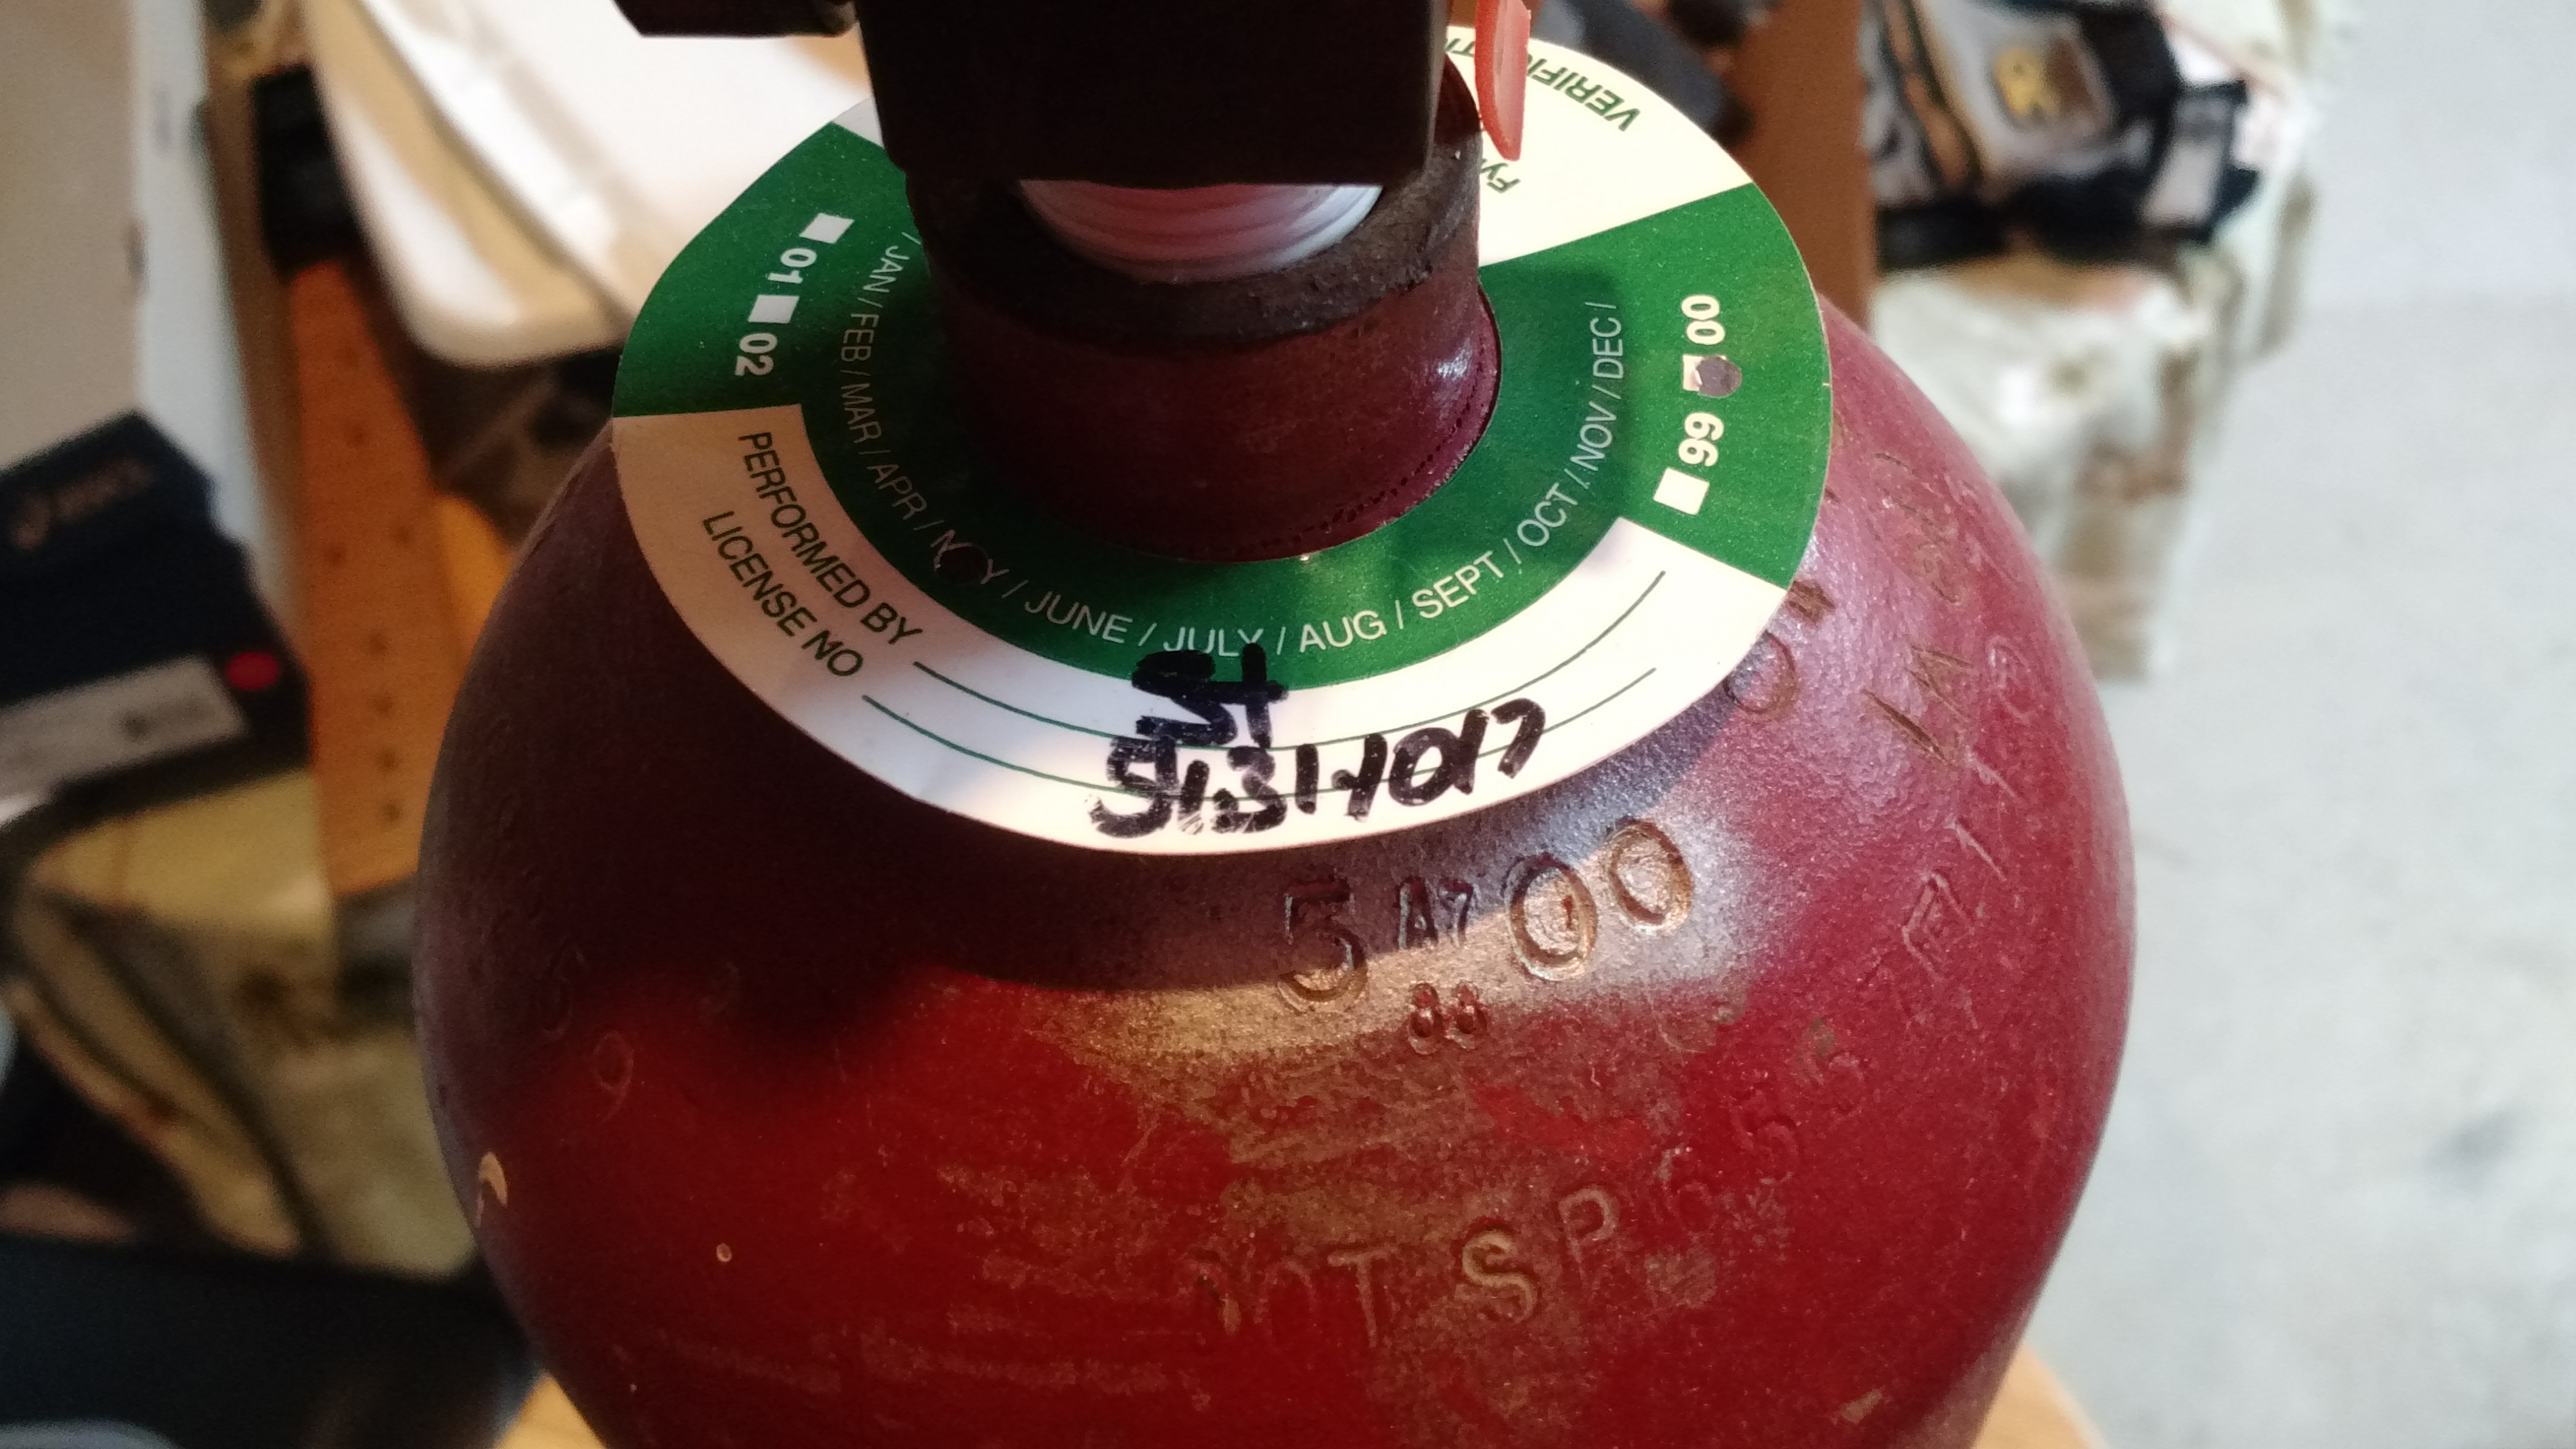
This is the date collar ring. May of 2000. This means that I will have to have the tank inspected and re-certified prior to having it filled.
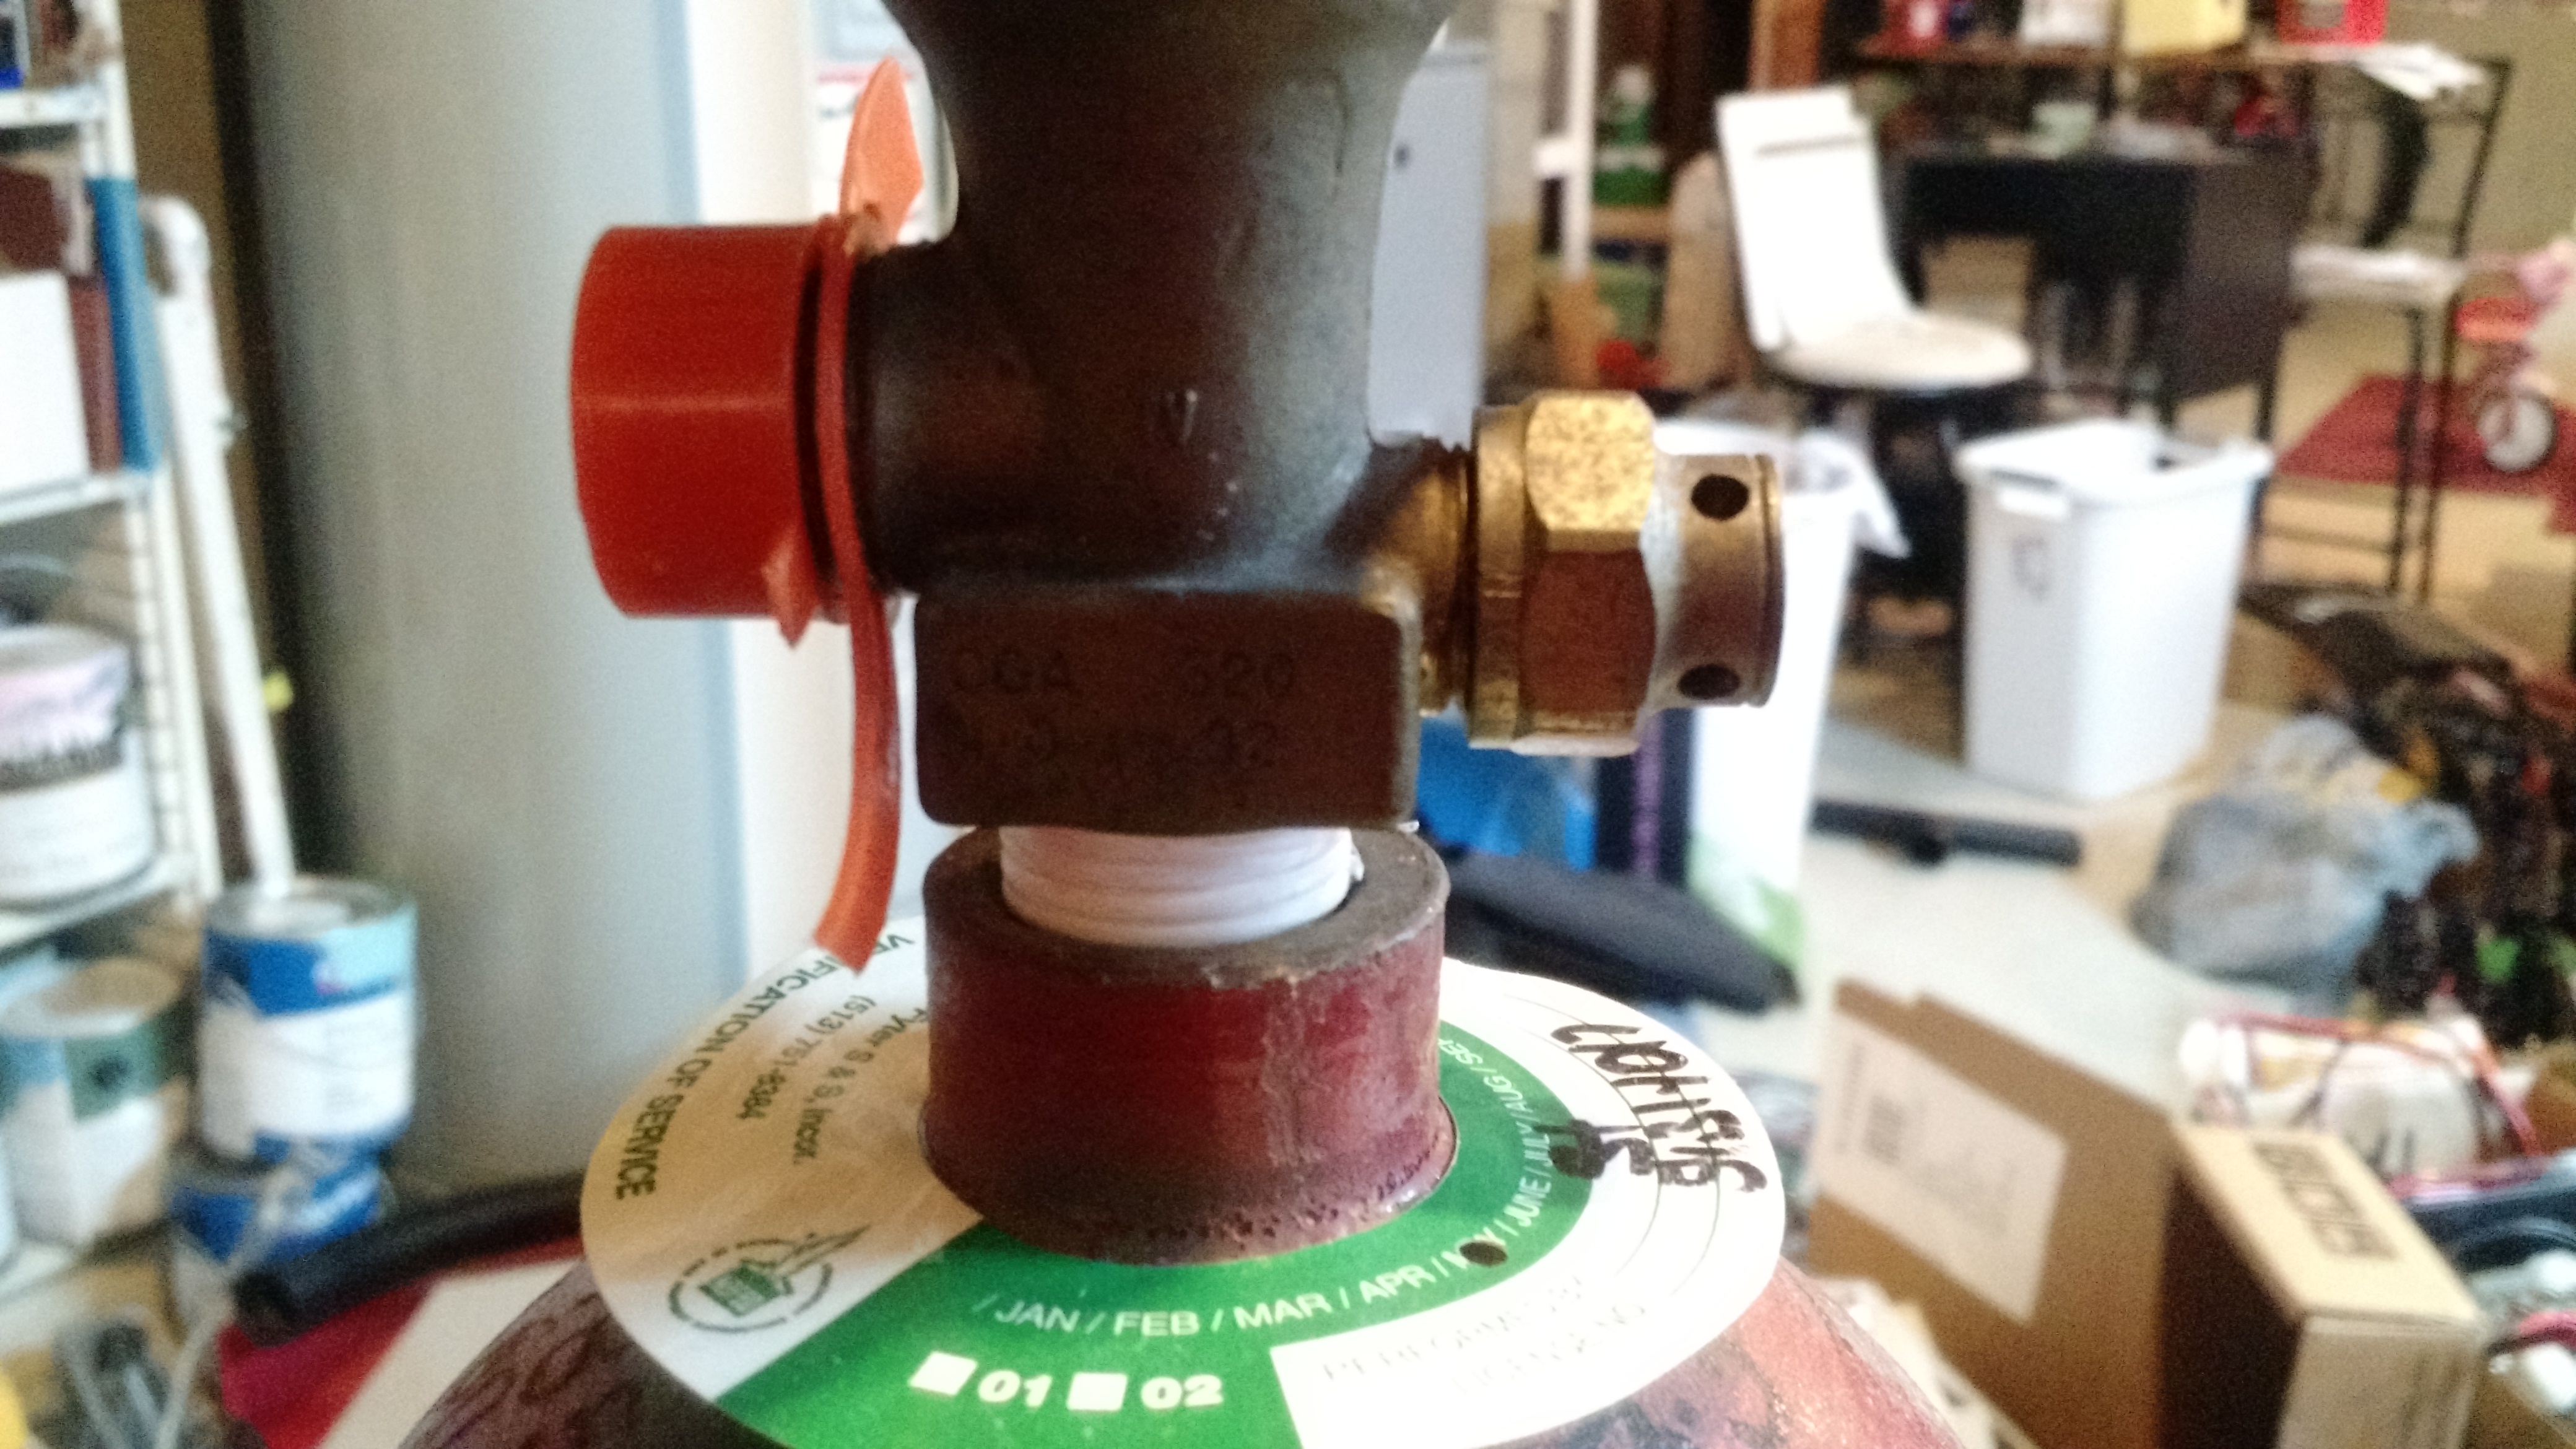
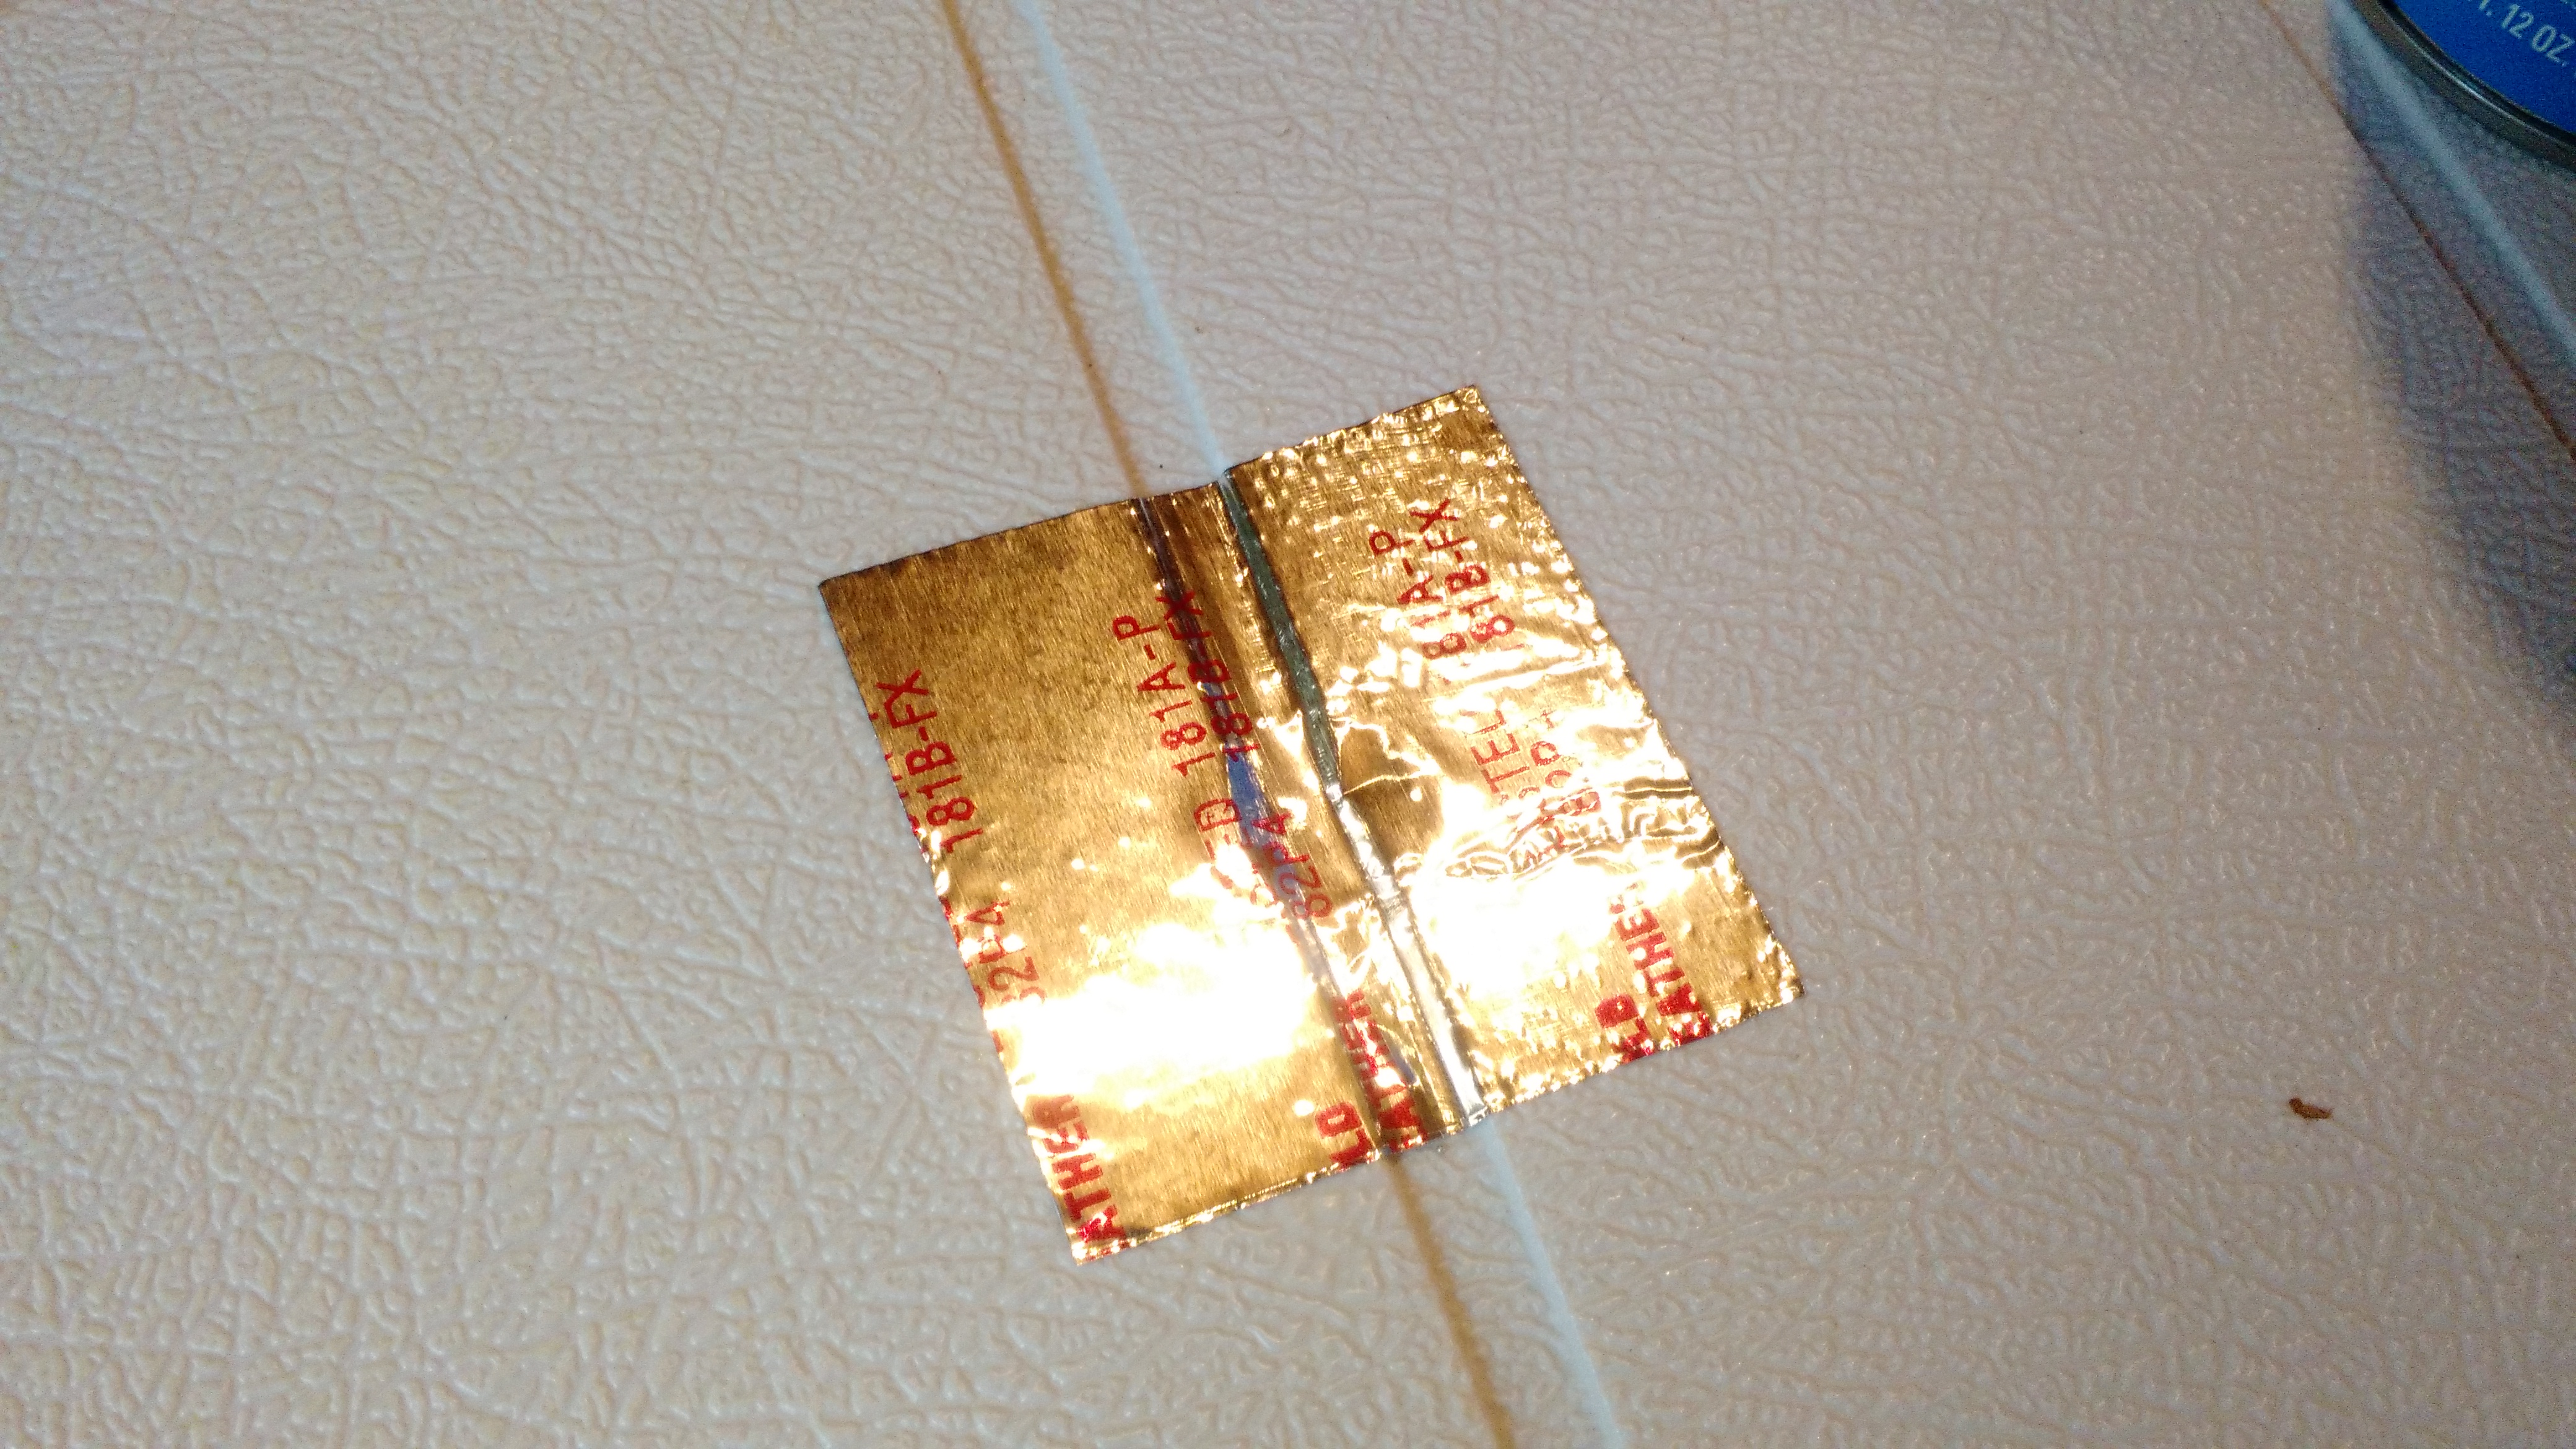
This does say CGA 320, which can only be used for CO2.
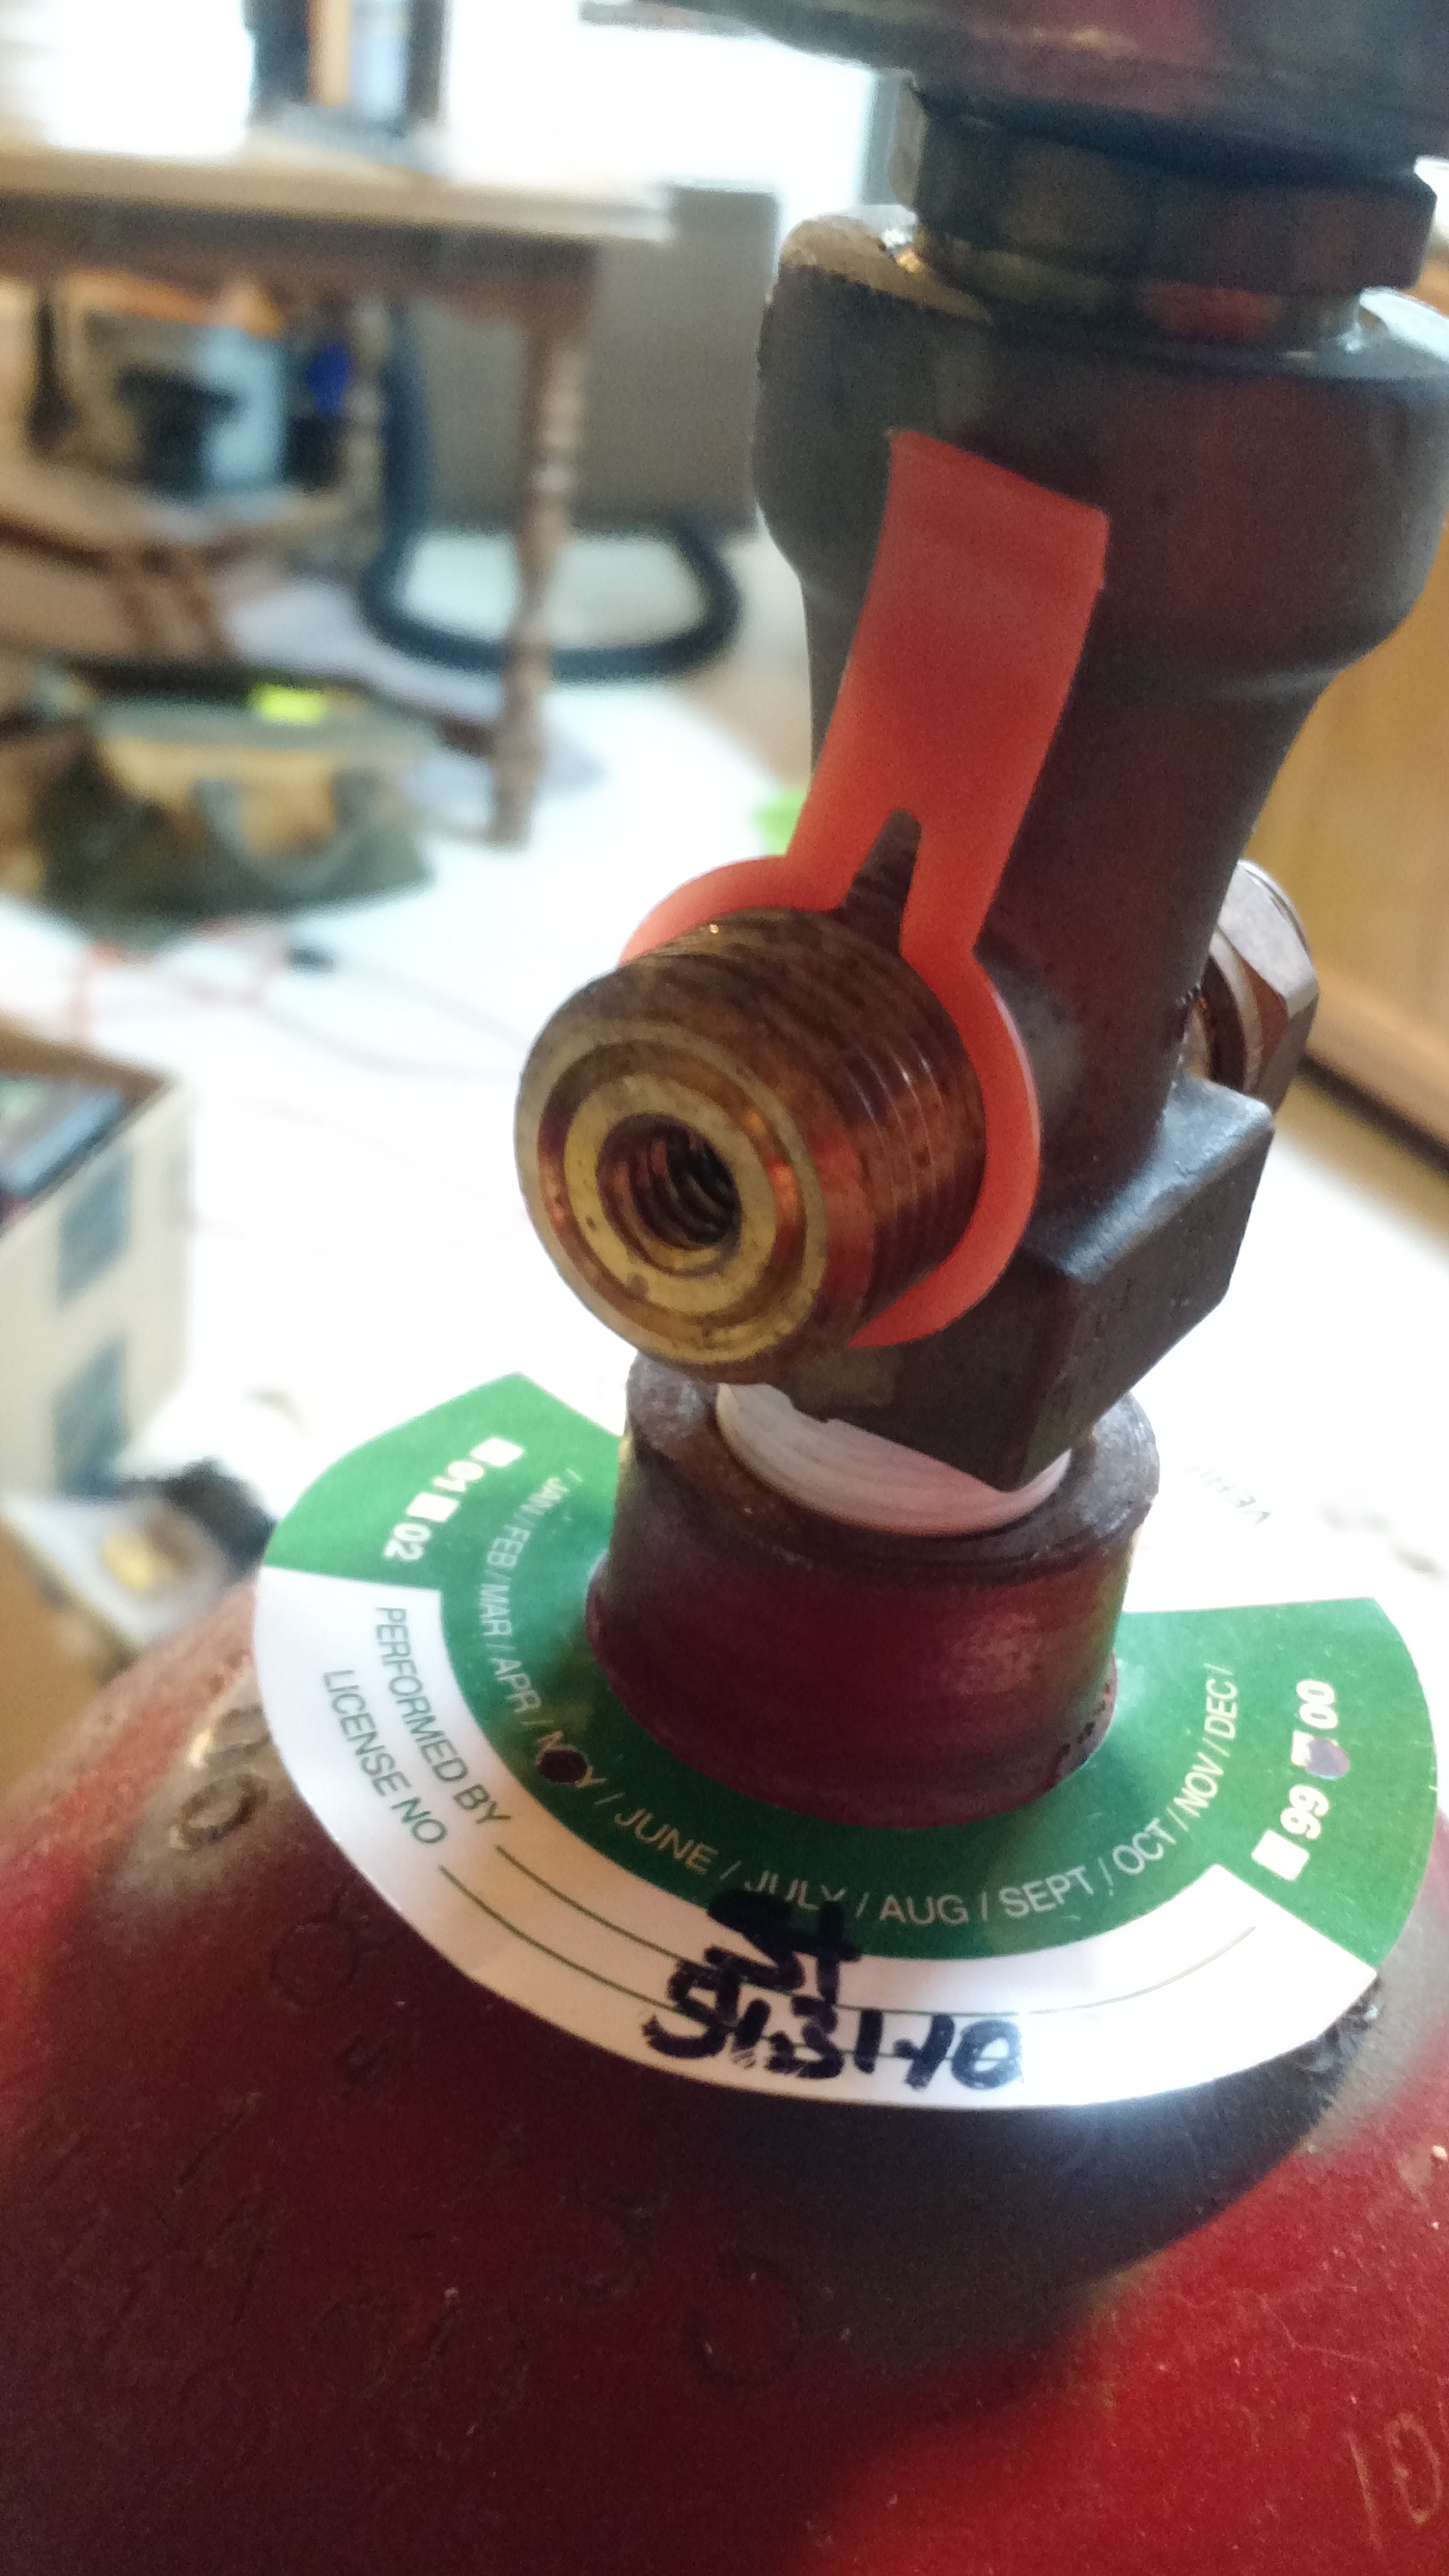
This confused me a little. There are threads on the inside as well as the outside.
Cheers!