Tag Archive: canning
Hopped Pickles
The garden has come along swimmingly.
-
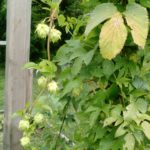
- Hops
-

- Hops
-
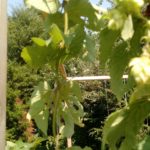
- And more hops!
-
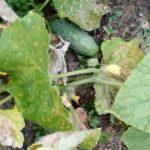
- Oh look, a cucumber!
So I had two cucumbers ready (maybe, they may have been a little under-ripe) and some hops. Roughly 0.1 oz of Columbus (wet) and more Tettenang and Cascade.
The original reason for growing cucumber was hopped pickles, which my wife first heard about on The Chew TV show. In looking it up, a good sounding recipe is here (yeah, she has blue-green hair, but she also has great taste in beer!).
I cut the recipe to 1/4 of the amounts. I didn’t have any pickling salt, so I used sea salt (per another internet search) and I used a few sprinkles of ground mustard instead of mustard seed (and added both to the list of things to buy at the grocery store next week). I used 0.1 oz of wet Columbus and 0.25 oz of wet Tettenang. I used a Sierra Nevada Torpedo Extra IPA, which has a nice hoppy flavor that should go well with the recipe and add enough bitterness to be similar enough to Hopslam, as Ms. Porter used or Dogfish 90 minute IPA, which is what you can purchase commercially. Hopslam is 70 IBU, and 90 Minute IPA is 90, Torpedo clocks in at 67 IBU. In all three cases, there is quite a bit of hop aroma from late hops/hopstands/dry hop additions.
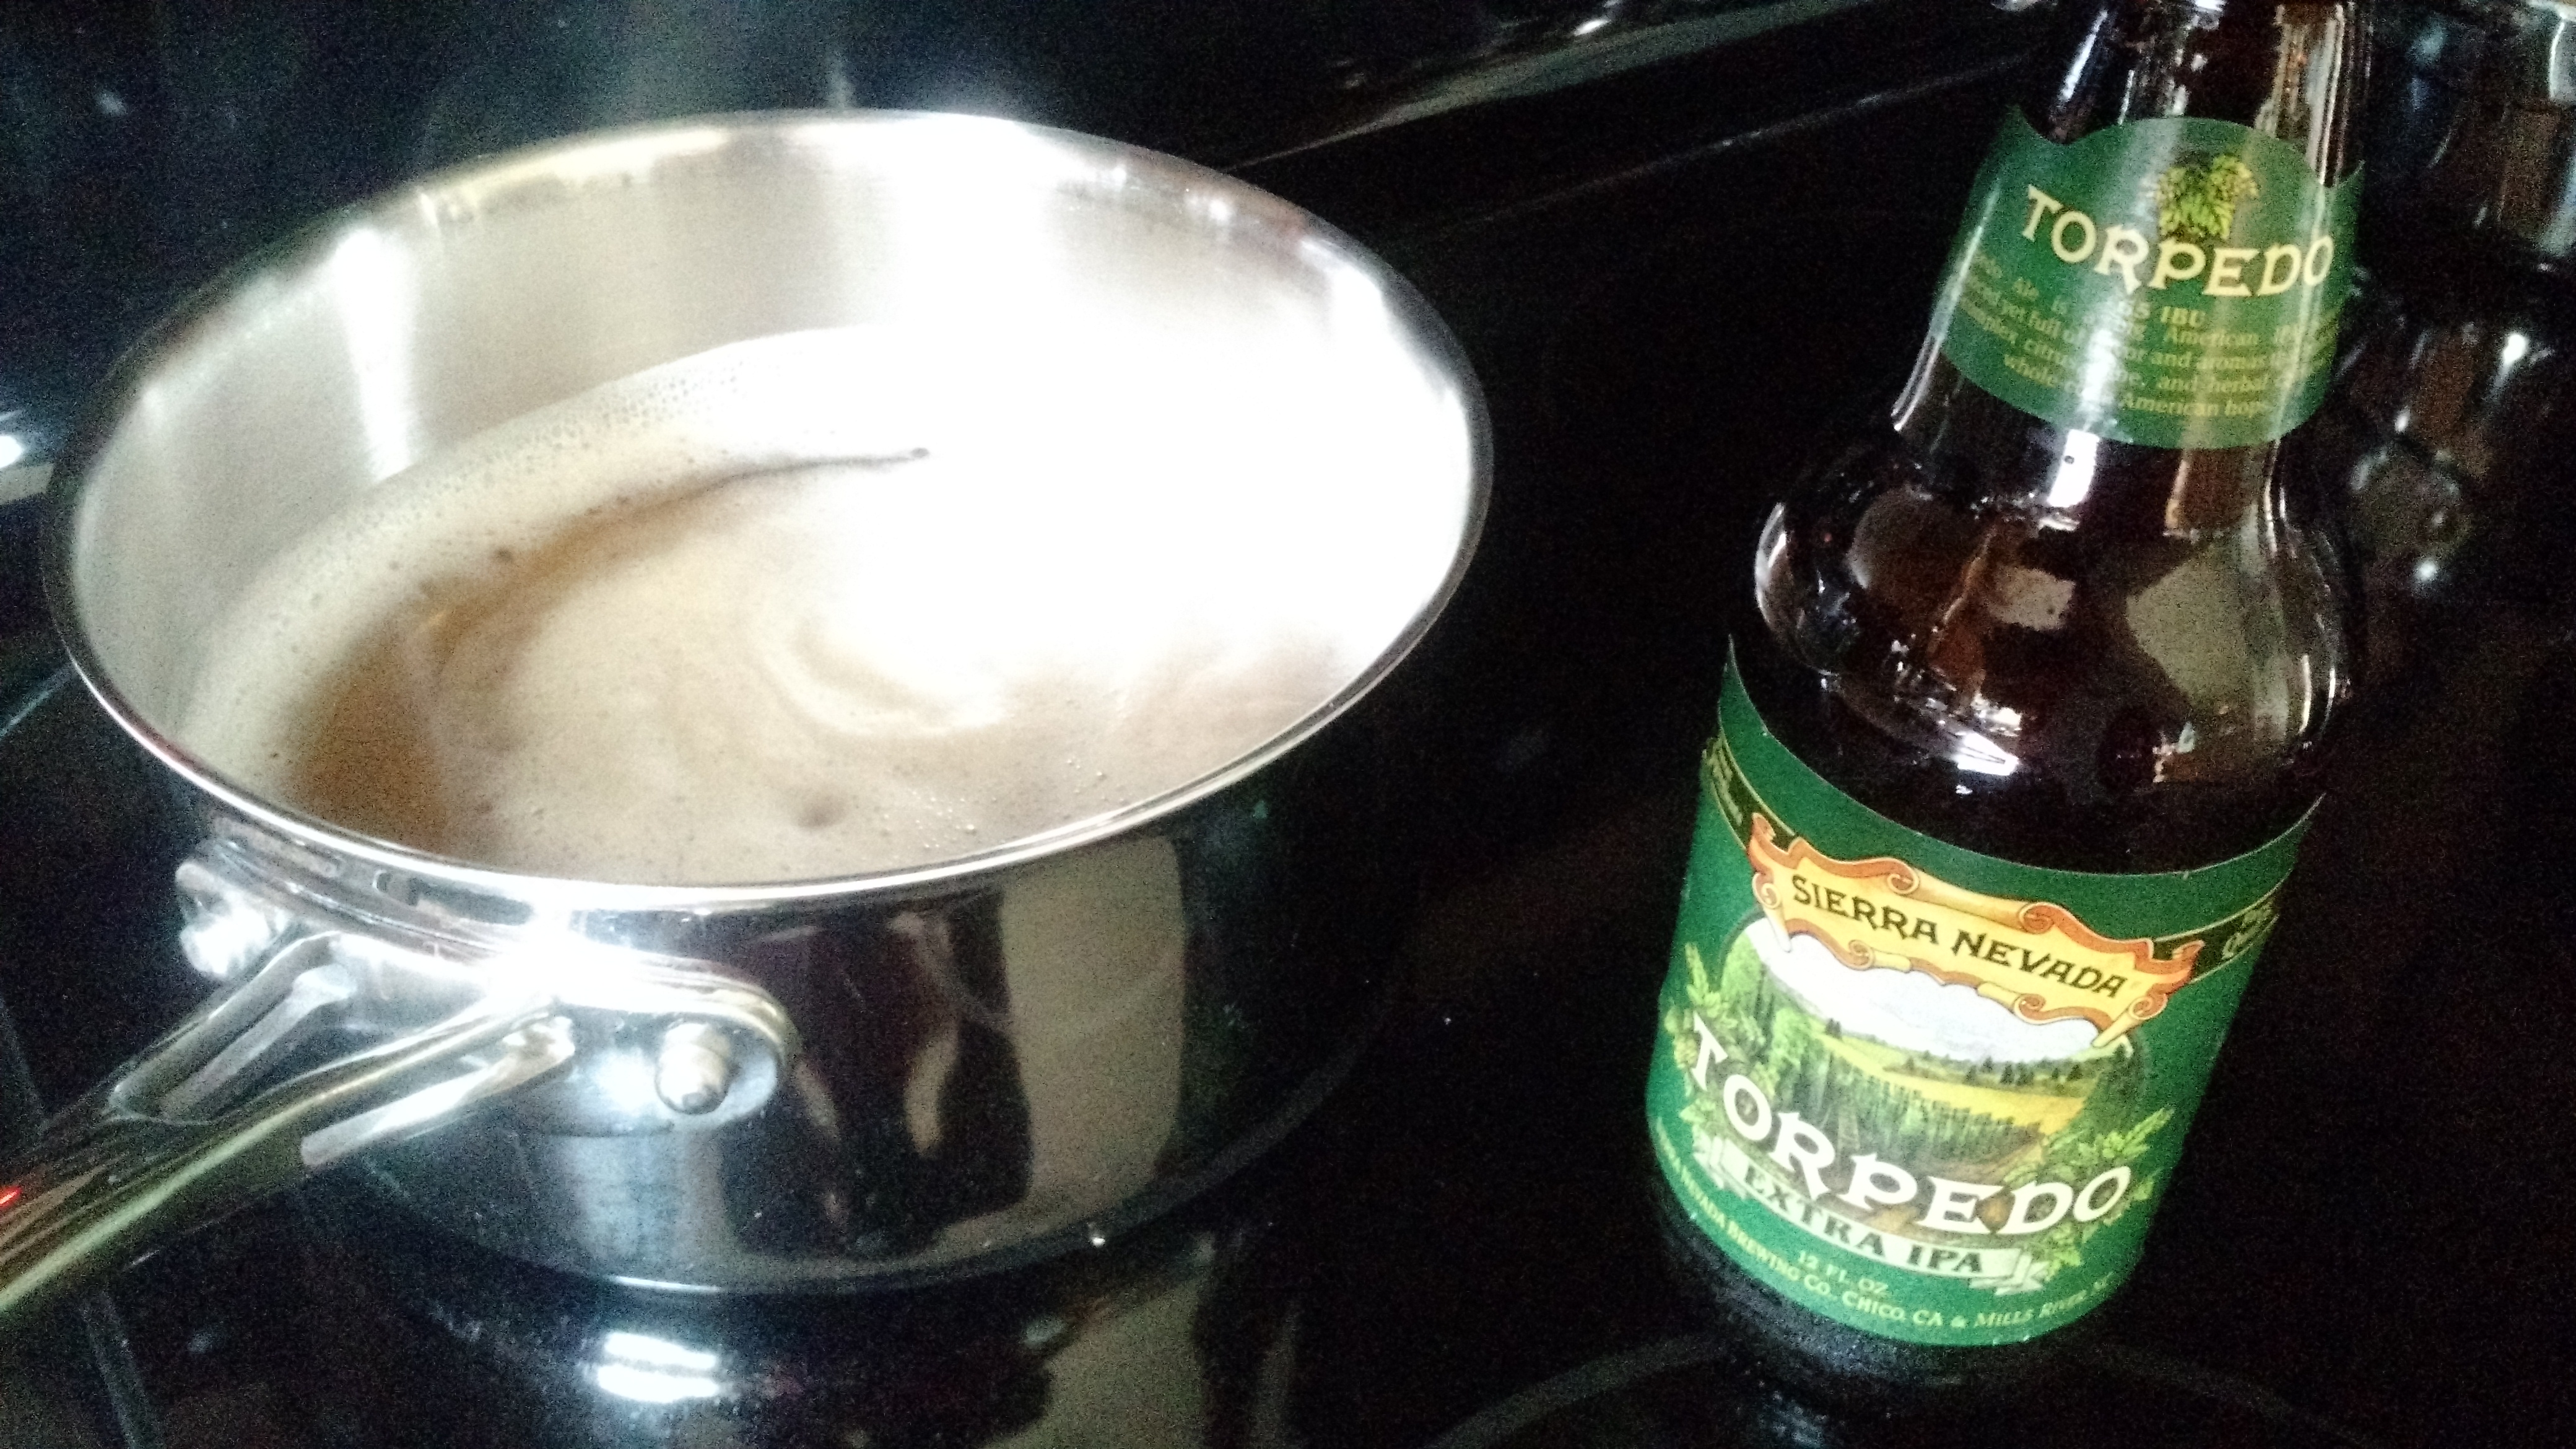
I love it when I cook with beer and it leaves enough of the bottle to drink!
In the jar, I threw a cascade cone into the jar with the smashed garlic clove, 1/4 oz of peppercorn, half a fresh de-seeded and de-veined jalapeno. Everything else was to the directions (1/2″ headspace, 15 minute process in boiling water).
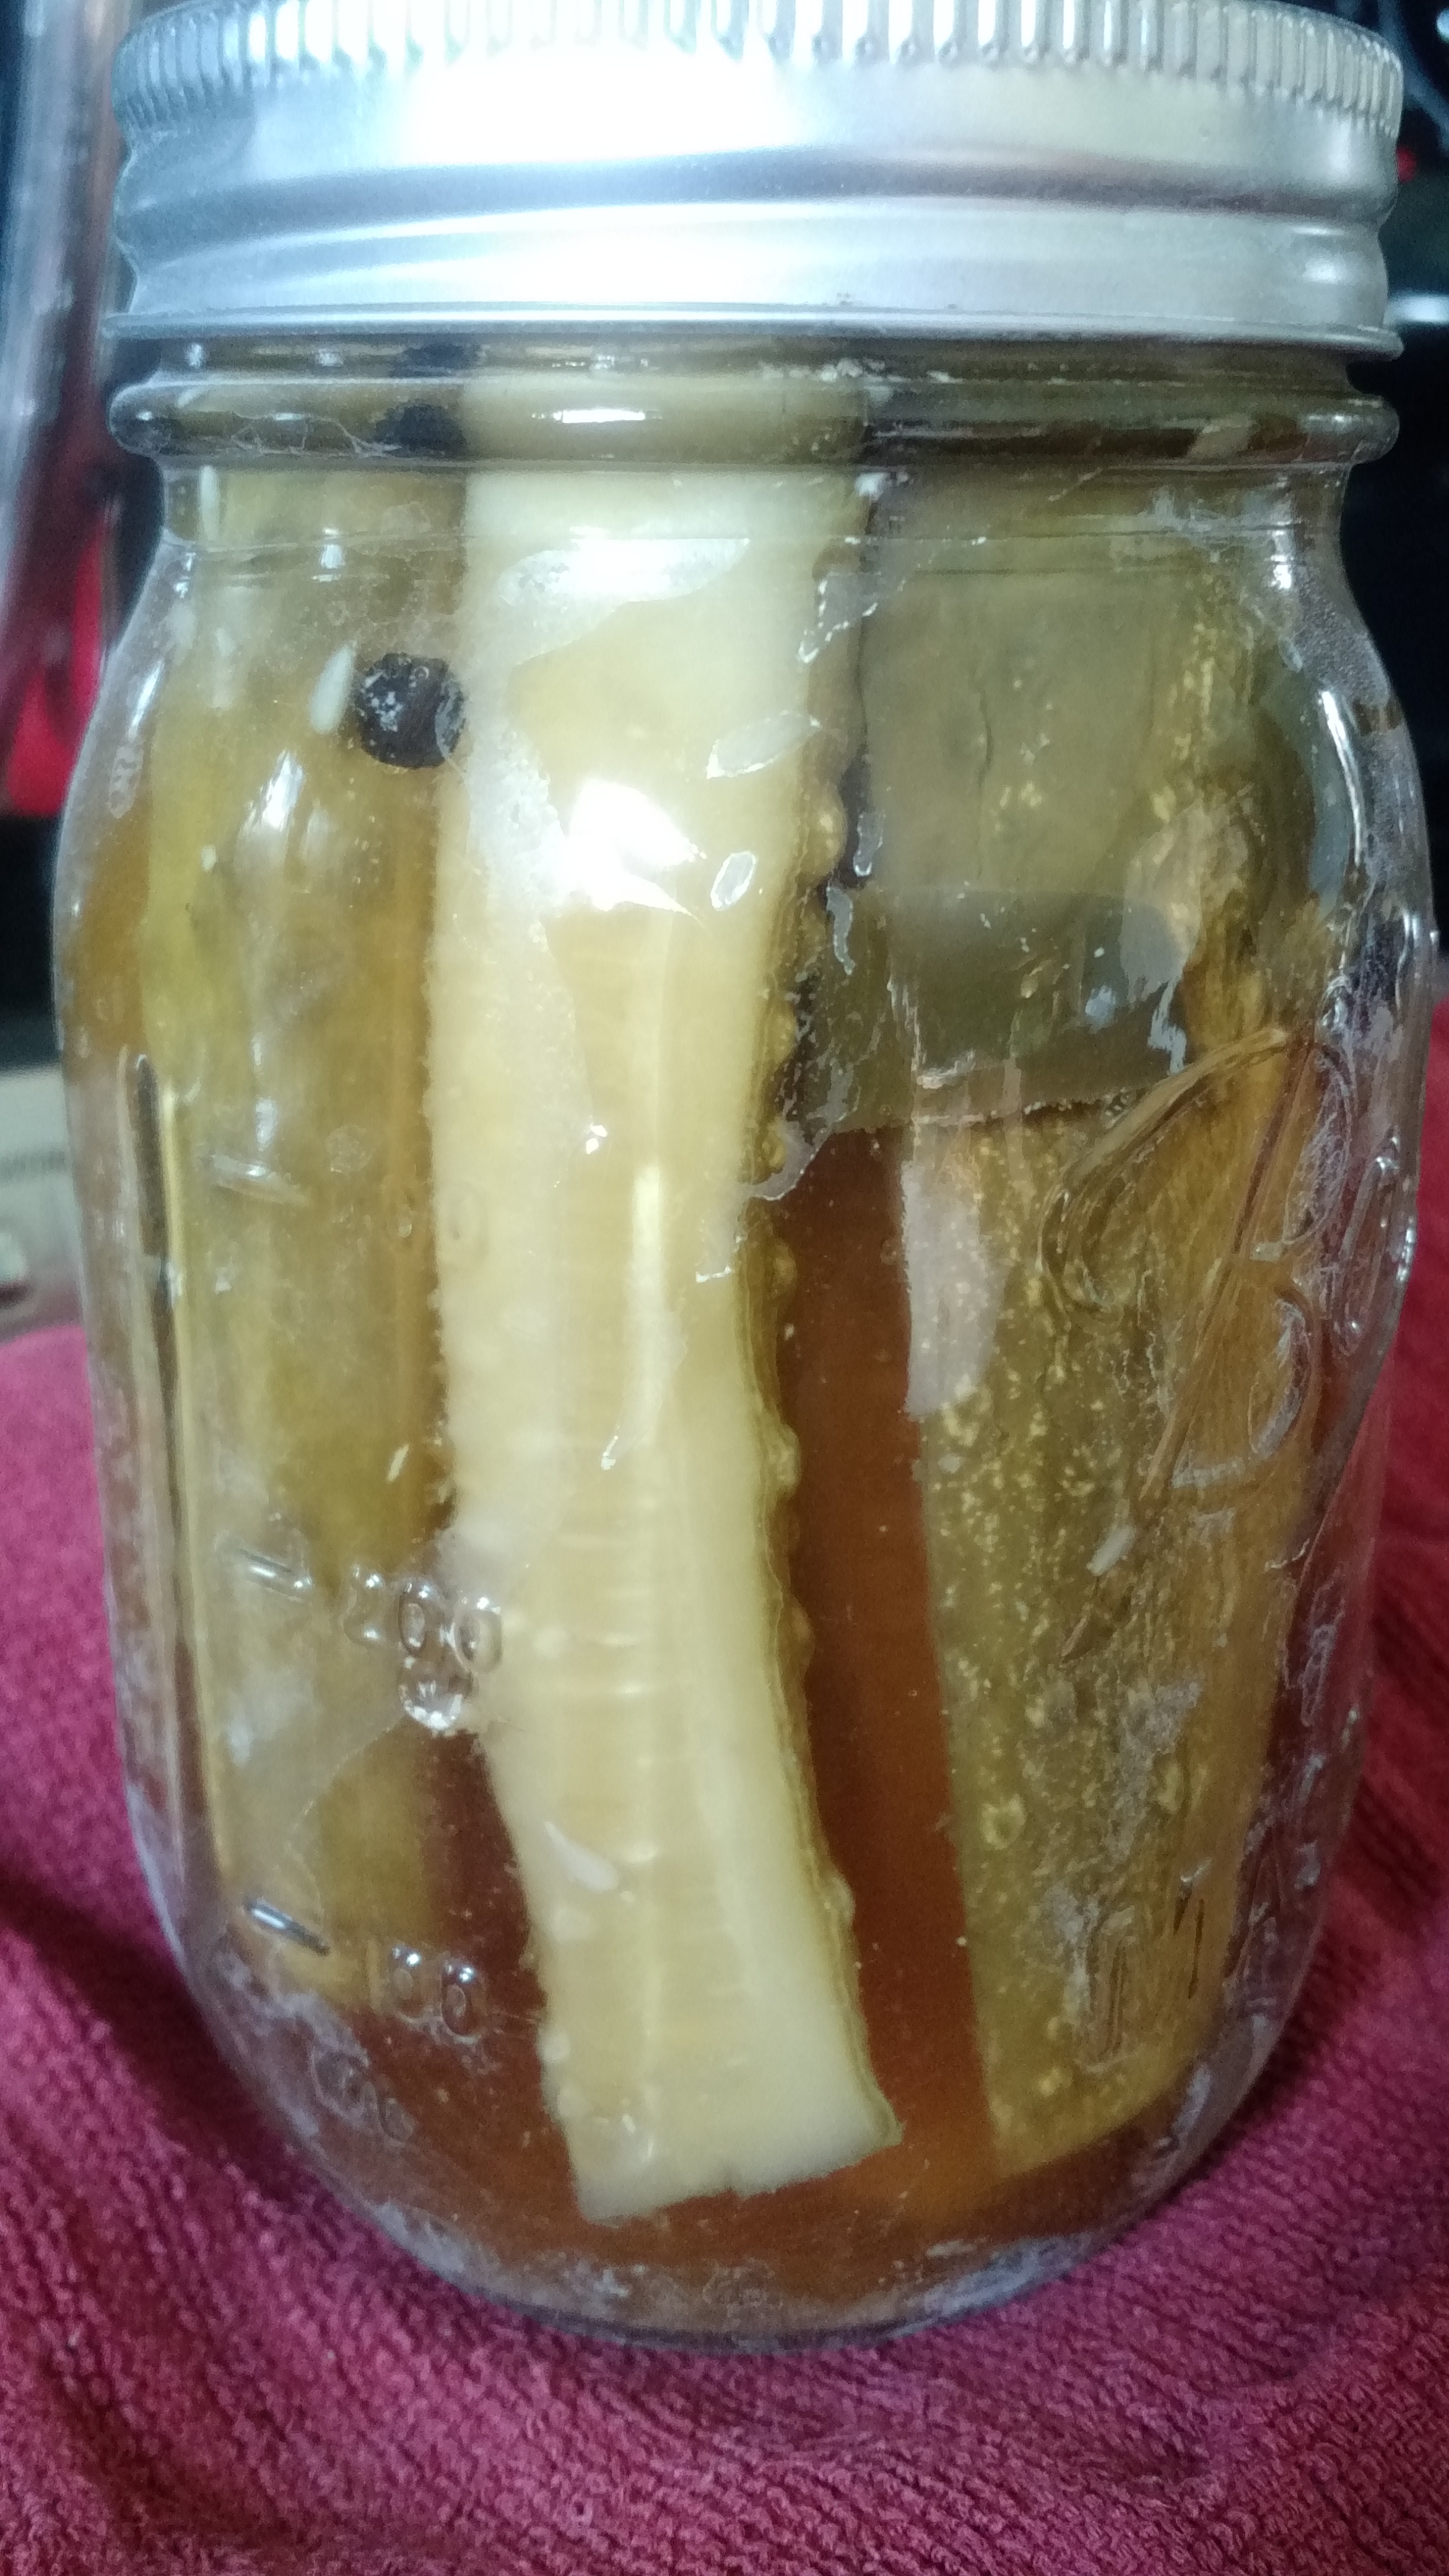
Hopped pickles!
So this was done on August 29. The recipe says “a few days” for flavor, but I’m thinking I want to give these two weeks, which is consistent to other pickled recipes I’ve used.
Cheers!
EDIT: I tried these after a few weeks. The strongest flavor is garlic, but the hops are in there and they are GOOD! I may try another batch with no garlic and see what happens.
How I Make Canned Yeast Starter Wort
I like being prepared in advance as much as possible. So after reading BYO’s version of canning yeast starters, I made adjustments for me and actually thought out the process.
Gather Supplies
You will need:
- 1 Pound DME
- Some hops (possibly optional)
- Five 1-Quart Mason jars, bands, and lids
- Pot for boiling wort
- Large stockpot for sanitizing jars
- Pressure Canner (you can probably safely do this in a boiling-water bath canner, but wort isn’t really acidic enough to be safe for this)
- Something to stir the wort with
- Old dishtowels
- Clean washcloth
- Canning tools (see below)

Basic Canning Tools – jar tongs, lid magnet, headspace tool, funnel, and ladle
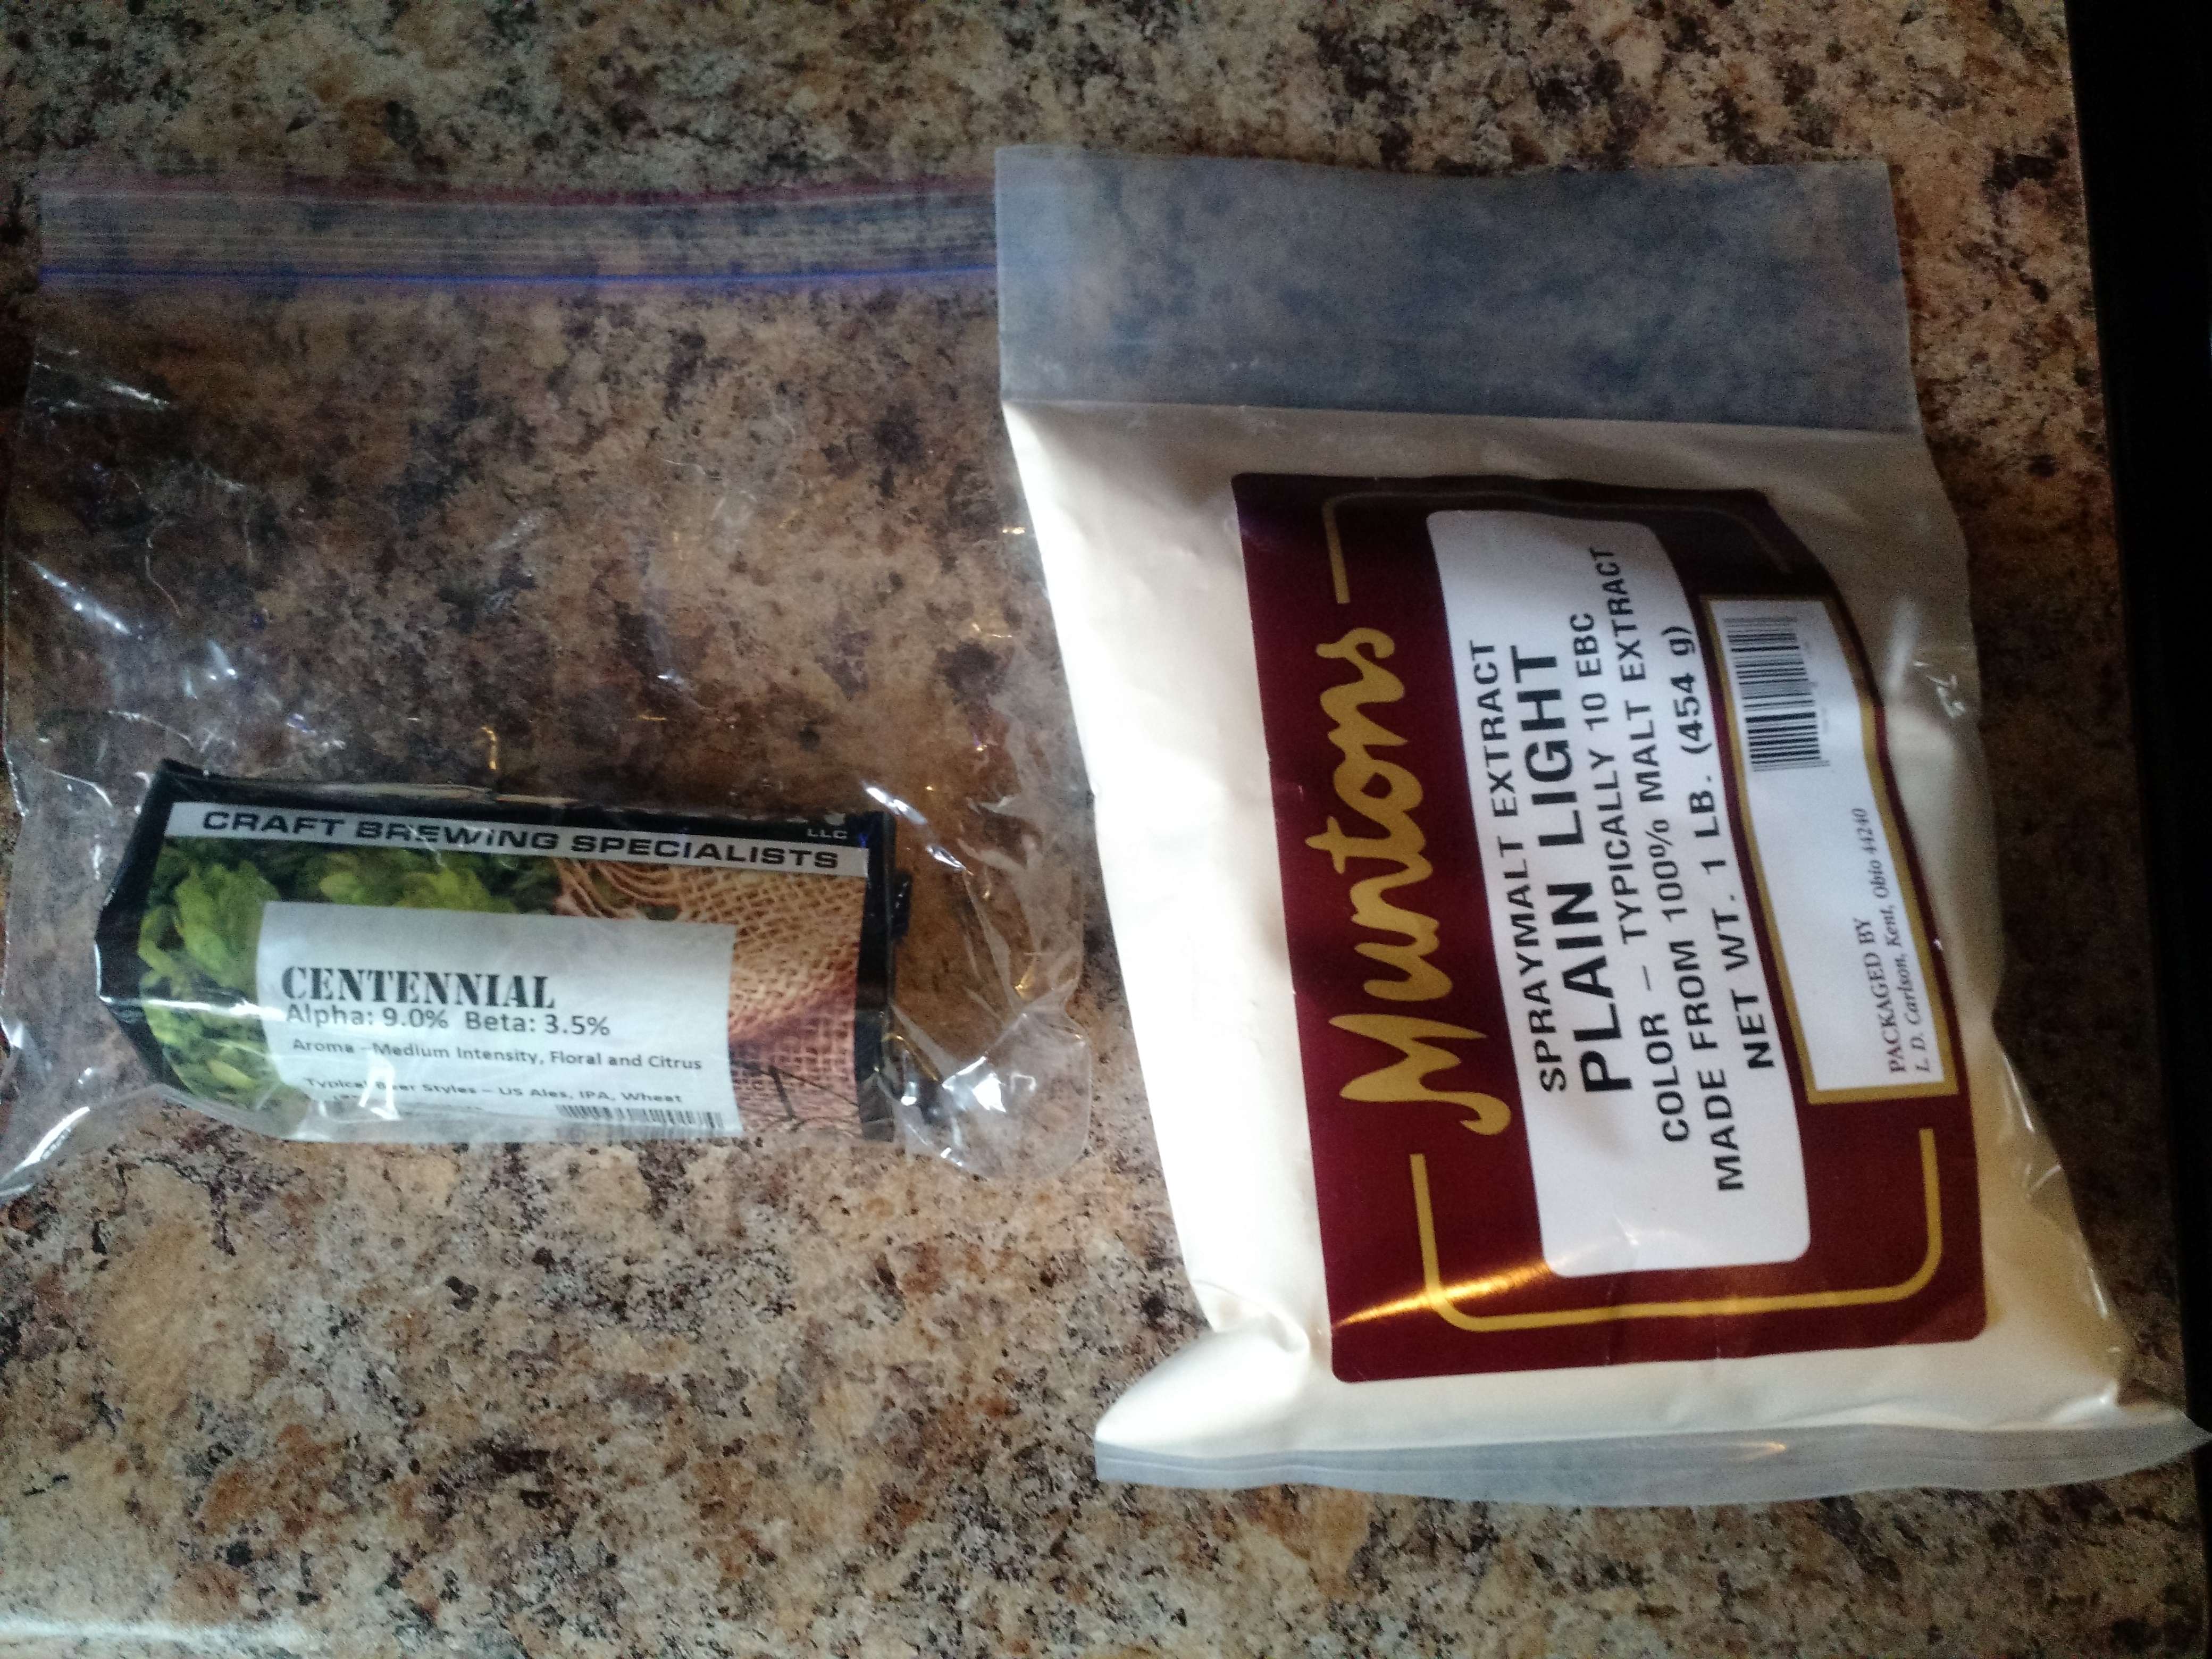
Light DME and some hops
Process
- Start bringing 5 quarts of water to a boil
- Fill large stockpot to 1″ above top of Mason Jars, set on heat and heat to 180F/82C
- Wash Mason jars, lids, and bands – put jars and lids in stockpot carefully
- When 5 quarts of water is boiling (or even near-boiling), shut heat off, add 1 lb DME (preferably light or very light) and hops, stir well, and turn heat back on
- Boil wort for 10 min
- With a few minutes remaining, prepare jars – remove them from the water, drain, and set on a towel near the wort pot
- Once the jars are out of the stock pot, remove it from the heat, and ladle some of the hot water into the pressure canner
- Once the wort boil completes, shut the heat off and fill the jars to 1/2″ headspace
- Wipe the rim of the jars, and cap (do not torque the rings down!) and add to pressure canner
- Once all 5 jars are in the canner, put the lid on and begin a boil
- Let steam vent from the canner for 10 minutes (see the pressure canner instruction manual)
- Add weight and process for 30 minutes at the correct PSI (for my area east of Cincy, the appropriate pressure is 11 PSI)
- At the end of the process, shut the heat off, but leave the weight in place (or otherwise leave the vent in place – you do not want the pressure to drop too rapidly or the jars can crack or burst
- Once the pressure has returned to 0 on the dial, remove the weight and wait 10 minutes
- After the 10 minutes, remove the lid and jars, place them on a towel (do not put them directly on a cold countertop)
- Once the jars cool, confirm that they are properly sealed (the lids should be “sucked in” and not click when pressed), and store in a cool dark place away from any source of UV light
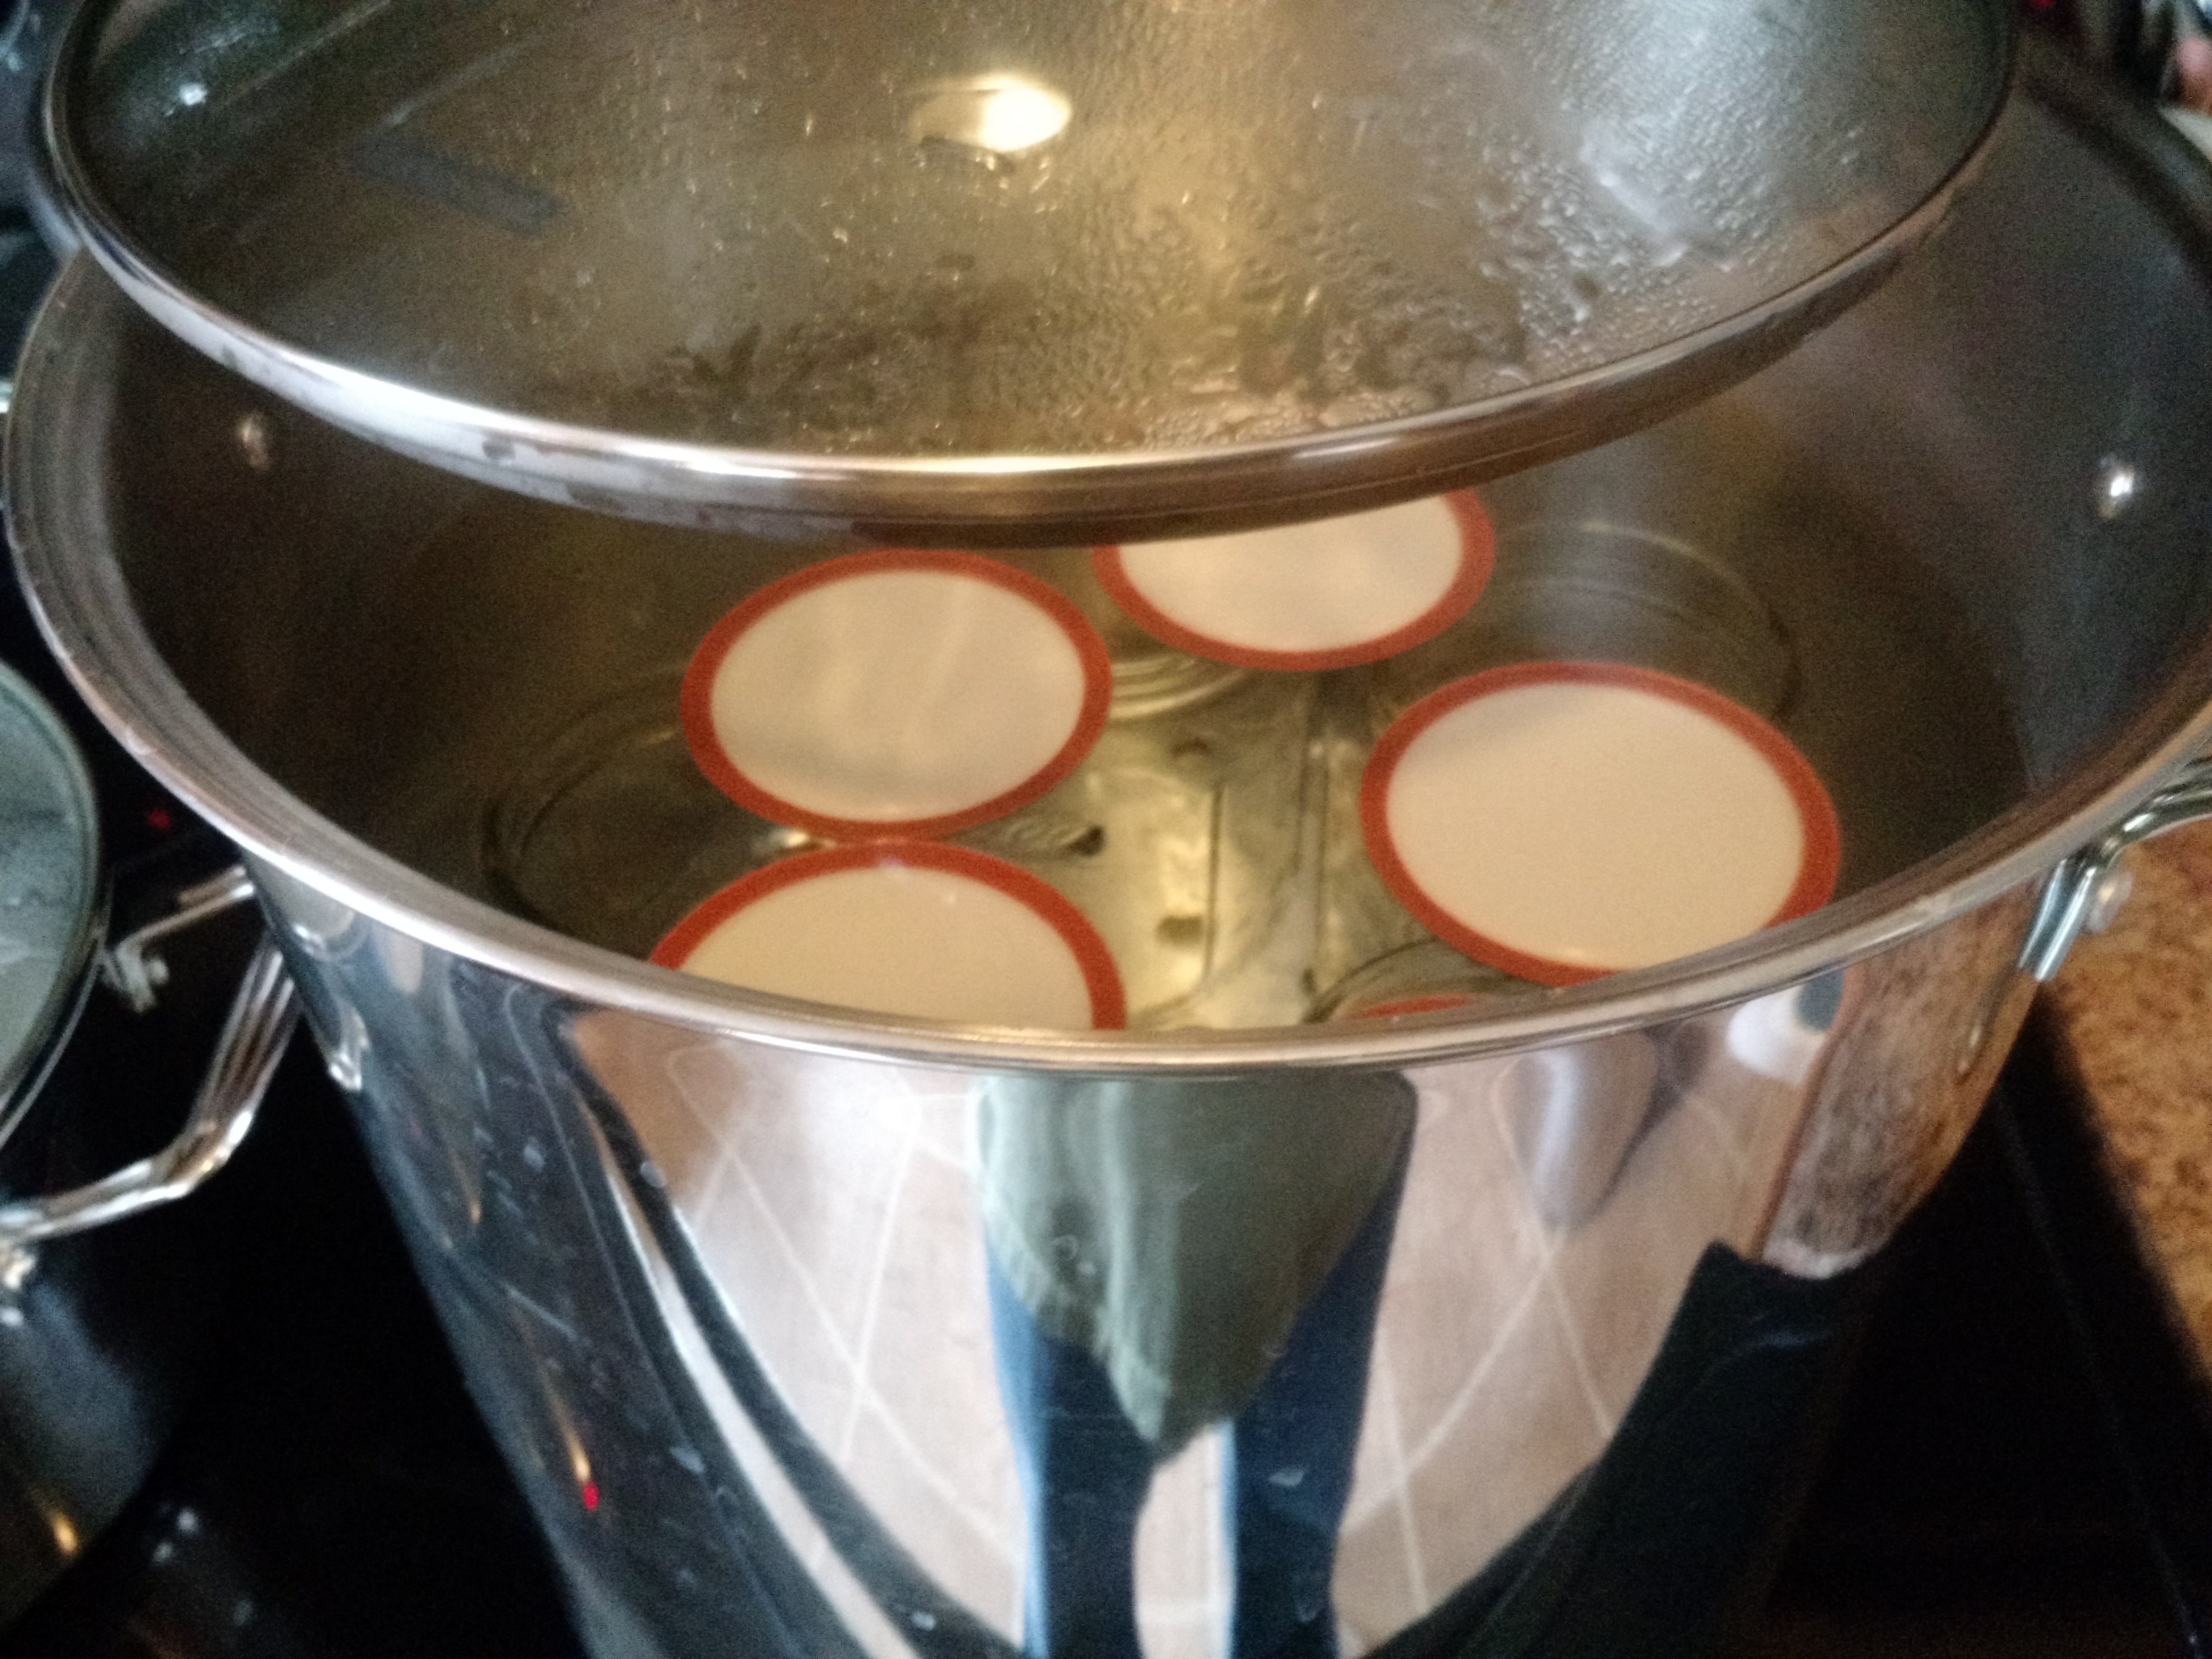
Mason jars and lids being sanitized in 180F water.
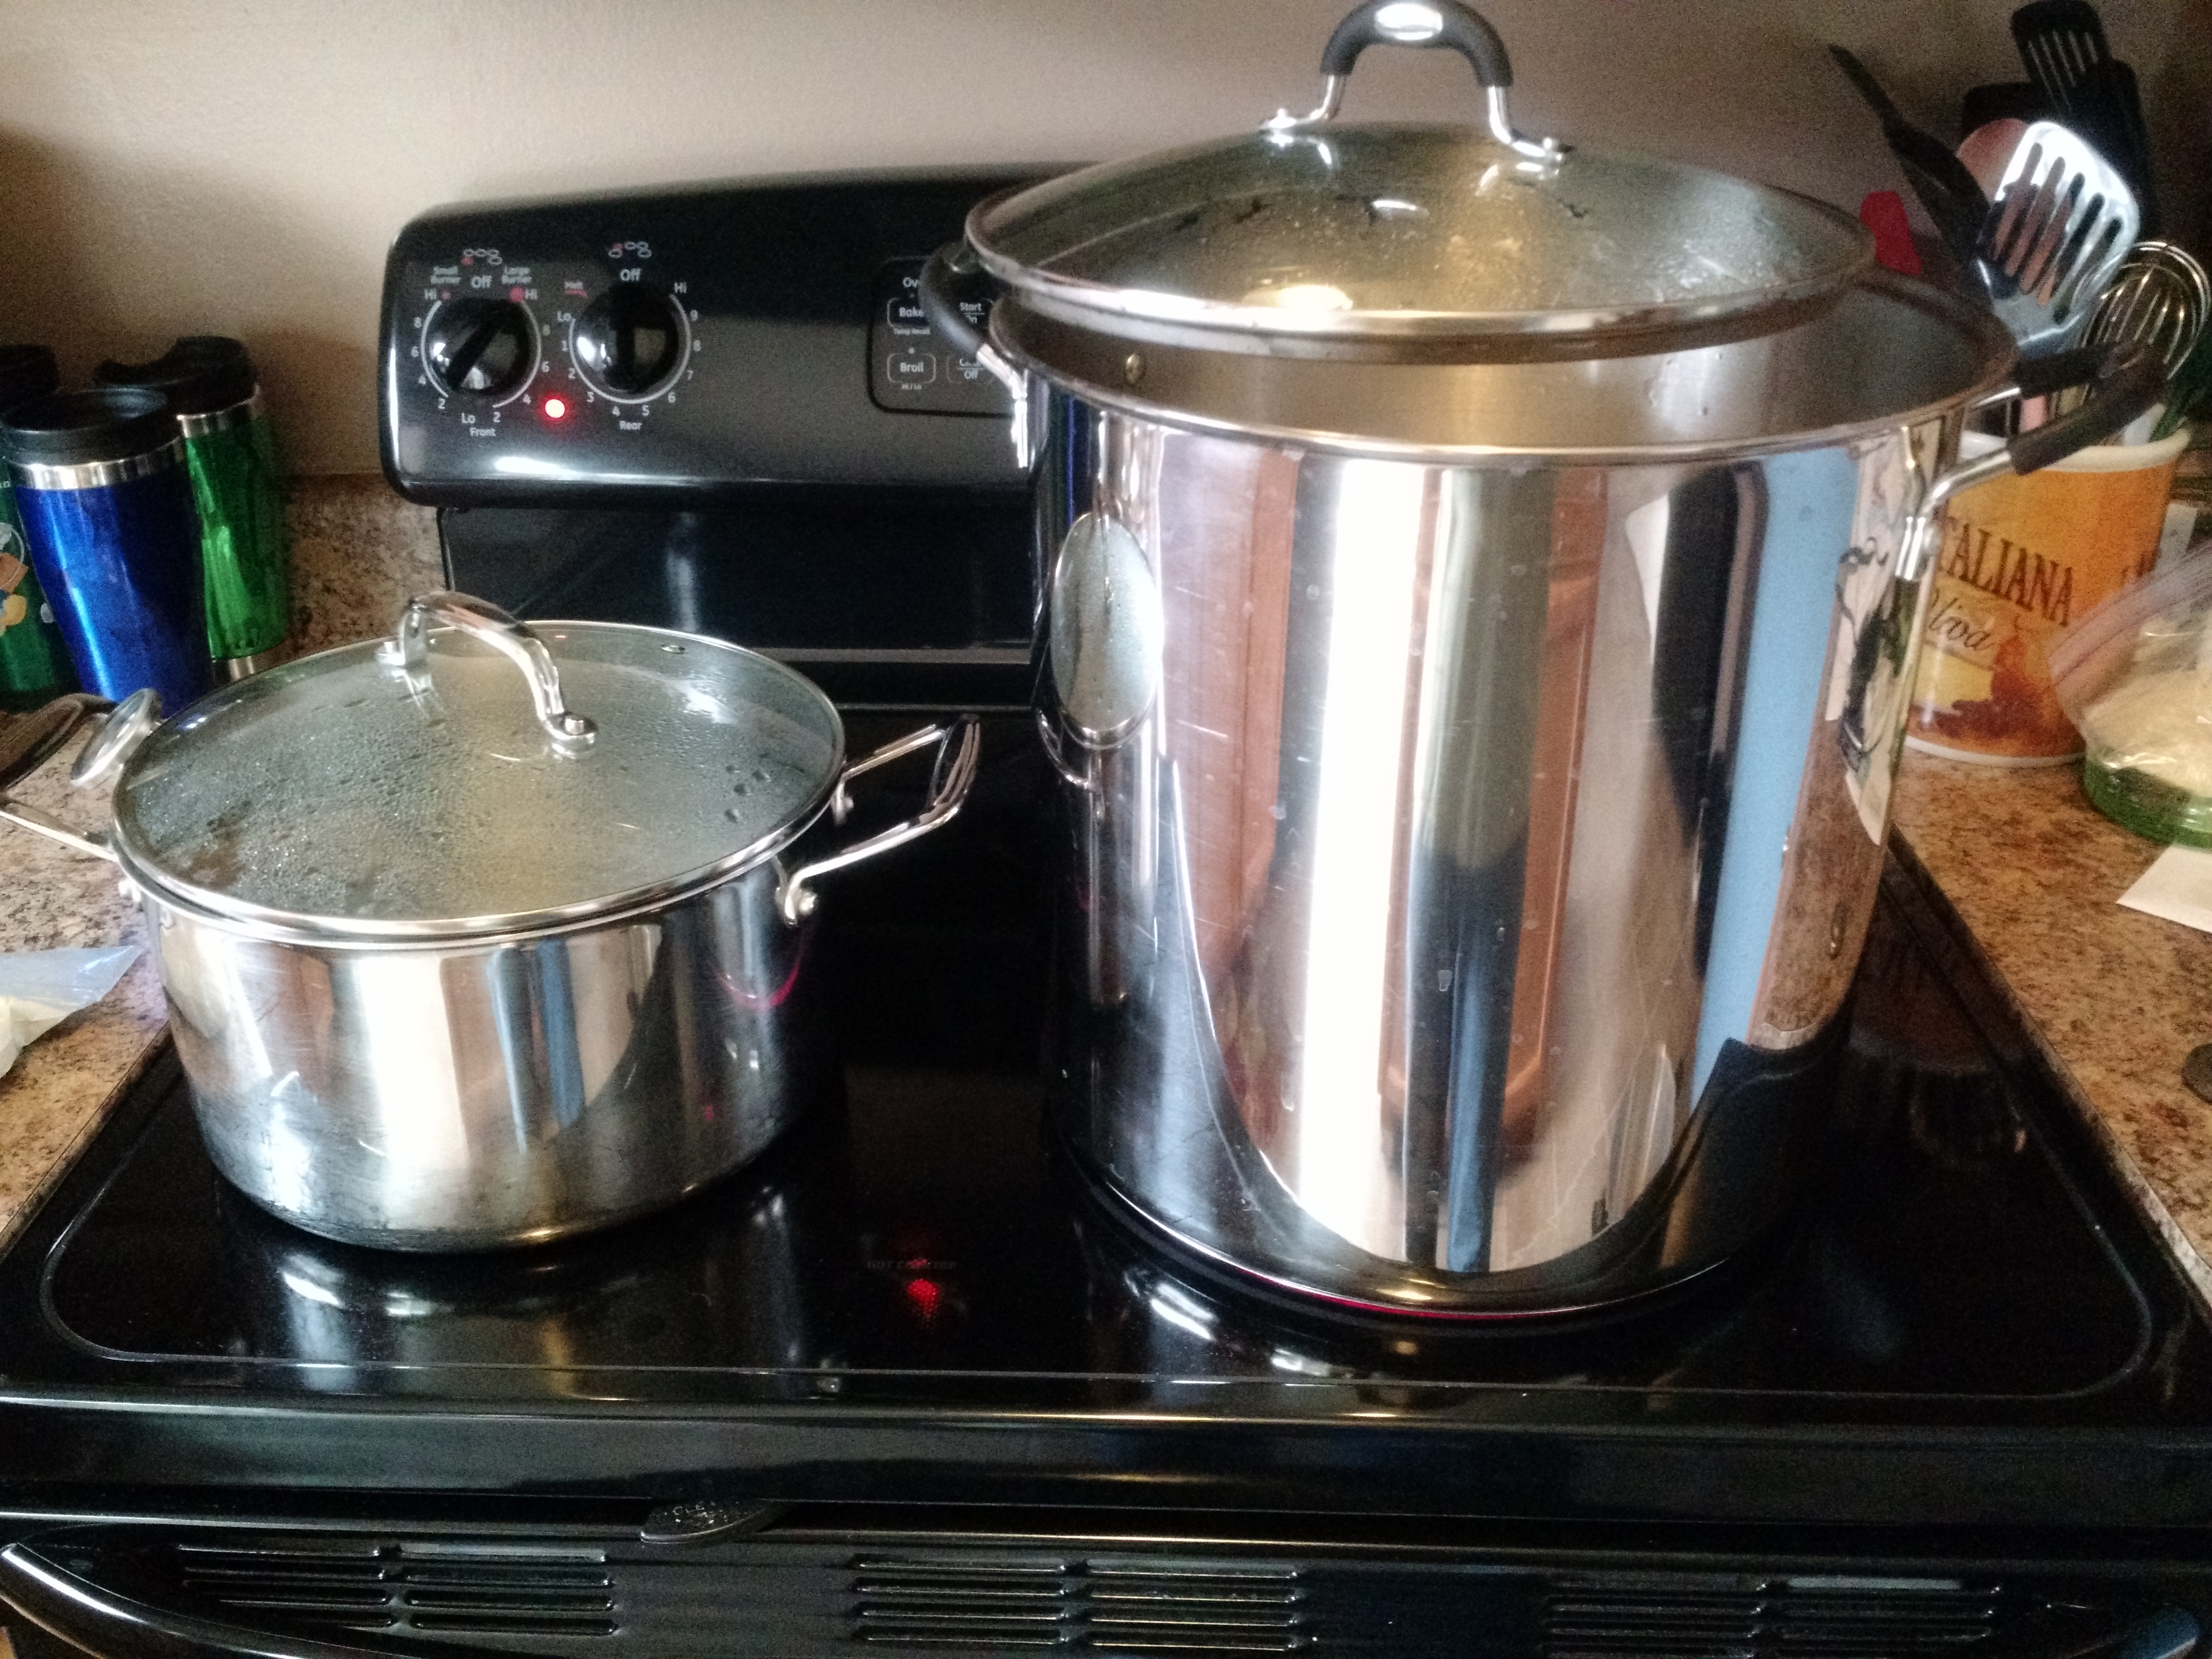
Hot liquor being brought to a boil on the left, jar sanitize water on the right.
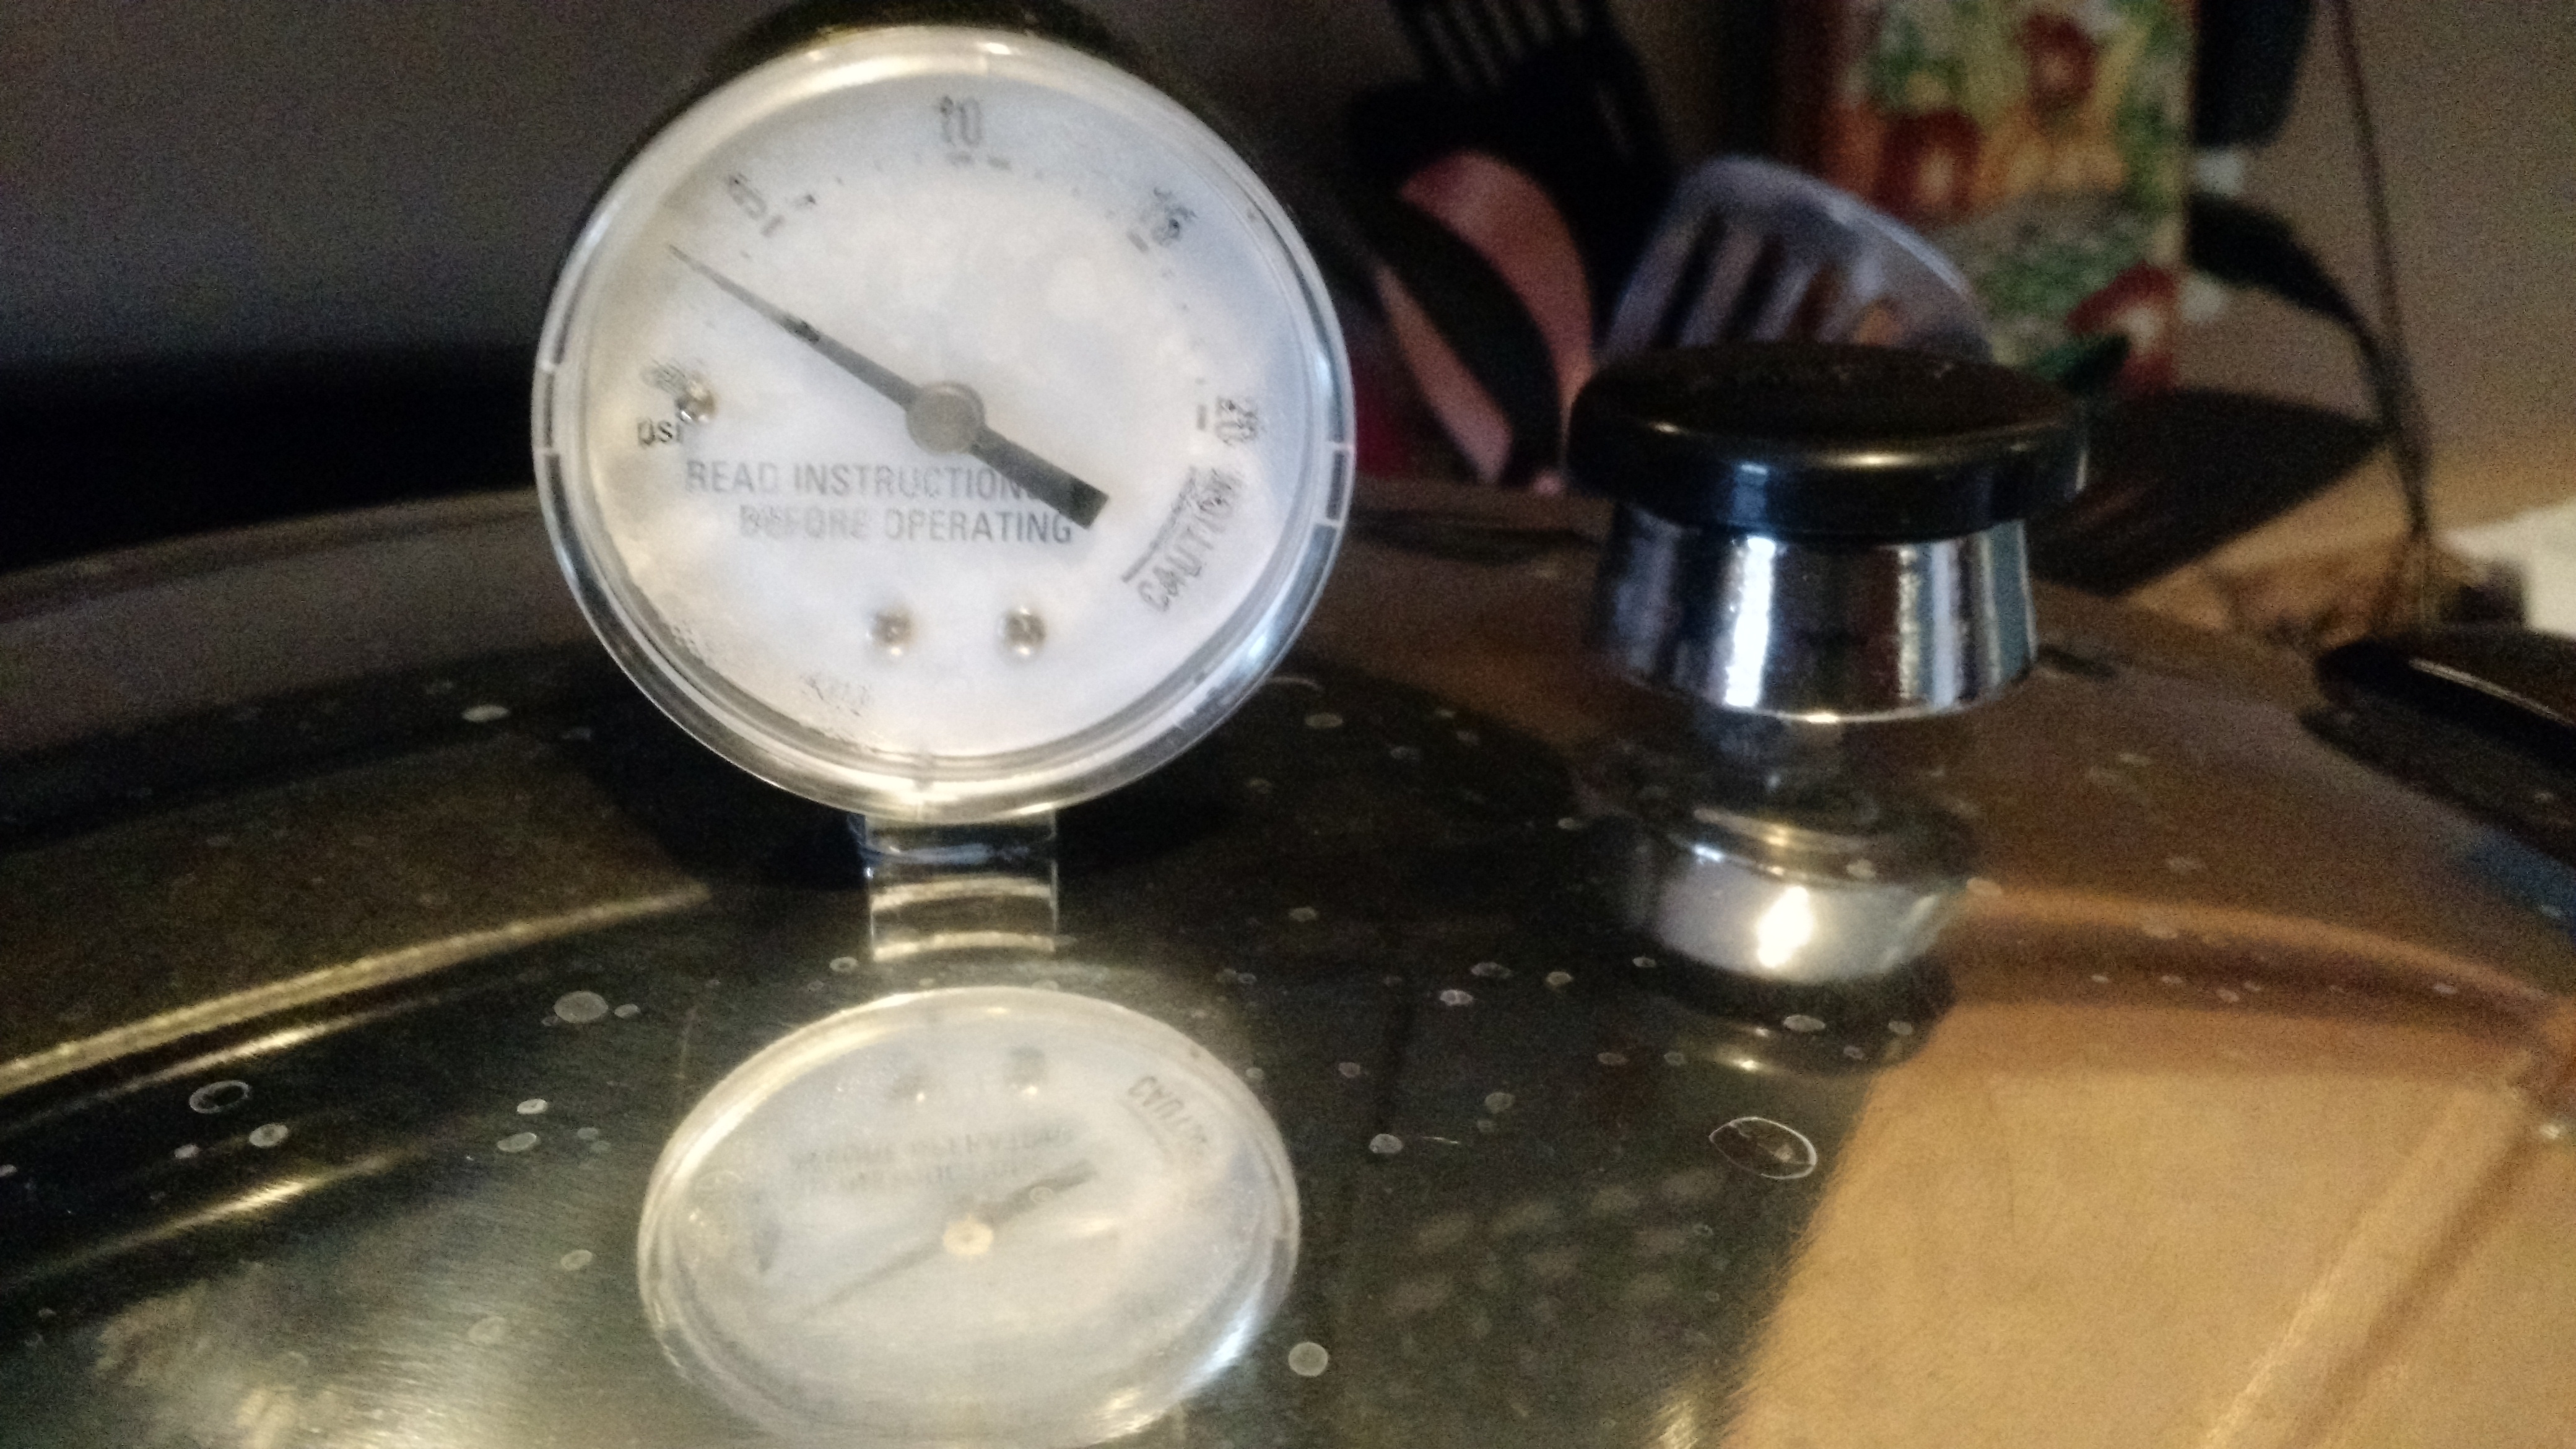
Pressure canner is coming to pressure. The weight is the black thing on the right.
Using the Starter
Using this is pretty easy. Remove the ring and spray the lid area with sanitizer, and then pour into a sanitized flask. Then, pitch yeast, add a stir bar, and put on a stirplate. The 1 Qt jars are roughly 1,000 mL of yeast starter. Depending on your yeast and situation, you may need to use multiple jars of starter.
Cheers!