Tag Archive: kegging
My Minimal Oxygen Transfer Method
I made a NEIPA, which I love and hasn’t turned brown… for those unaware, these things oxidize quickly.
I fermented this in a plastic carboy to give me the potential to transfer to a keg with minimum oxygen. This was the first try, so I did have some issues (which are addressed in the procedures, I’m not talking about my screw-ups here).
1: Cold Crash (if possible)
Cold crashing will remove much of the yeast from suspension, and that will likely improve flavor. I skipped this because my fermentation chamber is unable to go below 55 (actually, I’m not even sure if it’ll go below 60, but it can keep an ale at 68).
2: Setup
The basic bare-bones of this is a gravity transfer. That being said, the fermenter needs to be up on something and the destination keg needs to low (like on the floor). You should already have a racking cane in a siphon cap and the other end should be prepared with a CO2 line. Since I don’t have an extra CO2 tank, I fitted mine with a gas post. Make sure you use Oetiker clamps or worm clams on the gas lines!

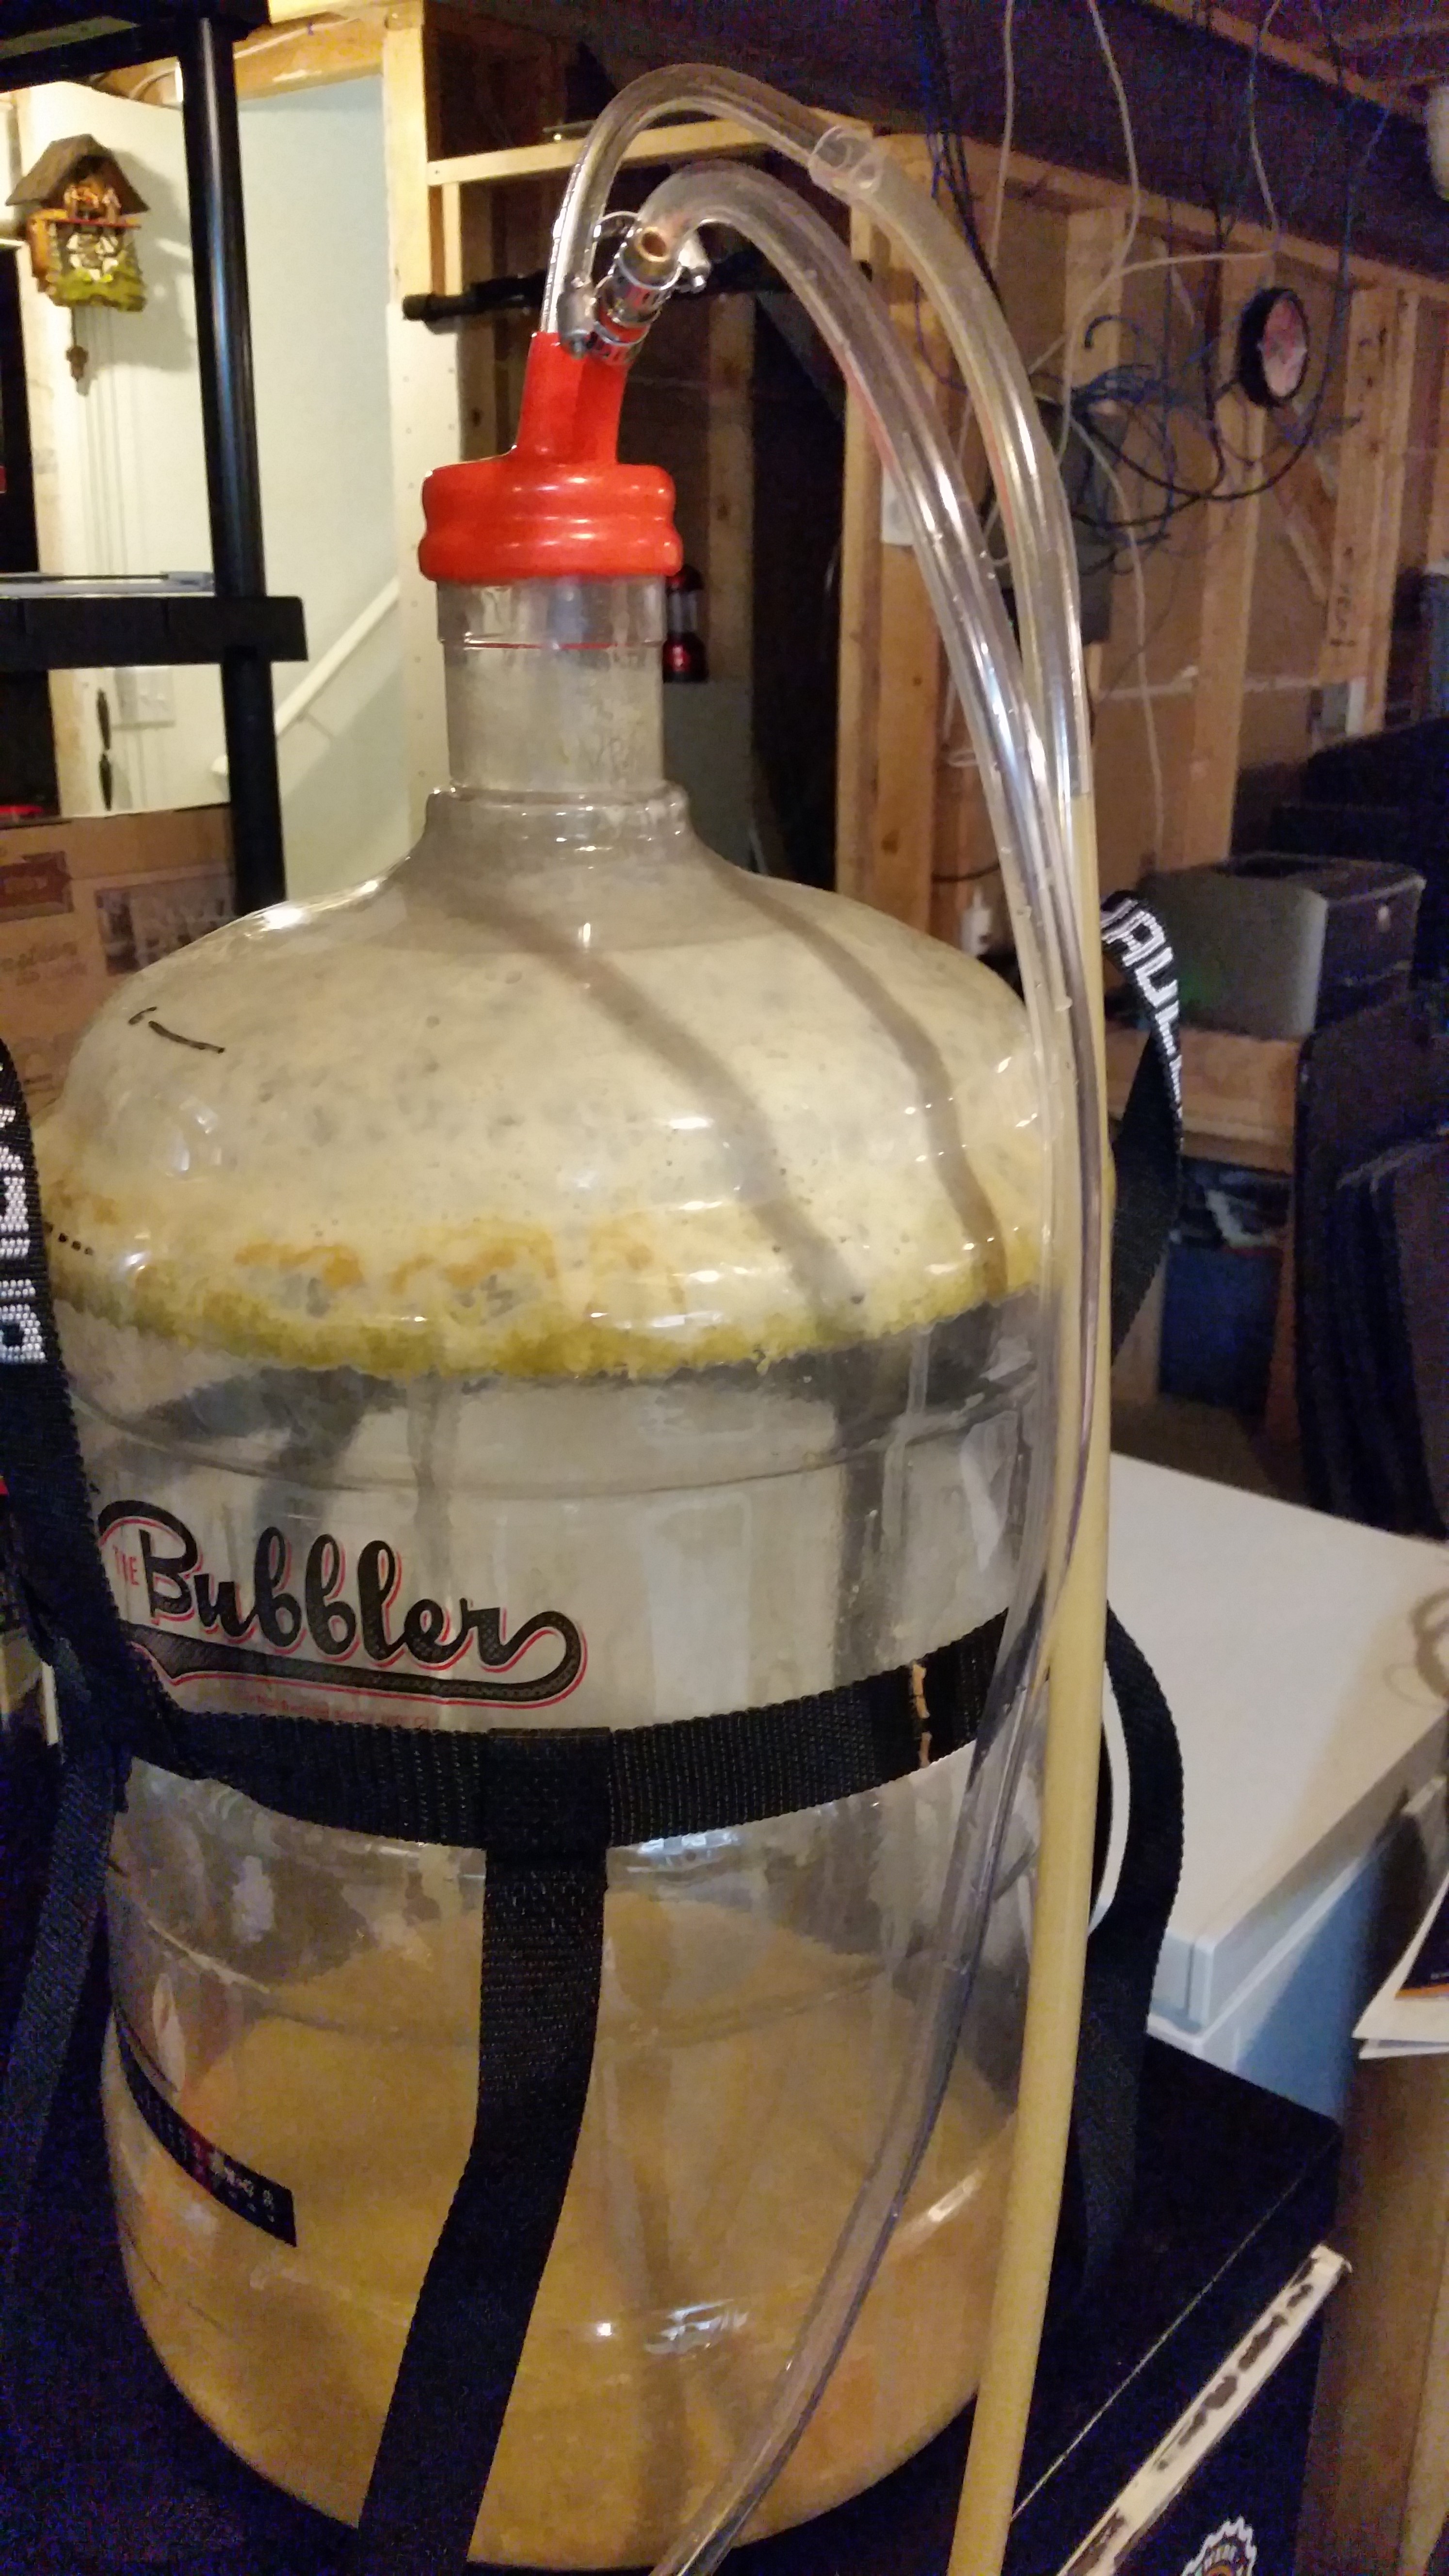
The destination keg should be purged of oxygen (fill it with CO2 and pull the pressure-release valve or otherwize depressurize the keg (mine are pin-lock, so I fill and then use another gas post to depressurize). Additionally, if you’re like me and don’t want to move your CO2 tank, you can use an empty keg as a temporary tank – purge that keg and then pressurize.
If you keg hop, as I did with this, bag the hops and place in the keg before purging.
The only time the fermenter has any oxygen exposure is if you have to remove a blow-off or airlock to place the carboy cap. That should be done quick, and prior to doing that, the cap, cane, and line should be sanitized and the posts (on the ends of the lines connected to the carboy cap) should be fully assembled. If you’re using a CO2 tank, connect it and push a little CO2 through it before making the switch.
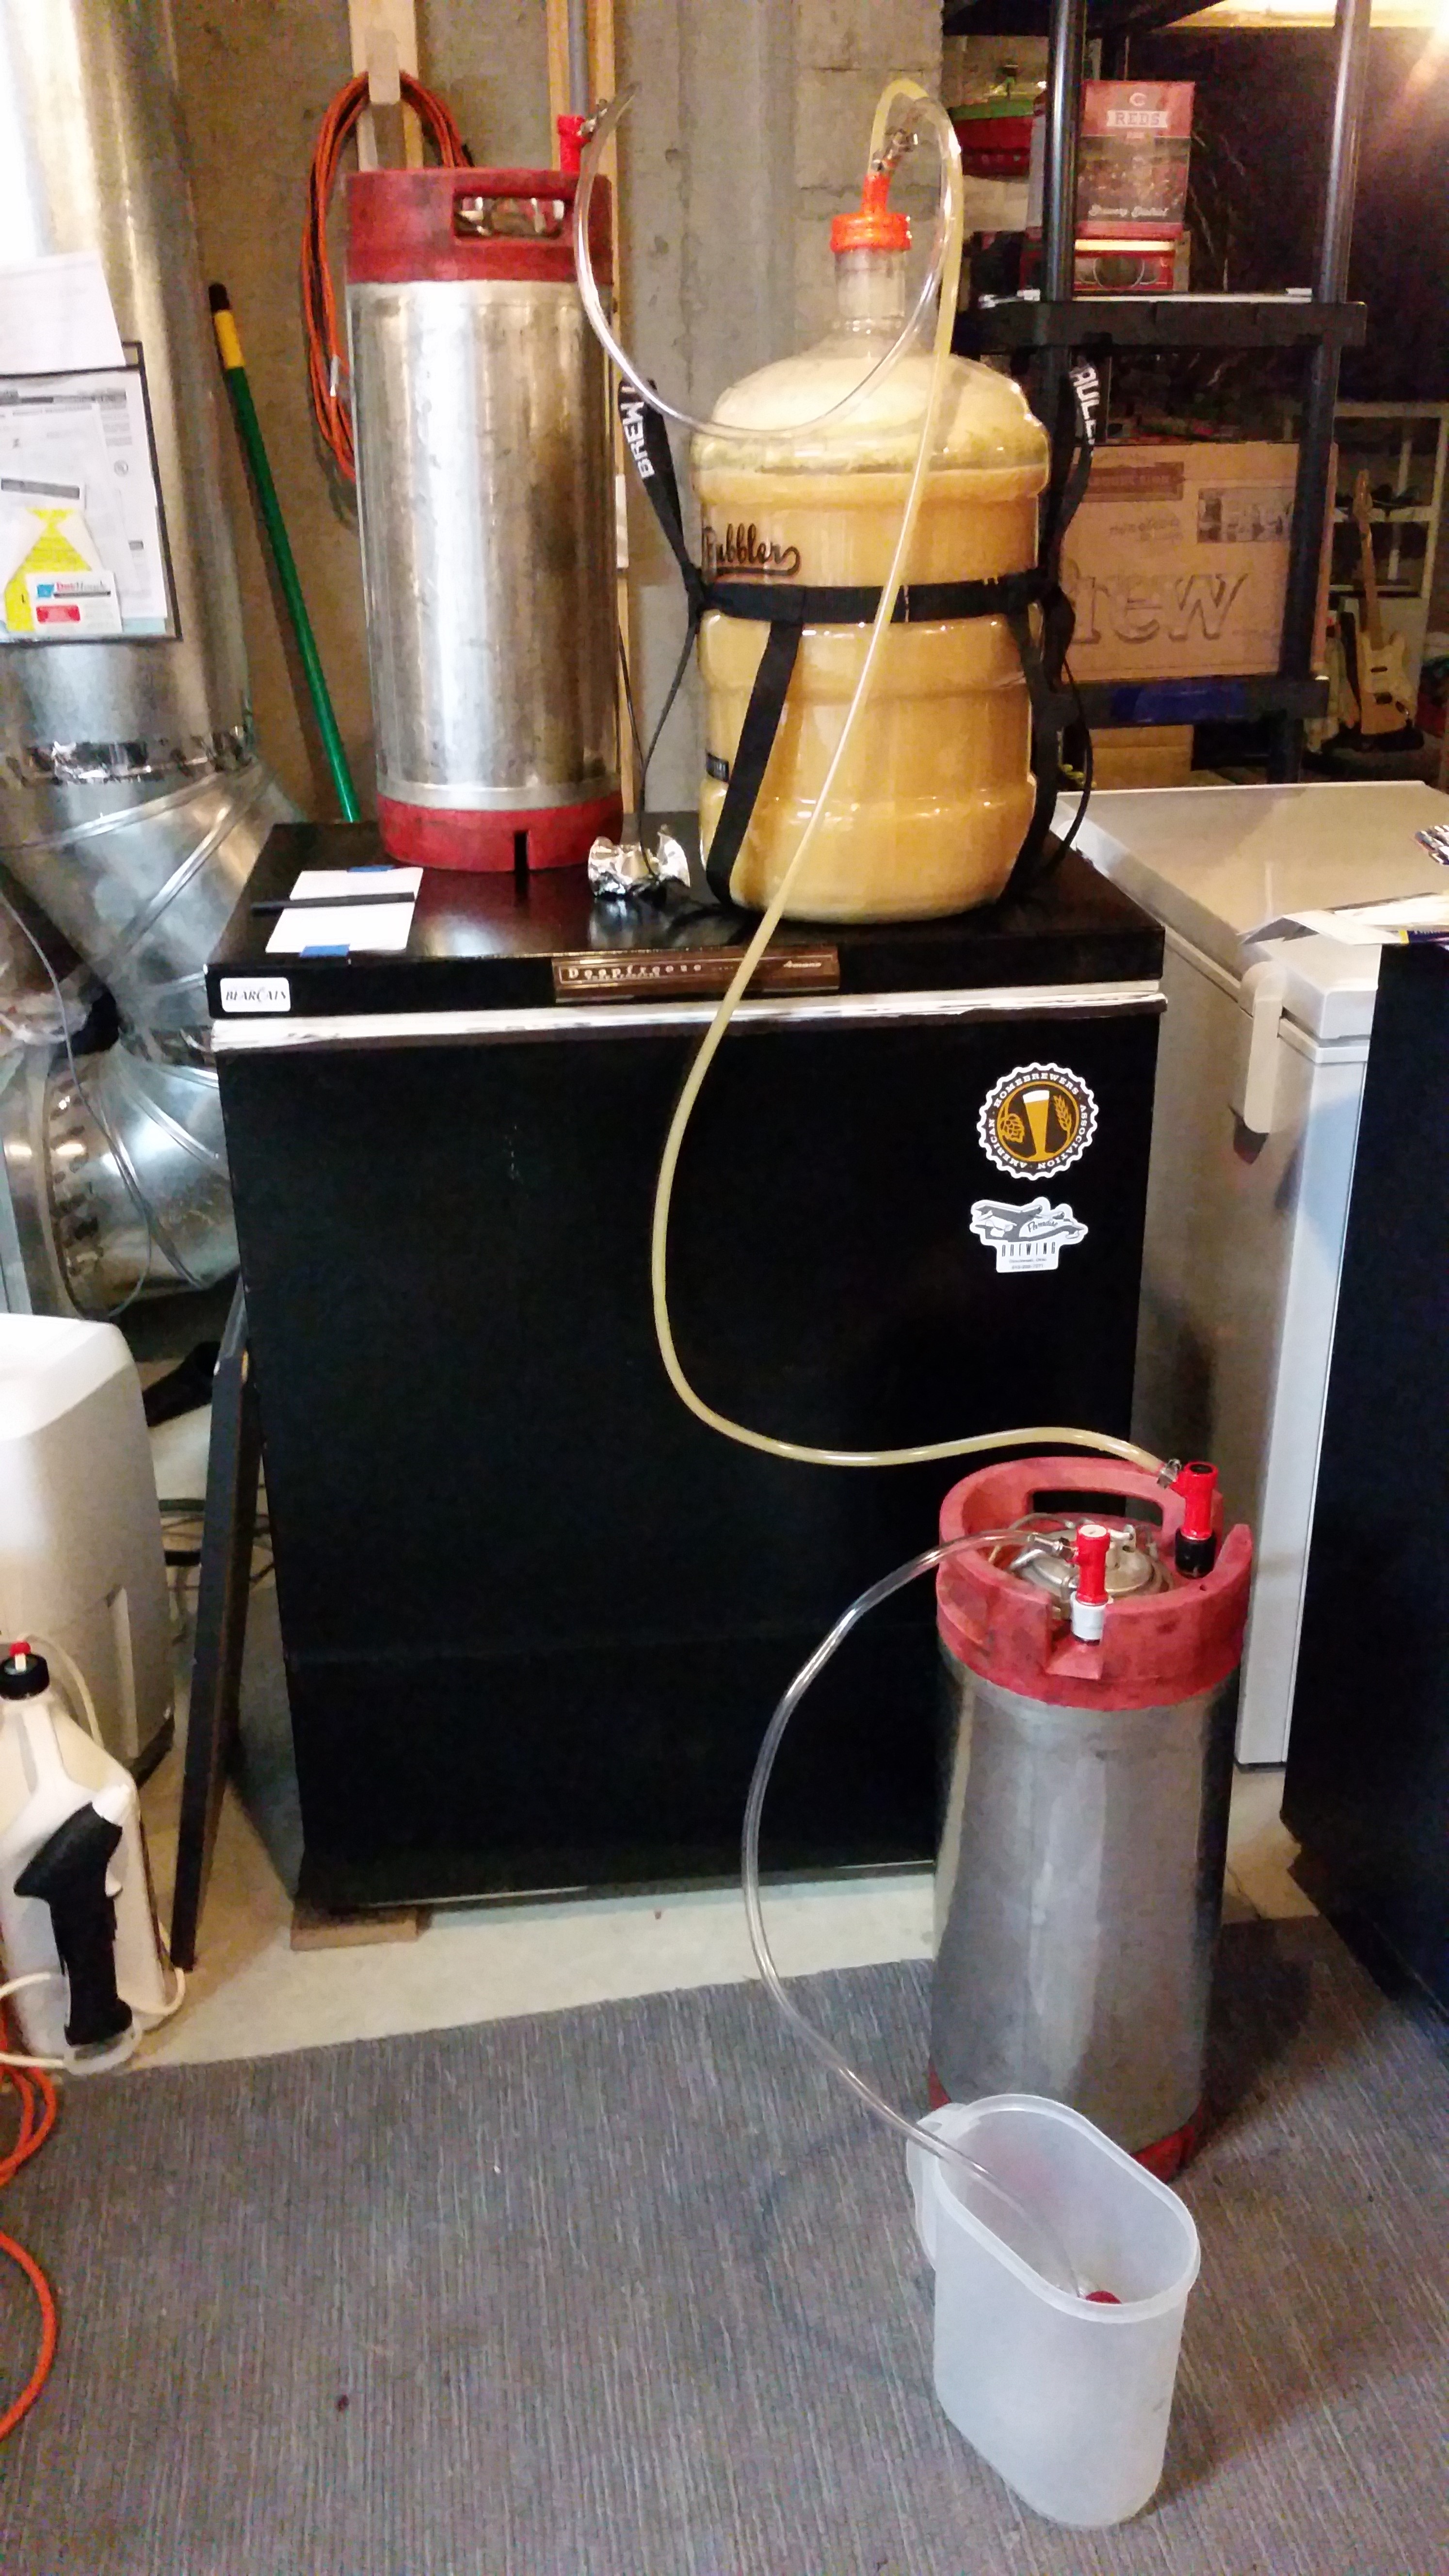
3: Begin Transfer
Connect the lines in this order:
- Fermenter to Keg
- Keg gas out (into a container of sanitizer, like a blow-off tube).
- HOLD ONTO THE FERMENTER CAP!
- Push (DO NOT CONNECT) the CO2 keg (if using a CO2 tank, use a very low pressure)
- DURING THE TRANSFER, make sure to continually supply CO2 to the fermenter – if it is closed it will start to implode and the siphon will slow.
At some point, the flow will stop. It is unlikely that there will be enough pressure to force beer out through the gas line, what tends to happen is that once the beer gets to it, it’ll stop. If there happens to be enough pressure, you’ll see beer getting into the sanitizer – that’s your signal to stop! Disconnect the keg liquid line (be prepared to wipe up some spillage) and the gas line.
Once that’s done, proceed to carbonate as normal. For this beer, I force-carbonated on about 12 PSI for about a week.

Kegerator! The Plan.
If my last post didn’t indicate that I LOATHE bottling, I’m not sure what I could have said to get that point across.

He’s really talking about bottling his homebrew, not those poor little Whos in Whoville.
While bottling has the cost part down (a 6-pack of bottles costs around $10 and comes with free craft beer), it has a number of disadvantages:
- Bottles are breakable
- Bottles take up a ton of room
- Capping 30-50 bottles at a time is no fun
- There’s no reliable, easy way to store clean bottles
The last point may be what has aggravated my wife. Despite the basement being “mine”, she is not at all happy with the several 6-packs of bottles in the middle of the floor. They’re in the middle courtesy of a crack in my foundation that leaks after extreme rains. Which has so far been twice, the second time left several 6-packs of empty bottles in a puddle. So they’ve been moved out for now. Into the middle of the floor.
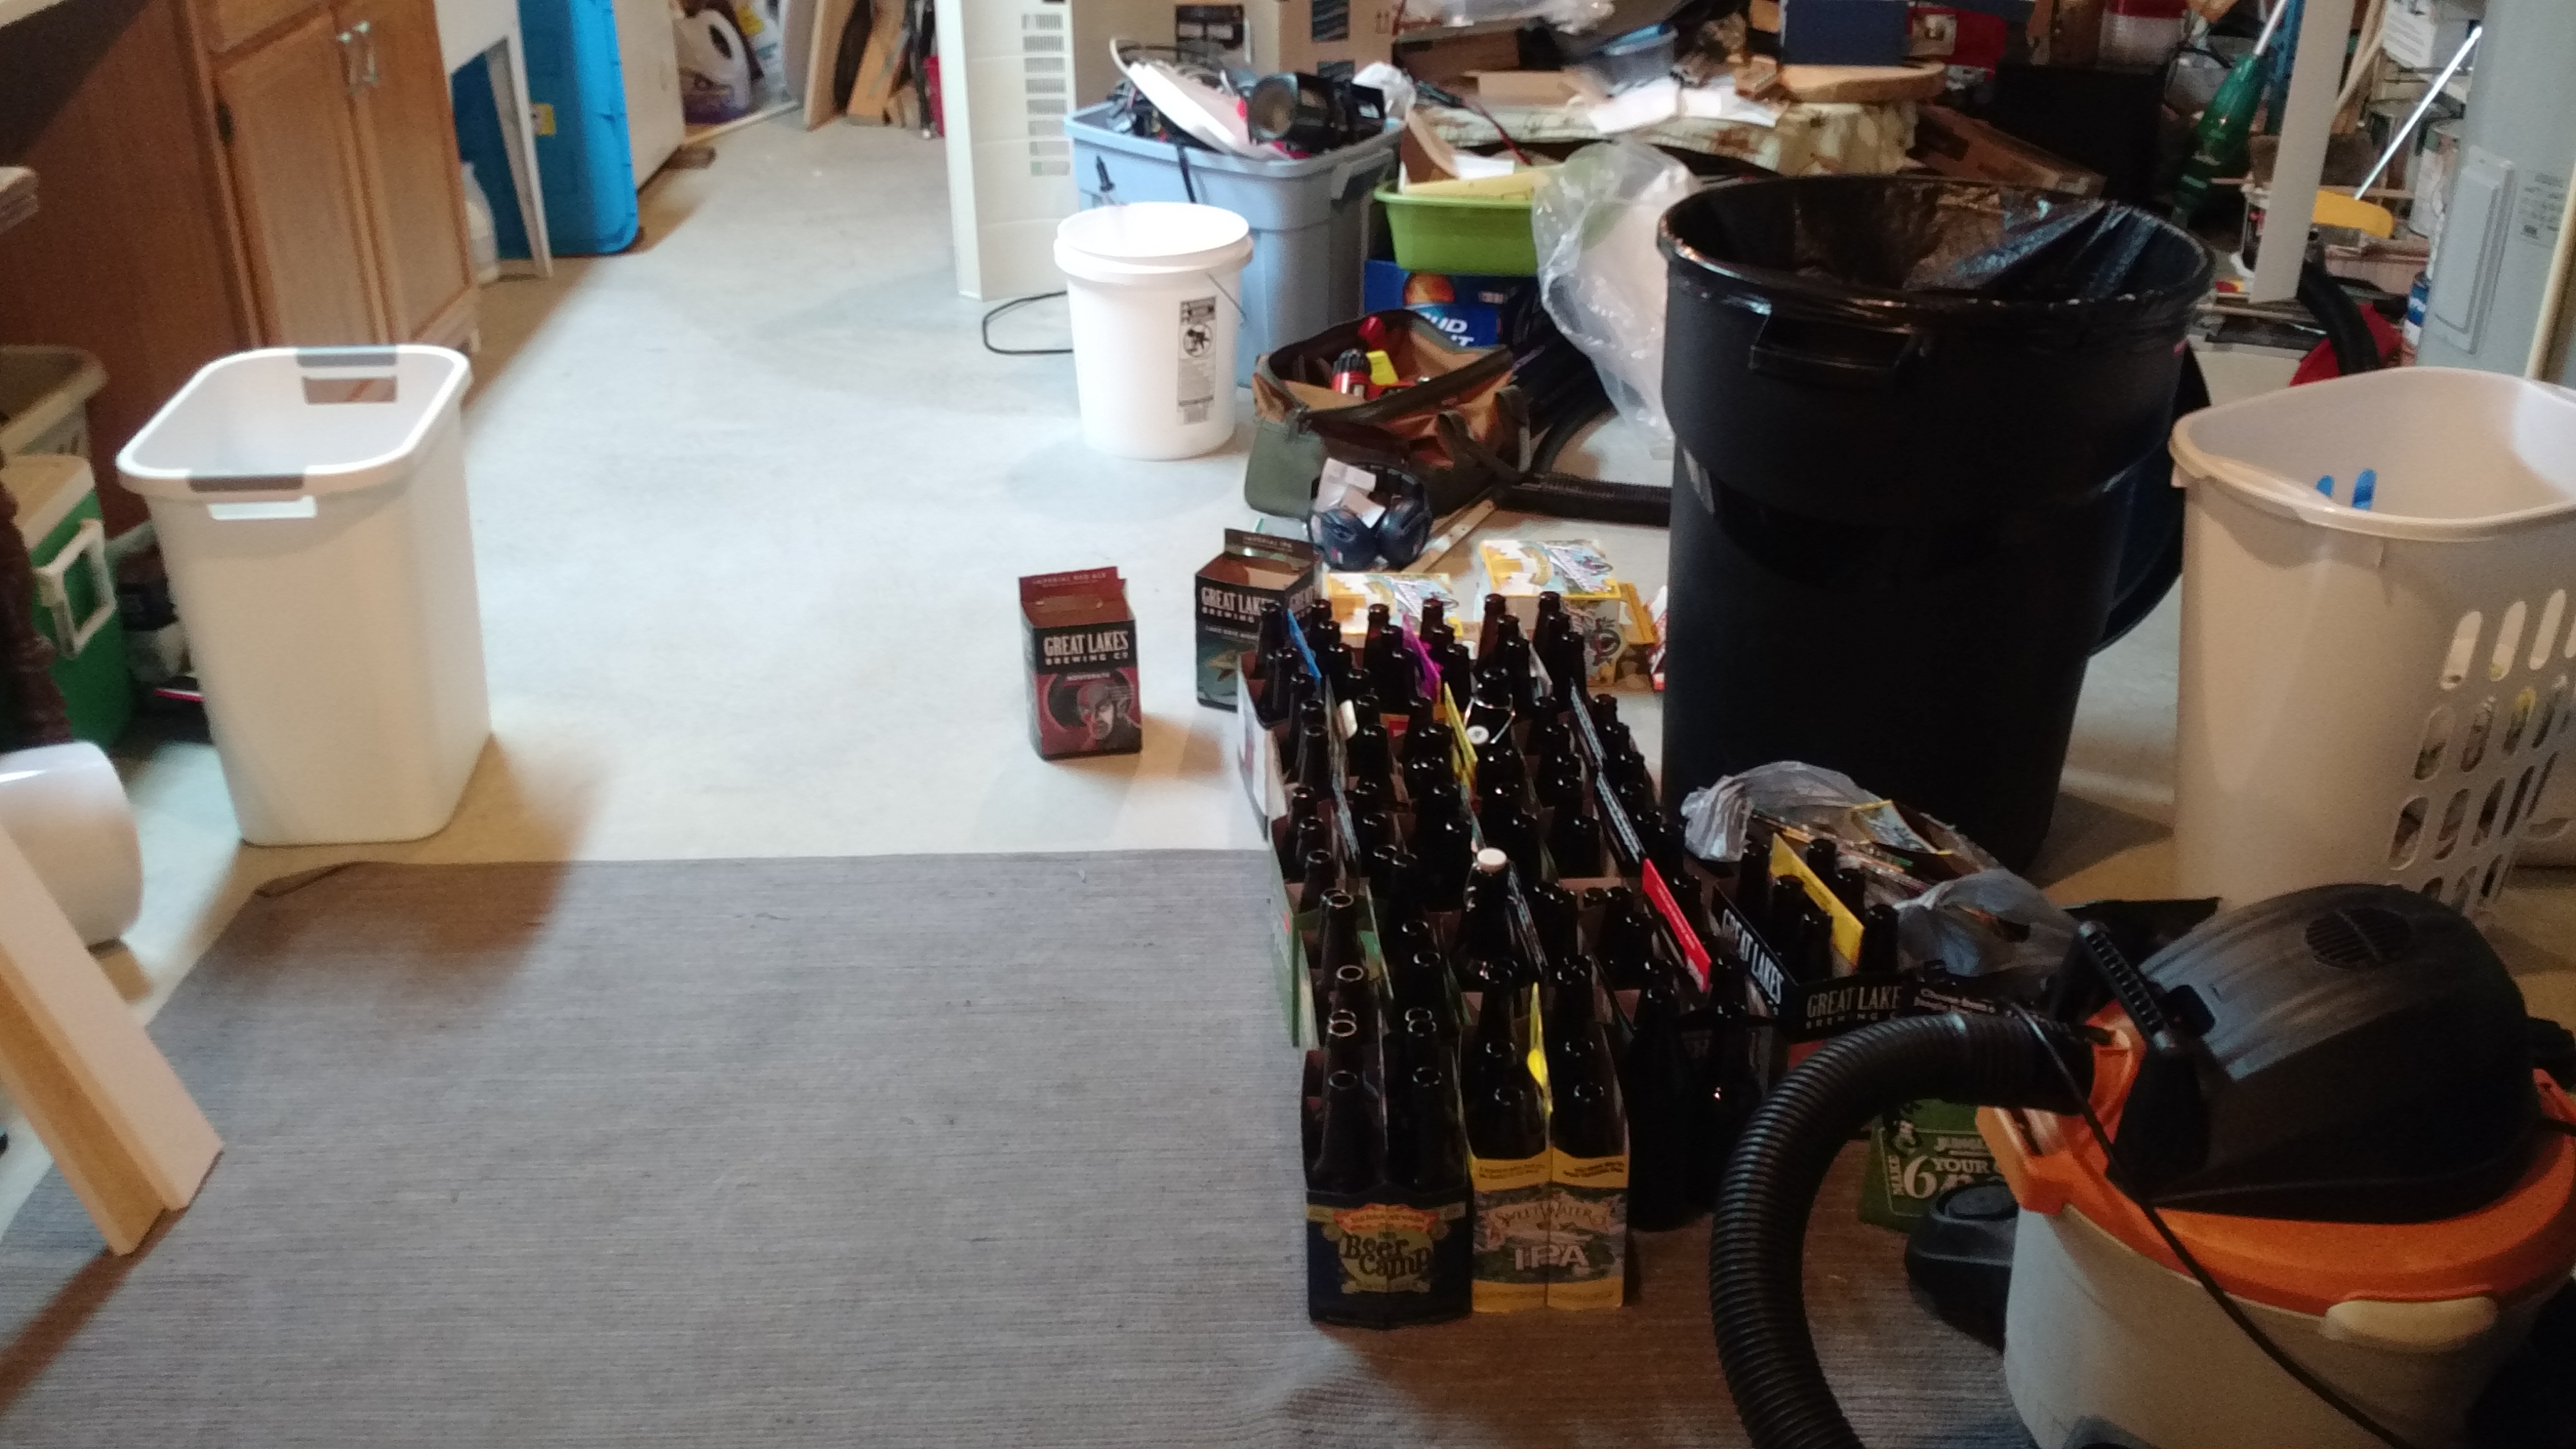
This is pretty much the worst way to store bottles.
The Plan – “Begin With The End In Mind”
My ultimate goal is a three tap keezer. One tap will (occasionally?) be a stout faucet. 95% of my beer is consumed by me, so I can have an IPA, a stout, and something else on tap. And nothing says that I can’t bottle the remains of a keg if it gets low, although the bottle guns I see look like a pain to use.
After looking at this guy’s nice keezer build on Reddit, my wife feels that it must be black and I must build a similarly nice looking collar. However, she feels mine should have a red pinstripe on it because it would make it look good with University of Cincinnati Bearcat decor. It’s really cool of her to say that since her degree is from Southwest Florida College, mine are from UC and University of South Florida.
After looking at my budget, my first few kegs will be with picnic faucets. I have more budget numbers, but they’re boring. I have more plans, but that’s boring too. The overall plan is something like:
- Paint Keezer Black, fix temperature sensor issue, and run it (for now) with the Raspberry Pi
- Begin using (seriously, I LOATHE BOTTLING ENTIRELY!)
- Build collar (may be done before #2, depending on many things)
- …?
- Profit
- Add nice faucets
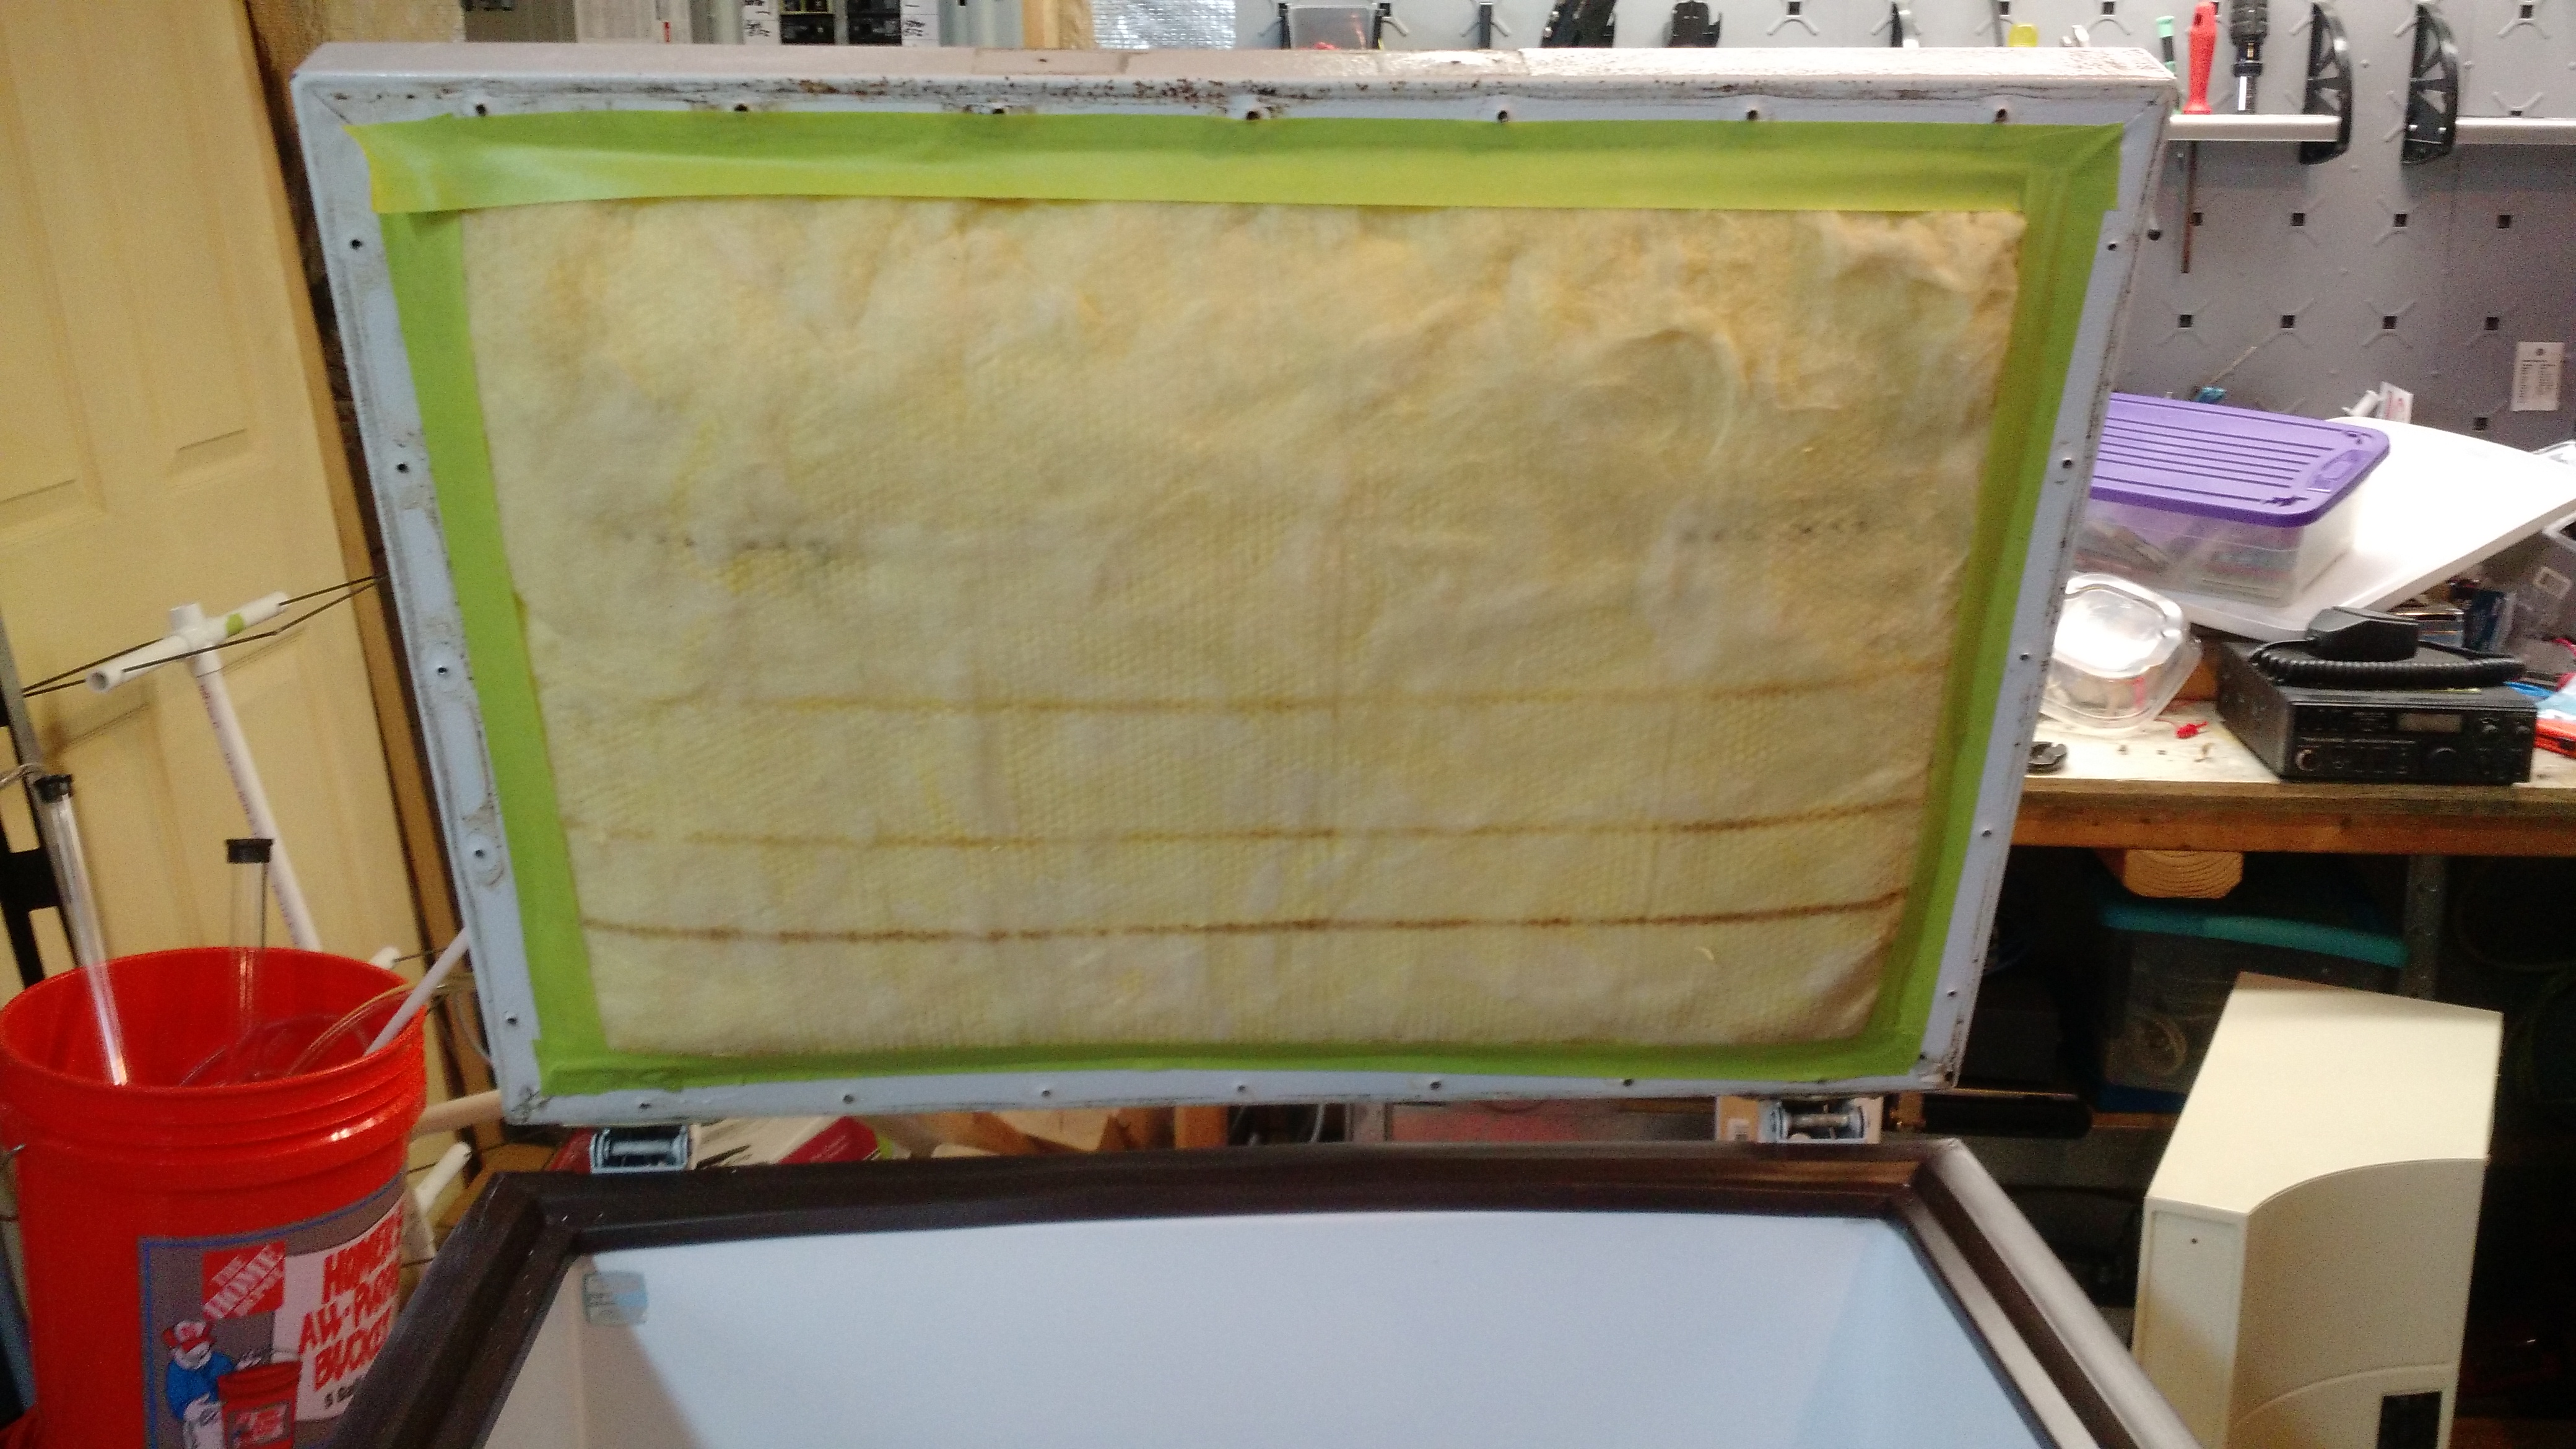
I taped the insulation to paint around it. Of course I used gloves when moving the insulation to remove the handle.
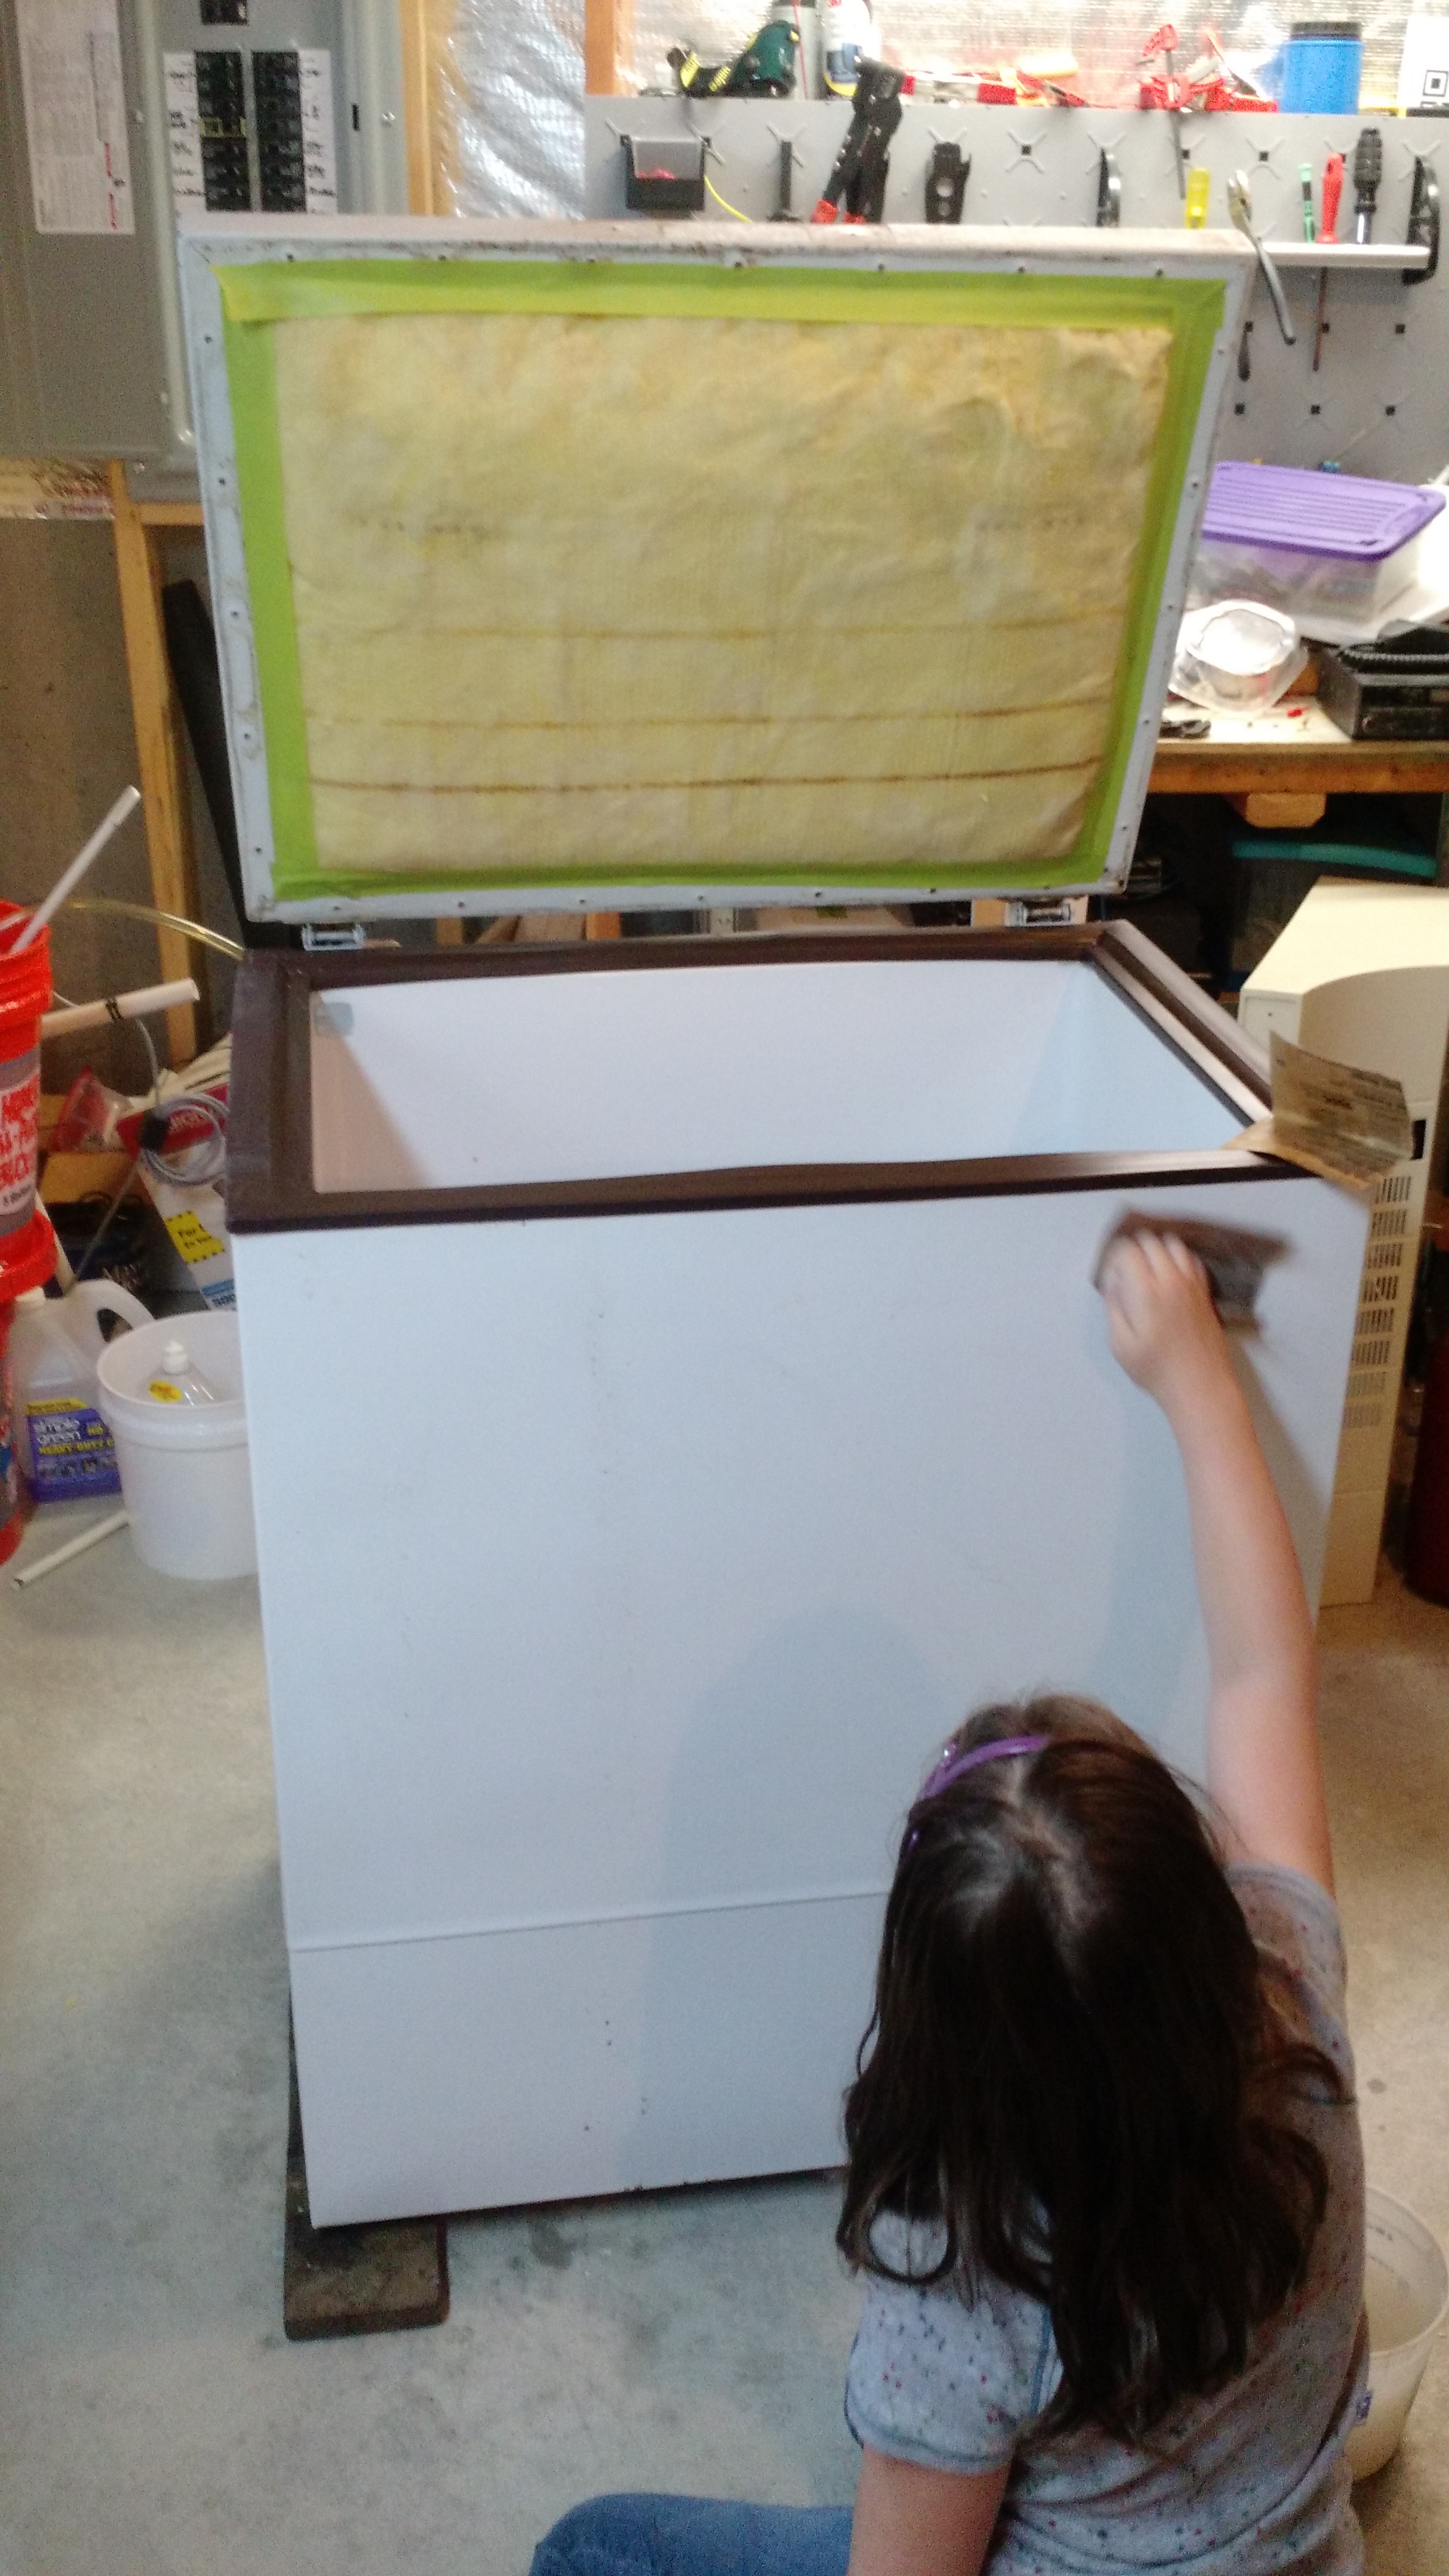
The kid’s on work detail. This is what happens when you don’t respect your elders!
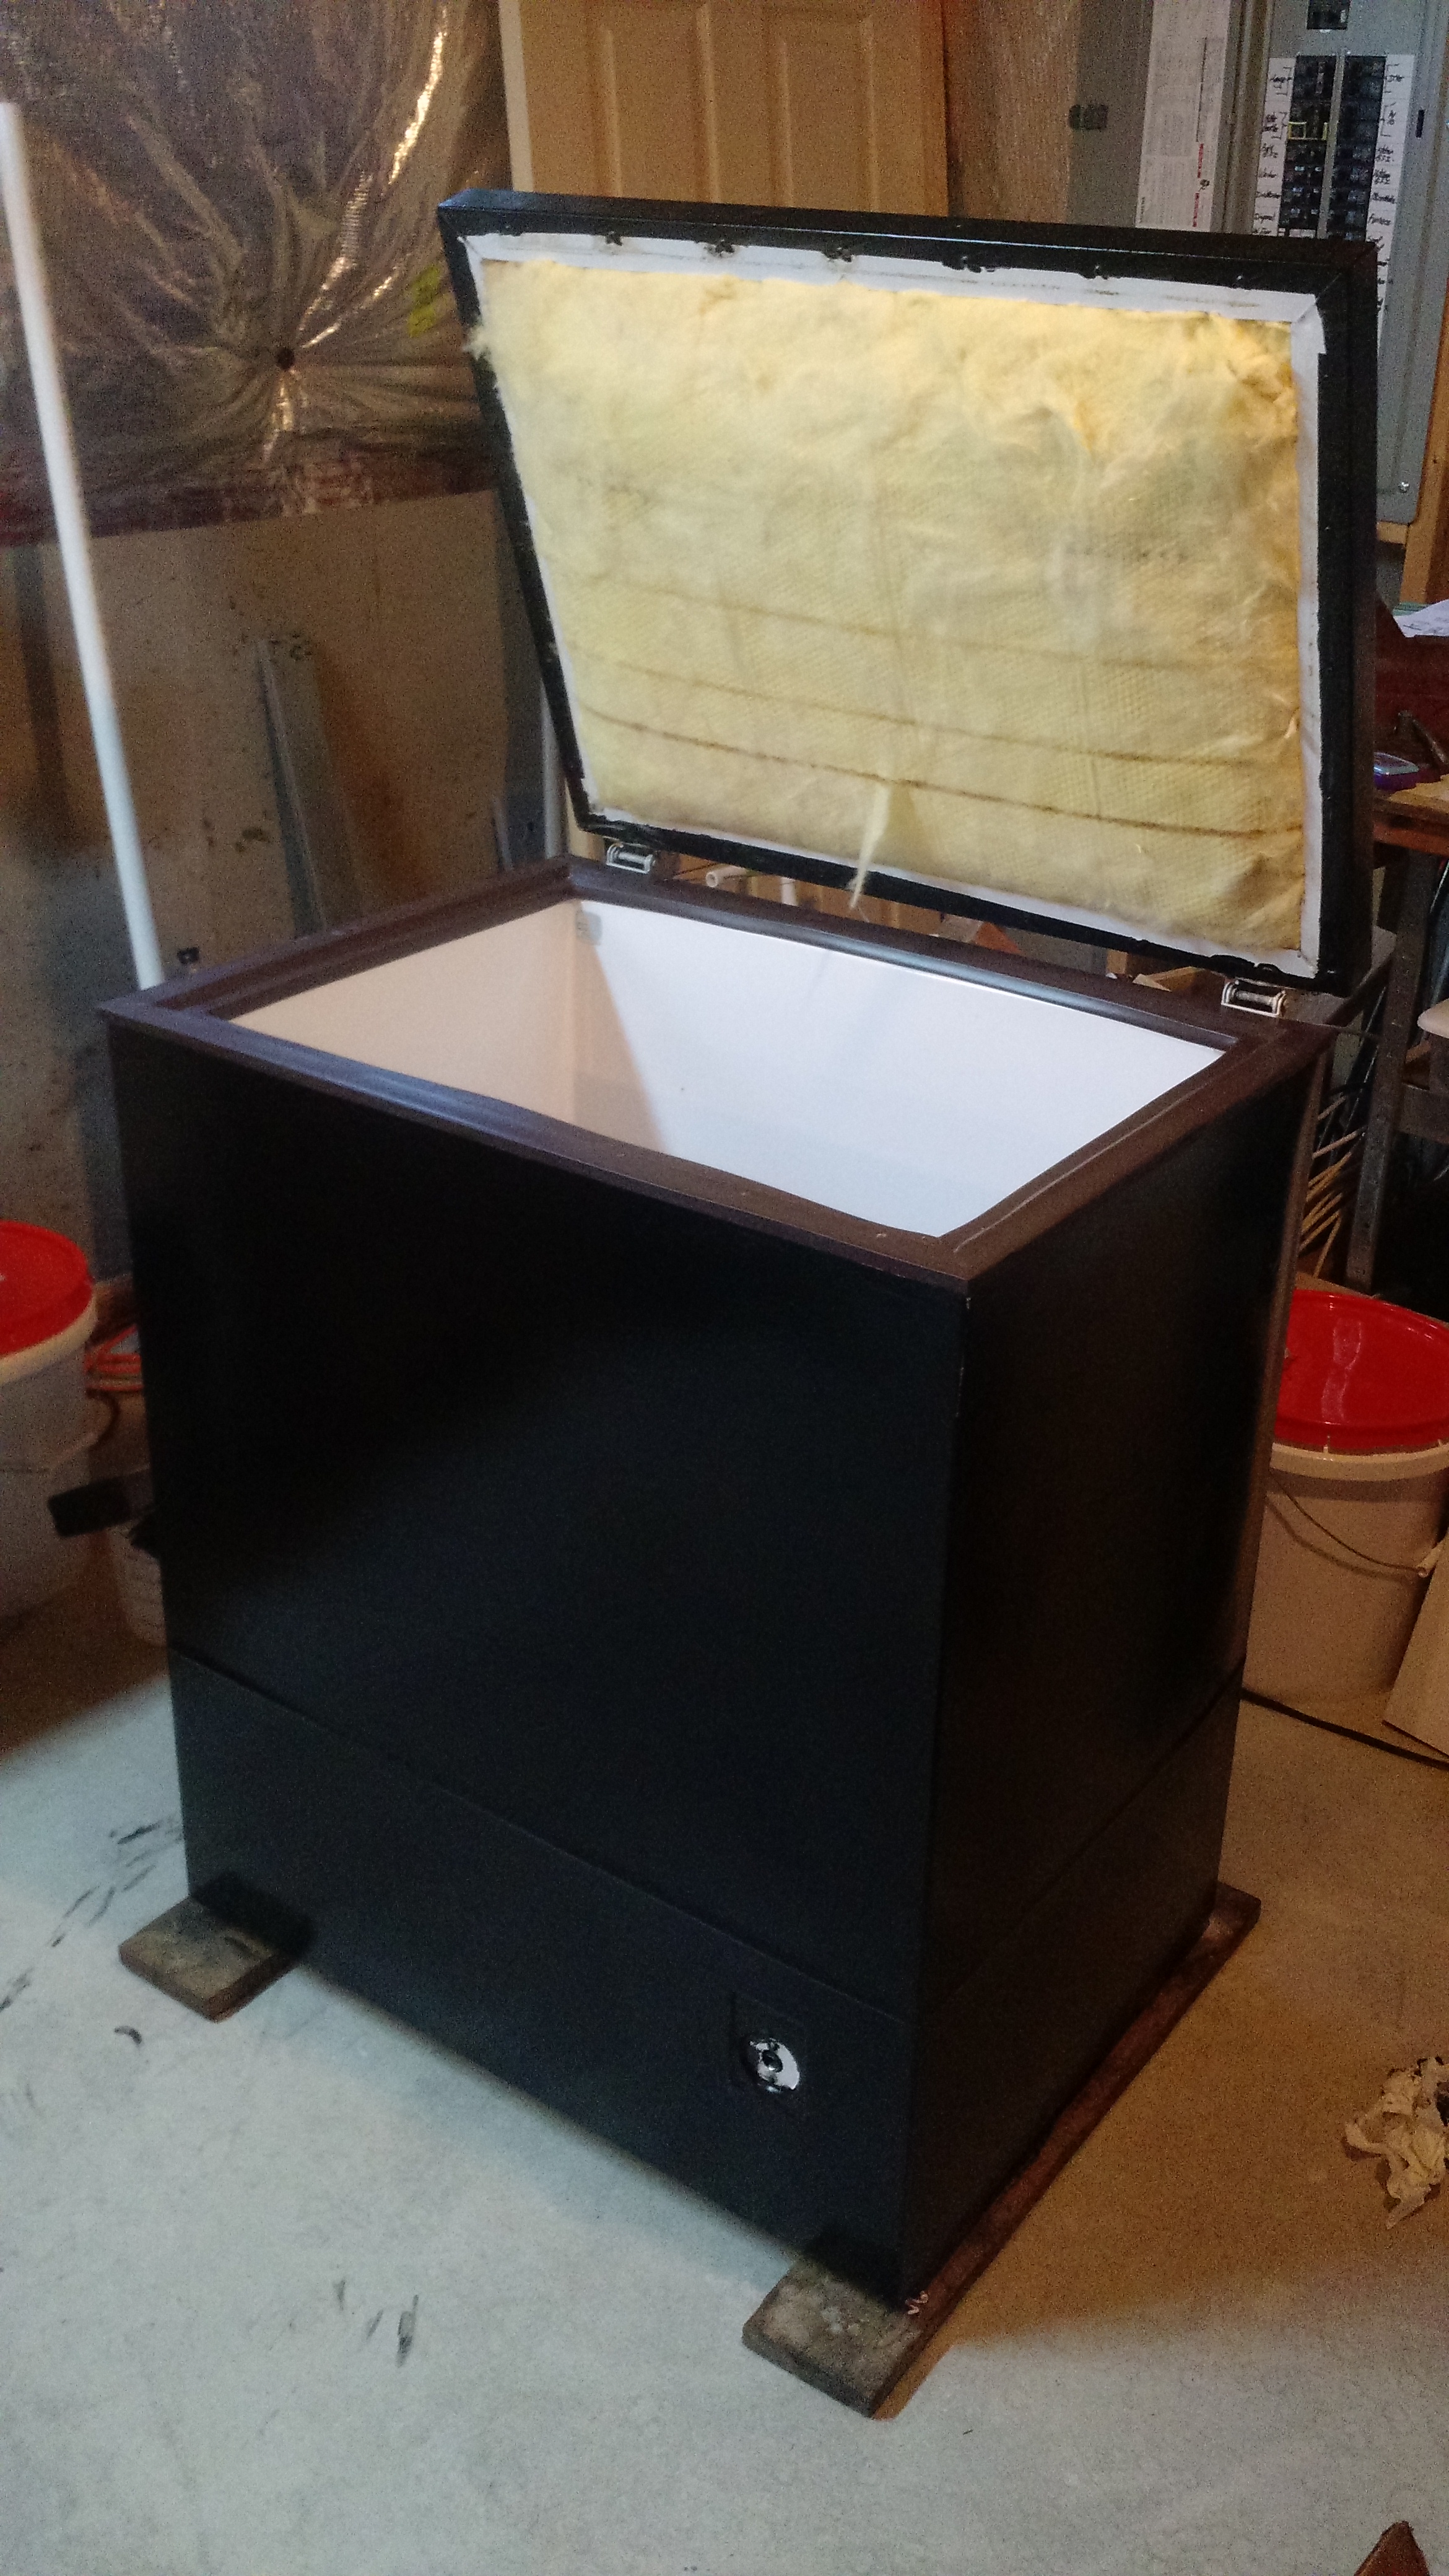
Painted!
There’s a few other things I want to do. I’d love to have some way to know how much beer is left in a keg. One way I can do this is using a flow meter (such as in this article on Adafruit’s website). I don’t like the idea of a flow meter. Adafruit’s has a 1/2″ inlet and outlet, and the beer lines are smaller, so the geeky engineer in me questions the accuracy, and the homebrewer in me questions what happens to the beer in this thing. Then I thought about using weight sensors that I saw on Sparkfun’s website. As I was typing this, I found a post on HBT that even points to Sparkfun’s tutorial on their kegerator. While my implementation might deviate from this, it will be with inspiration from Sparkfun… although the first thing I thought of was this.
The Mystery Cylinder
I have a 5 lb beverage cylinder that I evidently purchased for another use in May of 2000. Yes, fifteen years ago. The gas shouldn’t go bad, but there was no label on the cylinder ever. I thought I’d call the place that I purchased the cylinder from (because it was either “air” or “CO2”, IIRC), but it appeared they went out of business many years ago (they may not have, but earlier I thought they did). I looked into things and found that as long as your tank was filled by a legitimate business (and this was), the ONLY valve on top of the tank should be a CGA 320… Okay, it could be Methyl Flouride, but I’d be shocked if I got that from a Fire Suppression Store and that it’d have a green collar on it, normally flammable stuff is red (but I could be wrong, I didn’t look into this).
I know of no other tests, but since I’m 99% sure this is CO2, I’m going to go with it.
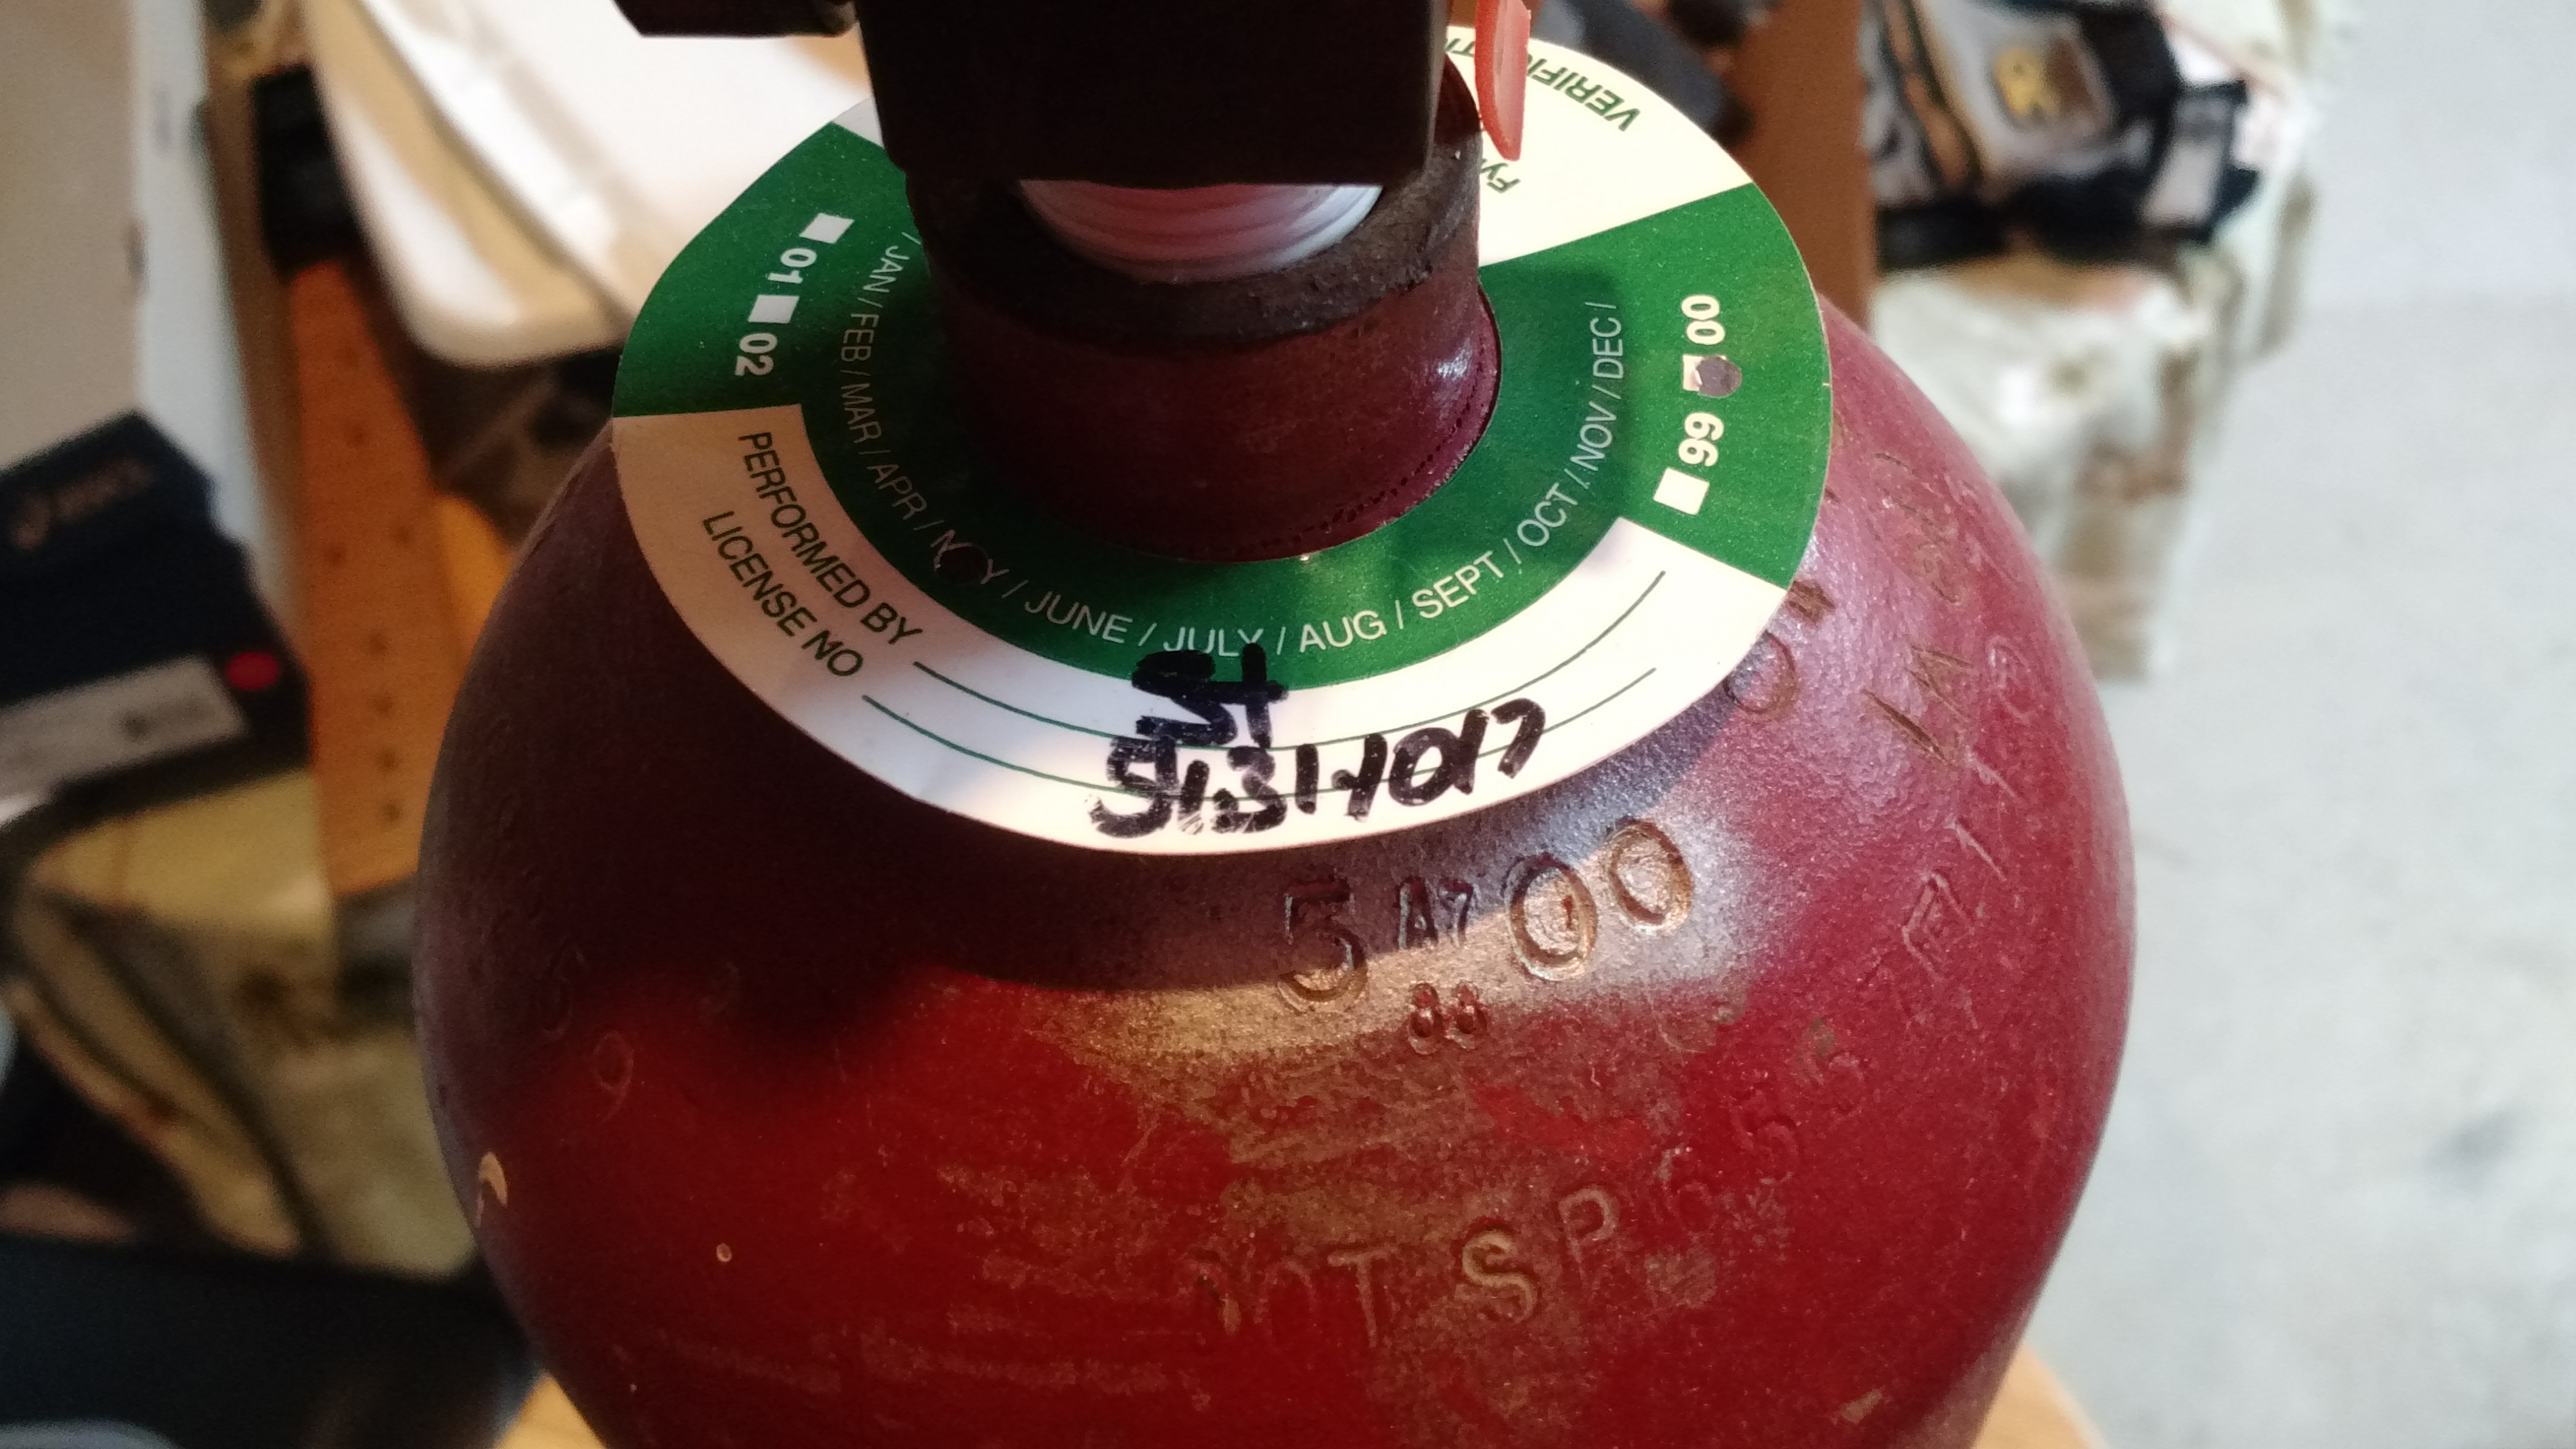
This is the date collar ring. May of 2000. This means that I will have to have the tank inspected and re-certified prior to having it filled.
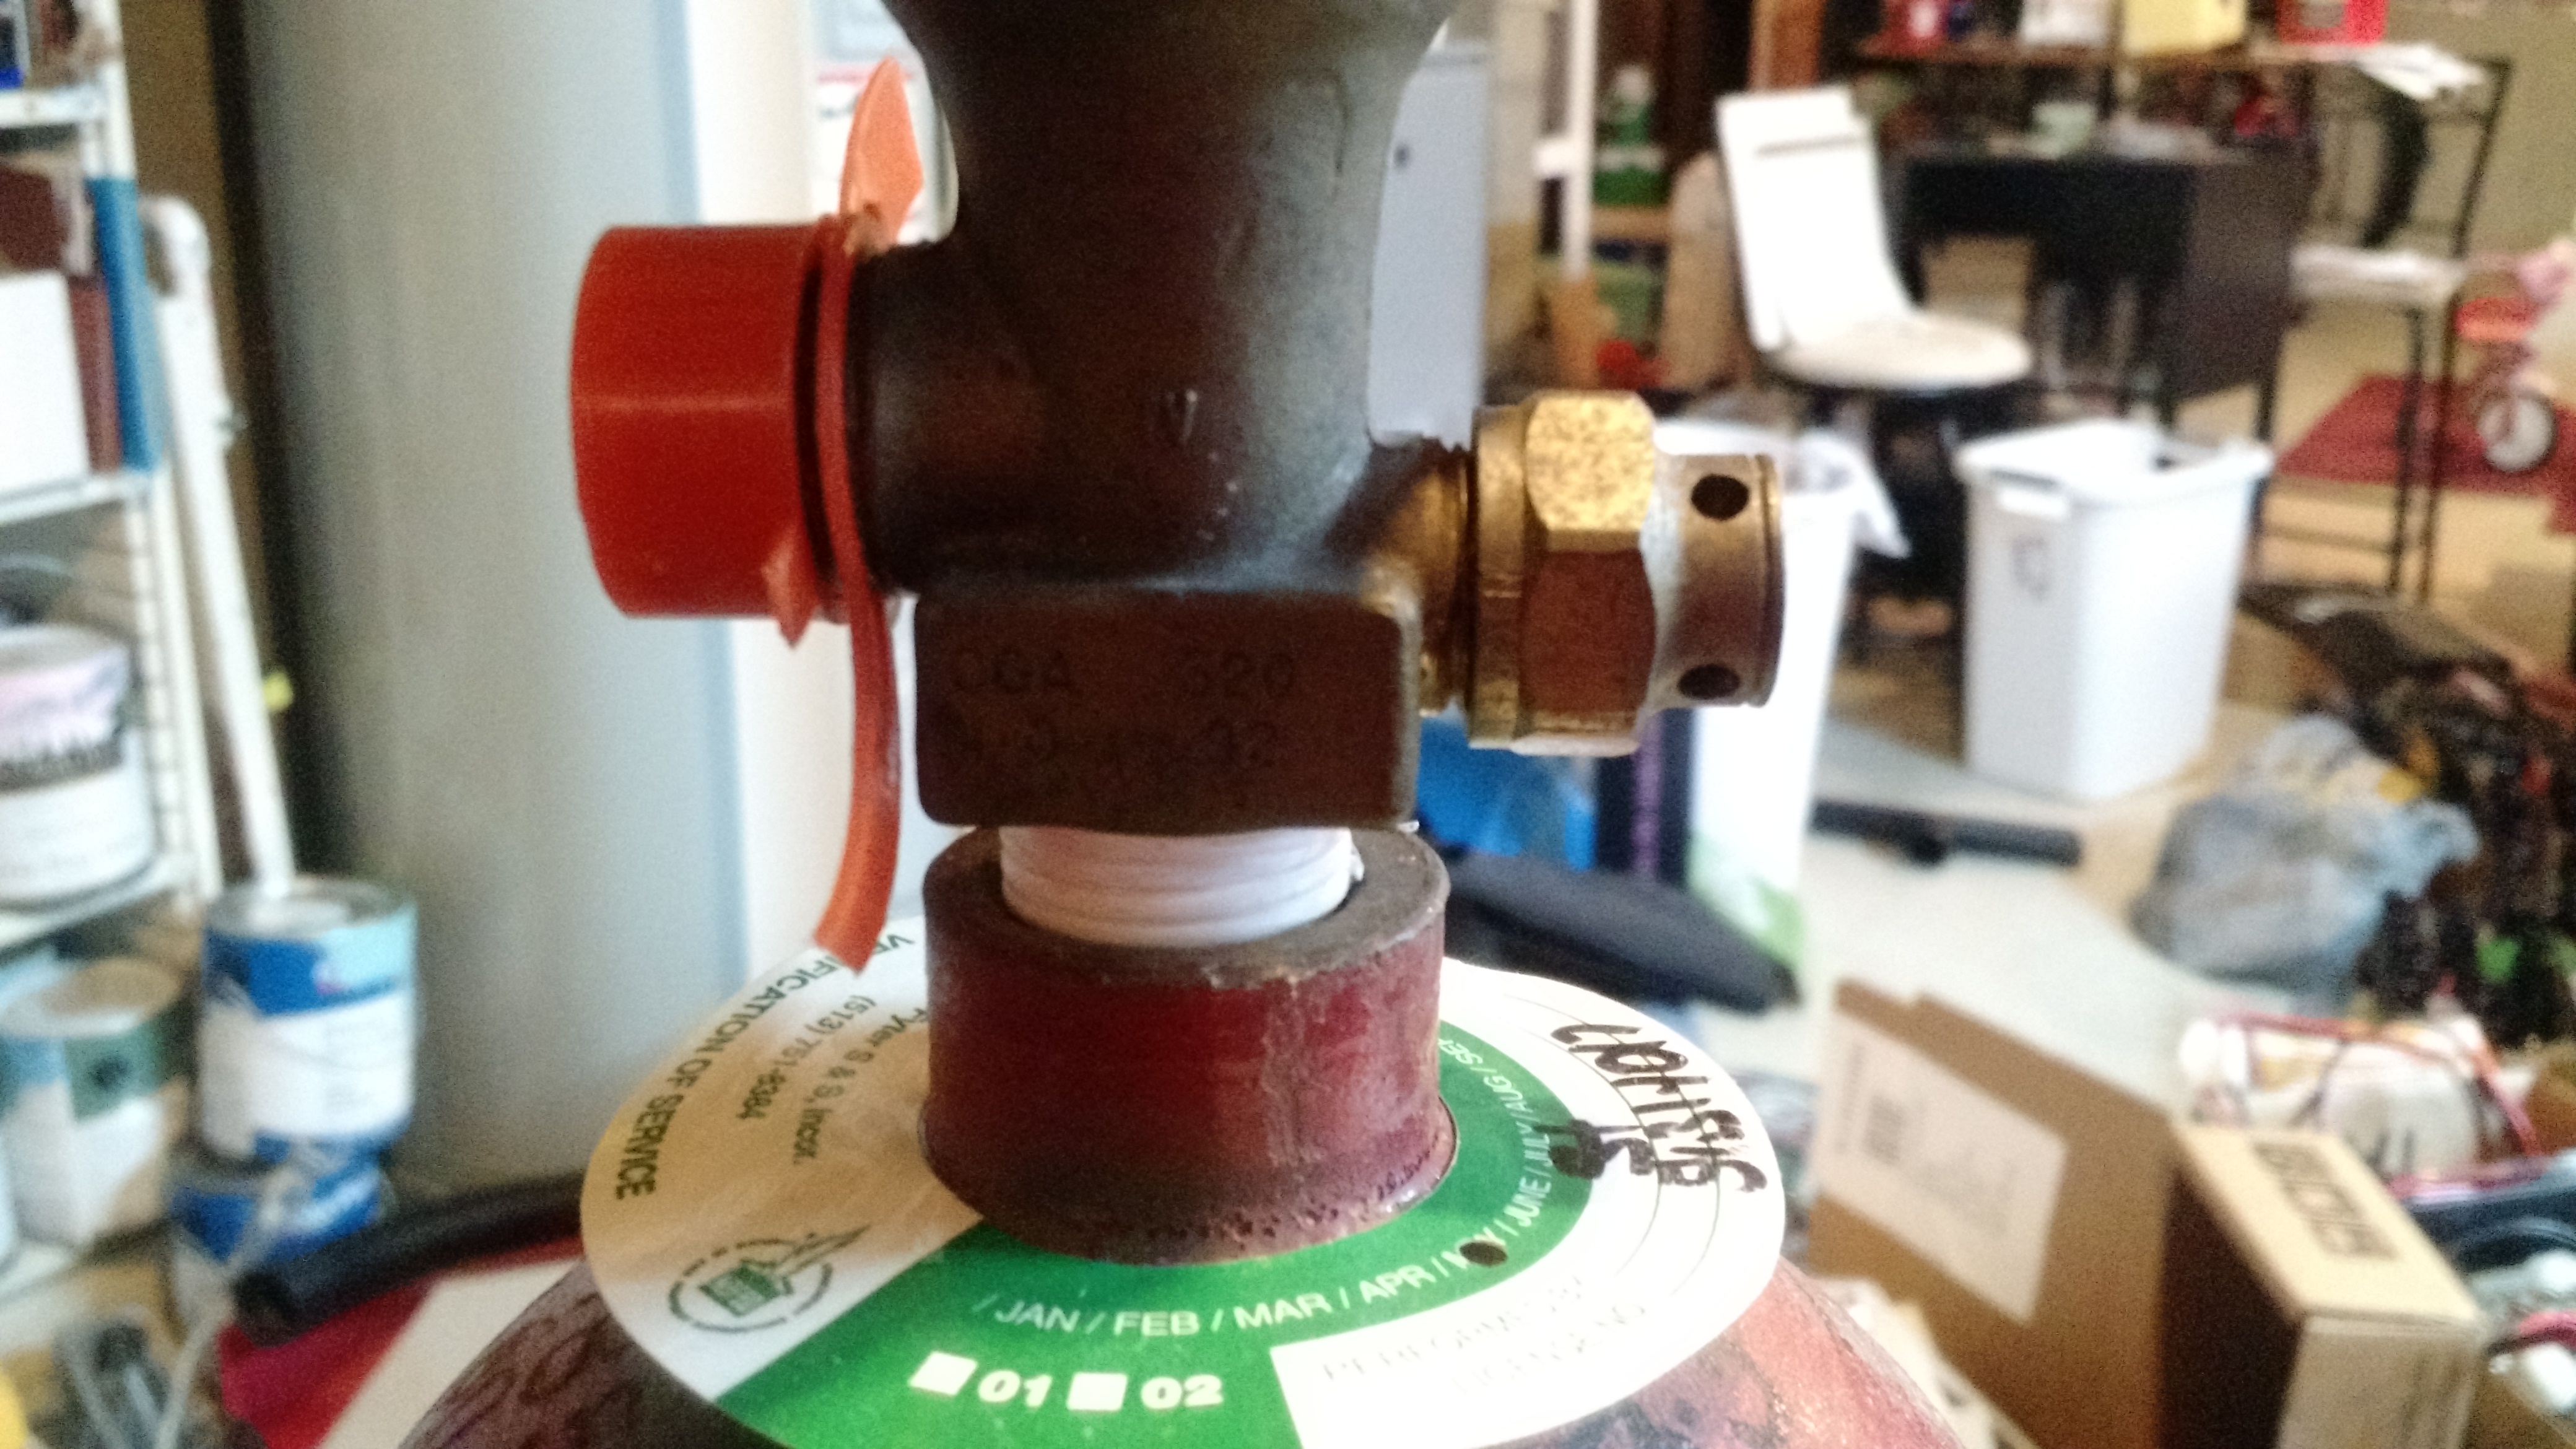
This does say CGA 320, which can only be used for CO2.
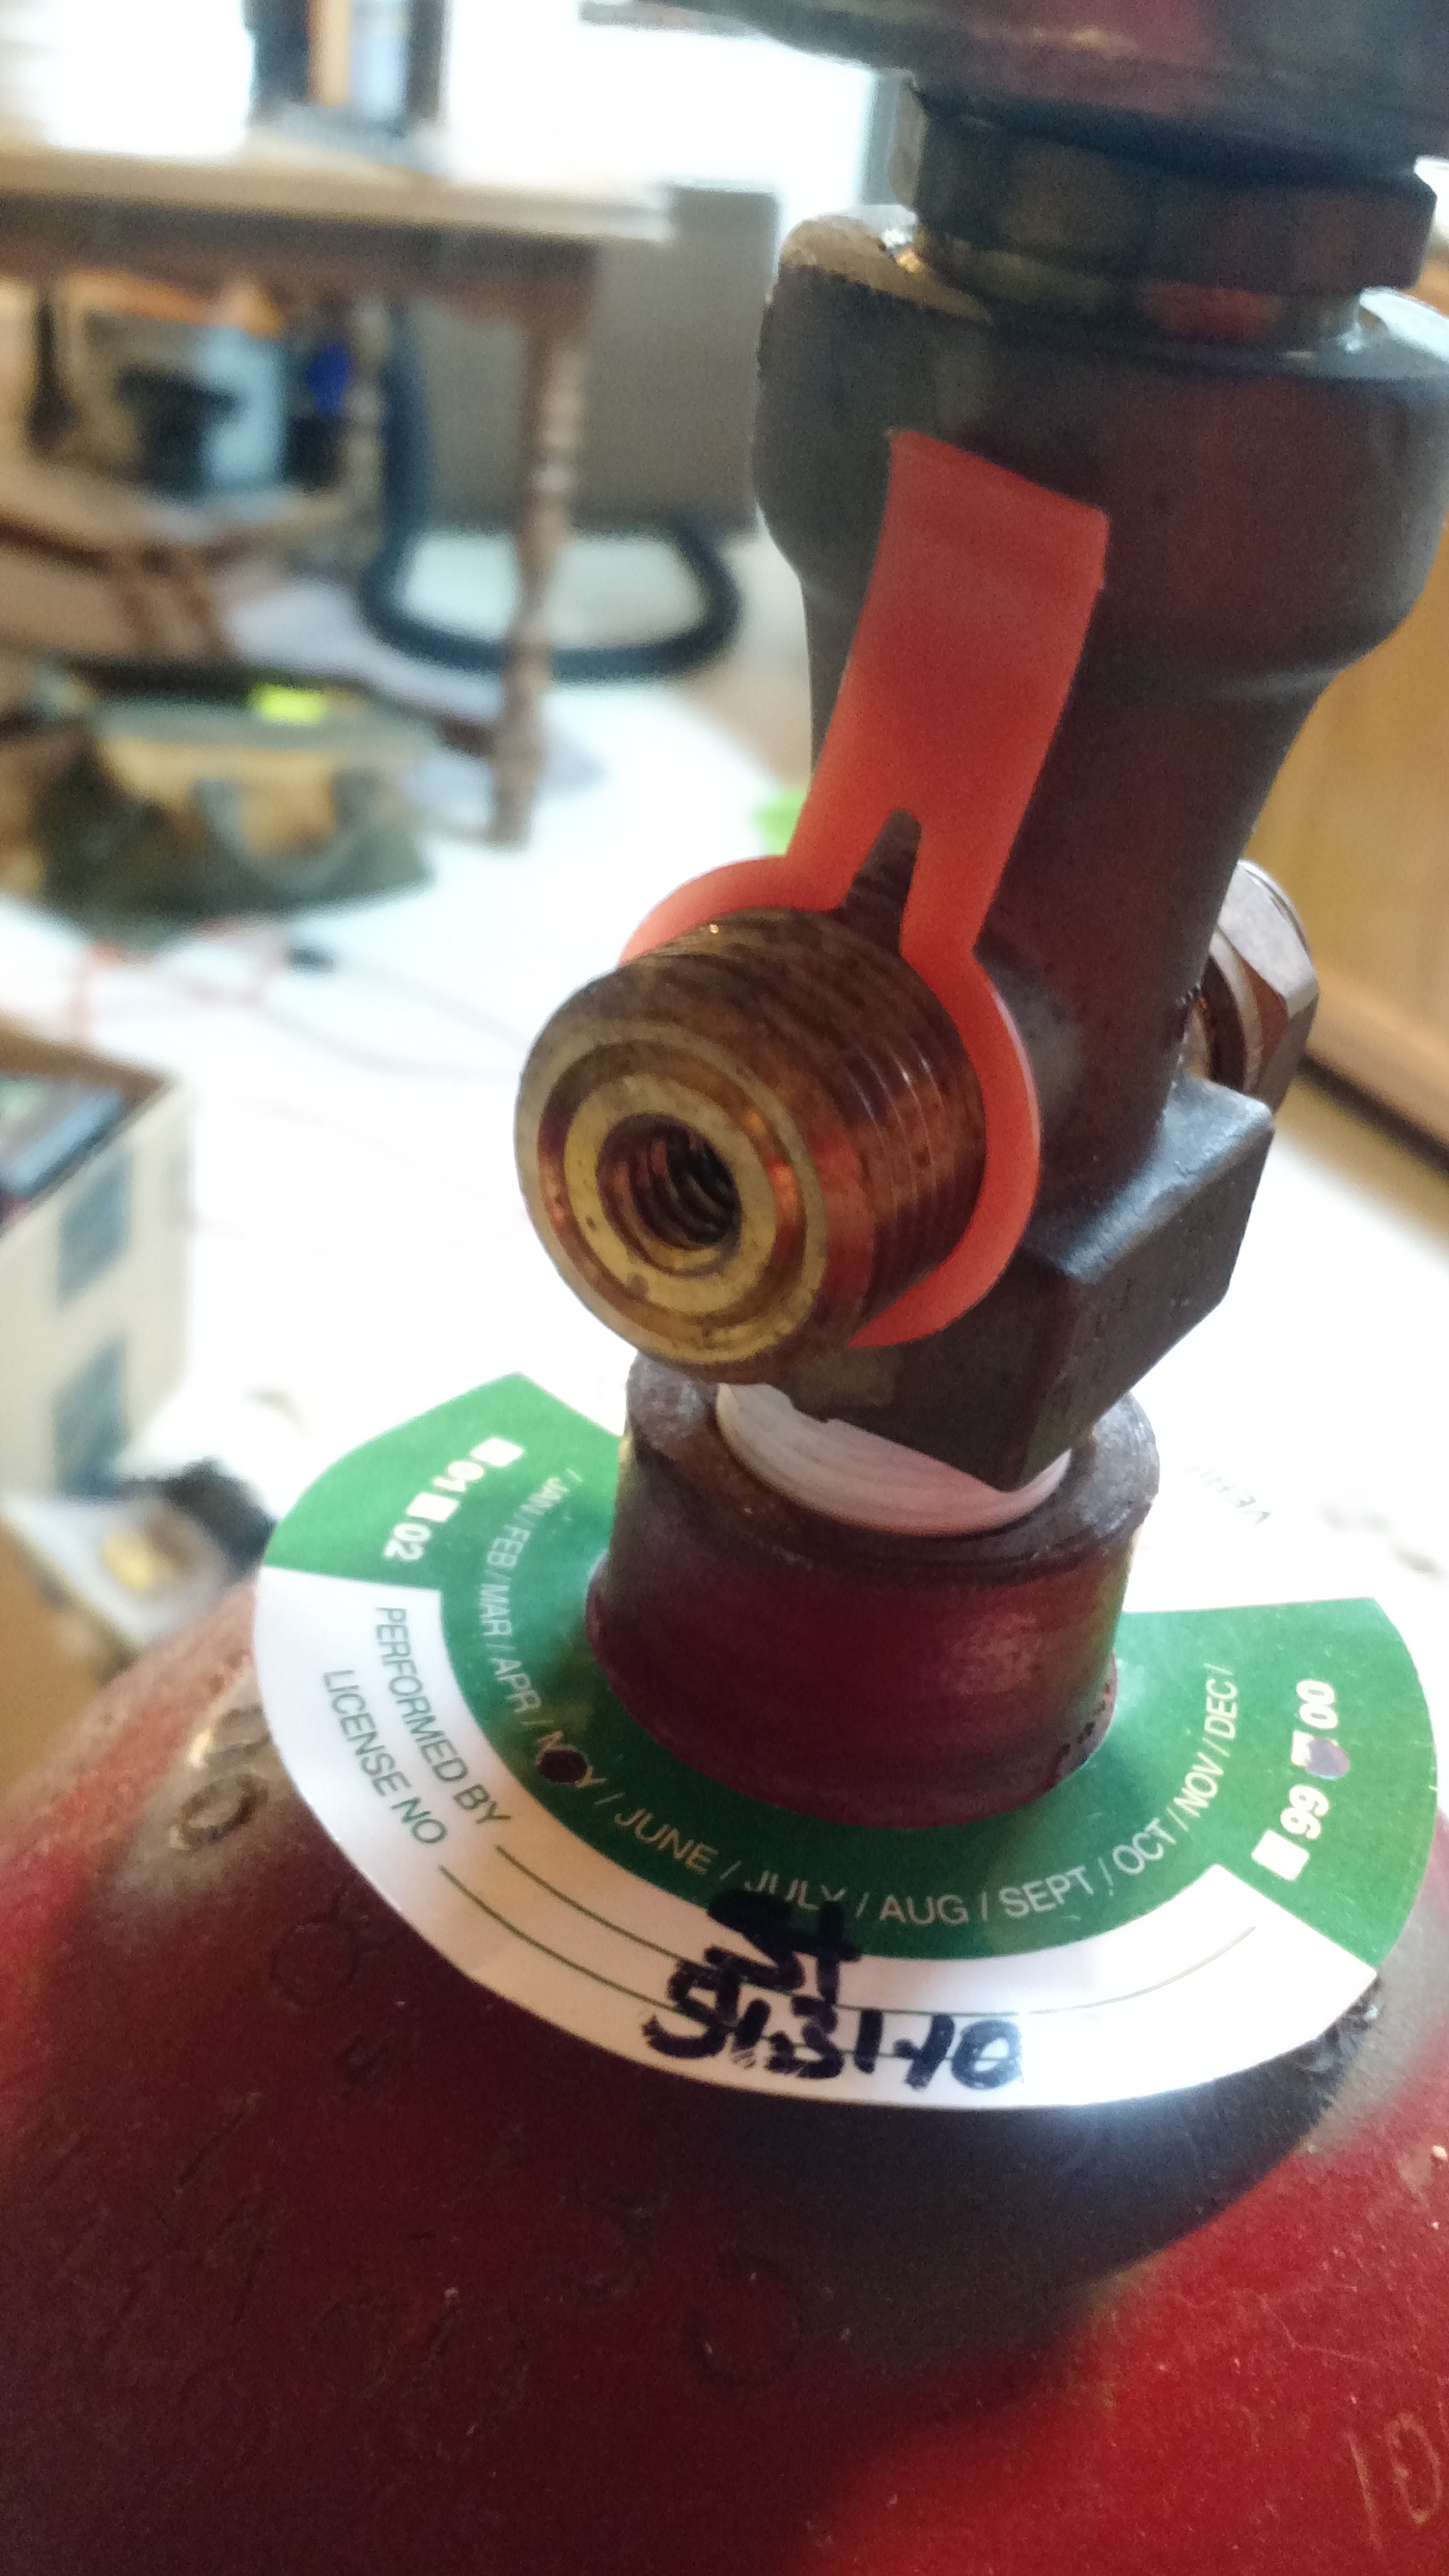
This confused me a little. There are threads on the inside as well as the outside.
Cheers!