Tag Archive: raspberry pi
Kegerator! The Plan.
If my last post didn’t indicate that I LOATHE bottling, I’m not sure what I could have said to get that point across.

He’s really talking about bottling his homebrew, not those poor little Whos in Whoville.
While bottling has the cost part down (a 6-pack of bottles costs around $10 and comes with free craft beer), it has a number of disadvantages:
- Bottles are breakable
- Bottles take up a ton of room
- Capping 30-50 bottles at a time is no fun
- There’s no reliable, easy way to store clean bottles
The last point may be what has aggravated my wife. Despite the basement being “mine”, she is not at all happy with the several 6-packs of bottles in the middle of the floor. They’re in the middle courtesy of a crack in my foundation that leaks after extreme rains. Which has so far been twice, the second time left several 6-packs of empty bottles in a puddle. So they’ve been moved out for now. Into the middle of the floor.
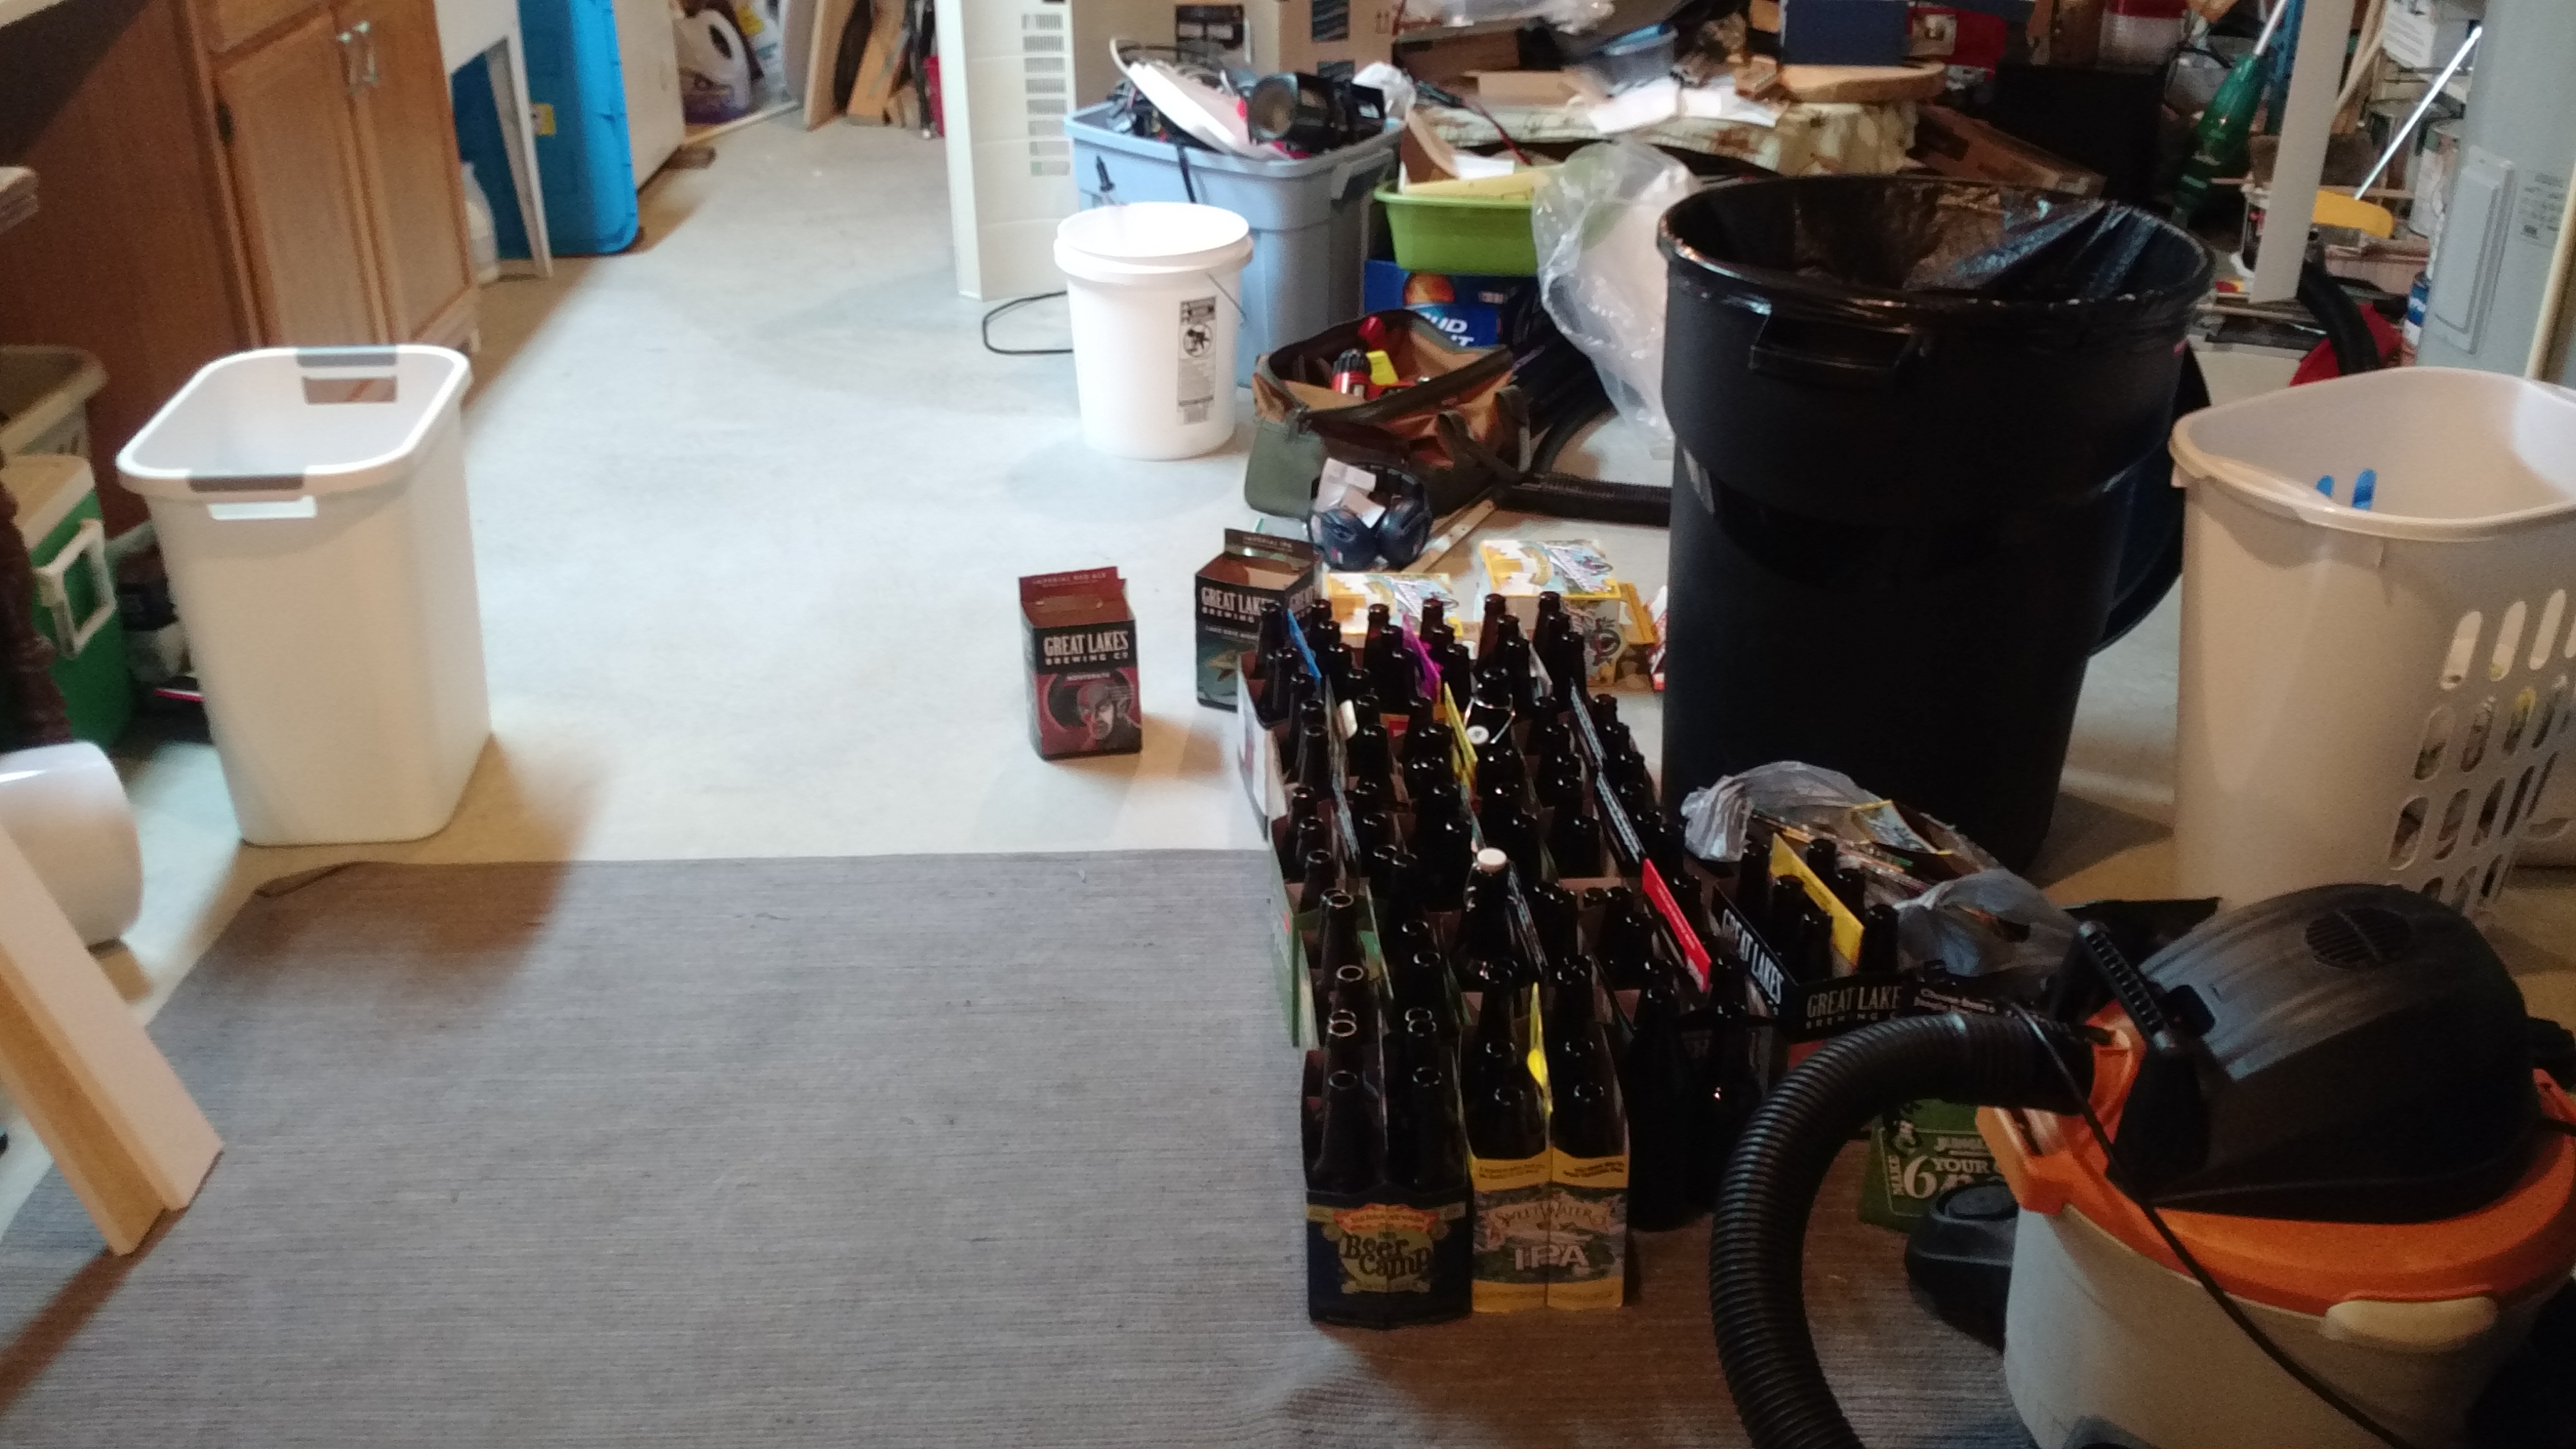
This is pretty much the worst way to store bottles.
The Plan – “Begin With The End In Mind”
My ultimate goal is a three tap keezer. One tap will (occasionally?) be a stout faucet. 95% of my beer is consumed by me, so I can have an IPA, a stout, and something else on tap. And nothing says that I can’t bottle the remains of a keg if it gets low, although the bottle guns I see look like a pain to use.
After looking at this guy’s nice keezer build on Reddit, my wife feels that it must be black and I must build a similarly nice looking collar. However, she feels mine should have a red pinstripe on it because it would make it look good with University of Cincinnati Bearcat decor. It’s really cool of her to say that since her degree is from Southwest Florida College, mine are from UC and University of South Florida.
After looking at my budget, my first few kegs will be with picnic faucets. I have more budget numbers, but they’re boring. I have more plans, but that’s boring too. The overall plan is something like:
- Paint Keezer Black, fix temperature sensor issue, and run it (for now) with the Raspberry Pi
- Begin using (seriously, I LOATHE BOTTLING ENTIRELY!)
- Build collar (may be done before #2, depending on many things)
- …?
- Profit
- Add nice faucets
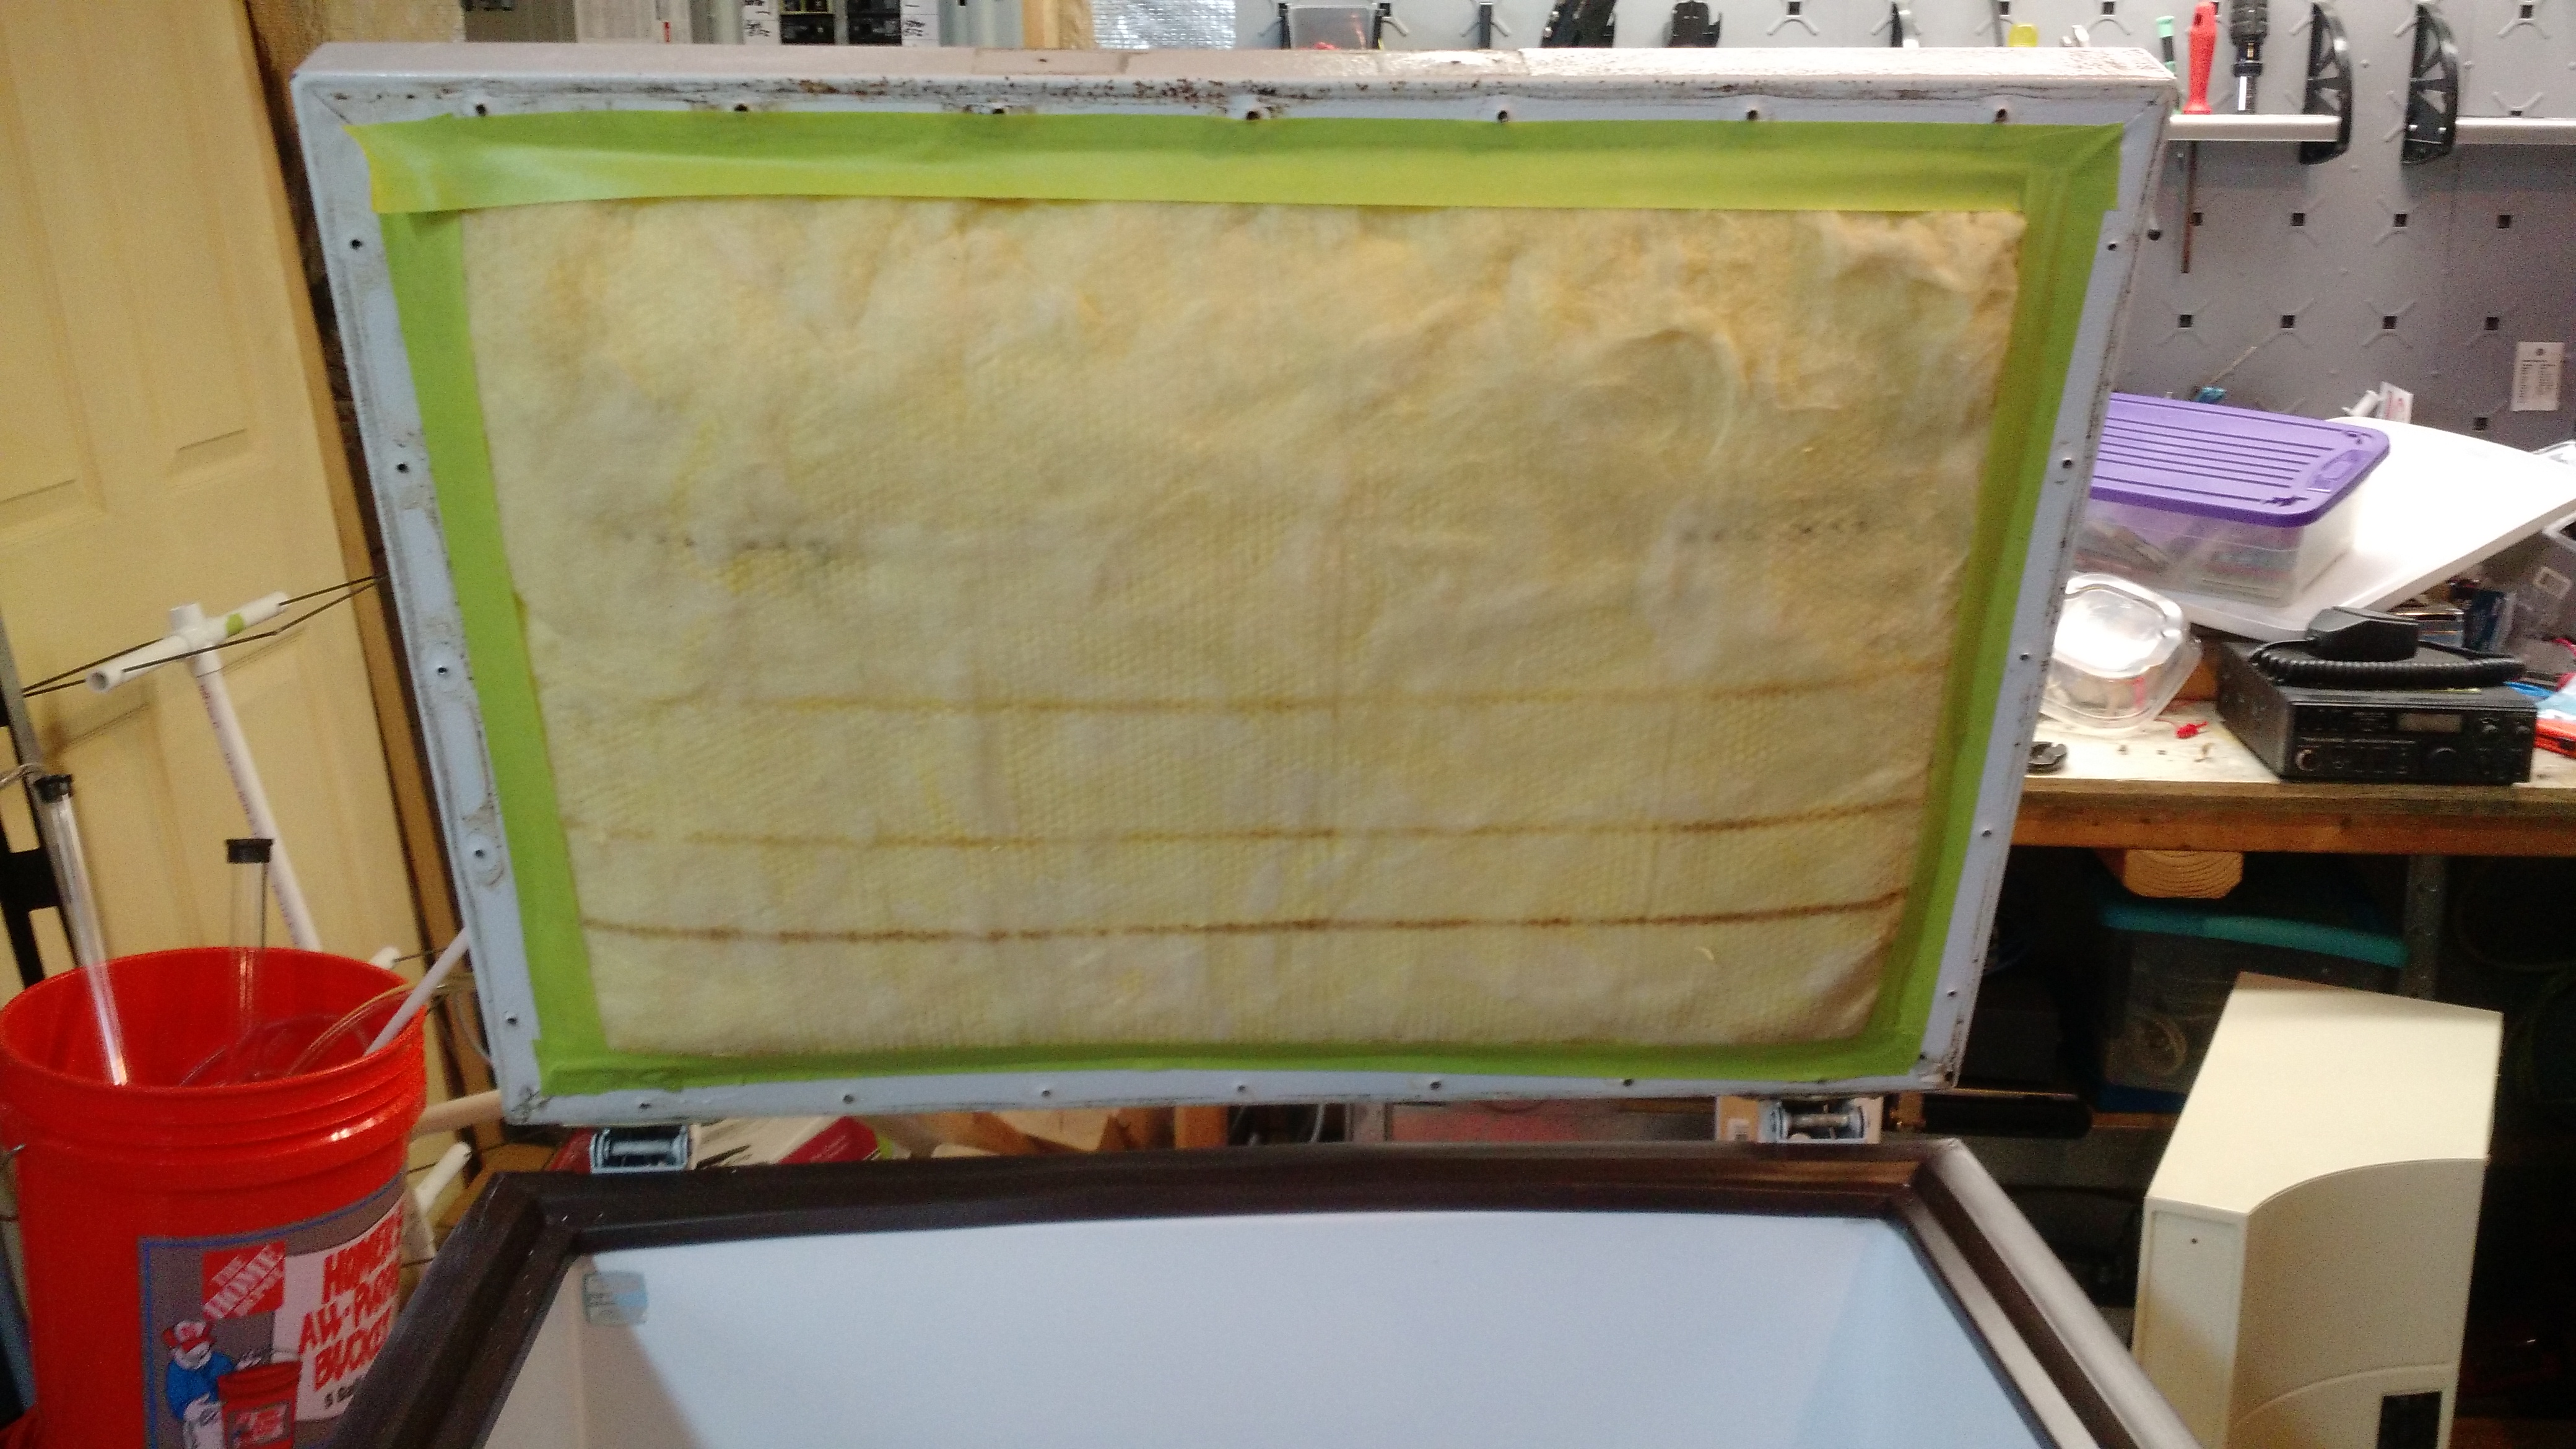
I taped the insulation to paint around it. Of course I used gloves when moving the insulation to remove the handle.
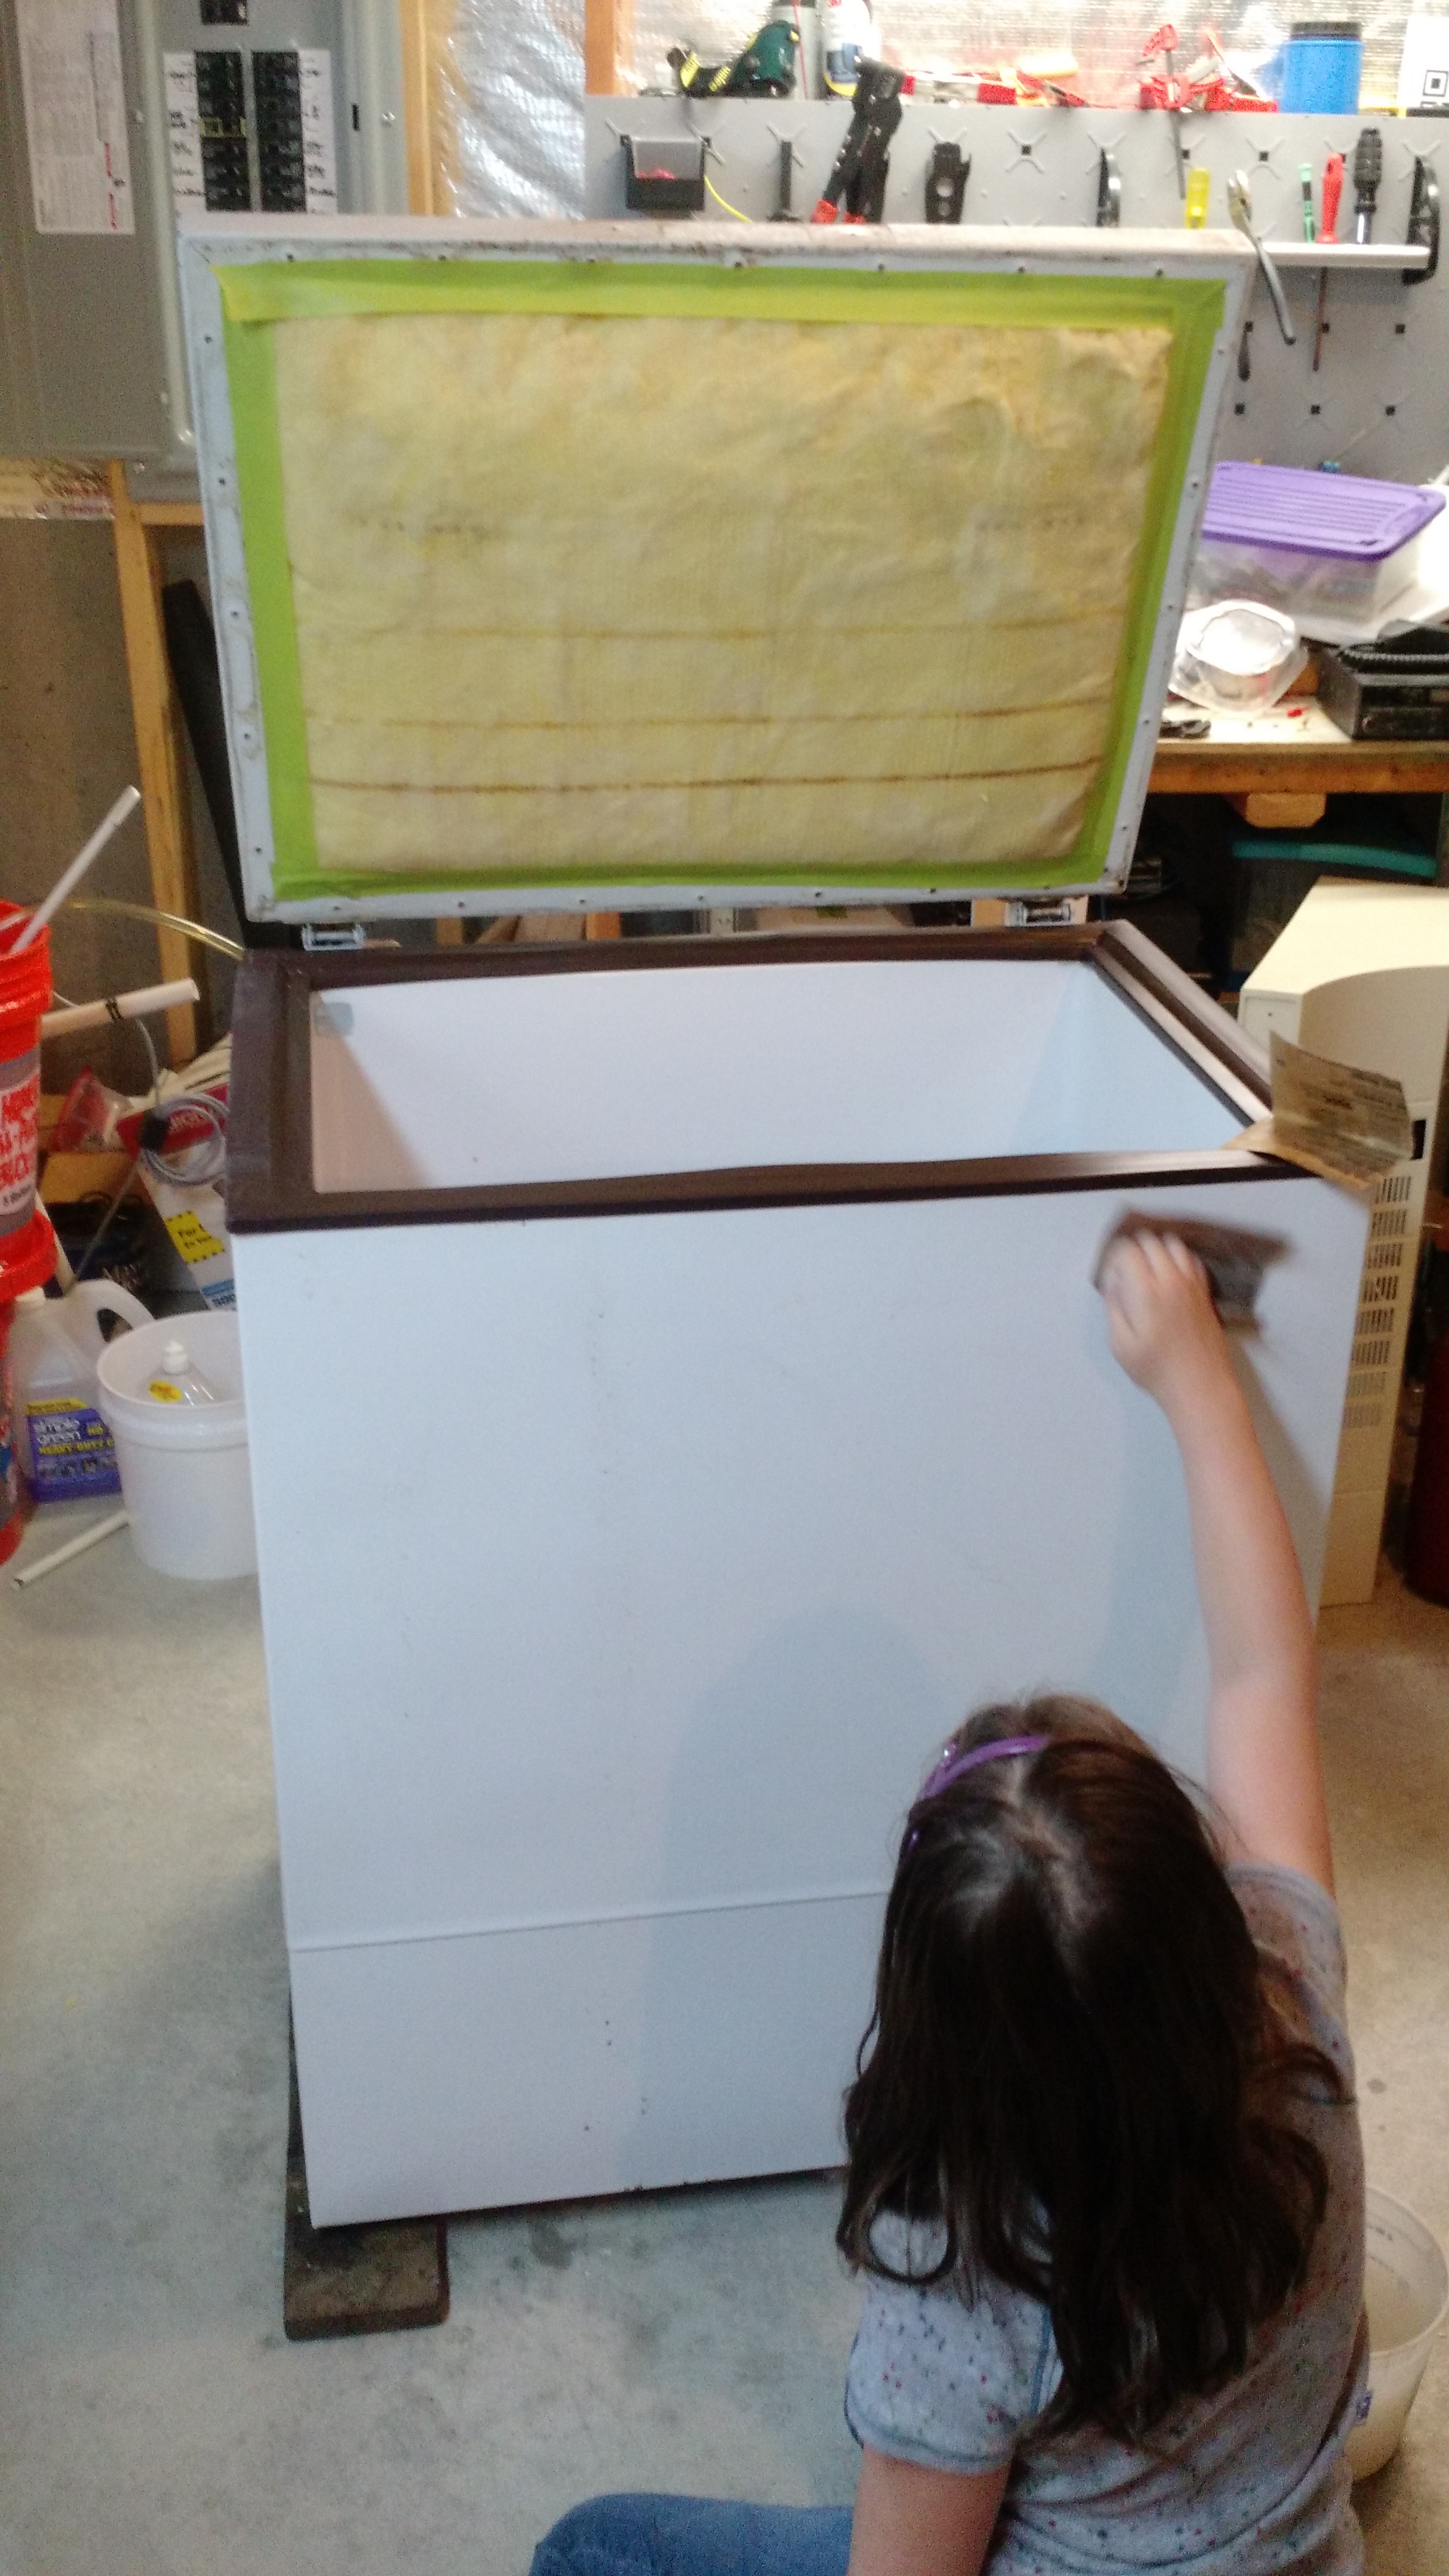
The kid’s on work detail. This is what happens when you don’t respect your elders!
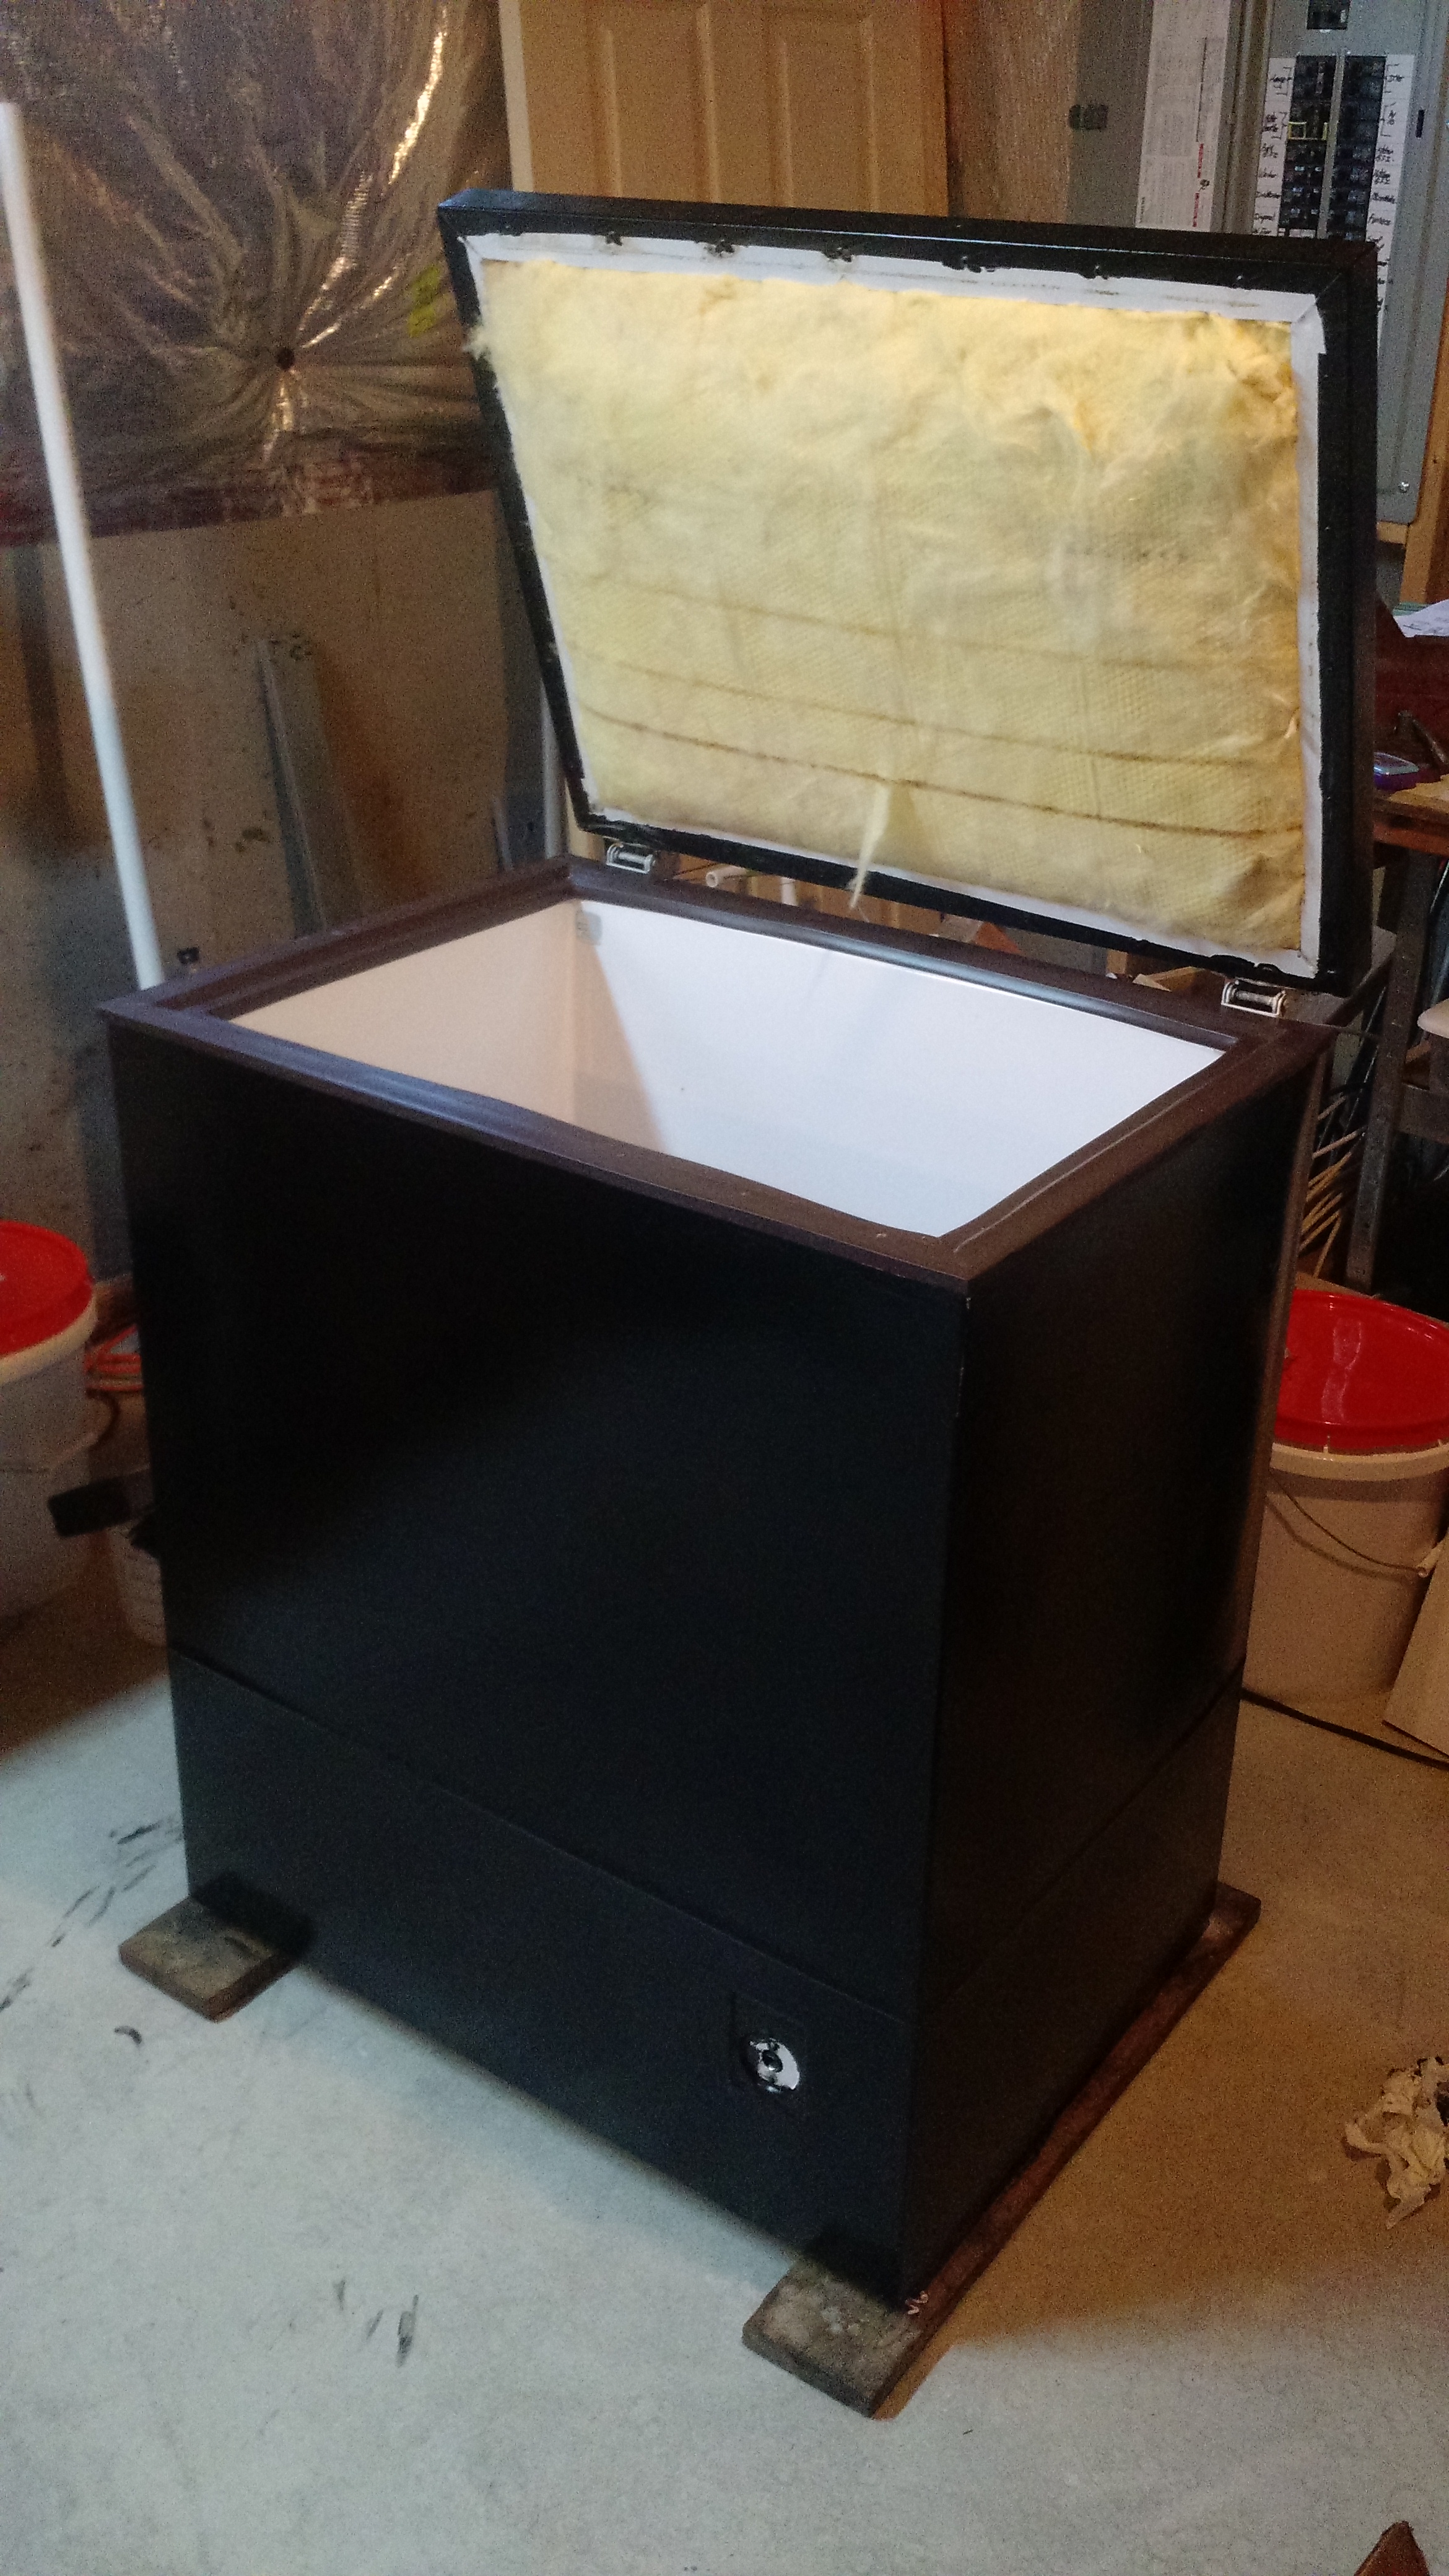
Painted!
There’s a few other things I want to do. I’d love to have some way to know how much beer is left in a keg. One way I can do this is using a flow meter (such as in this article on Adafruit’s website). I don’t like the idea of a flow meter. Adafruit’s has a 1/2″ inlet and outlet, and the beer lines are smaller, so the geeky engineer in me questions the accuracy, and the homebrewer in me questions what happens to the beer in this thing. Then I thought about using weight sensors that I saw on Sparkfun’s website. As I was typing this, I found a post on HBT that even points to Sparkfun’s tutorial on their kegerator. While my implementation might deviate from this, it will be with inspiration from Sparkfun… although the first thing I thought of was this.
The Mystery Cylinder
I have a 5 lb beverage cylinder that I evidently purchased for another use in May of 2000. Yes, fifteen years ago. The gas shouldn’t go bad, but there was no label on the cylinder ever. I thought I’d call the place that I purchased the cylinder from (because it was either “air” or “CO2”, IIRC), but it appeared they went out of business many years ago (they may not have, but earlier I thought they did). I looked into things and found that as long as your tank was filled by a legitimate business (and this was), the ONLY valve on top of the tank should be a CGA 320… Okay, it could be Methyl Flouride, but I’d be shocked if I got that from a Fire Suppression Store and that it’d have a green collar on it, normally flammable stuff is red (but I could be wrong, I didn’t look into this).
I know of no other tests, but since I’m 99% sure this is CO2, I’m going to go with it.
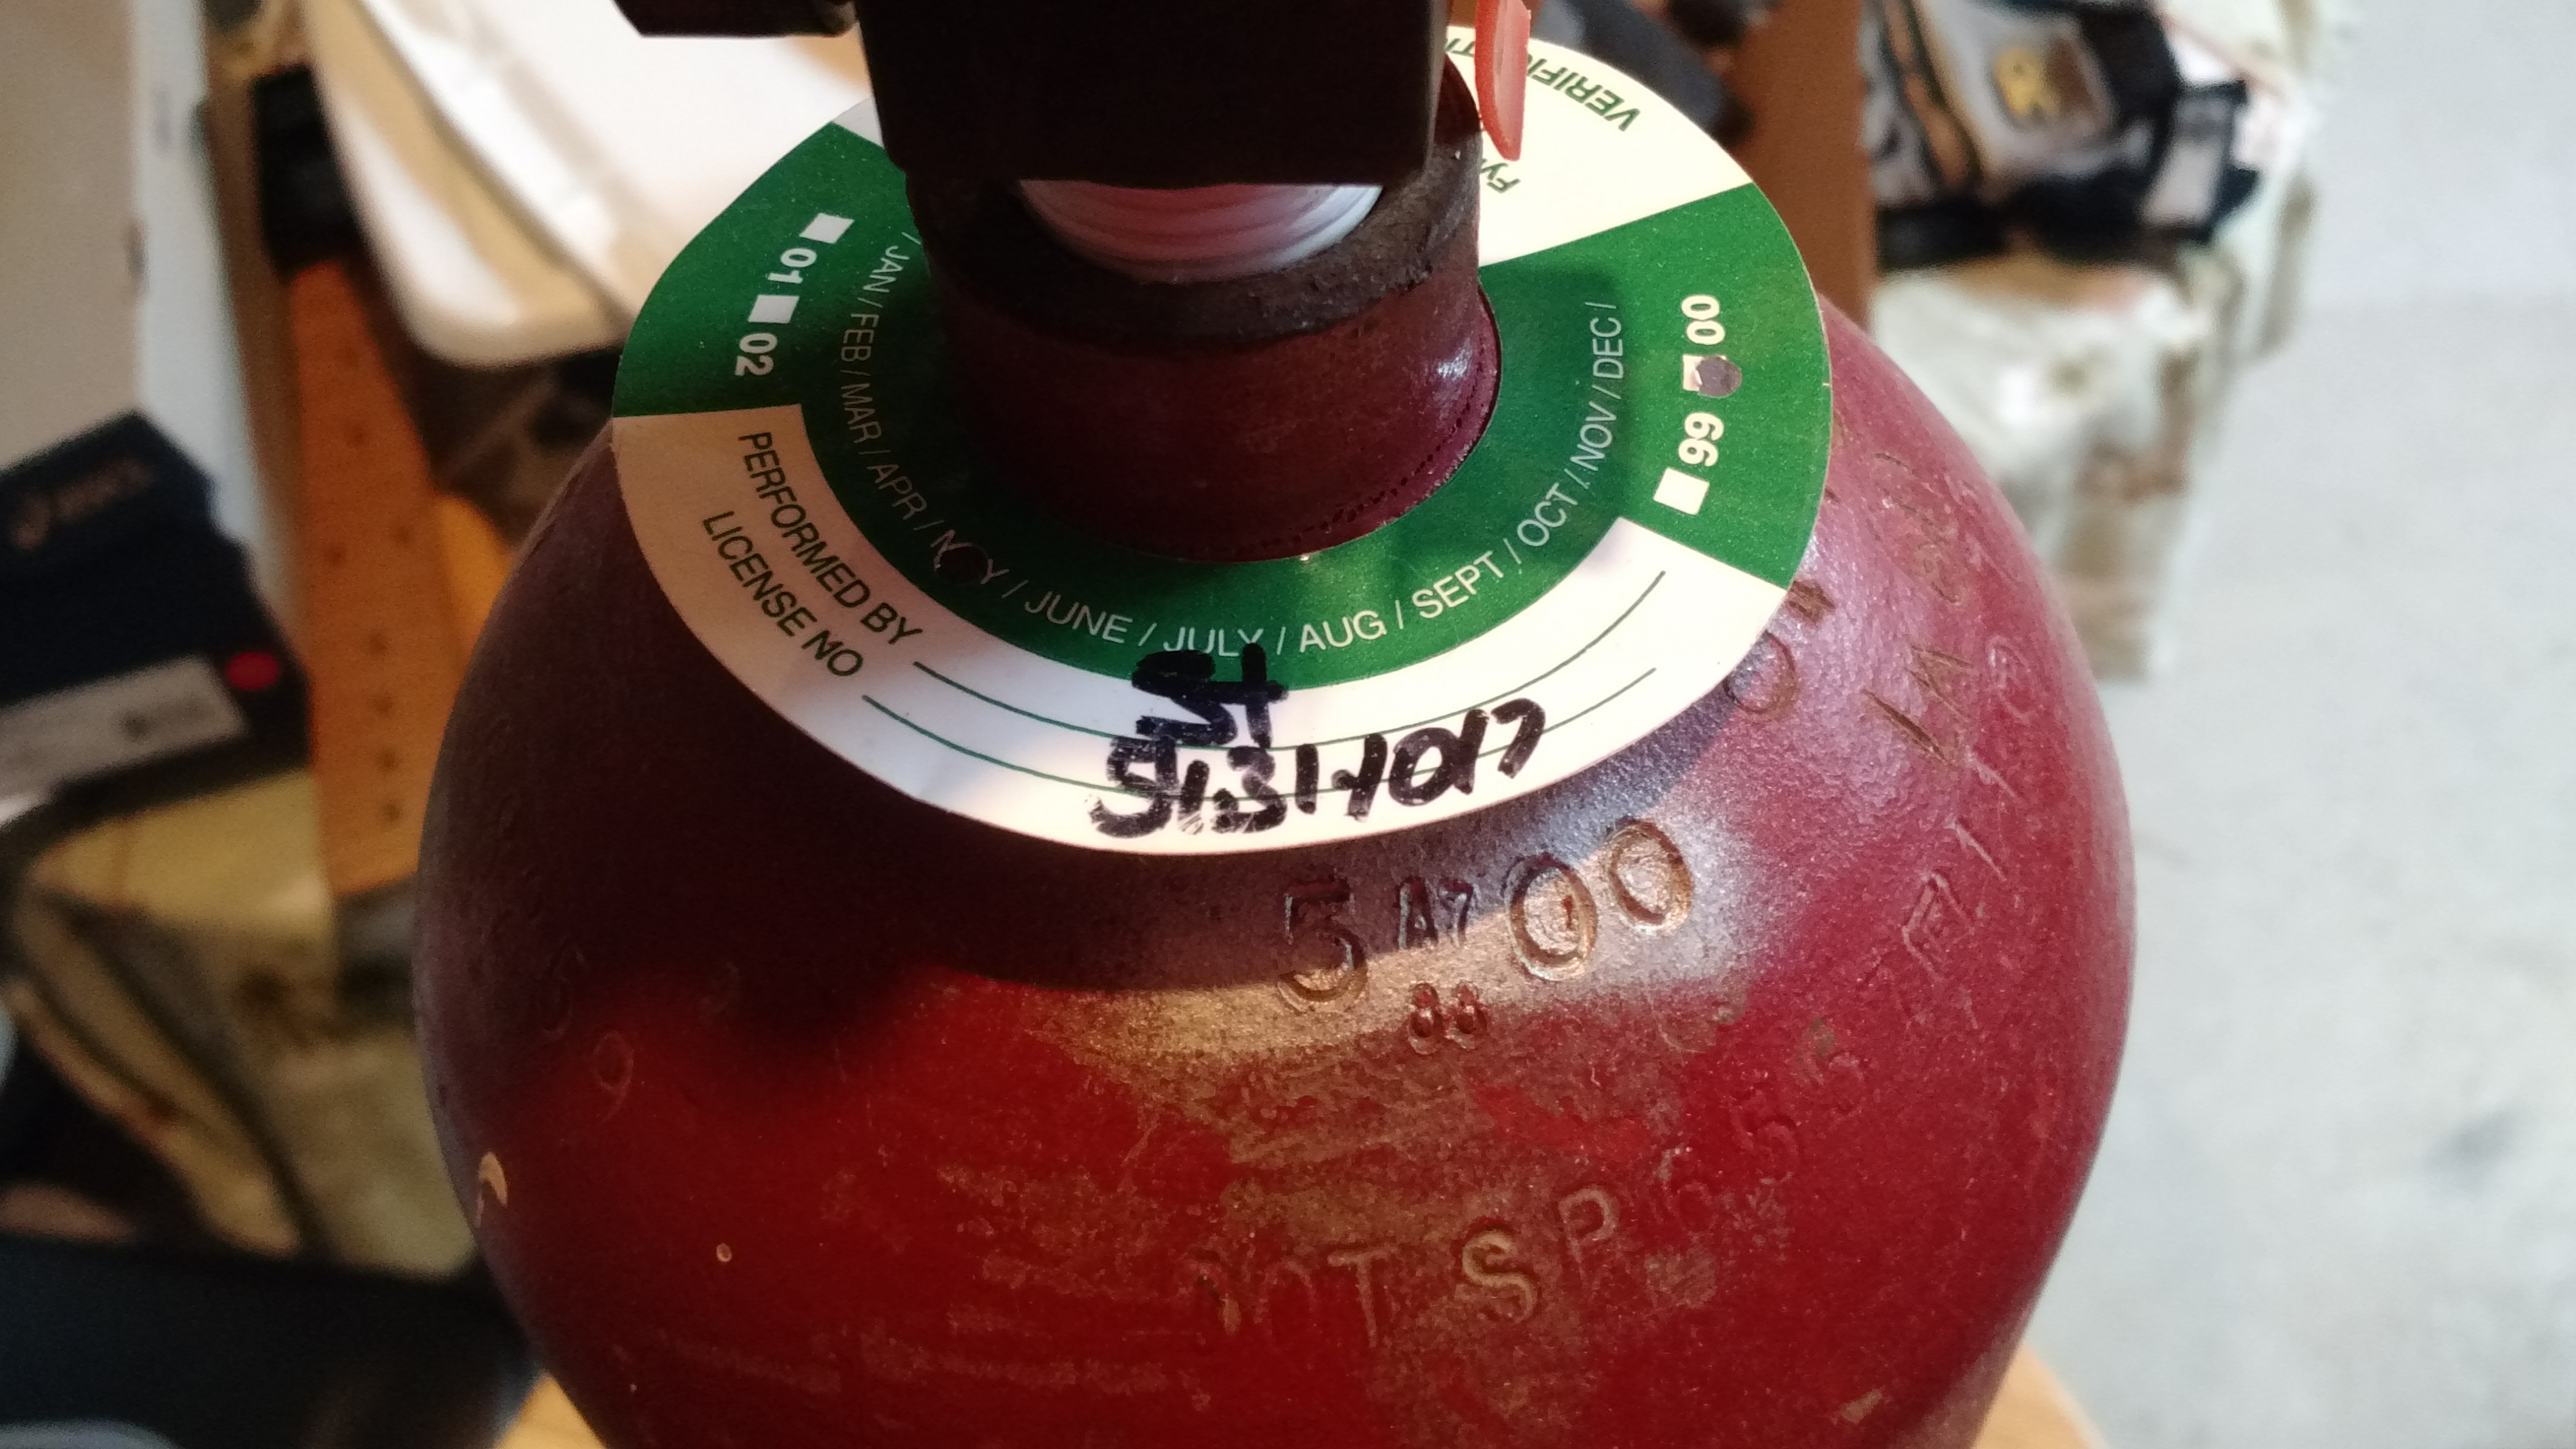
This is the date collar ring. May of 2000. This means that I will have to have the tank inspected and re-certified prior to having it filled.
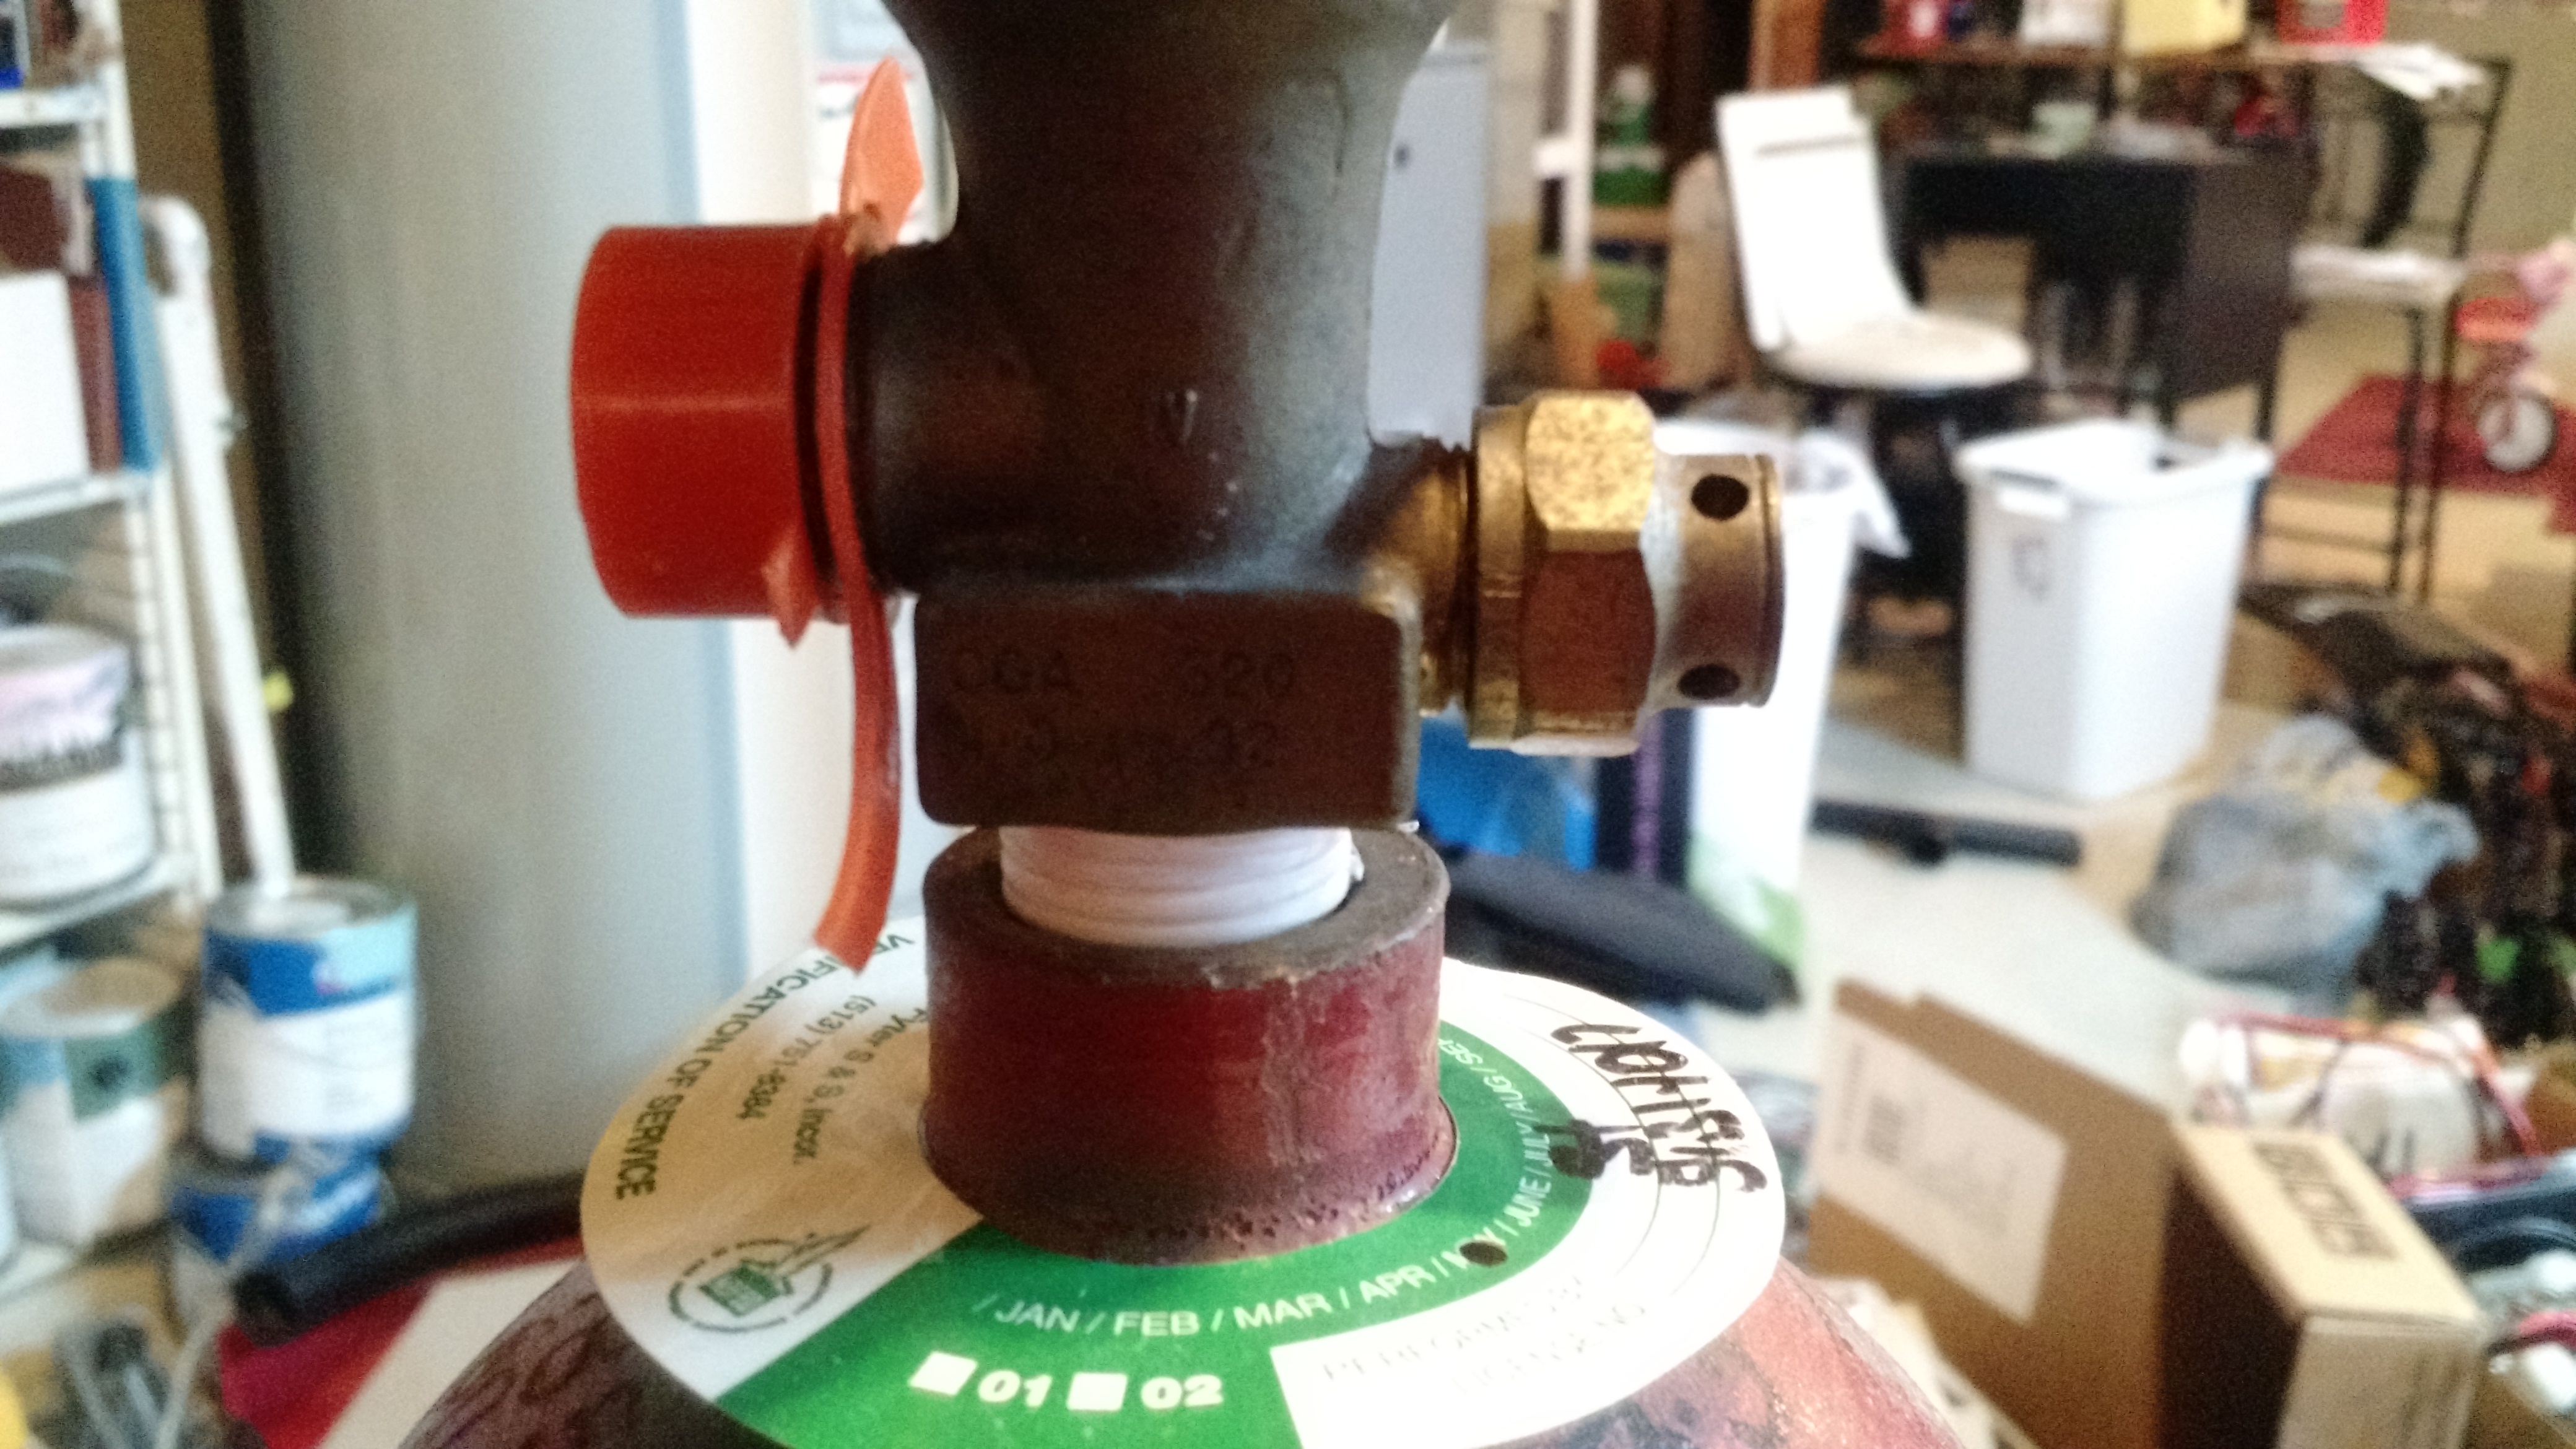
This does say CGA 320, which can only be used for CO2.
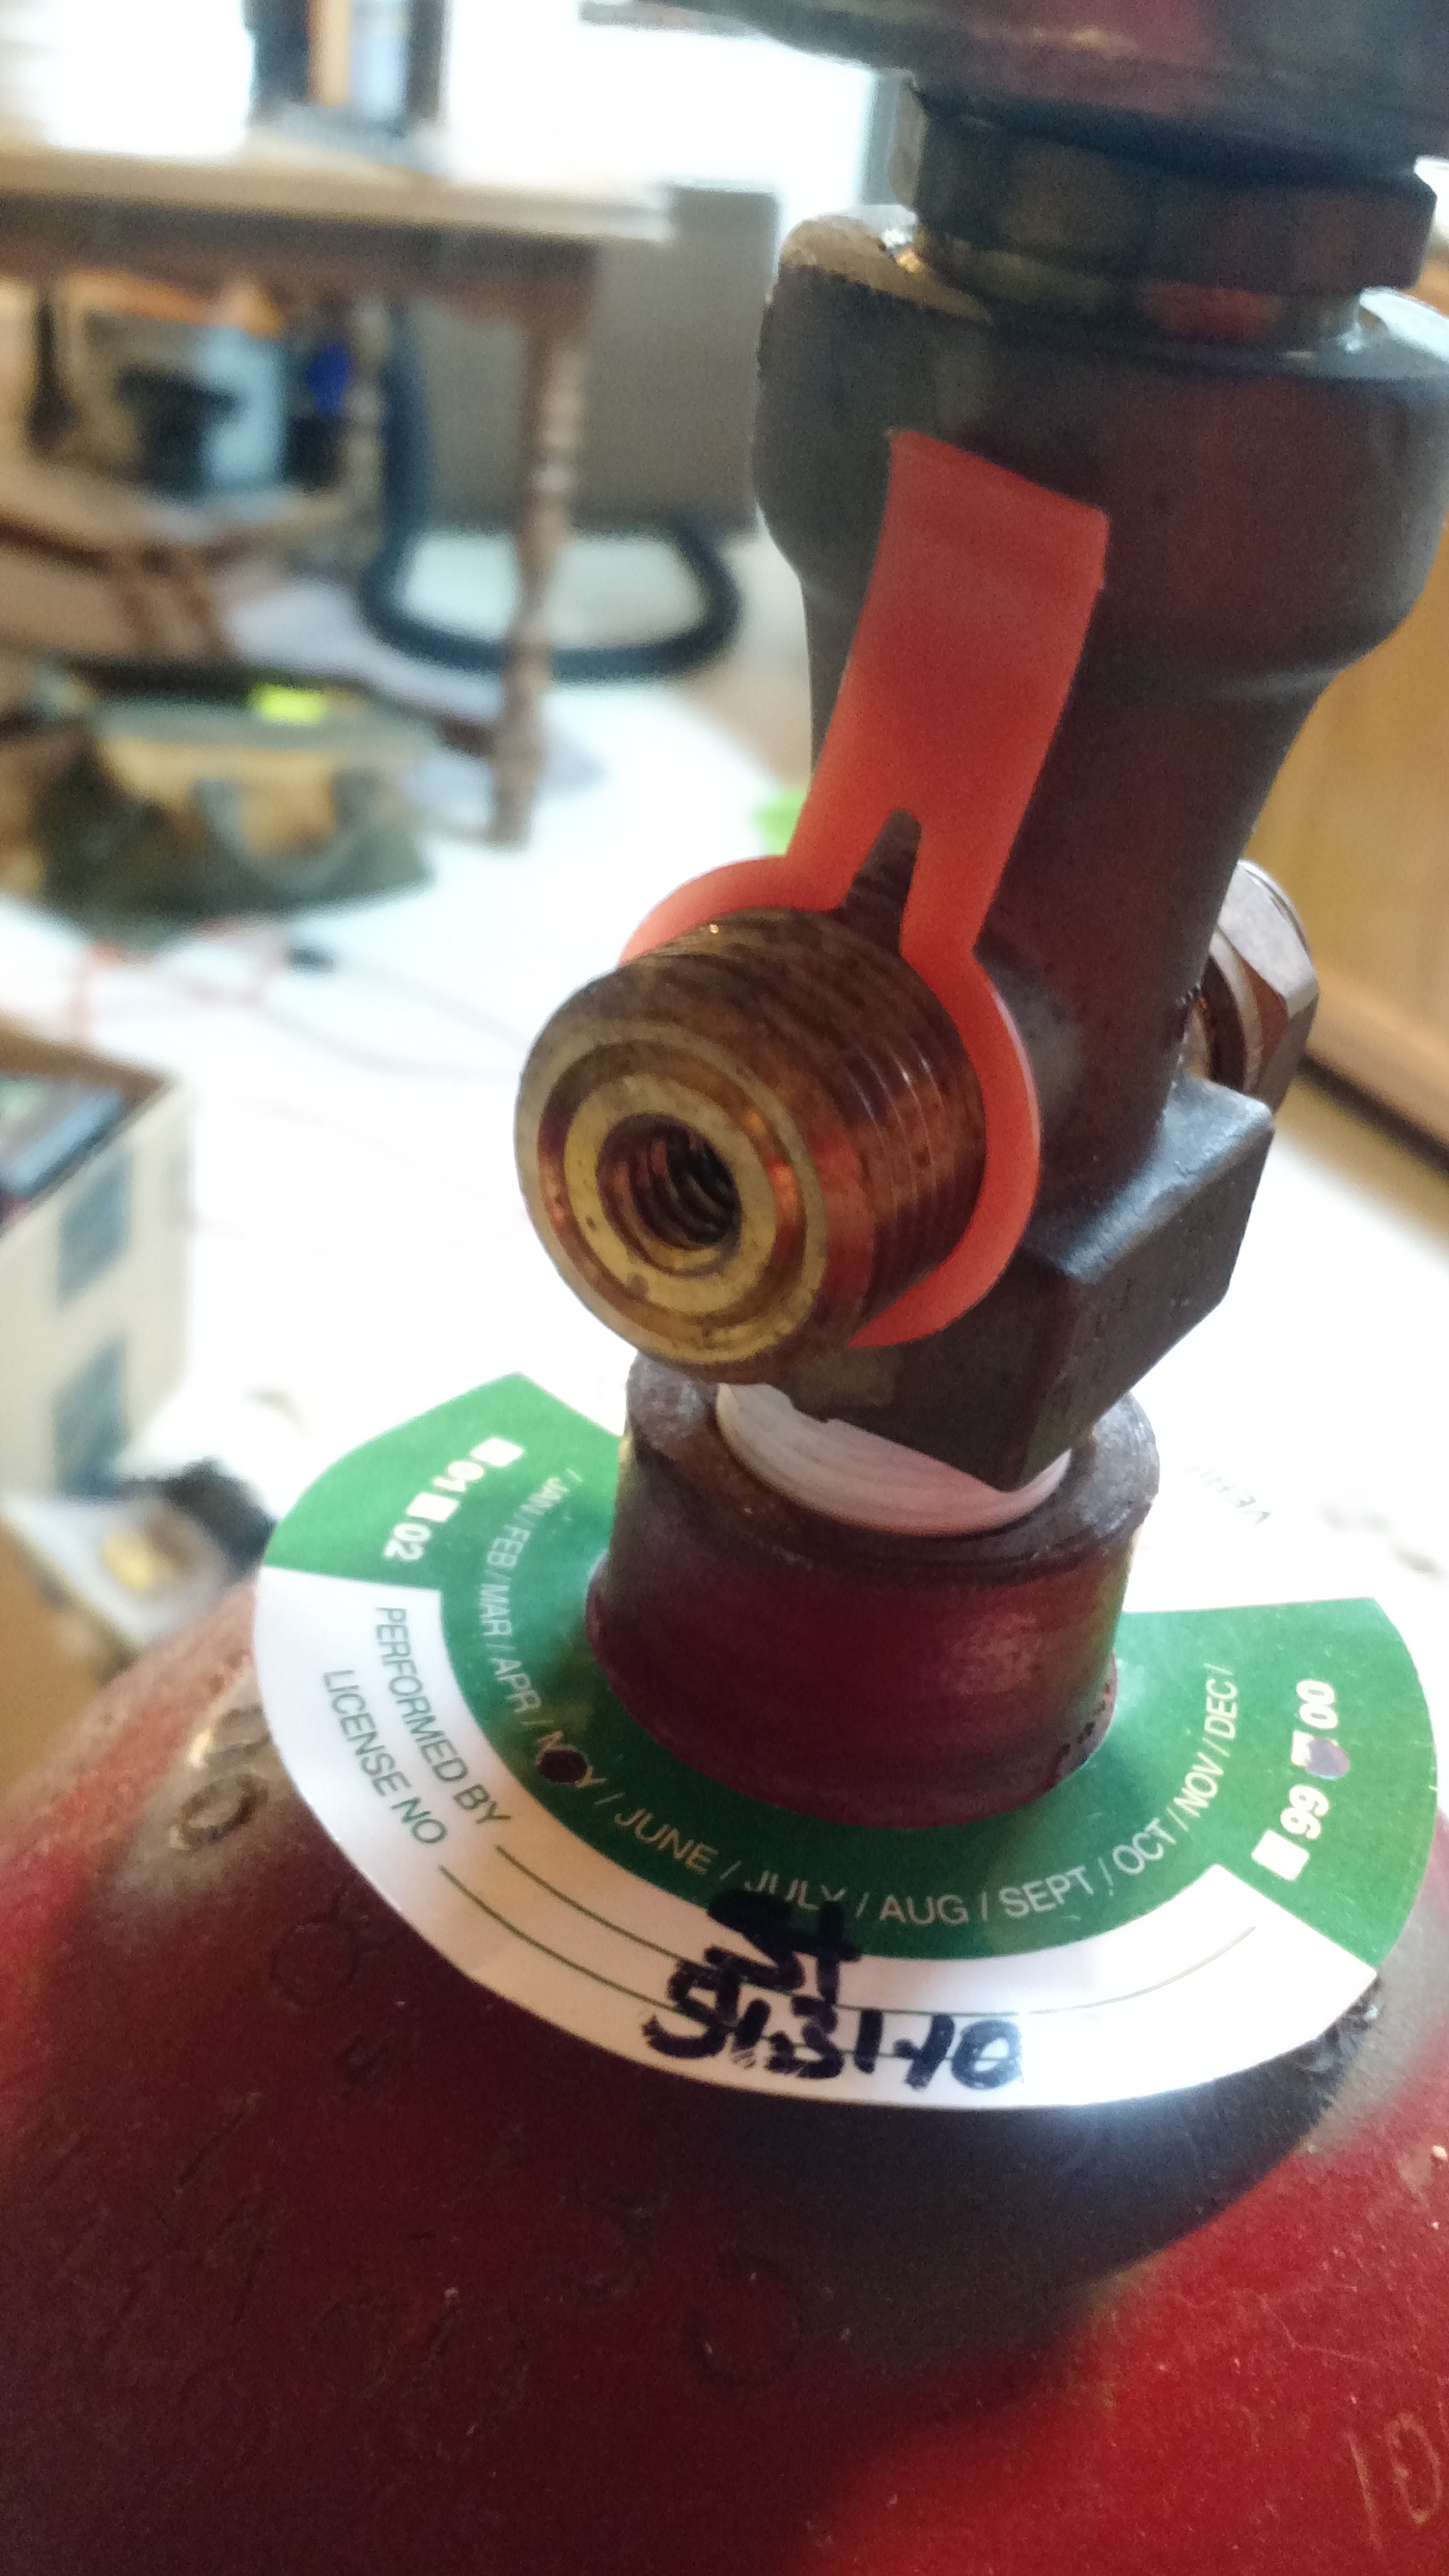
This confused me a little. There are threads on the inside as well as the outside.
Cheers!
Raspberry Pi Fermentation Temp Controller III: Server APIs
This is the optional part of the Raspberry Pi Fermentation Controller, but it’s the part that I used to roll into the Brewery IoT page.
There are three PHP scripts that run on the server:
- Index.php – collects data
- getRows.php – lists data from the database
- getLast.php – gets the last temperature entered in the database
There are also two prerequisites:
- A pre-shared .pem key on the server. This should match the one on the Raspberry Pi.
- A MySQL table (I’ve called it FermChamber, but if you know SQL, you can change it) with two columns: TimeStamp (datetime) and Temp (float).
With that out of the way…
Index.php – Data Collection
The data collection script is below. It expects post form data with a JSON formatted file. If you’ve followed the first post in this series, you’re good.
Note that you will need to change the code to use your correct server, username, password, and database.
getRows.php – List of Data (for the bar graph)
This script gets the temperatures in the database for the line chart.
getLast.php – Get Last Temperature Reading
This is just a simple script to get the last temperature in the database. This is for display on the dial gauge.
One of the next parts in this will be the code to display on the page.
Cheers!
Raspberry Pi Fermentation Controller II: Power
I started on building a Raspberry Pi based fermentation controller. This is a device that turns my chest freezer on and off based on the temperature of the freezer and what the Raspberry Pi thinks (which is essentially what I programmed it to do).
This is one of those posts that gets a disclaimer: BE CAREFUL IF YOU DO SOMETHING LIKE THIS. You can get killed by touching the wrong thing here, and it will hurt then entire time you’re dying. People will not be able to see your bones as you flash from electrocution. Marv wouldn’t have lived. I’m not an expert or licensed or even qualified to do this (and since I’m doing this, does that make me a Redneck)? Your mileage may vary, of course.
There are really only two major parts to this, a solid-state relay (SSR) and an outlet. I removed the little tab connecting the two hot-sides of the outlet together to allow for one to be on always and the other to be on just when the SSR says it should be. This is all wired to a plug (I used an old computer cord that was conveniently colored on the inside. A diagram of the connections is below.
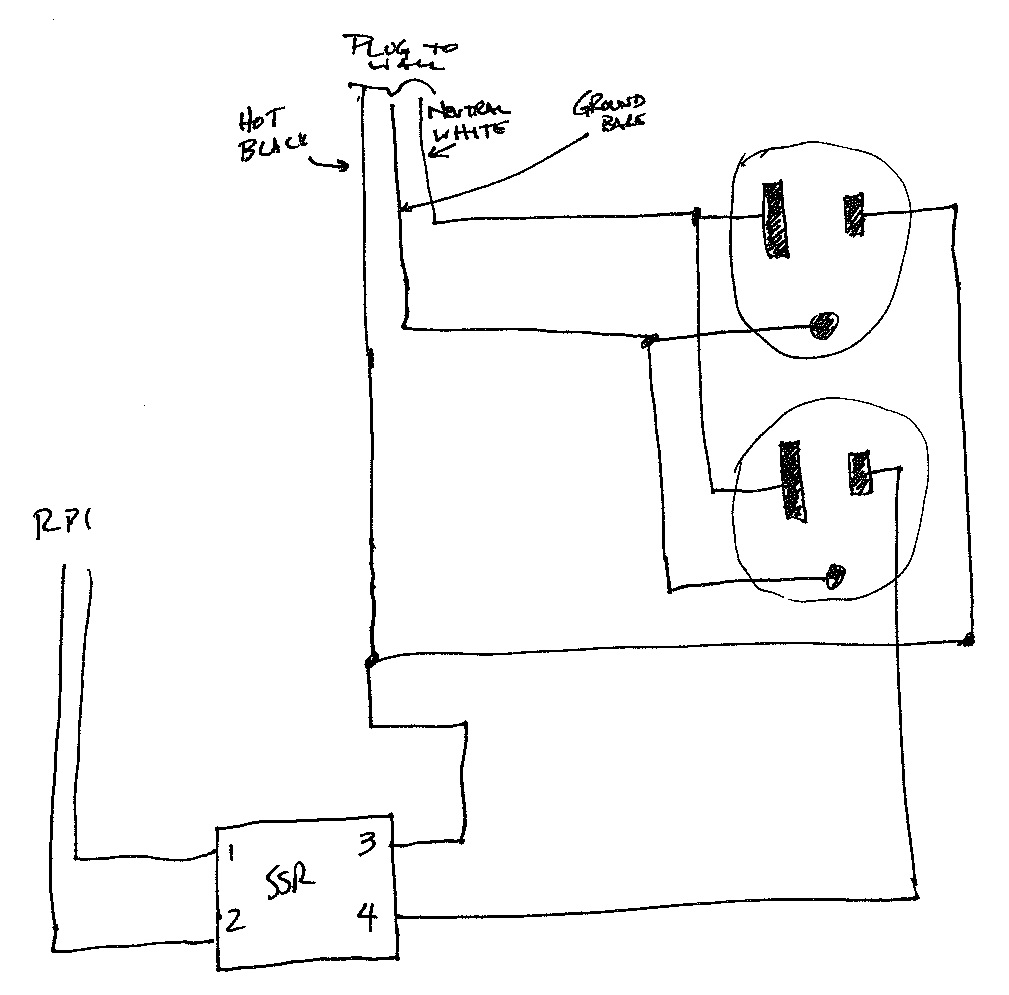
Wiring diagram. Not to scale. Don’t trust the numbers on the SSR – they’re from memory.
Some notes:
- This should not be hard-wired into the electrical system. It is probably code to have things like this be easily able to be disconnected, and the plug allows for that. Also, intelligence dictates that things like this should be able to be unplugged should some failure happen down the line (and since electricity is involved, those failures can be spectacular and bright… and deadly).
- One could make the case for needing a fuse in this. I don’t think it needs one. However, this is protected by both a circuit breaker (as is everything in the house) and a GFCI (because the plug it will use is near a sink). I’m truthfully not concerned, but I don’t know if I’m right to be unconcerned.
- Solid state relays should ALWAYS have heat sinks, and thermal grease between the sink and the SSR.
- SSRs are rated. It needs to be able to handle at least enough current as the freezer, although I recommend double. My freezer claims 2.5 amps, my SSR is 40 amps. Should be safe.
- Test everything using a safe tester and test method. For outlets, the $5 3-prong tester like I use is adequate and safe – much much safer than a multimeter. Truthfully, every homeowner should have one of these (and when my house was built, I used this little tester on every single outlet).
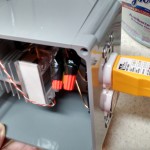
- Everything should be in a box, in case something happens. Said box should be waterproof as much as reasonably possible.
Pictures are below.
-
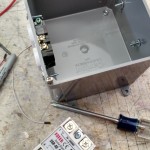
- Near beginning. Added an outlet to the side.
-
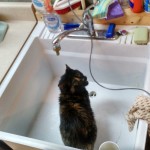
- My cat, Mocha, wants me to brew a mocha stout, I guess.
-
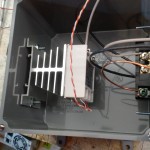
- Solid-State Relay in place.
-
- Testing. This is a more dangerous part because I don’t have the covers in place.
-
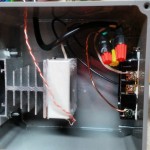
- Internal finished view.
-

- External finished. Complete with some stickers!
-
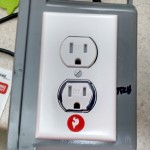
- Side. The lower outlet is on the relay, the upper outlet is always on.
The only problem I ran into was that the $3 Chinese solid-state relay is bad. The switched outlet is on regardless of the input (although I’m still testing things, so not 100% sure if I’m right, but I’m ordering like 3 more… after all, they’re like $3 and out of the last two I purchased, one is probably bad). I’ve tested (with the unit unplugged) across the SSR terminals and did not find a short, and across the two hot sides of the receptacle and did not find a short. But in the case of the SSR, it may not display a short to my tester because it is a much lower voltage than the outlet.
EDIT
The relay was probably fine. It appears that there is a minimum current required to turn on/off the SSR, and the 1/4 watt tester was not enough of a load. I replaced the relay (with one of the FIVE I bought), and plugged the freezer into it, despite the new one showing the same signs as the old one. The freezer did not turn on when I powered-on the Raspberry Pi (I had turned it off to plug it into the box’s unswitched outlet). I made a quick administrative code edit, and it worked.
Cheers!
Raspberry Pi Fermentation Temp Controller I: cron jobs 1 and 2
This is the first of a handful of posts about getting my fermentation temperature controller up and running. As I indicated before, there are three python scripts on the Raspberry Pi that make this all work.
For those that don’t know, the Raspberry Pi is a small computer that is about the footprint of a credit card. It isn’t very powerful, but you don’t need power to do this temperature control. One thing you DO need for this is called GPIO, or General Purpose Input/Output. These can be used as switches in code. There are many ways to use these, but the easiest (in my opinion) is using Python.
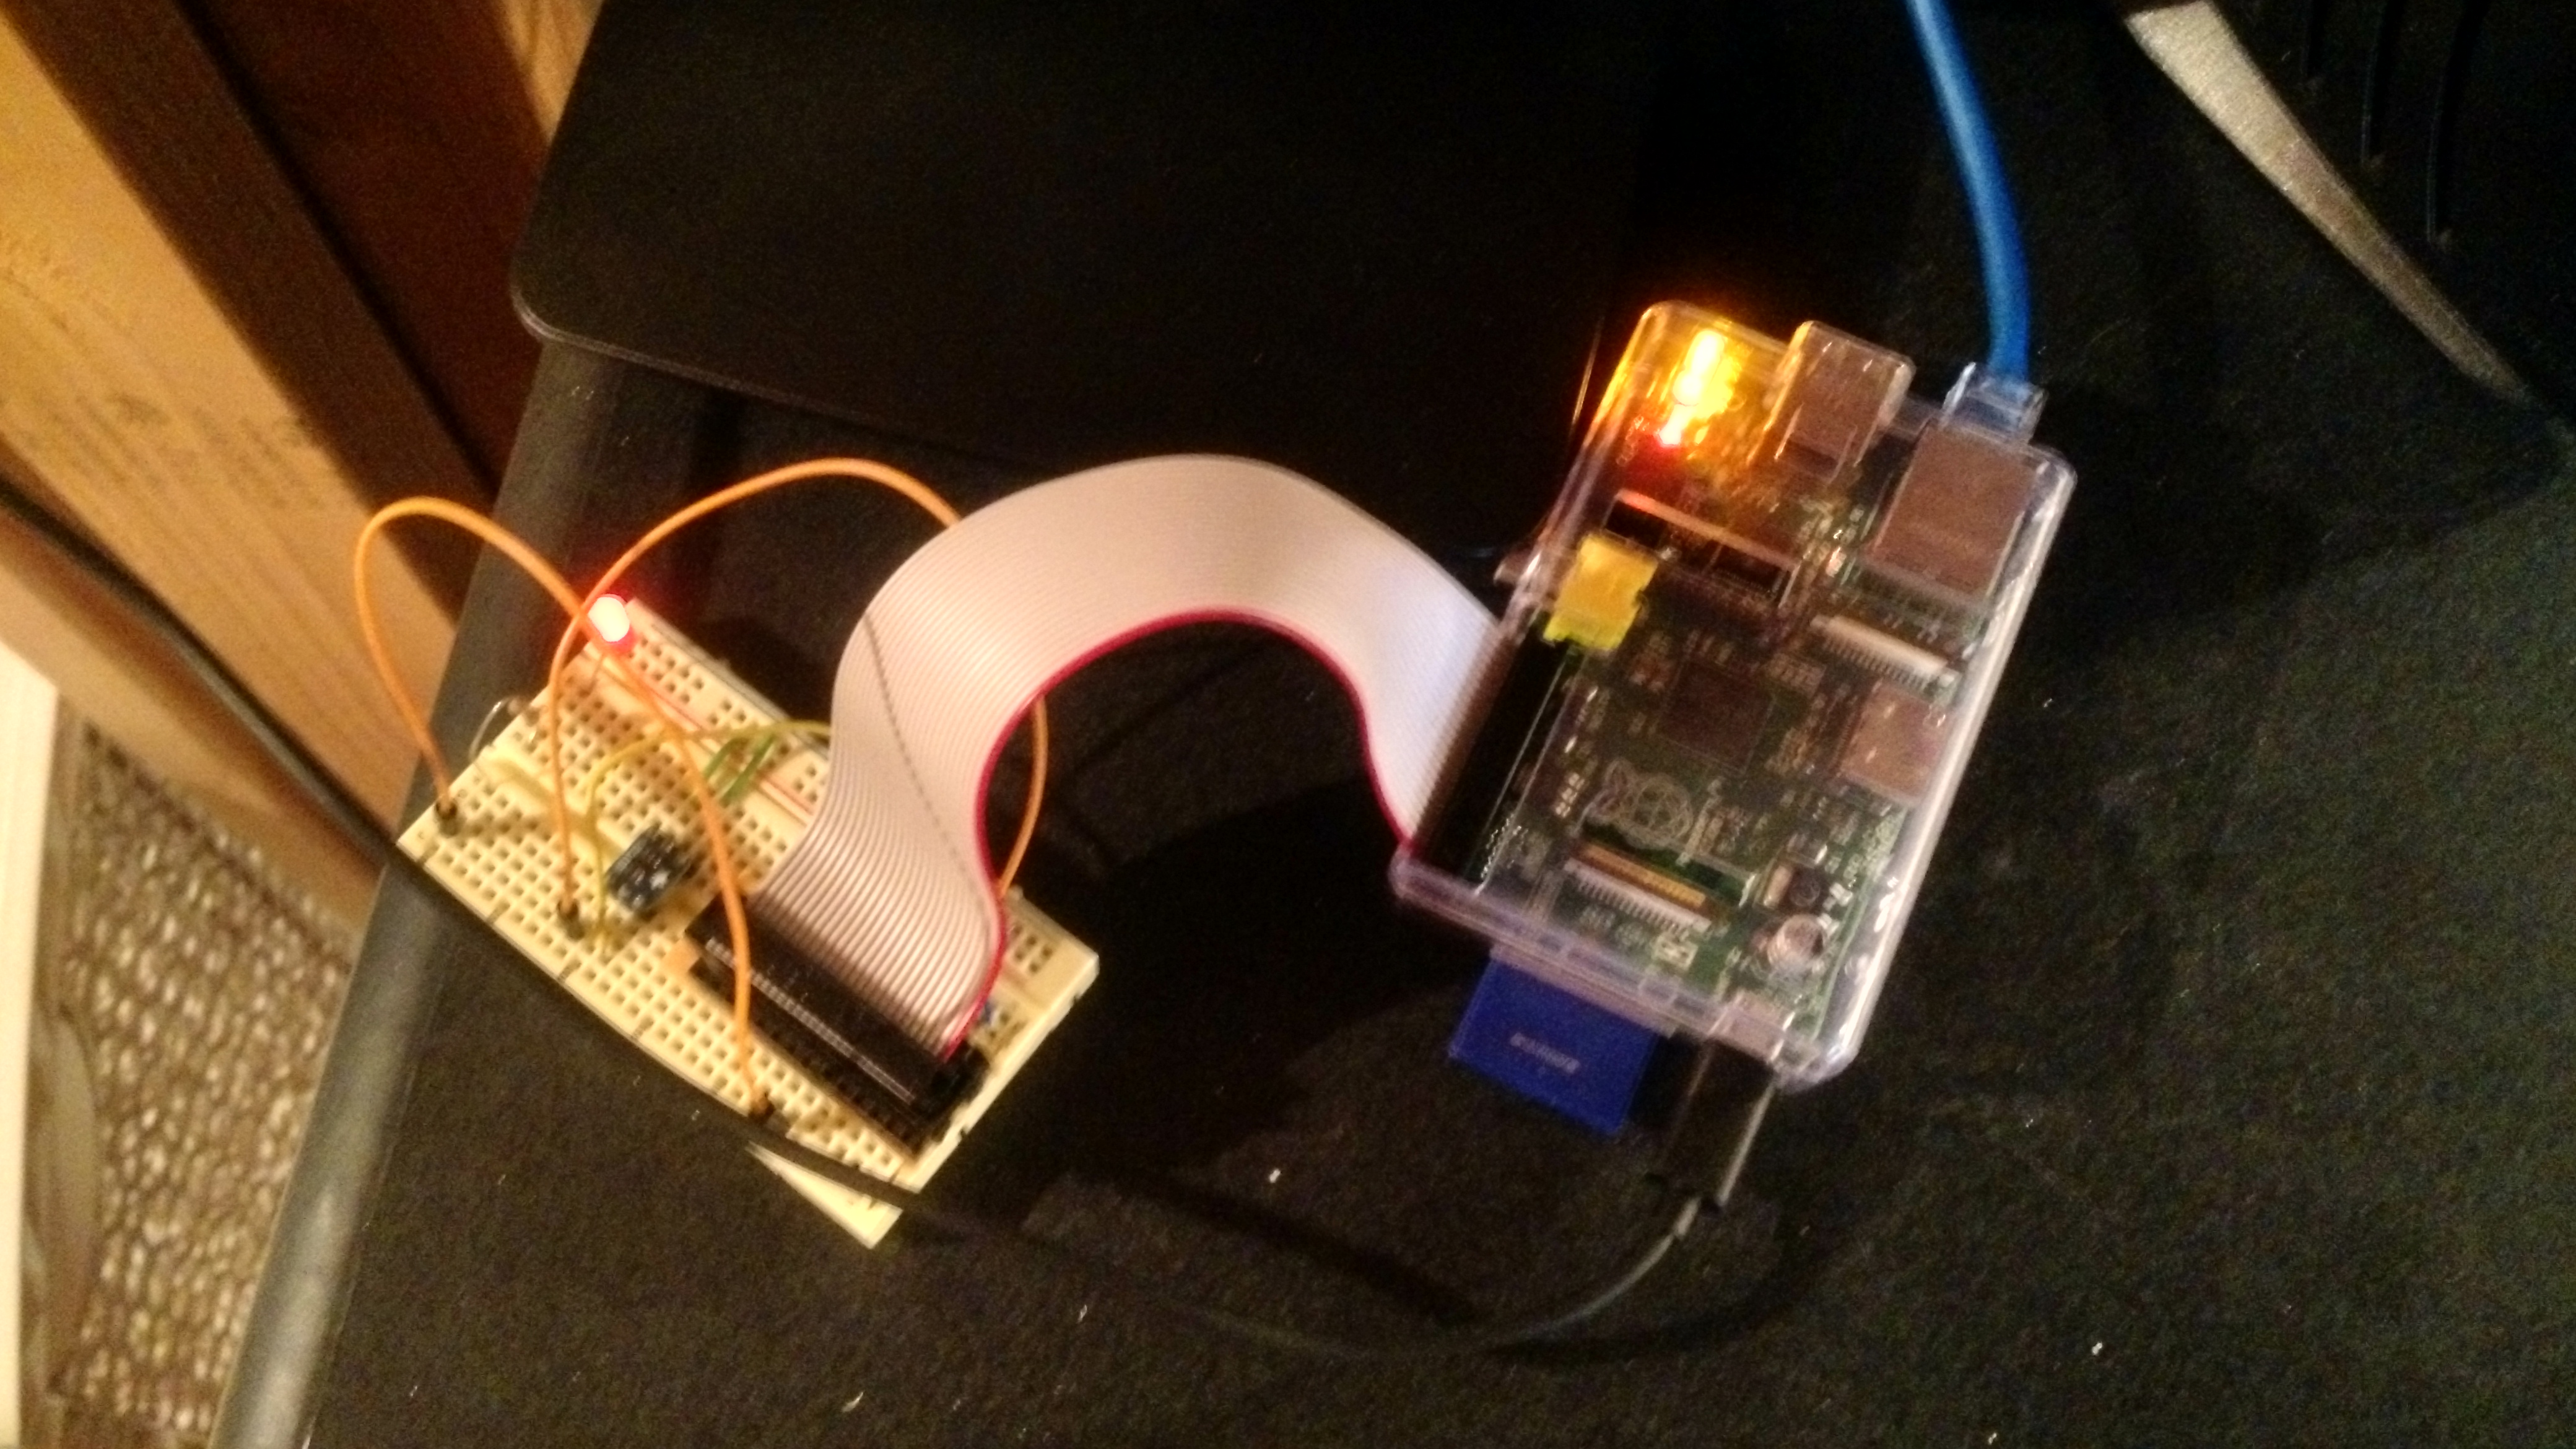
Raspberry Pi connected to a breadboard.
My current setup is with the Raspberry Pi connected to a breadboard, which is a device that allows solder-free connections (solder is somewhat permanent and soldering parts to a PCB is a lot of work). In the image above, the ribbon cable connects to all the GPIO pins on the Raspberry Pi, and specific pins are being used to connect to a temperature sensor and to a light emitting diode (LED).
The two parts of code are to check the temperature and determine if the temperature has gone too low (the Emergency Stop Script), and the other is to send the temperature to a server (the API Send Script).
Emergency Stop Script
This is the check script. It checks the temperature and shuts off the GPIO output if the temperature is at or below 32. Two things to note on this, one is that if this temperature sensor is just in the chamber, the beer will probably be a degree or two warmer (unless it stays at 32 for a while). The other thing to note is that if you are making eisbock, you should probably change or disable this script.
The script above should be set in the cron manager (crontab -e) to run every minute:
*/1 * * * * sudo python /home/pi/source/pyTemp/pyECheck.py > /home/pi/source/pyTemp/pyECheck.log
The code above has it run every minute (the */1). The path to the script on my Raspberry Pi is /home/pi/source/pyTemp/pyECheck.py, and the output log file is /home/pi/source/pyTemp/pyECheck.log. Note the use of sudo on this script – or “superuser do”. This runs the script as a fully privileged user, which is required to use the GPIO pins.
API Send Script
This is the script to send the data to a server. There are a few things that need to be changed. One is that you need to generate an encryption key that will be used on the Raspberry Pi and the web server to encrypt and decrypt the data. This is almost overkill, but it ensures that it cannot be screwed with. The other thing that needs to be changed is the server address. These are both at the top of the file.
This script should not be run every minute (that’s what we’d call overkill). I use every 10 minutes, although it could be less often.
*/10 * * * * sudo python /home/pi/source/pyTemp/pyTemp.py > /home/pi/source/pyTemp/pyTemp.log
The next part of this will be either the actual Raspberry Pi connections or the PHP server backend. But either way, likely both are coming within the next few weeks although regular programming may be interrupted by a brew day report.
Cheers!