DIY Spunding Valve Setup!
After sitting in a pool drinking a can of Sam ’76 that a friend gave me, I decided that I do want to be able to lager. However, my basement is currently a mess and I don’t have room for anything like another chest freezer. Enter pressure fermentation. There is some scientific evidence that pressure fermentation reduces esters from yeast (although there’s some anecdotal evidence that yeasts like W-34/70 can handle fermentation at room temperature (and I’ve made a Tropical Stout with Wyeast 2124 Bohemian Lager and fermented it at room temperature… which is claimed to be the liquid version of W-34/70).
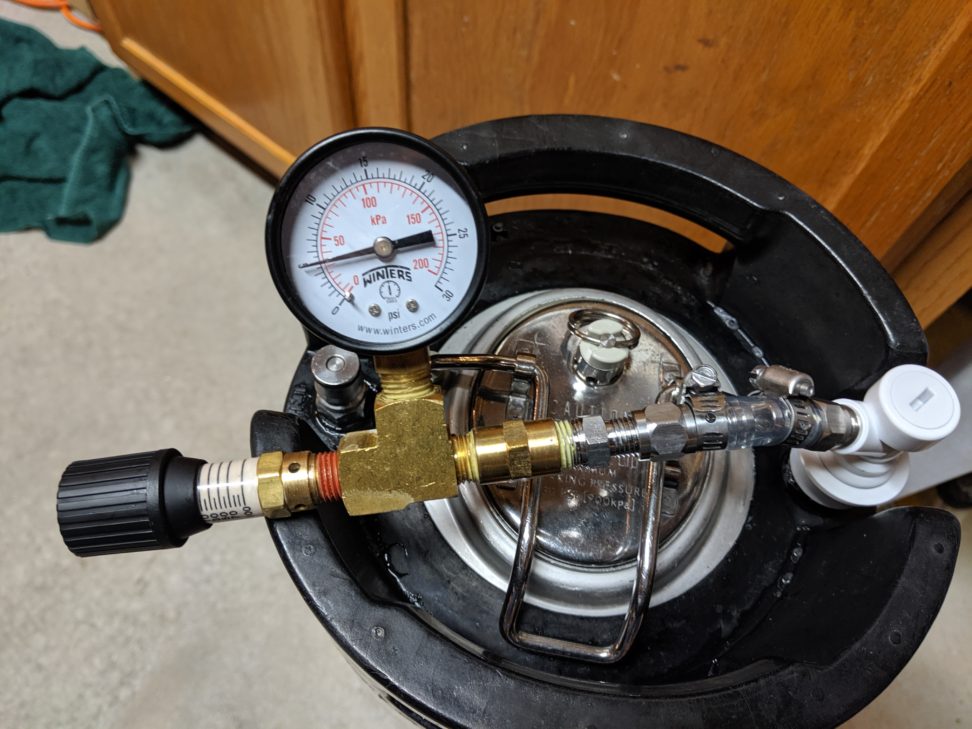
Spunding valve setups are pretty easy to make – at it’s most basic, it’s just a spunding valve connected to a keg post. Since people generally want to know what pressure they’re at (that can become really important), a smart thing to do is add a pressure gauge in the setup.
I happen to have an extra ball-lock keg that I used once in a kettle sour process. I did have to replace the lid with a new one, and I bought new O-rings (I kept the old ones in a bag marked “sour”, because I’m sure I’ll be making more sour beers too). I also had to buy some posts and disconnects.
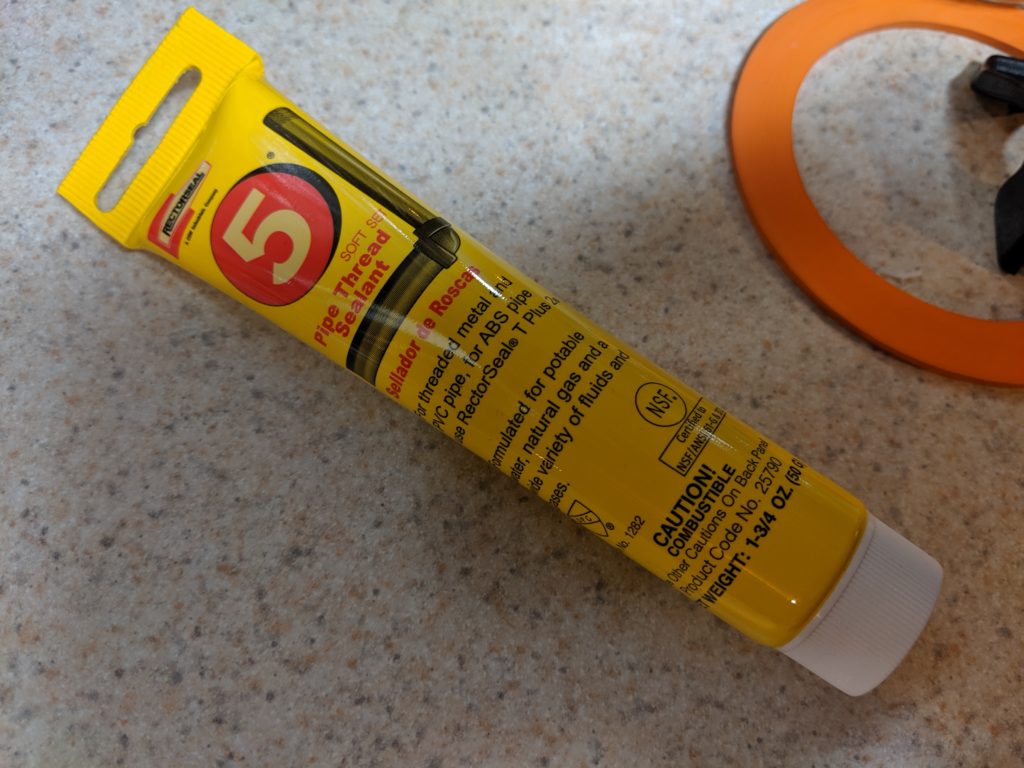
From the post, there’s a short length of hose to connect to some adapters and then to a T connection, which has the pressure gauge off the top and the spunding valve at the side. I used a liquid thread sealant on all threaded joints, although I imagine teflon tape would have been fine as well.
After some false starts with the posts being reversed (I usually use pin-lock kegs), I got it to hold air – it held 5 PSI for quite some time before I started typing this, and it was still at 5 PSI when I finished typing.
Cheers!