Brewing
Watermelon Wine
I was tempted to make a click-bait headline of “He throws a watermelon in a blender. You won’t believe what happens next!”
I ended up with a watermelon large enough to feed a small army, which is about 60% more than my family (of FIVE) will eat. I cut half of it into chunks small enough for my kids (9, 4, and 3 years old) and was left with a dilemma of what to do with half a watermelon. Throwing it away would seem pretty wasteful. And my fridge is too full for half a watermelon of this size, so keeping it was generally out.
So like any ubergeek, I searched the Internet for things to do with a watermelon. Not long into the barrage of pages was a page about juicing it.

So watermelons have a bit of sugar and a lot of water, and yeast eats sugar and makes alcohol…
The first thing I did was prepare the must (watermelon juice). Getting from watermelon to watermelon juice was done with the blender.
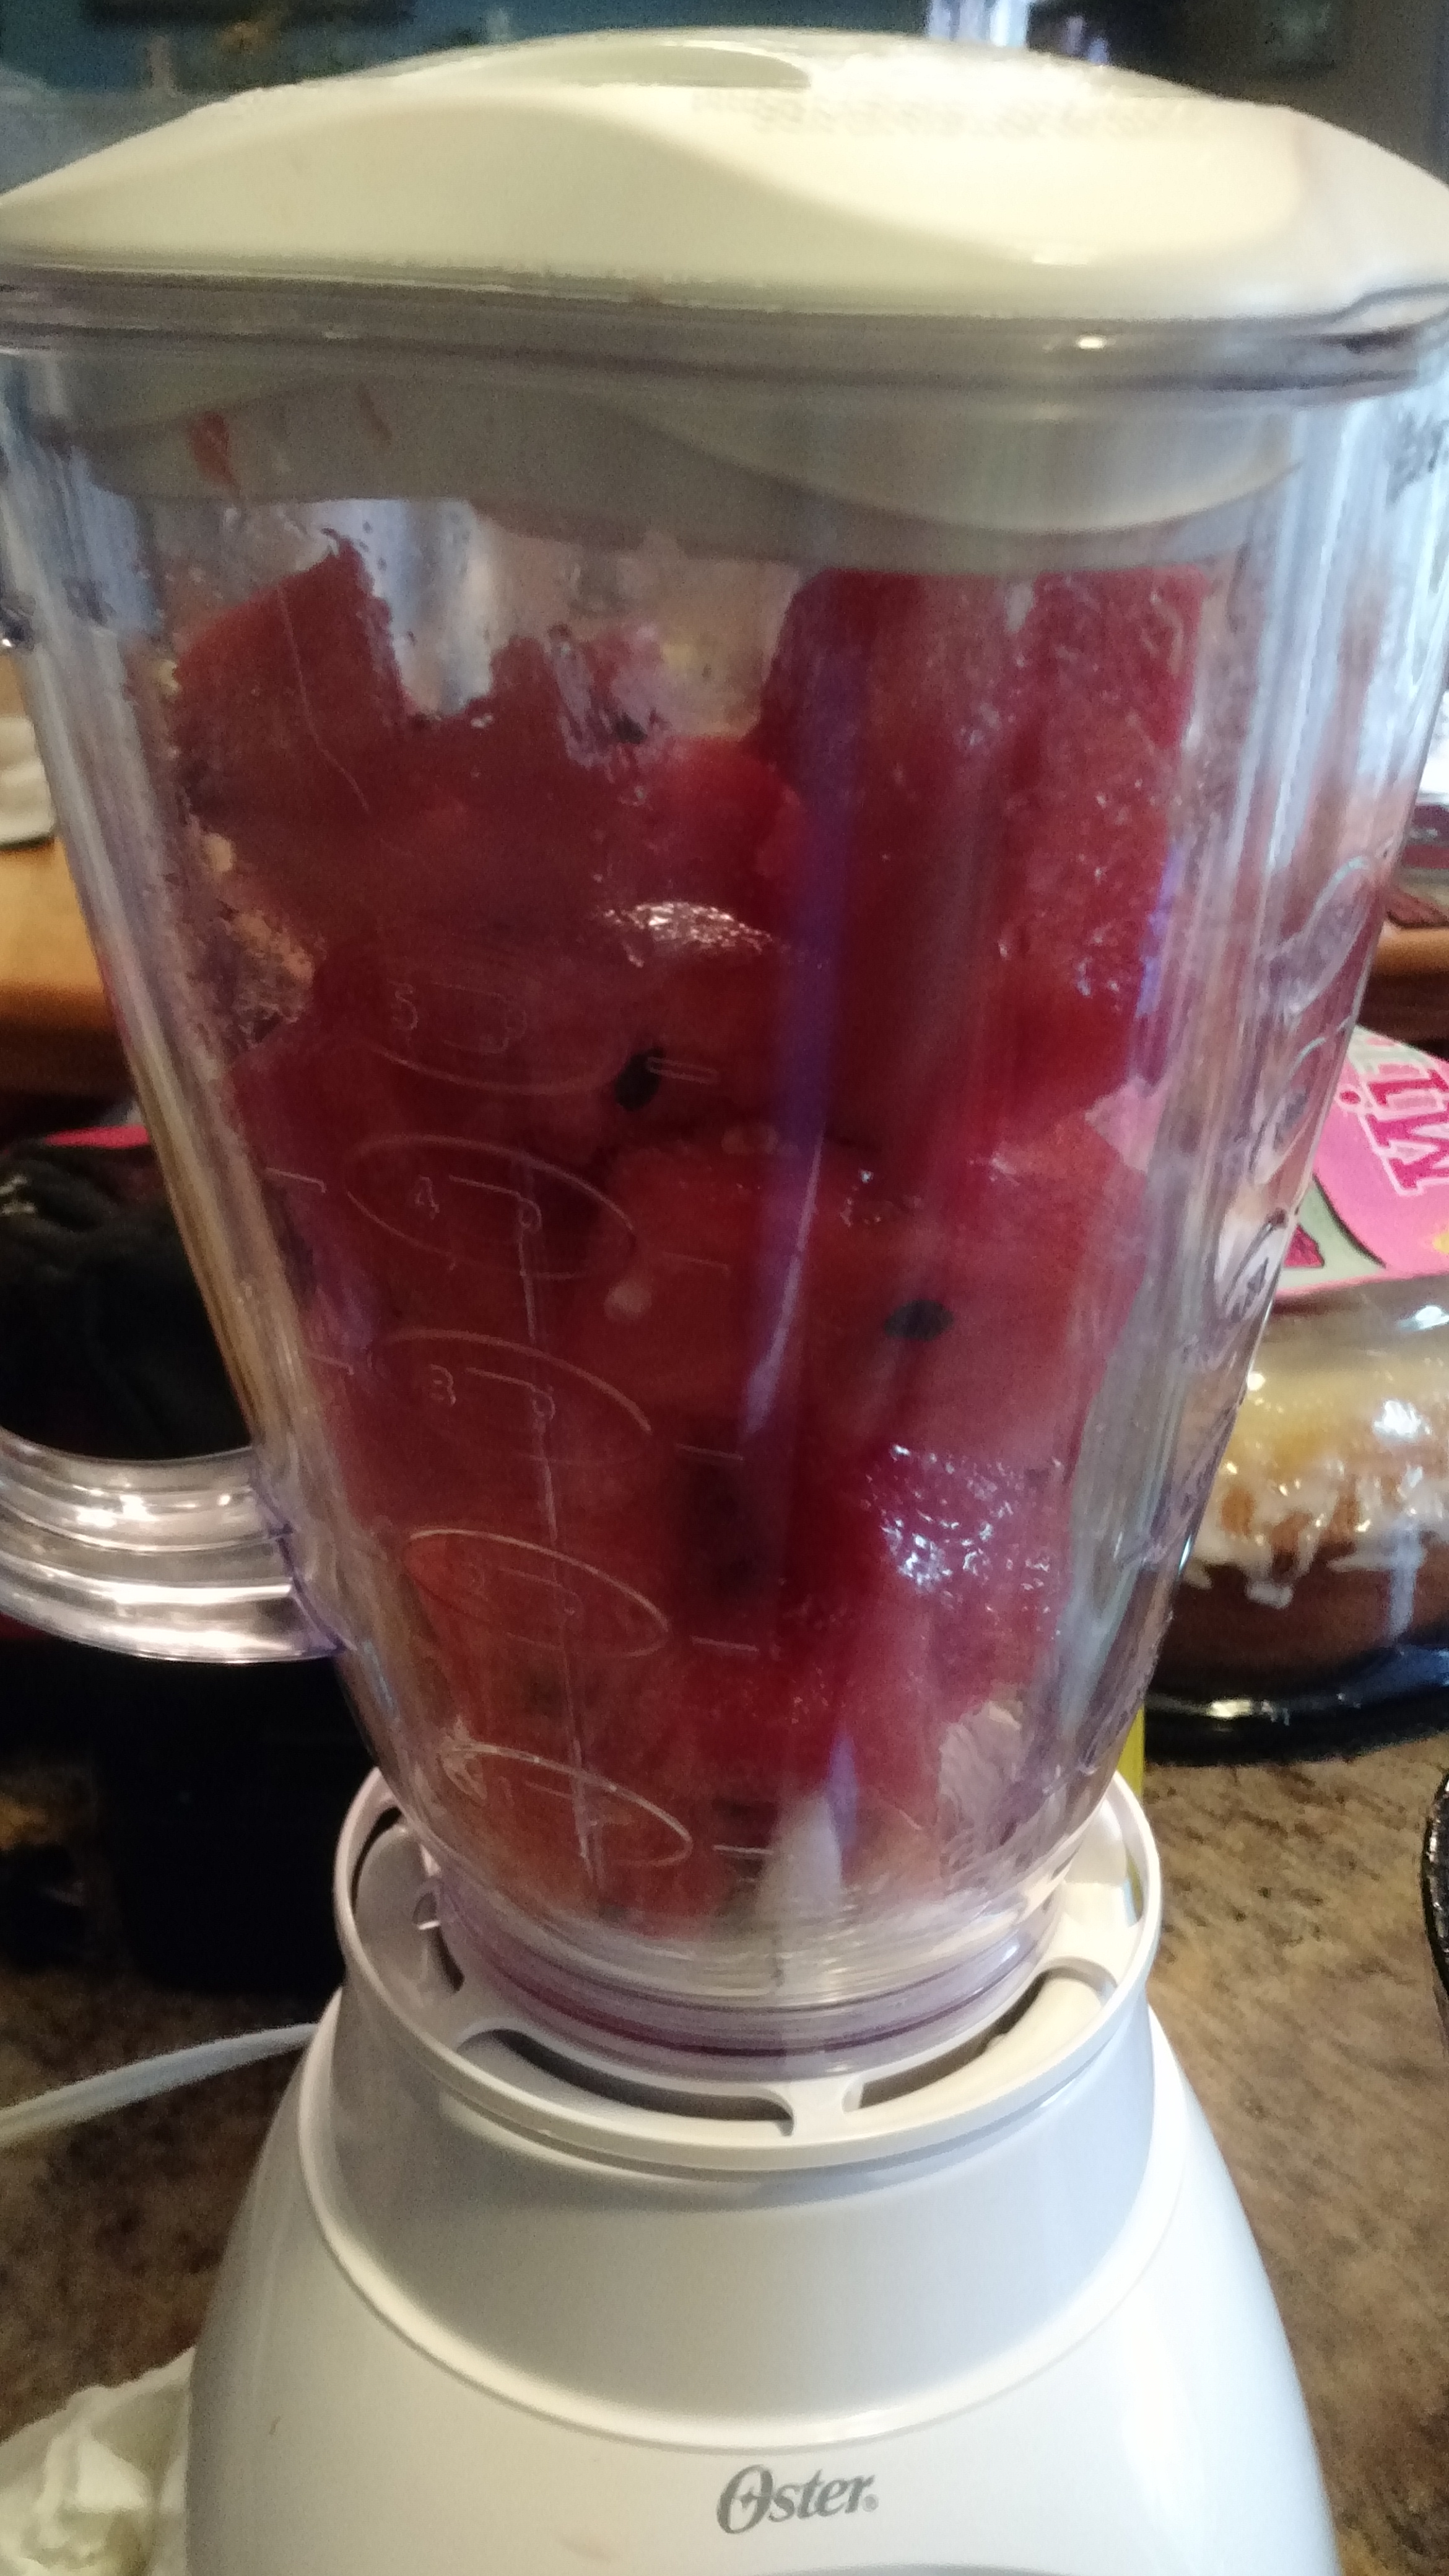
Will it blend?
After blending, I strained out the large seeds with a colander…
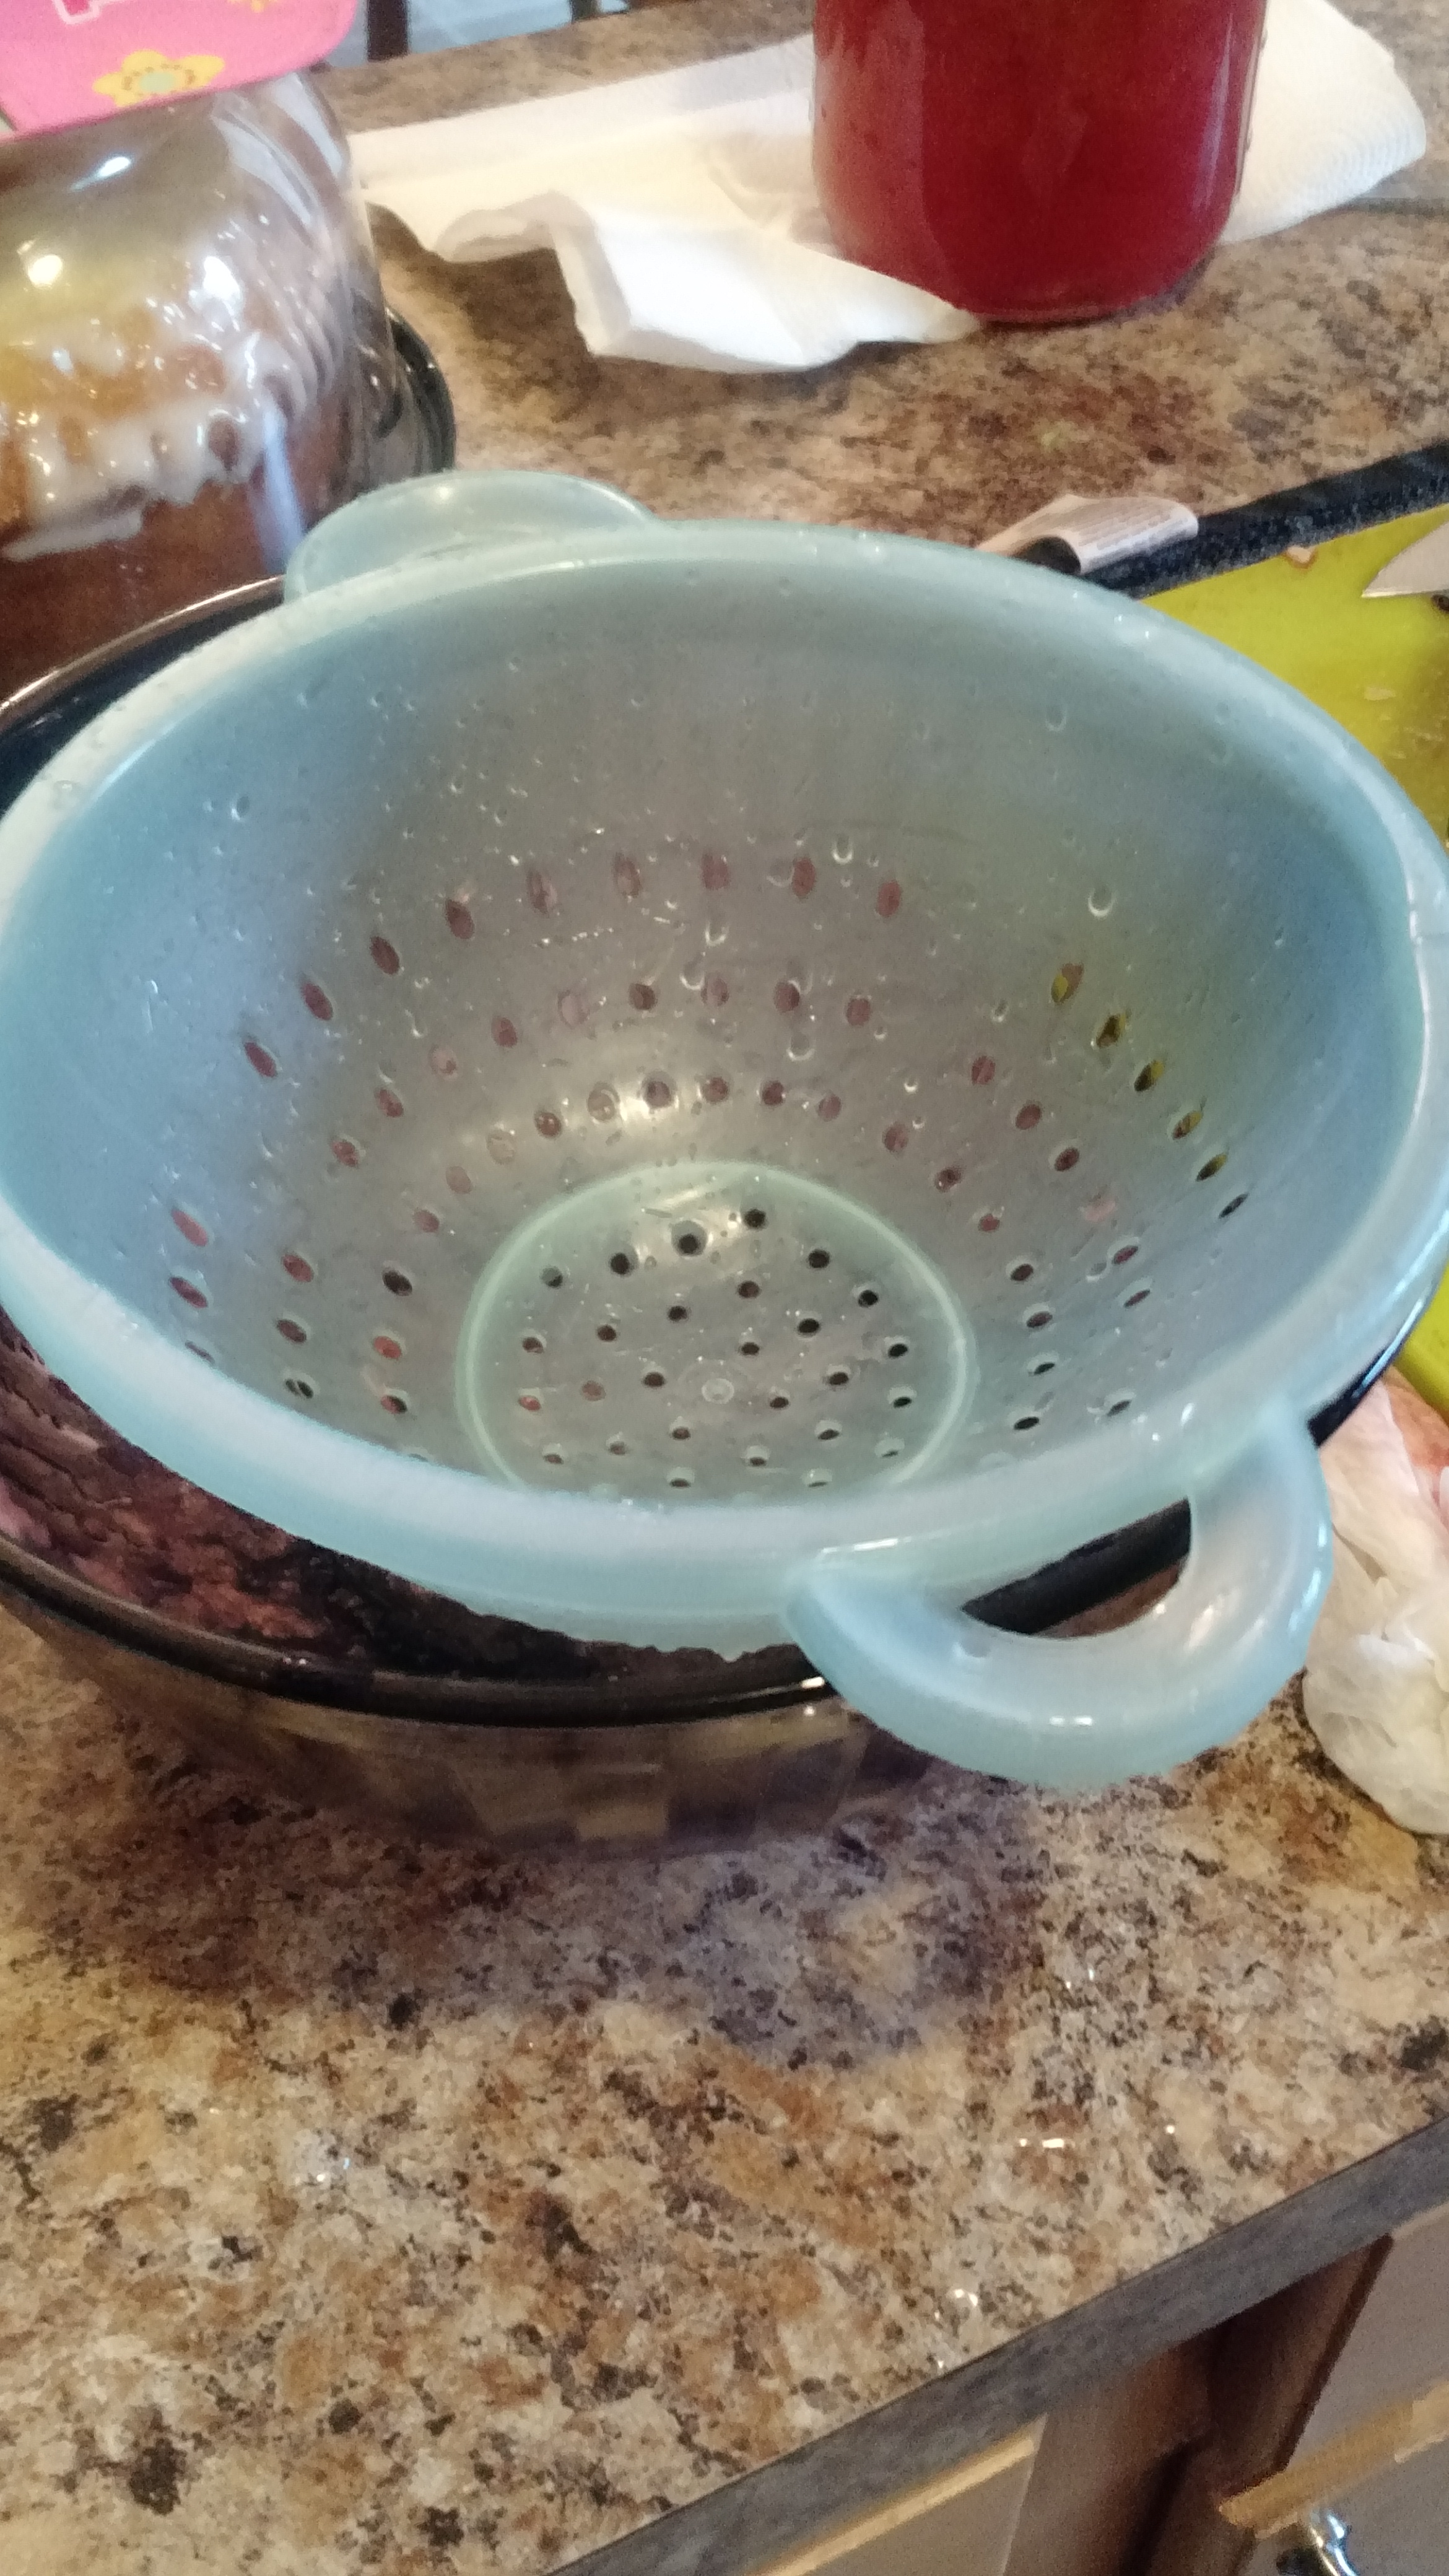
Colander Strainer
Next I heated the must to 170ºF (actually, it made it up to 195ºF, good thing it doesn’t have a lot of pectin in it, apparently) and cooled it to 75ºF.
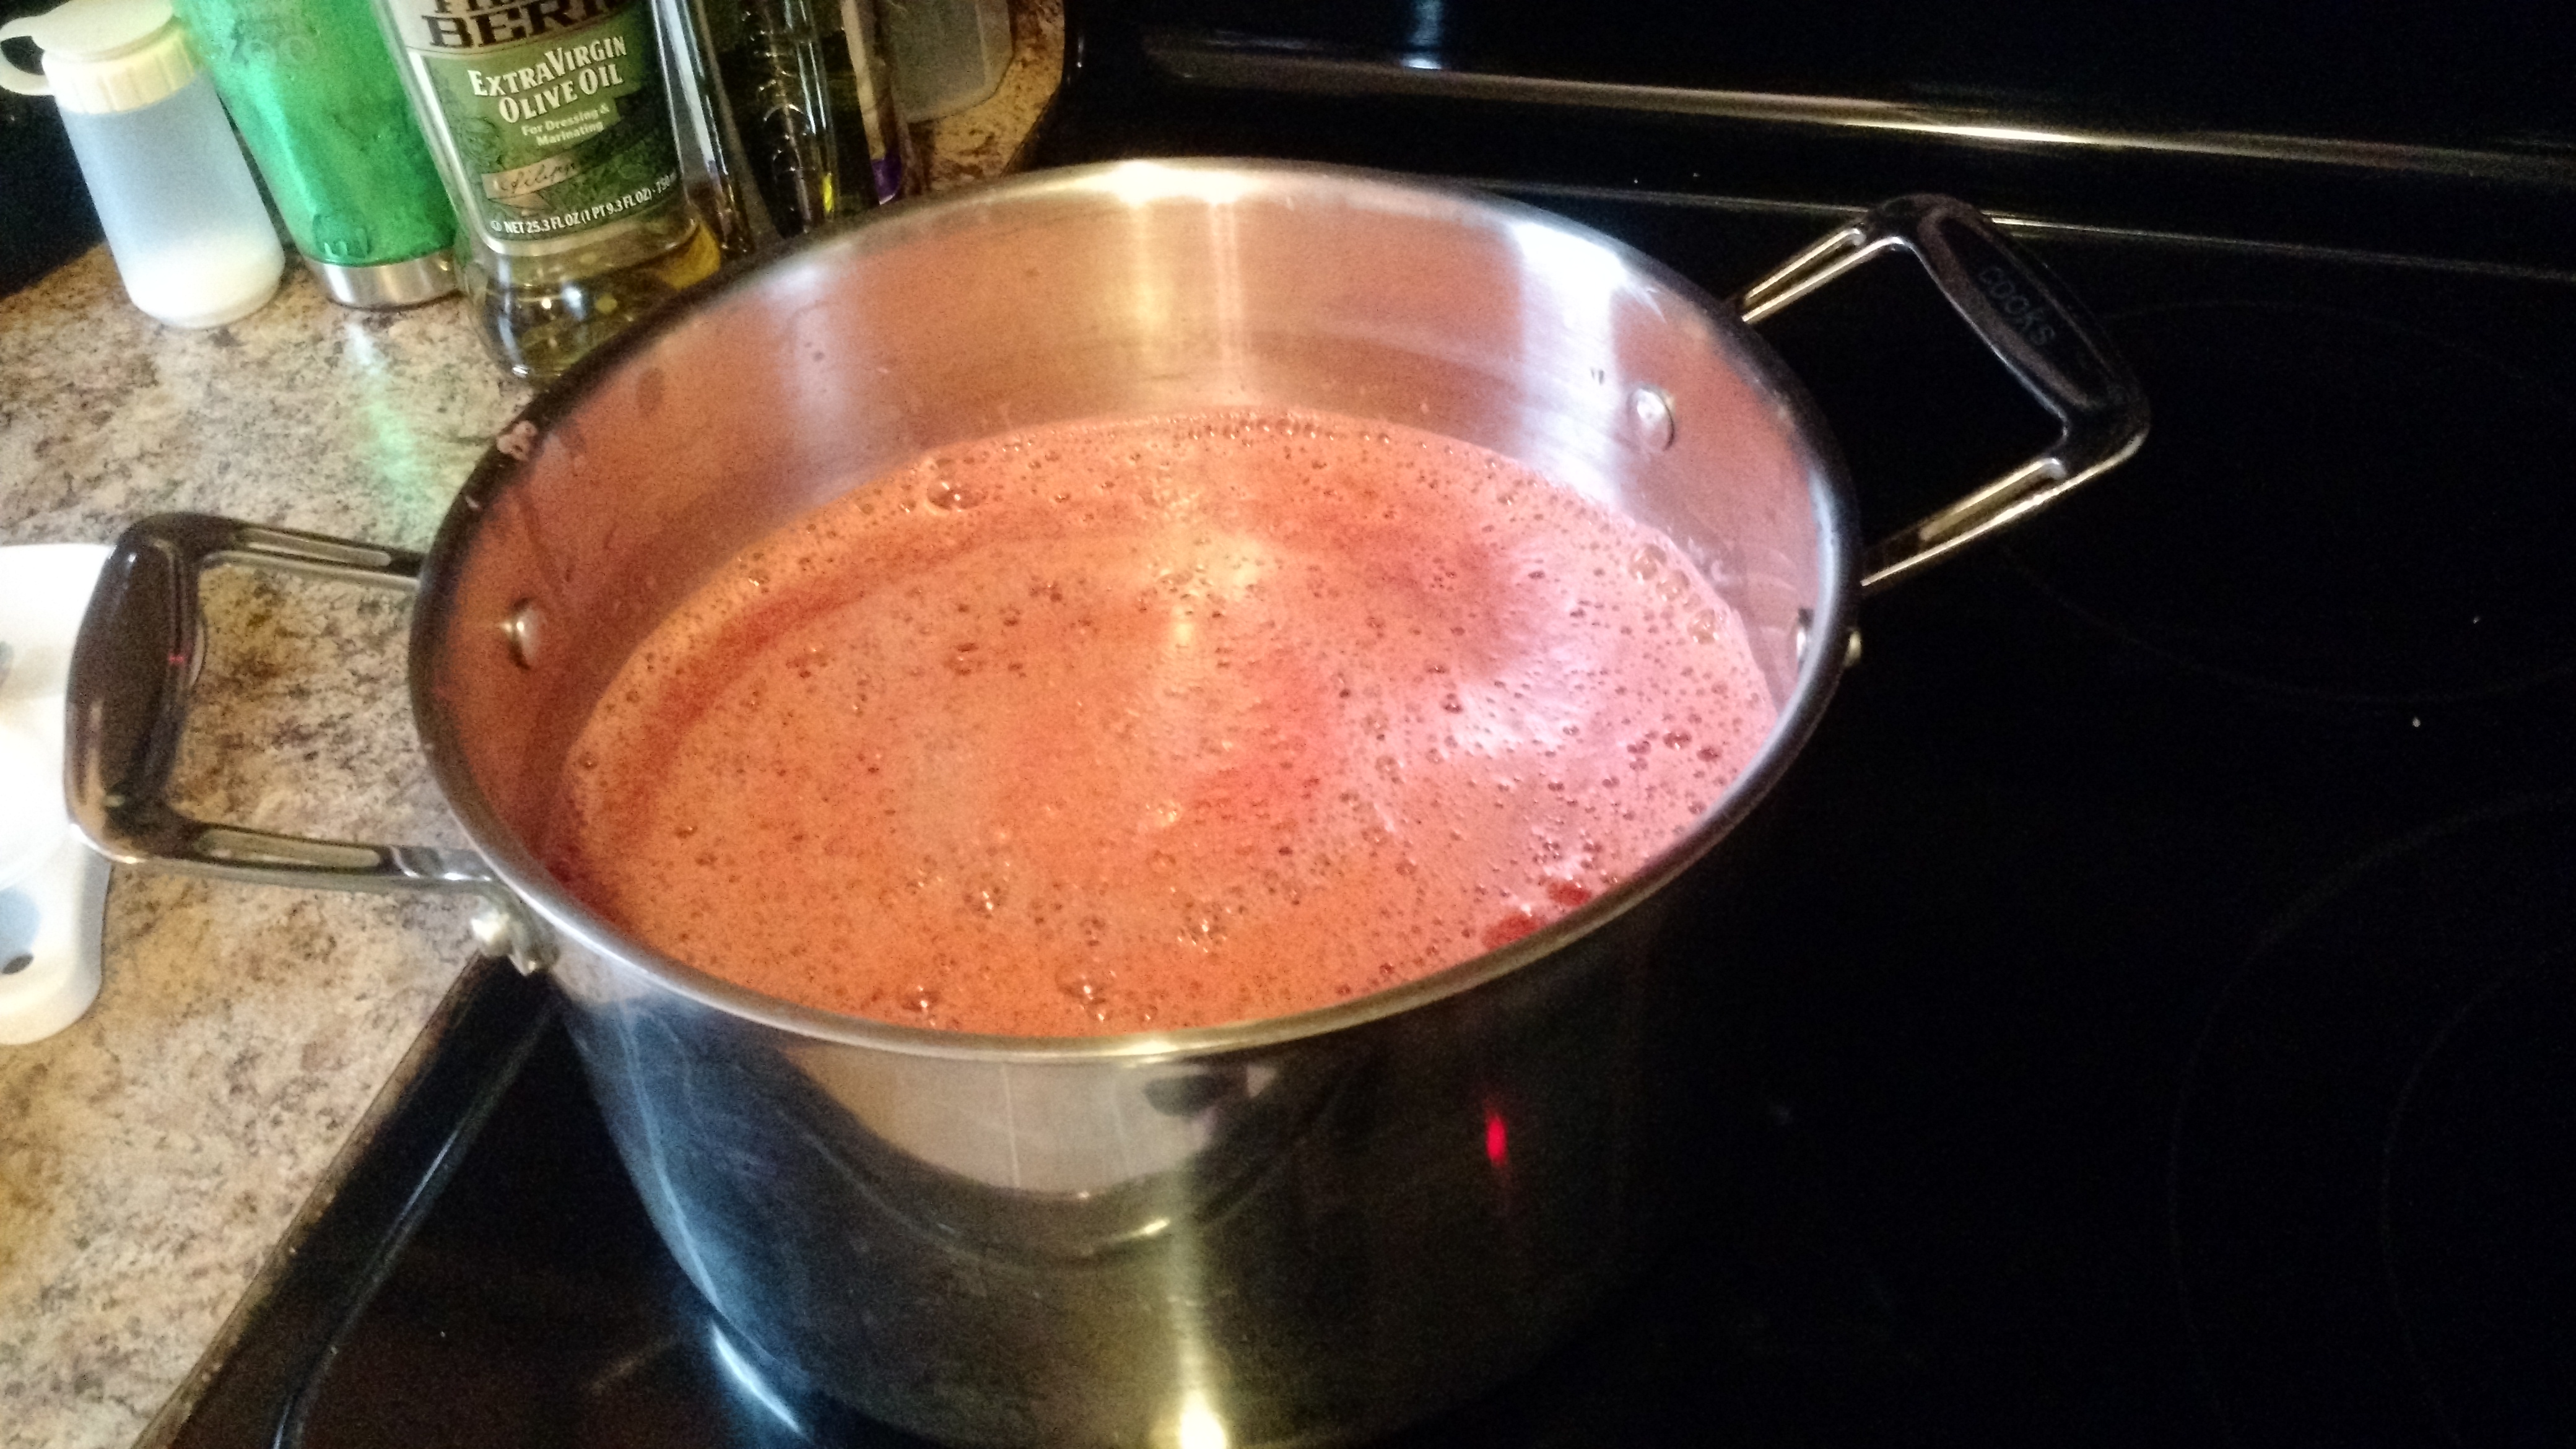
Oh look, a pot of must.
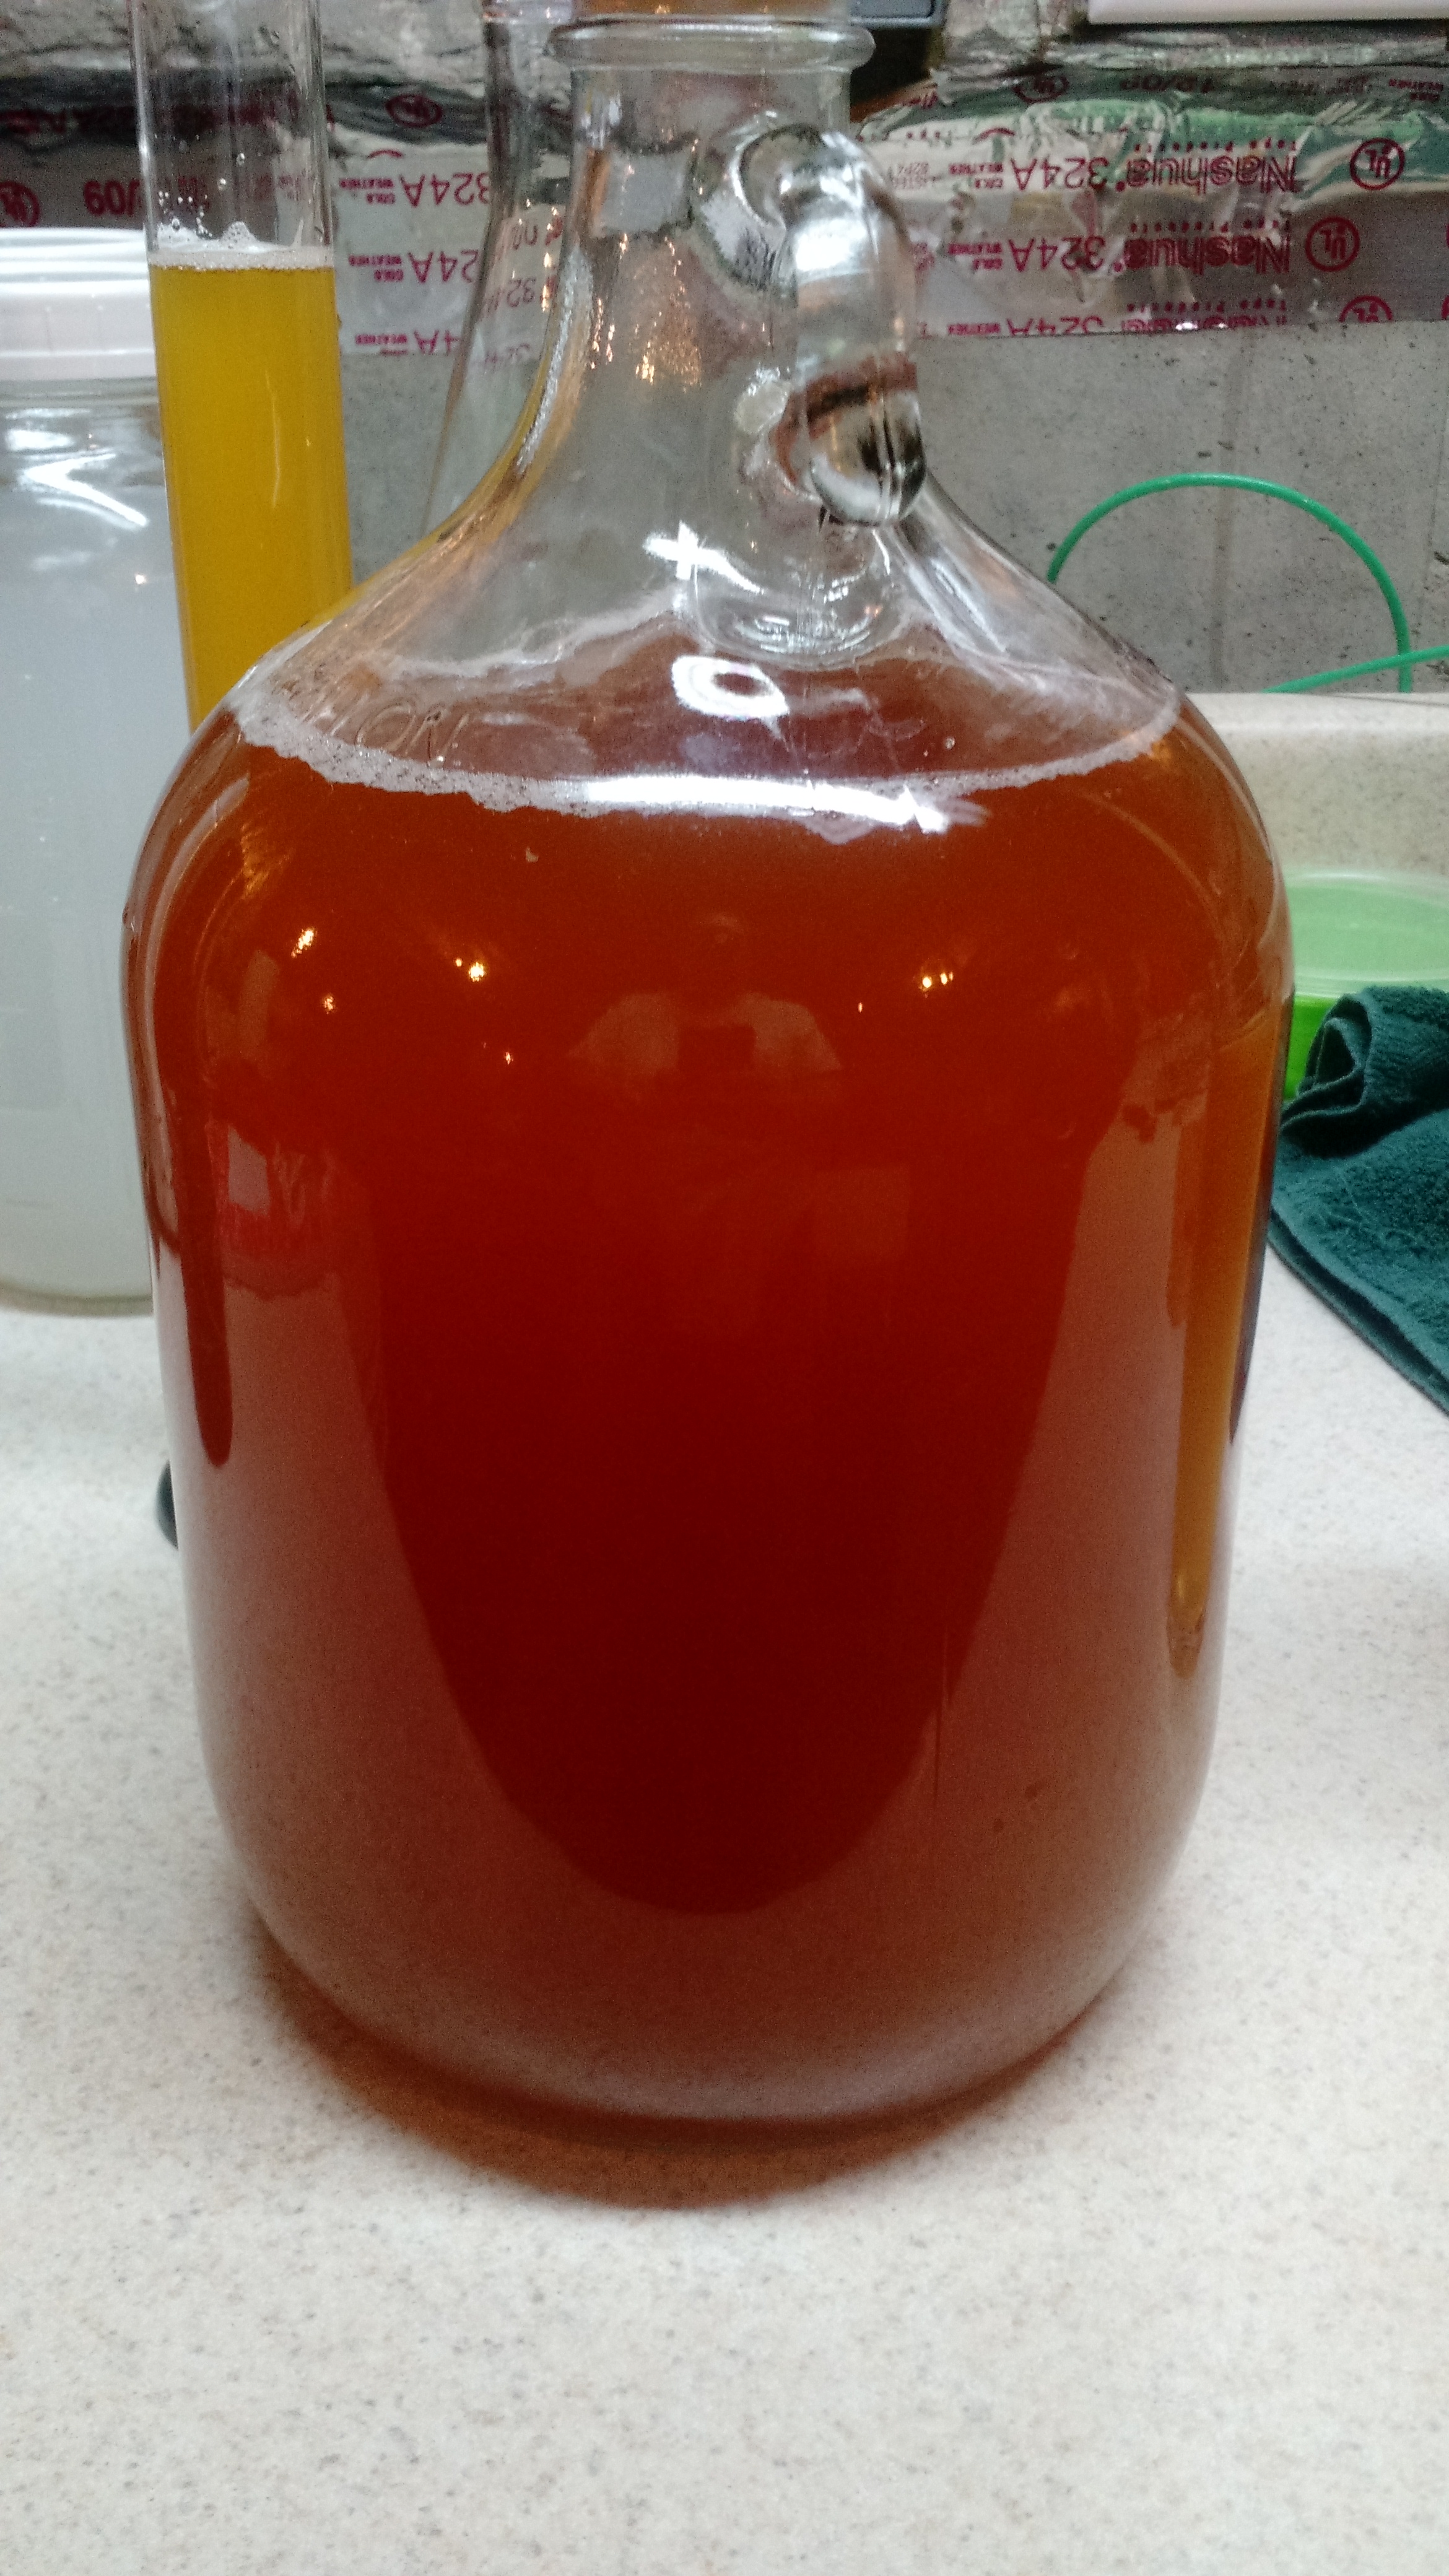
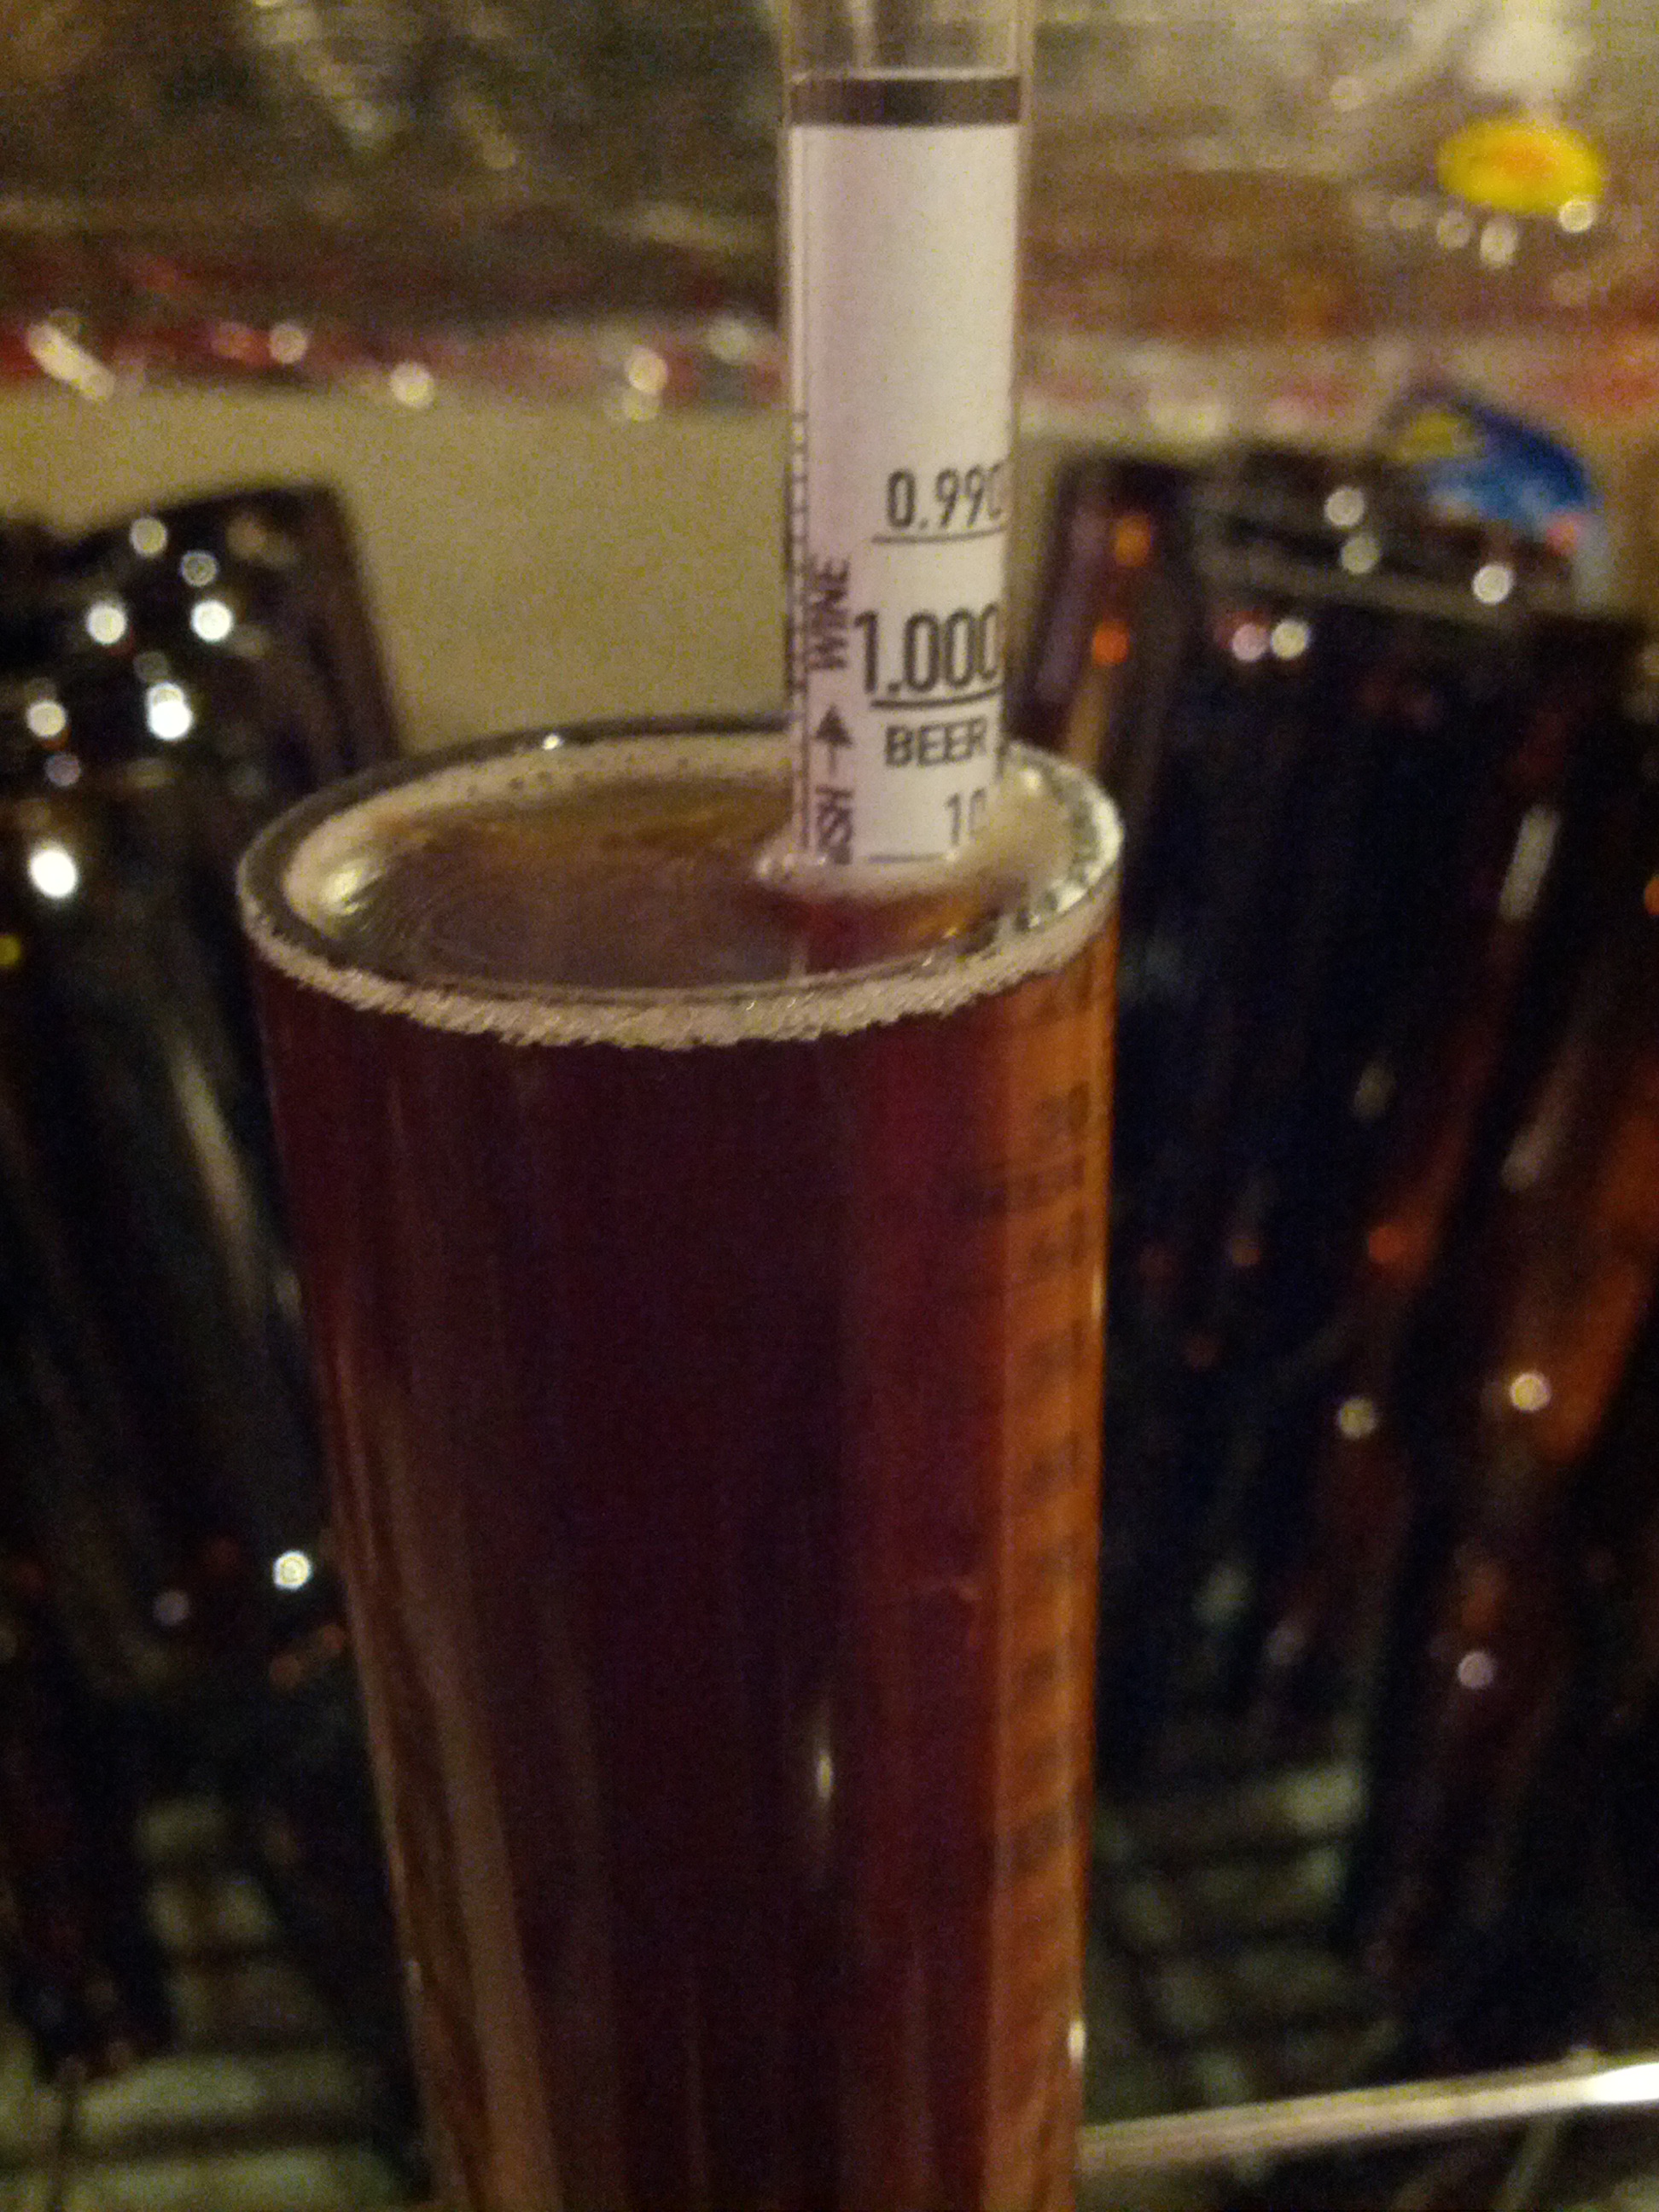
Once the must was cooled, I racked it to a 1-gallon carboy, shook it, and added a teaspoon of yeast nutrient and some White Labs WLP775 English Cider Yeast. I pulled a little off the side and checked gravity, which was 1.030 – 1.040 (we’ll go with 1.035). The must was a little thick so it was hard to get a proper reading.
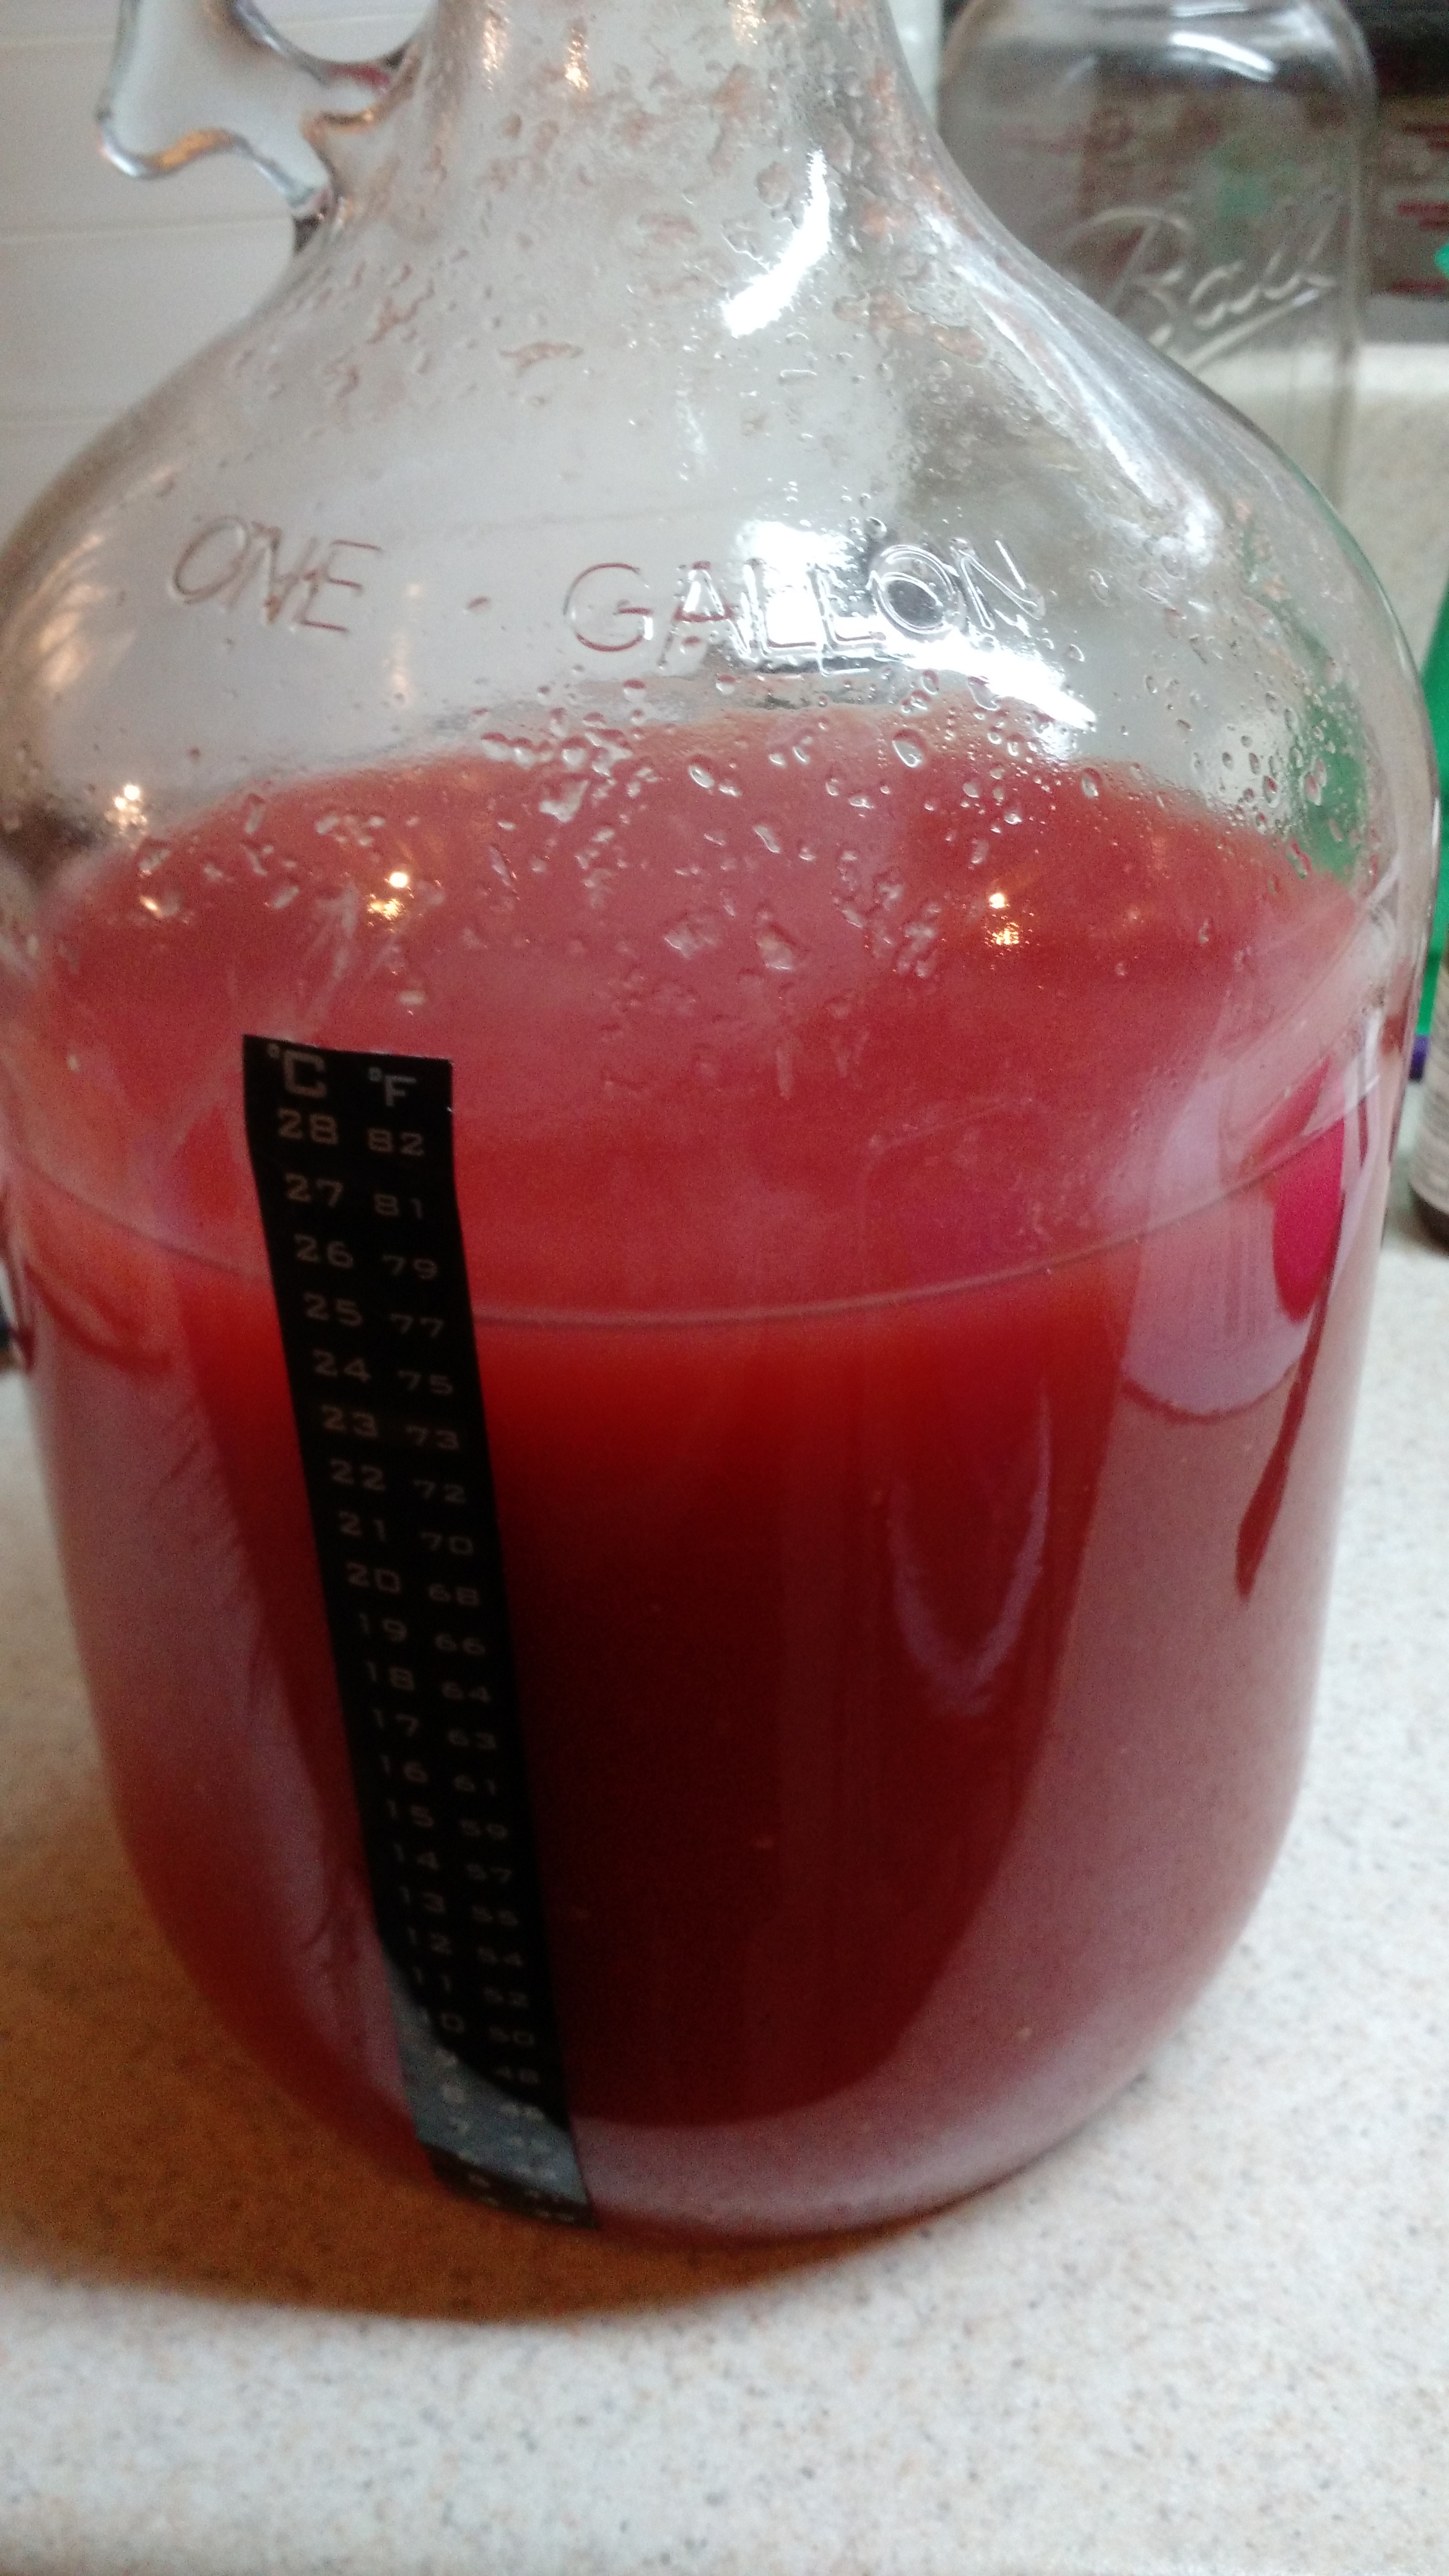
Off to the races!
Cheers!
Removing that $%@! Chlorine
I live in an area with great water for pale beers, and great water in general… except for the chlorine.
My previous way to prepare beer was to use a 1/2″ hose from my refrigerator dispenser to a fermenting bucket. Then, I had to carry the buckets to the basement brewery to use. Last time, I did this the night before, which was good from the standpoint that the filter in the fridge is crap and had my wife’s ultra-sensitive palate complaining of the chlorine flavor. Sitting overnight allows the chlorine to leave the water.
Not one to want to carry heavy buckets of water around (especially since I’ve recently been diagnosed with a major back injury) and wanting to brew again, I decided to fix that problem once and for all. Enter the whole-house water filter.
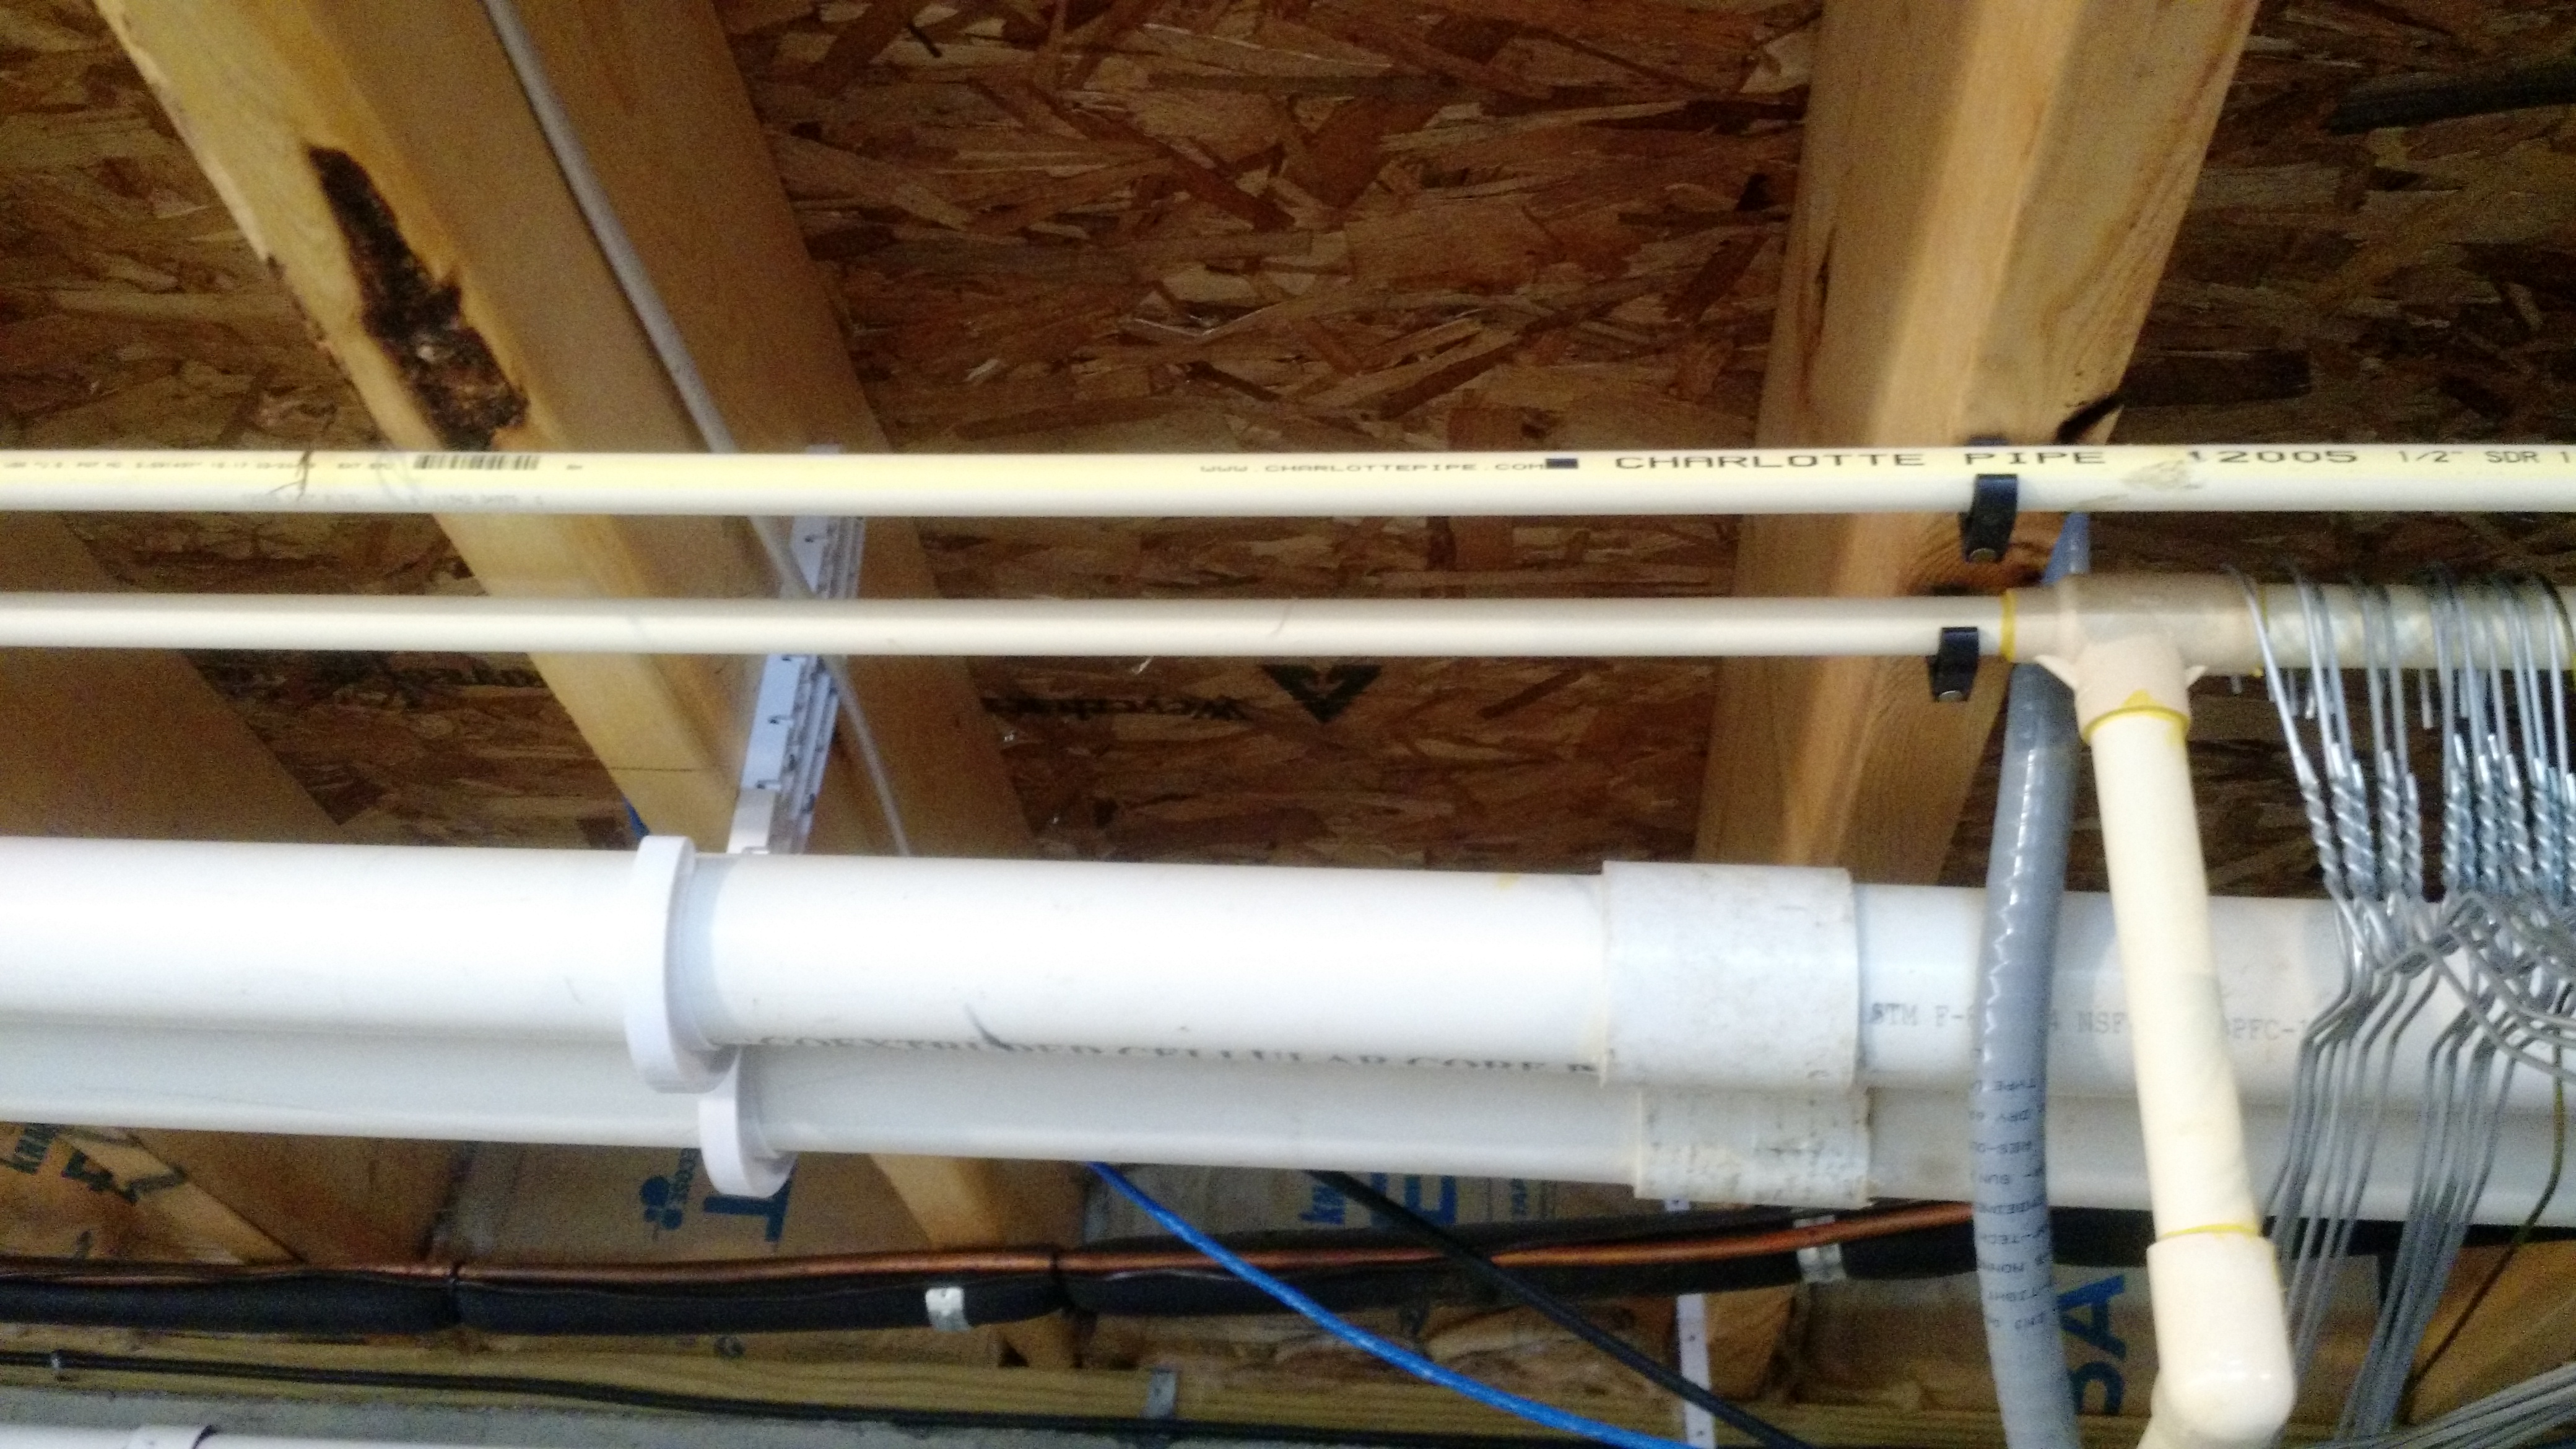
Before
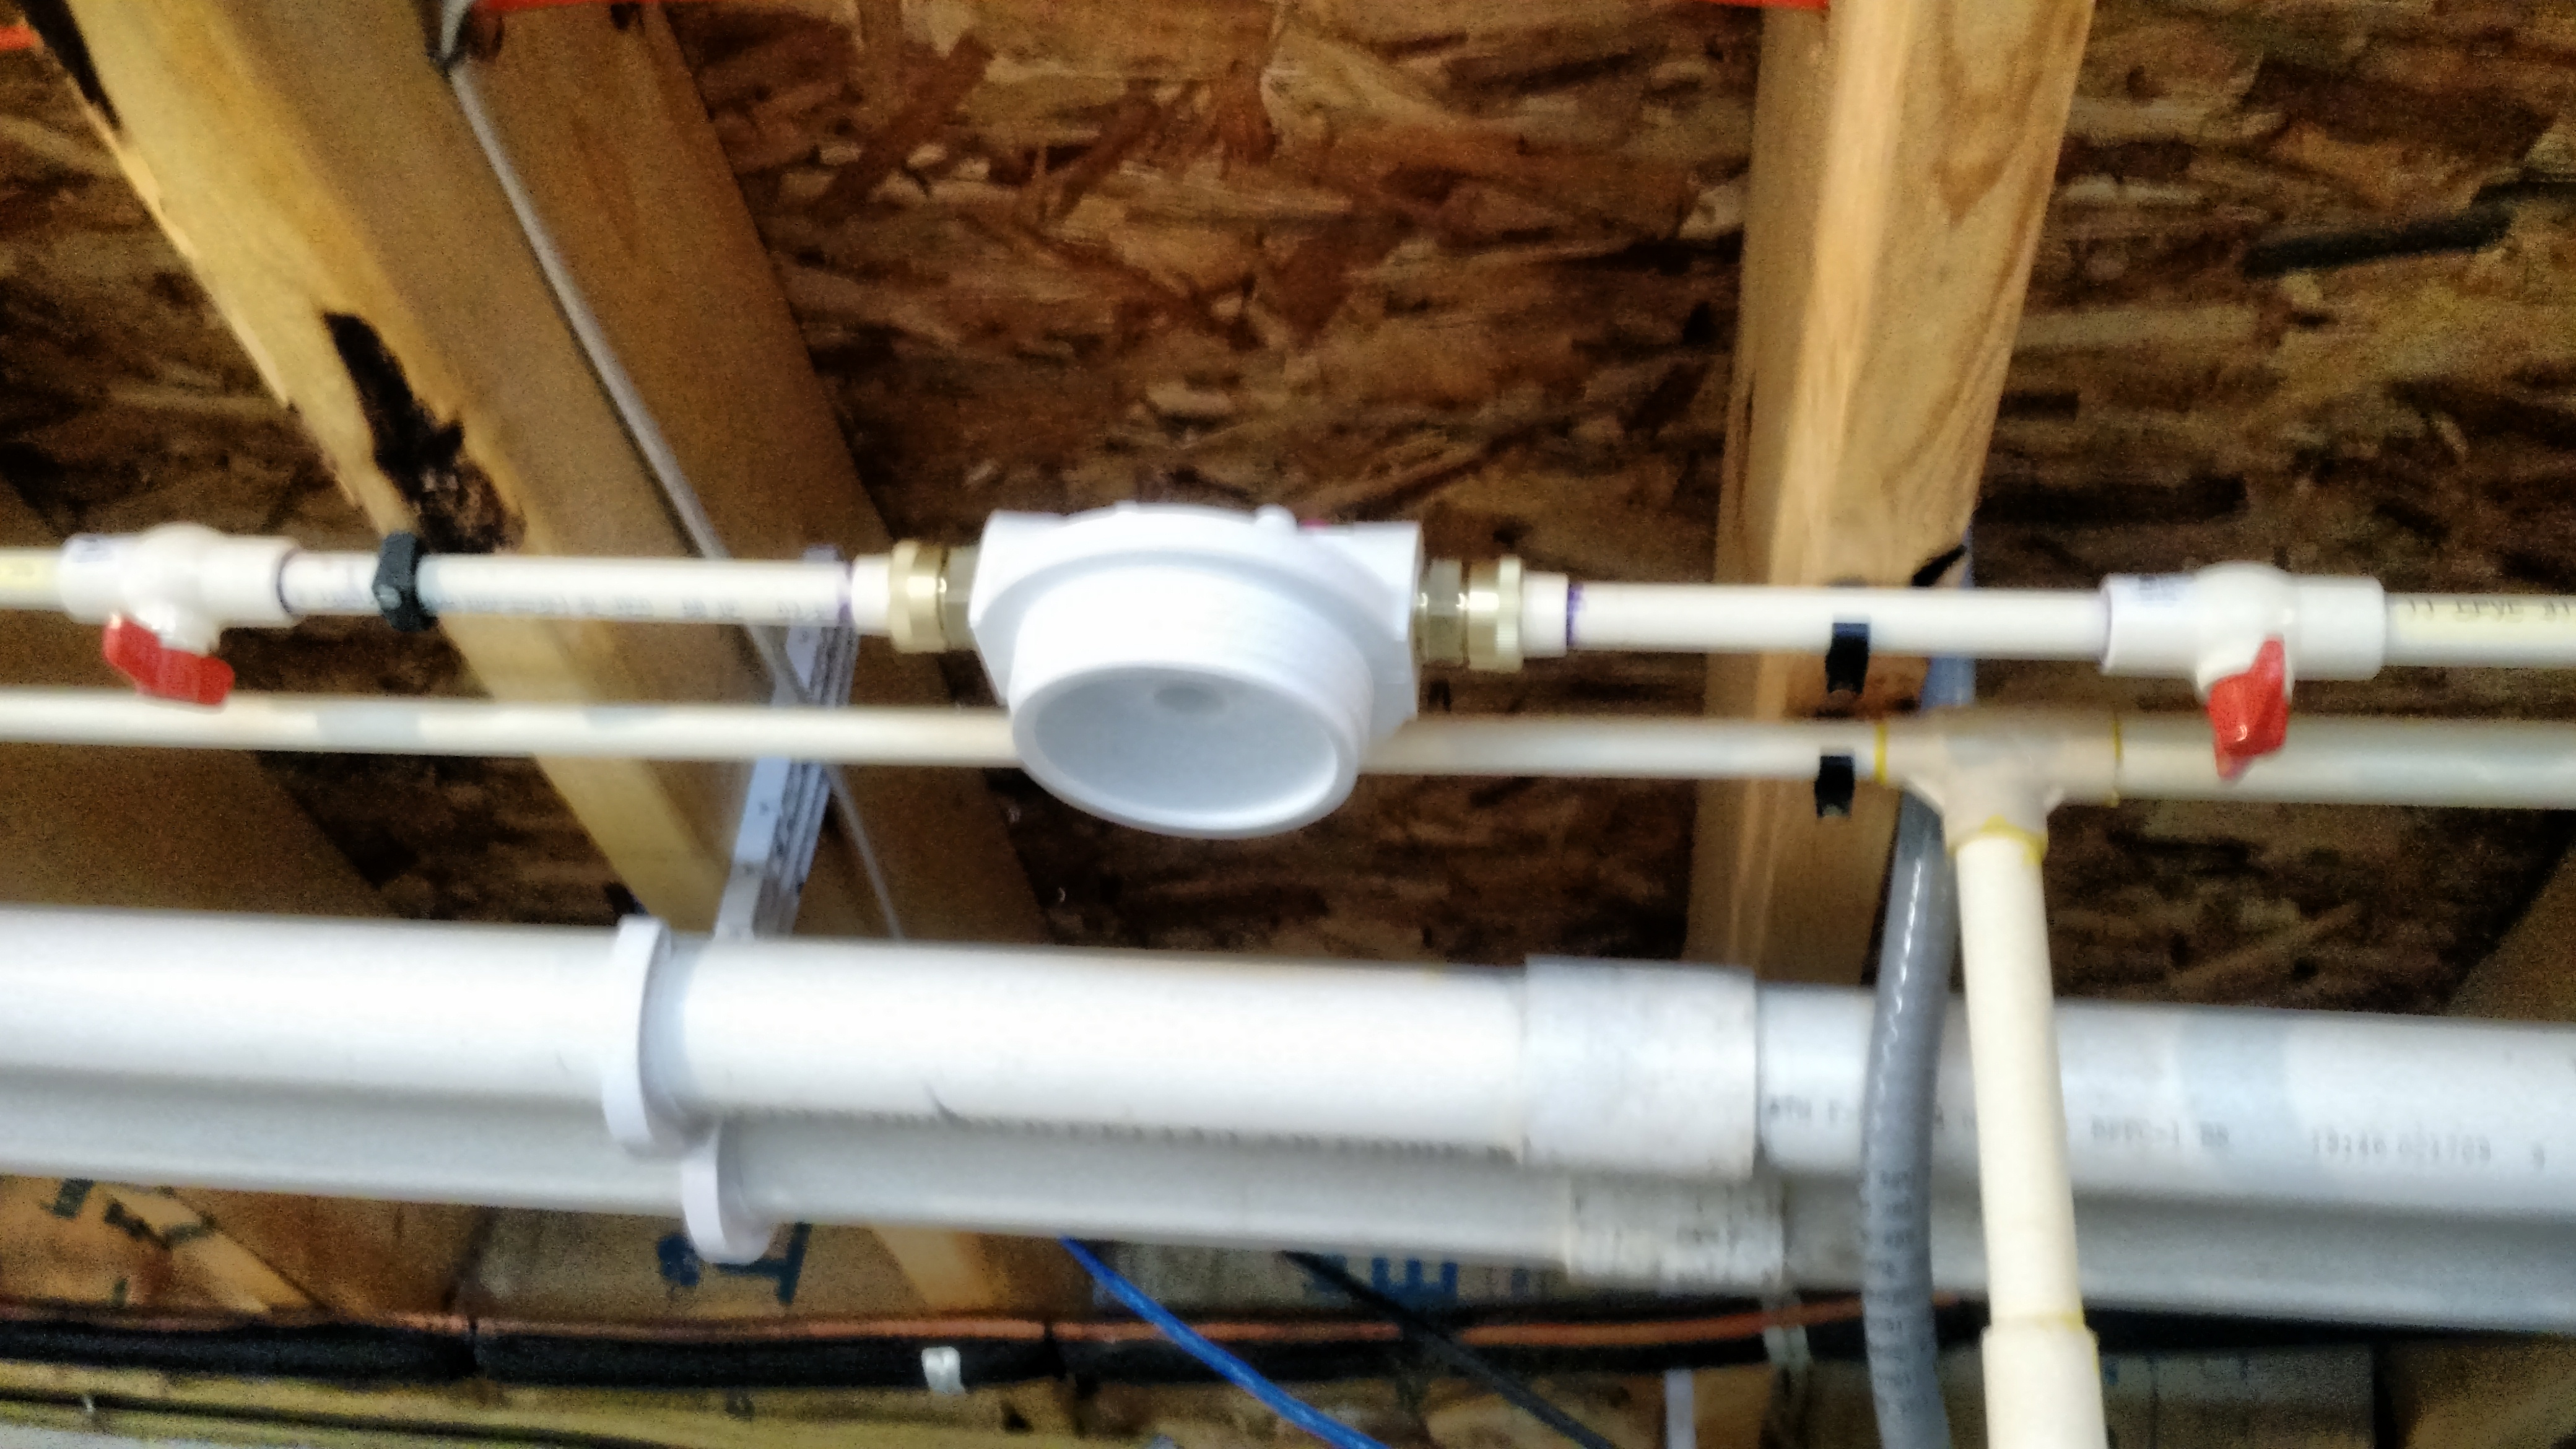
90%
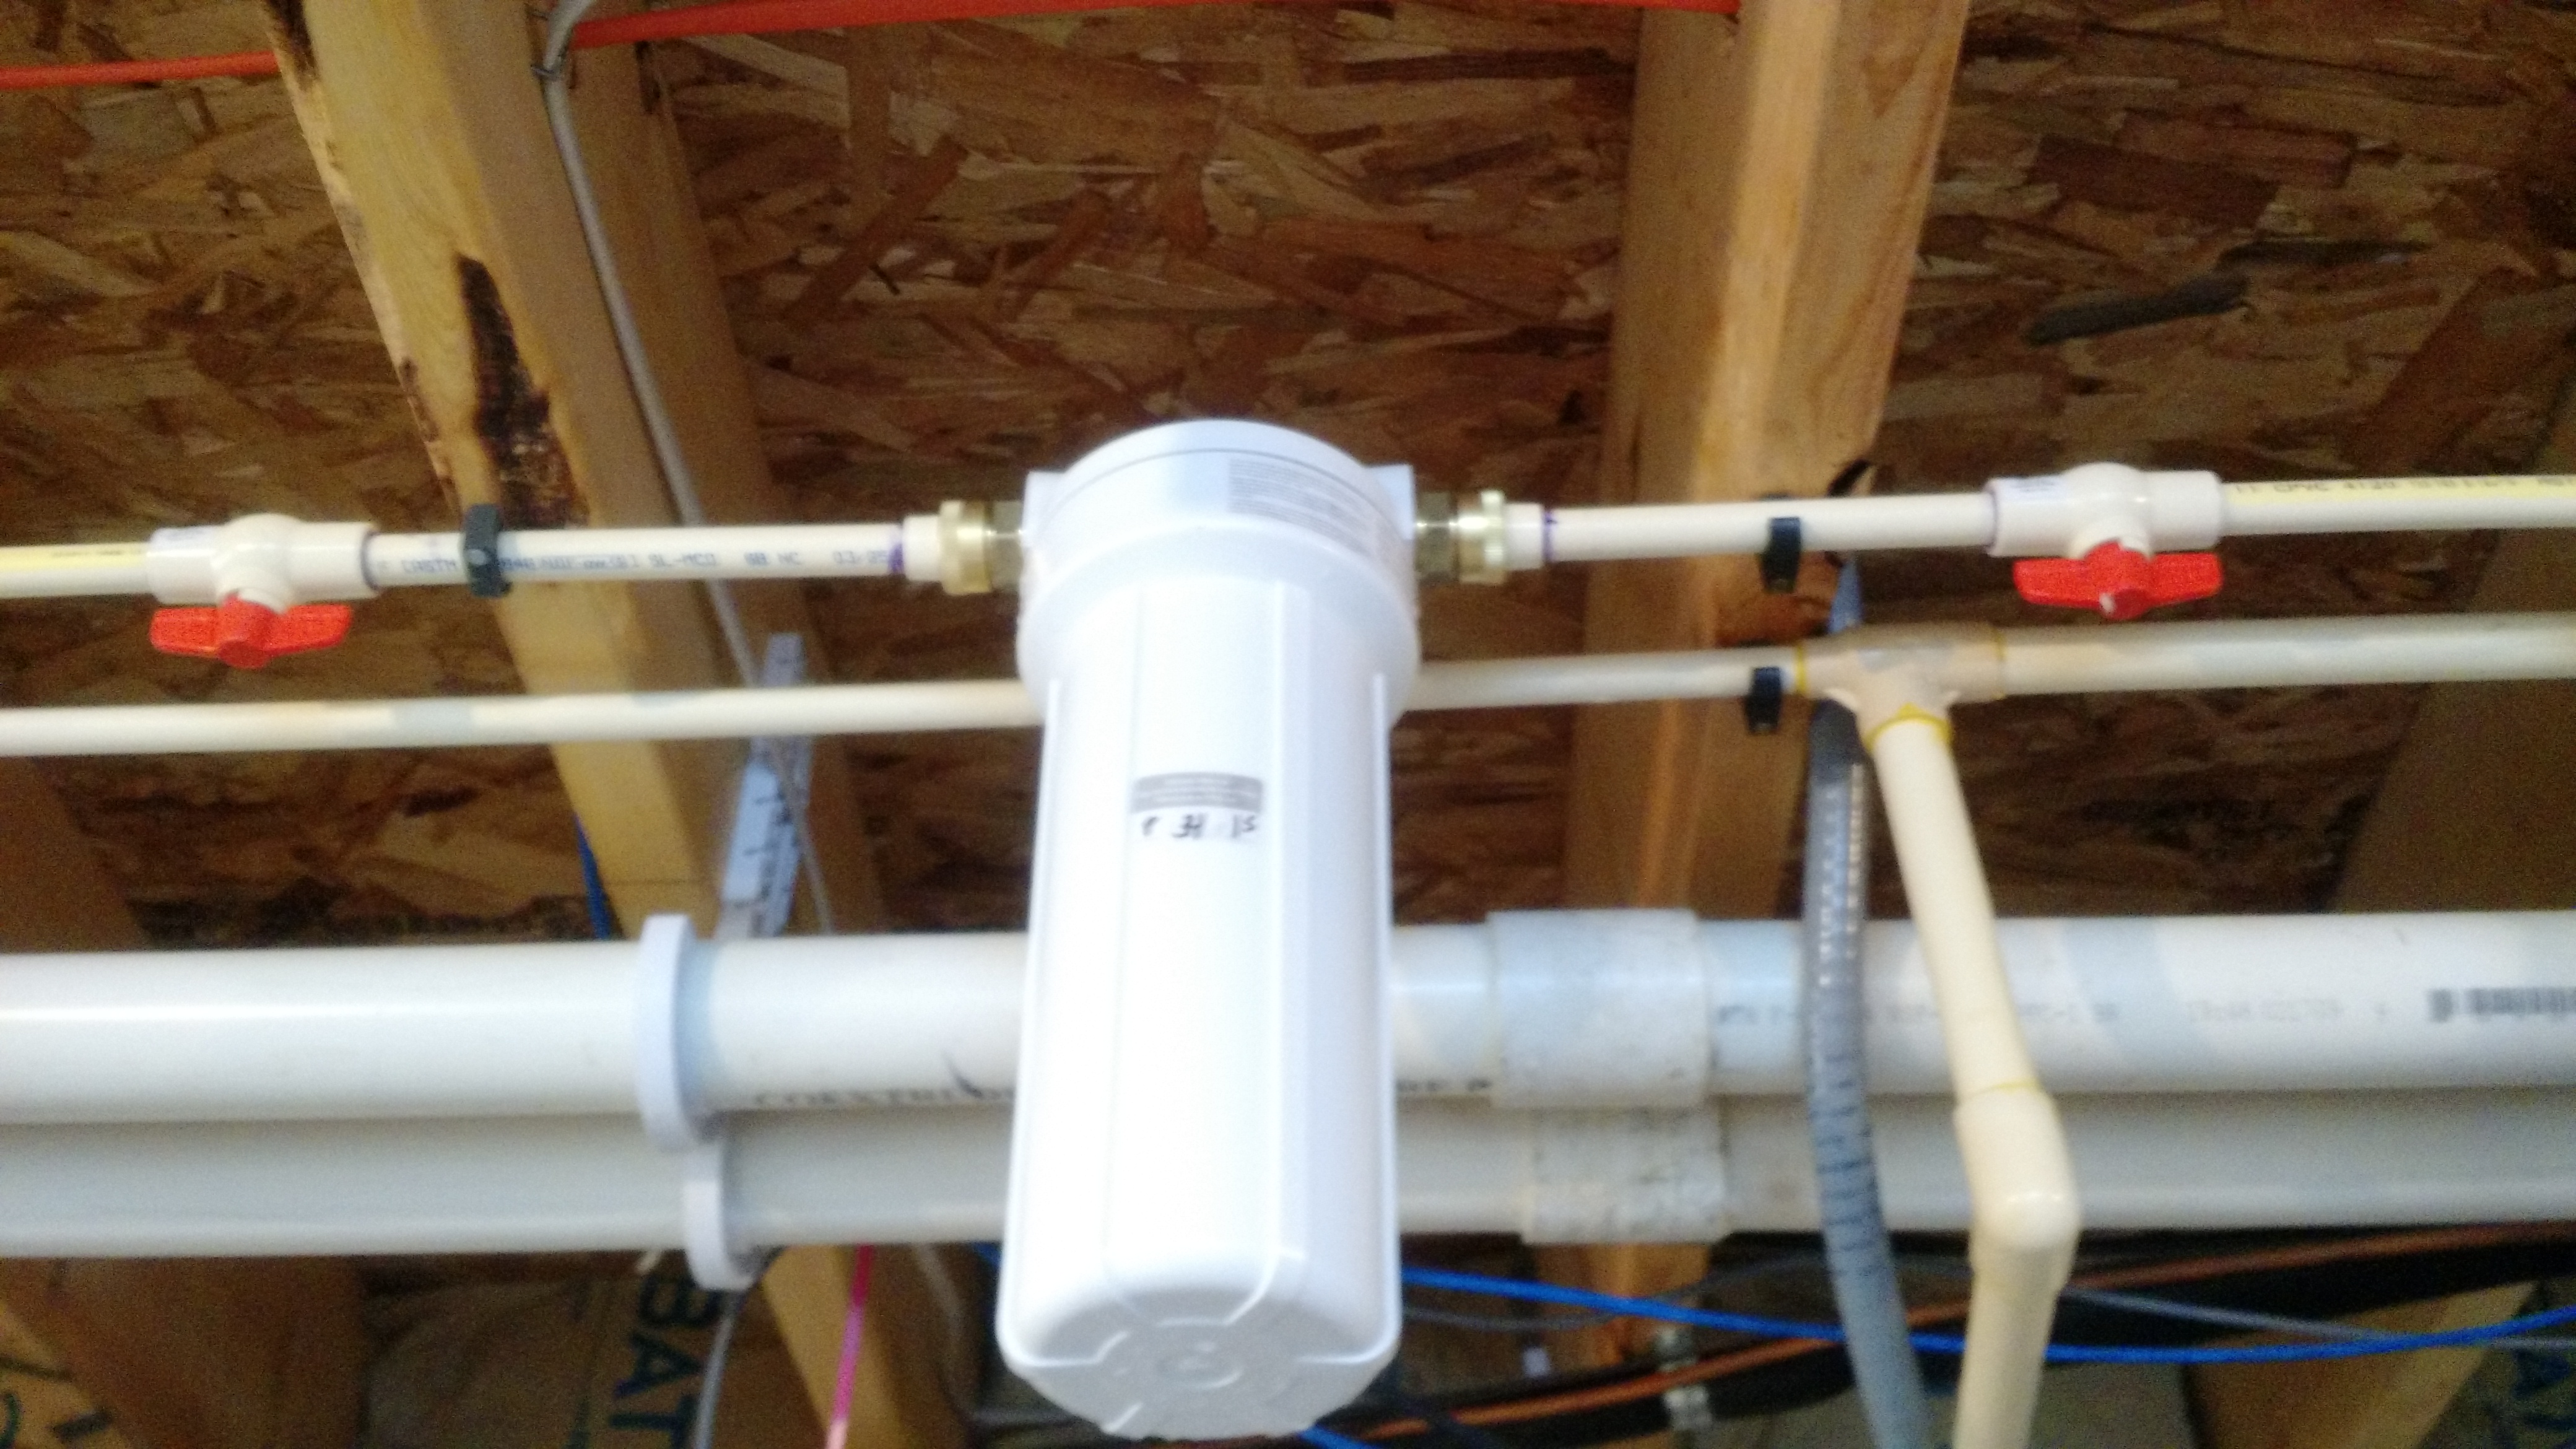
Done!
After running water through the plumbing for several minutes and bleeding the air out of a few other faucets, I handed my wife a glass of tap water and asked her to drink. She looks at me, smiles, and says “nothing”.
Cheers!
Hops and Fermentation Controllers
I spent most of the week in Atlantic City. The running injury ruined the potential run on the boardwalk (when you’re a runner, you do these things and look forward to them). The beer is nothing particularly special (although I may have under-rated Tun Tavern’s Irish Red), but I paid for very little of what I drank. And the conference I was part of organizing went very well.
Dry Hopped Bud Light Update
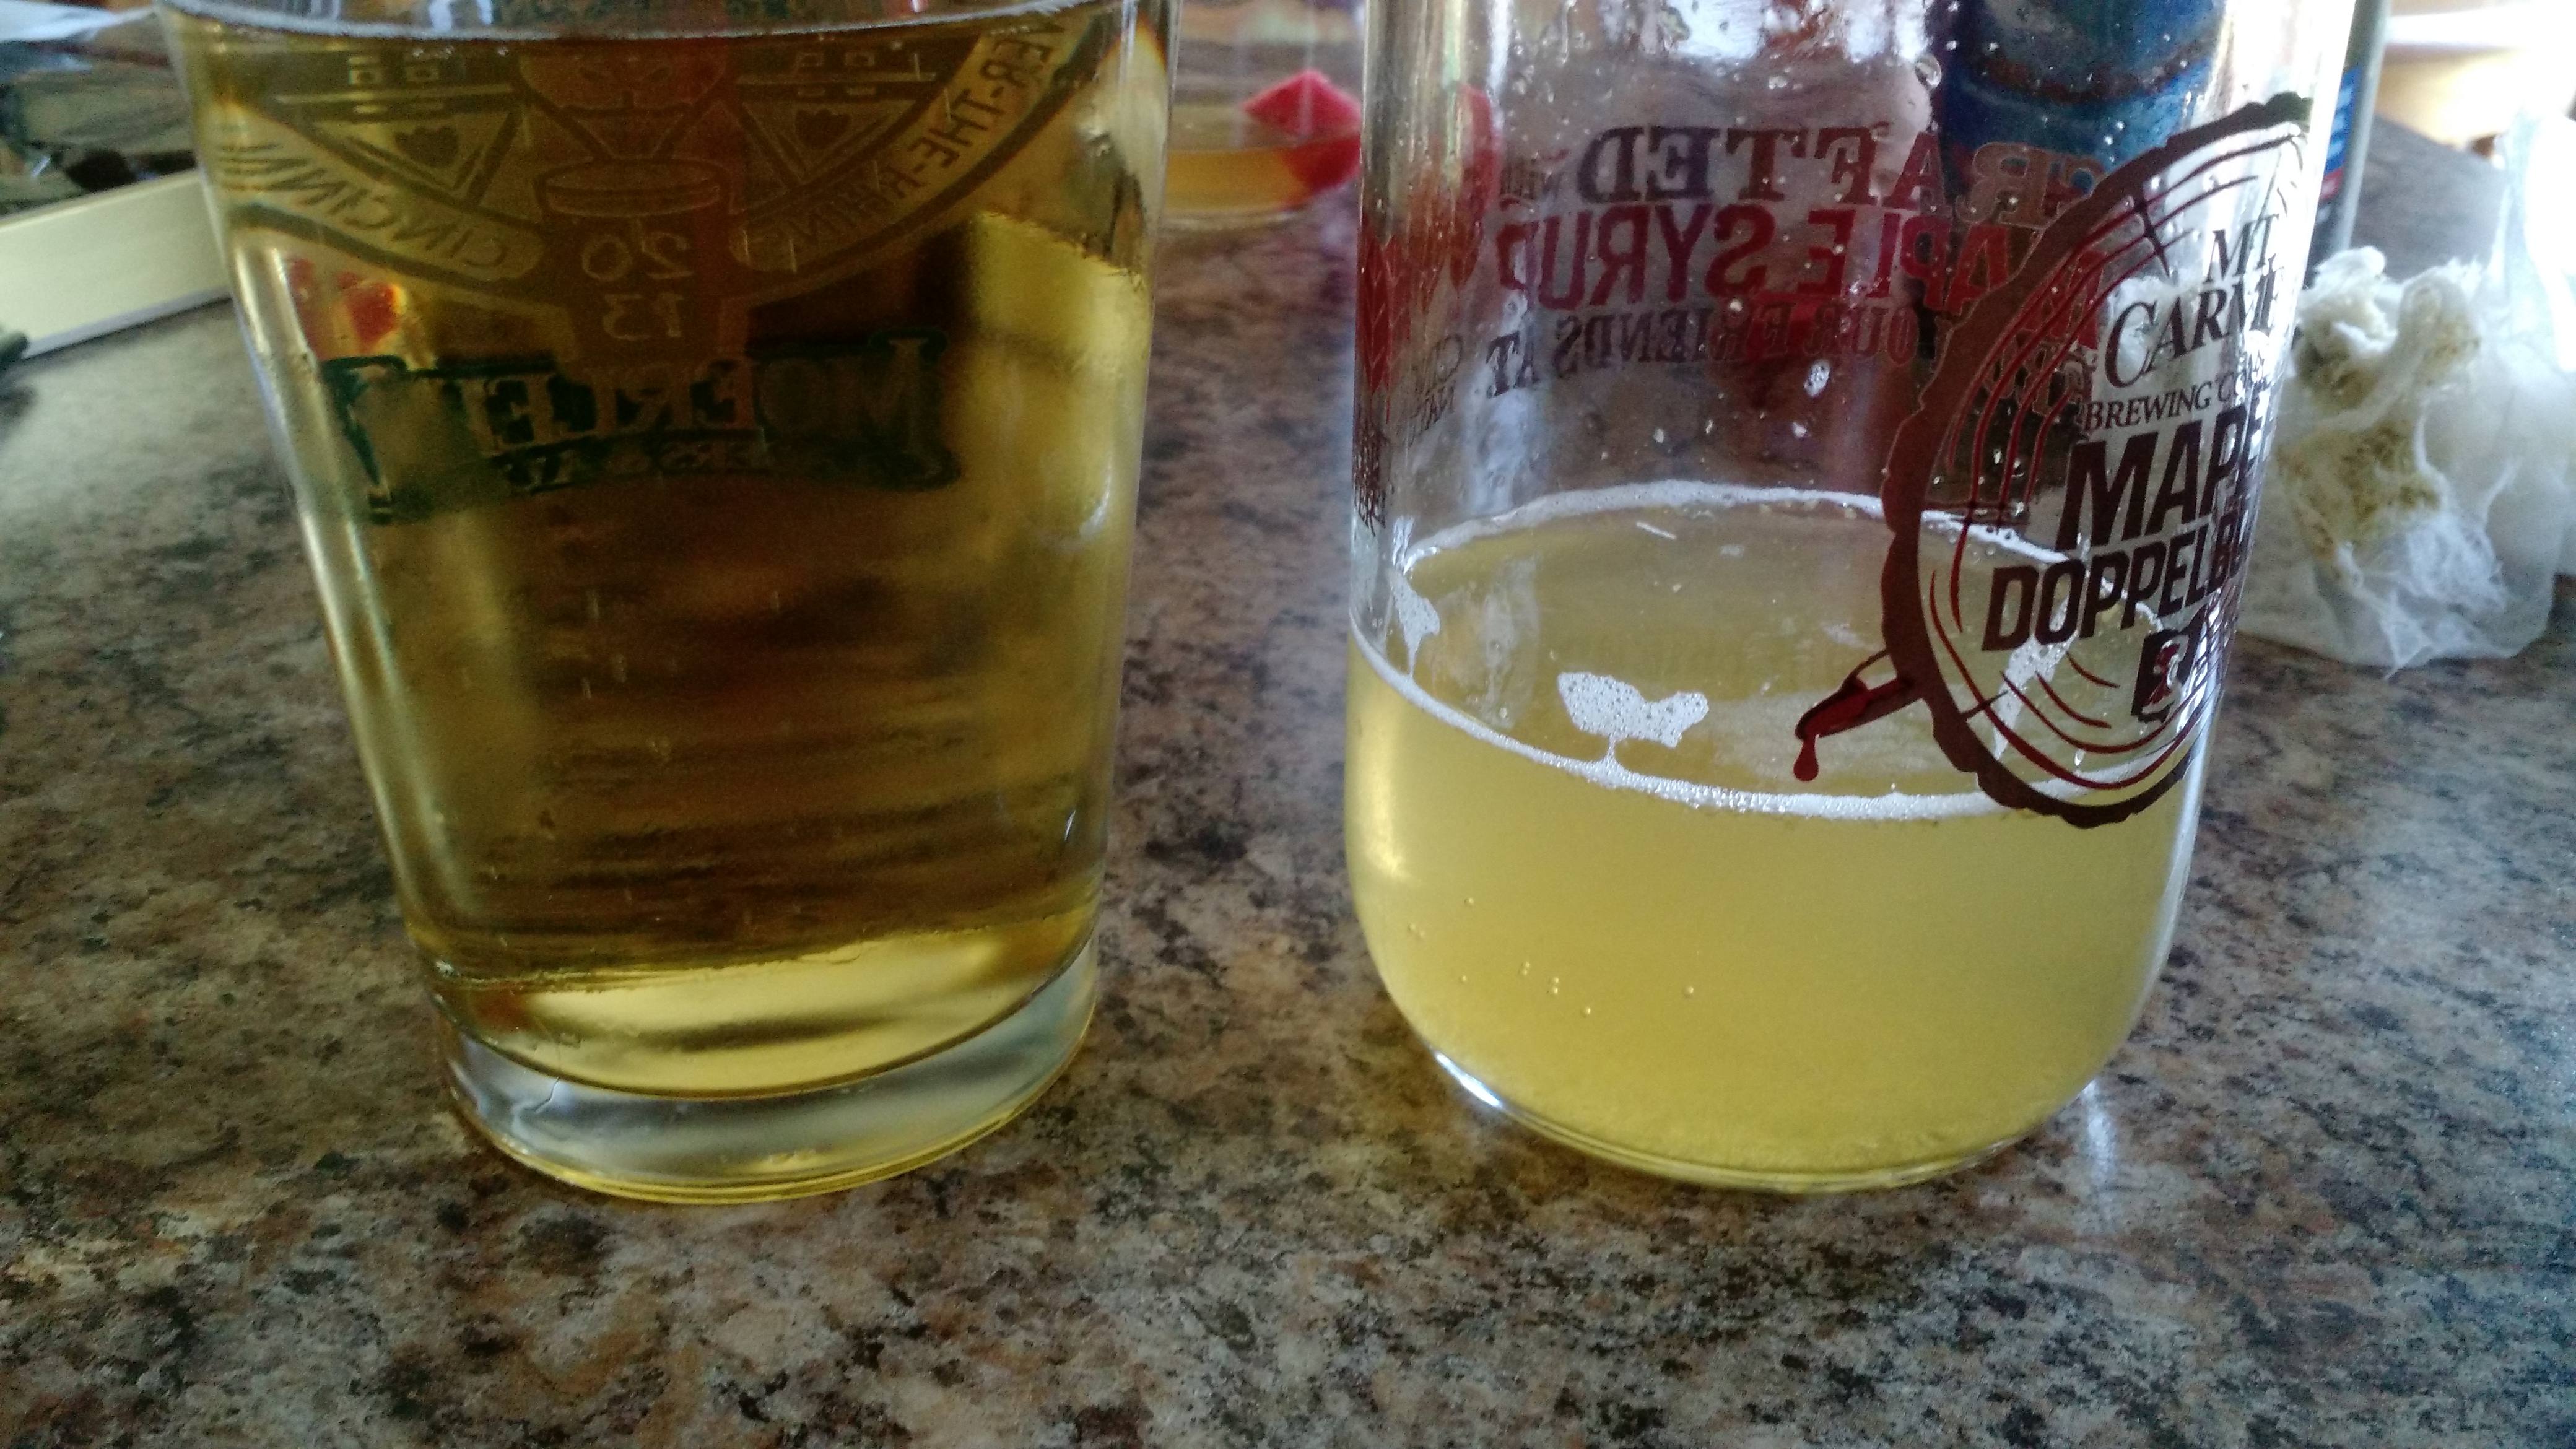
Shitty beer on the left, shitty beer with hops on the right.
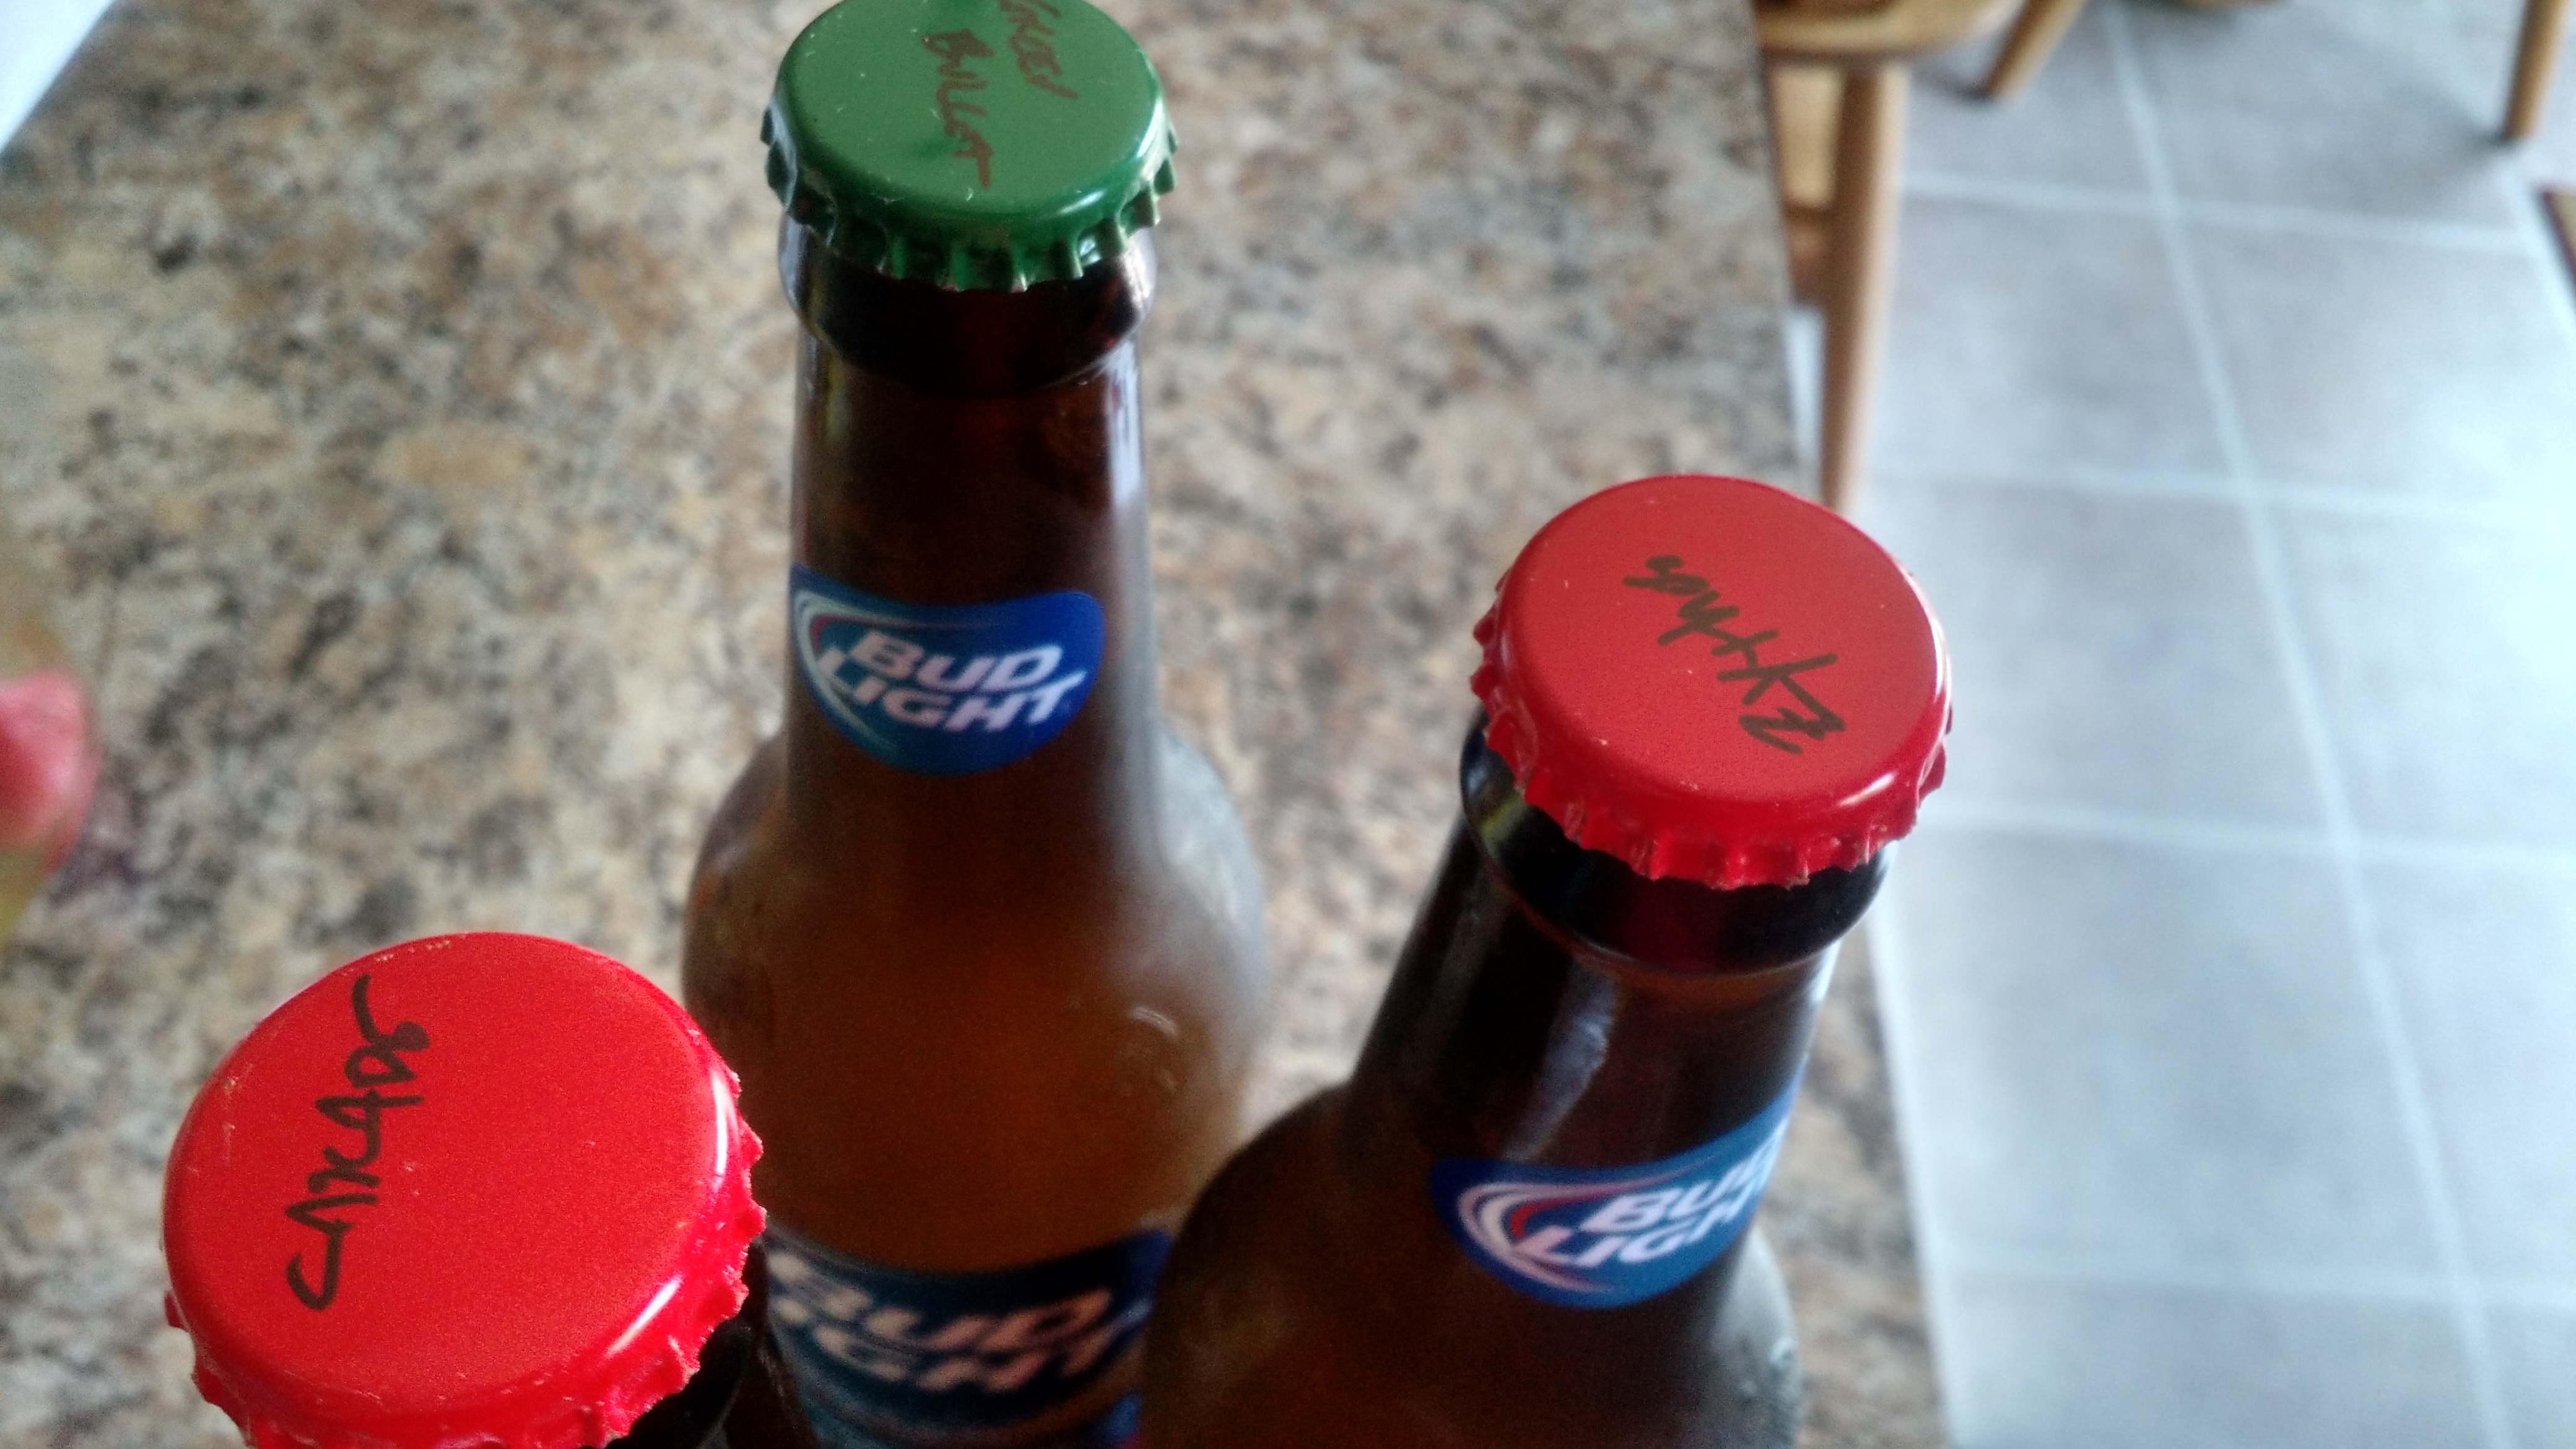
I’ve made it through seven of these. Cascade, Zythos, Green Bullet, Amarillo, Columbus, Mosaic, and Galaxy. I’m sticking to 3-4 per day, and I’m using the unhopped Bud Light to reset my palate. I’ve noticed that Amarillo, Columbus, Mosaic, and Galaxy were all much more flavorful. It may be just mis-measurement in hopping, though.
I’ve been thinking of doing something like this for malt. The flavor of hops is pretty important in some styles (like IPAs), but will traditionally take a back seat to malt in other styles (like damn near every other style, to widely varying degrees).
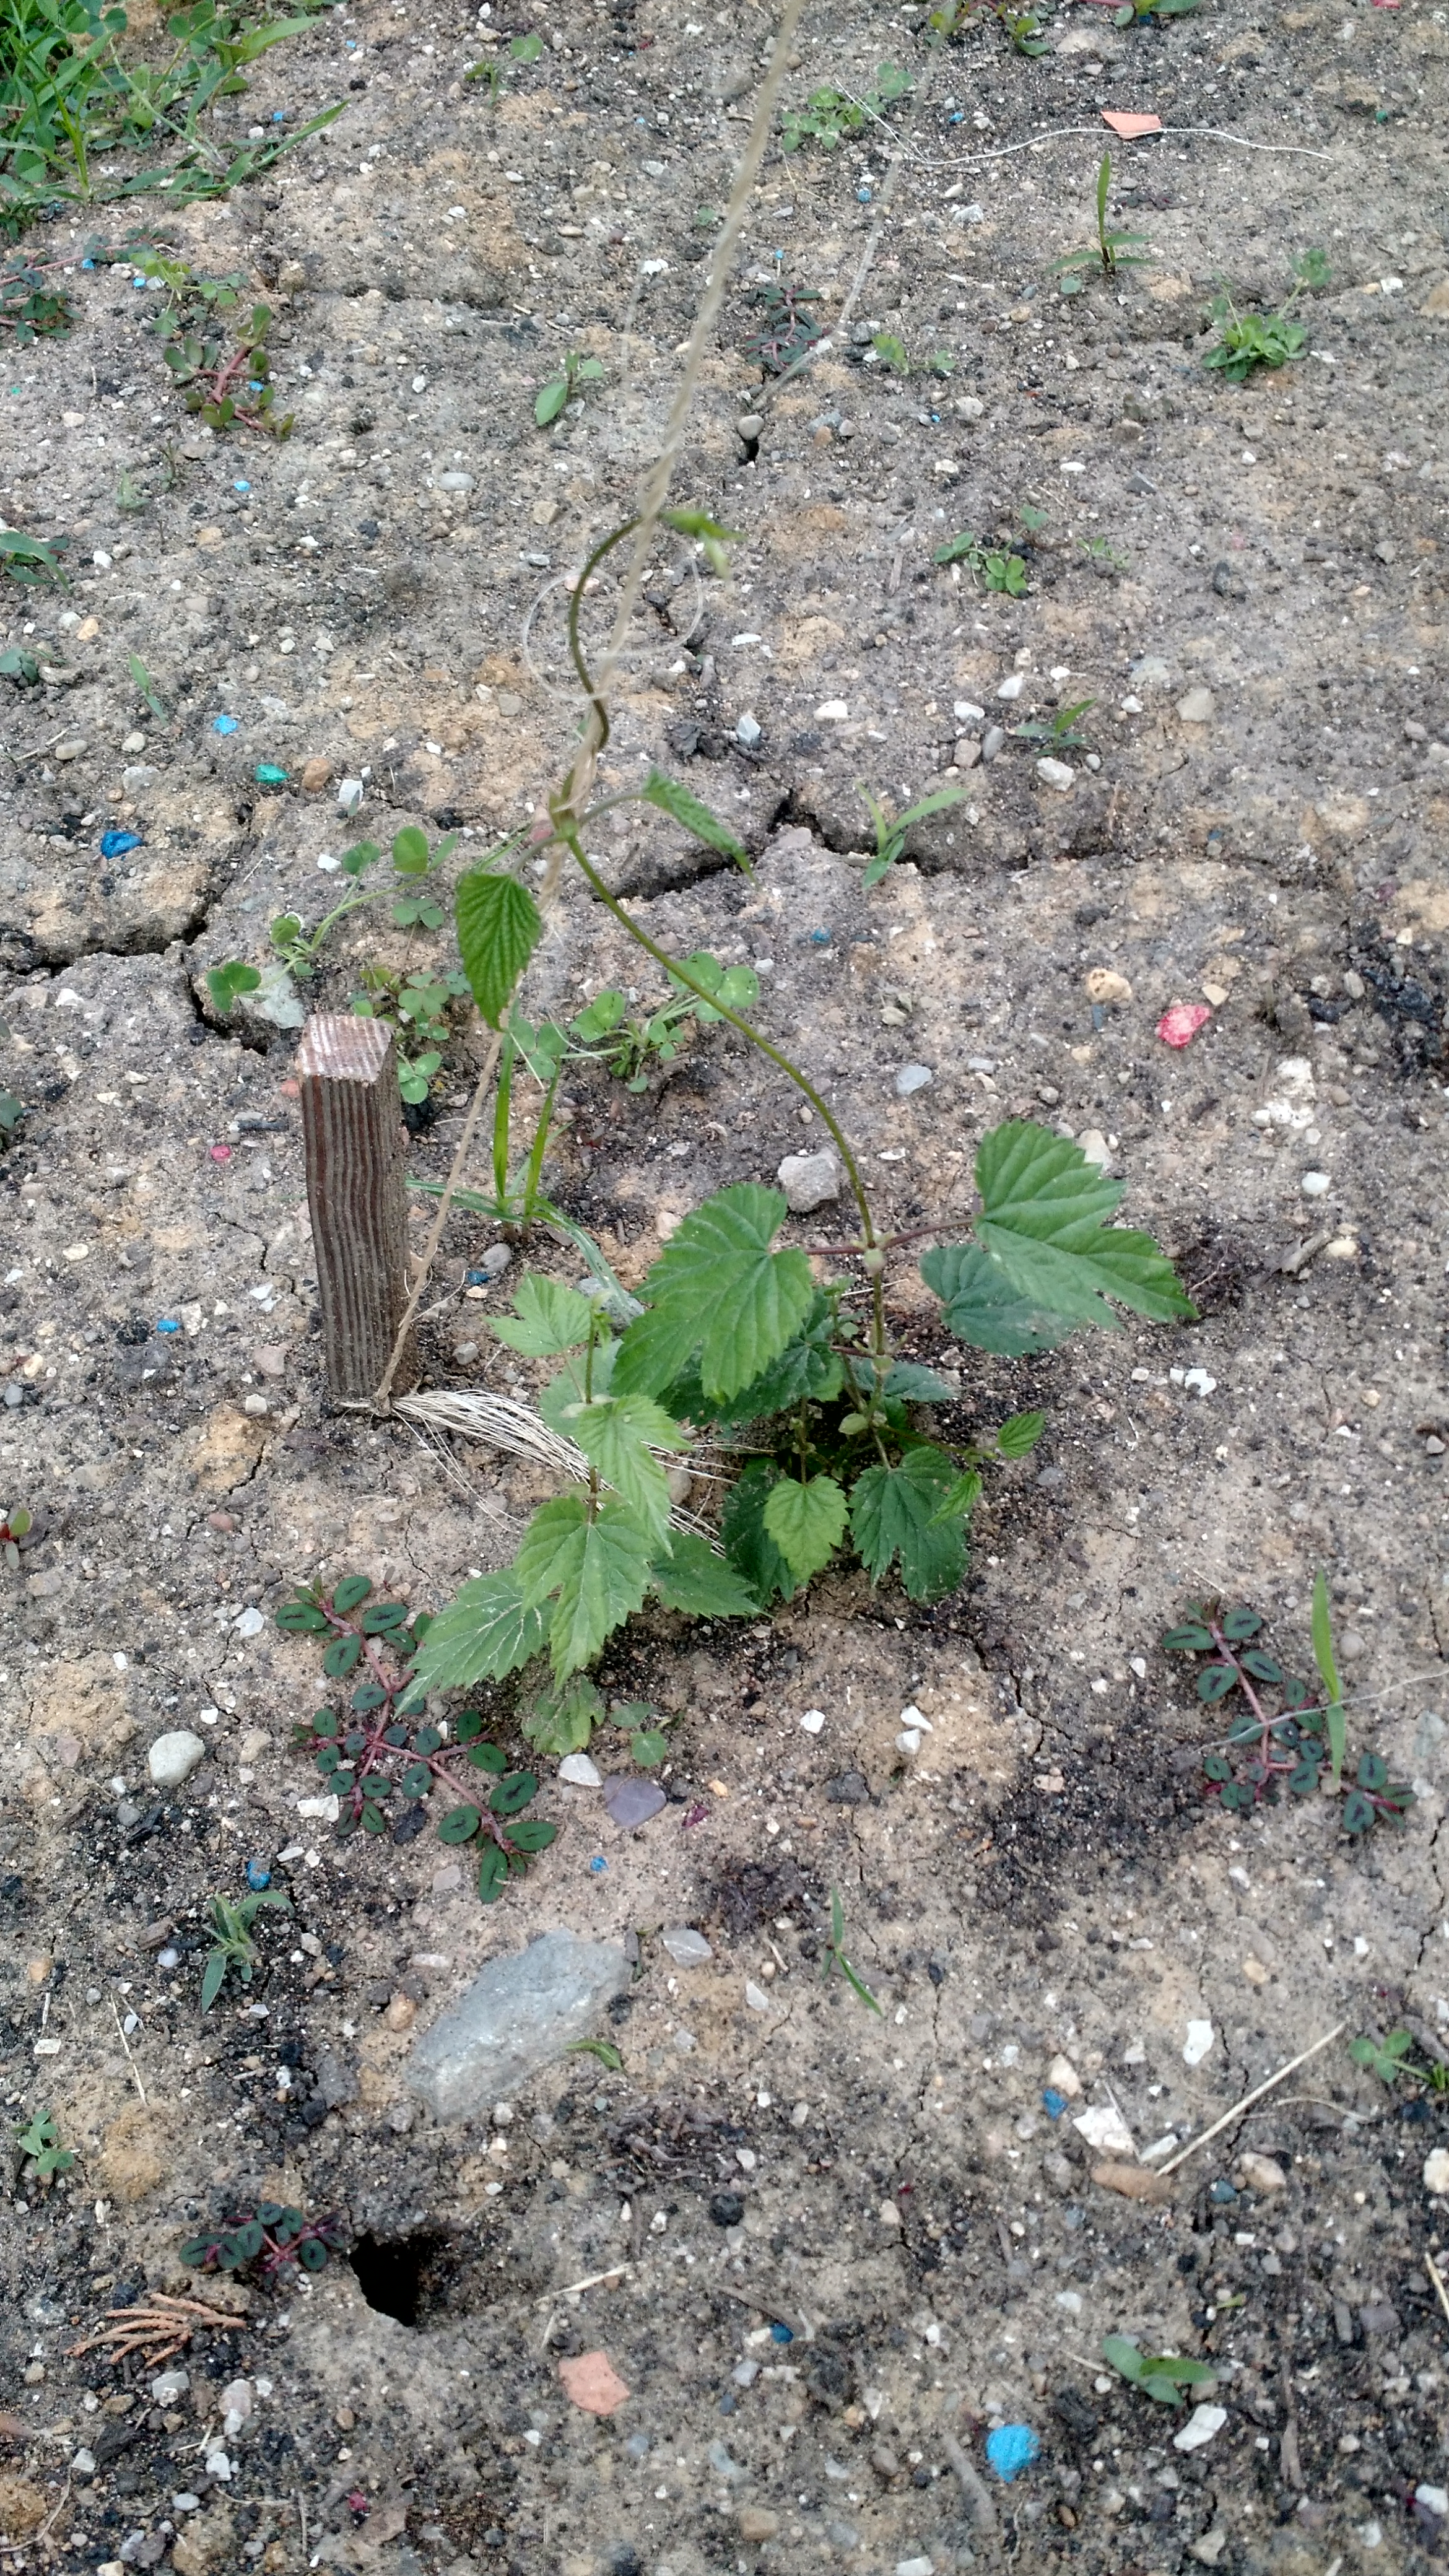
Homegrown Hops Update
I got a text from my wife on the day I was to leave Atlantic City noting that one of our kids noticed that the hops seemed taller. They indeed grew over the week.
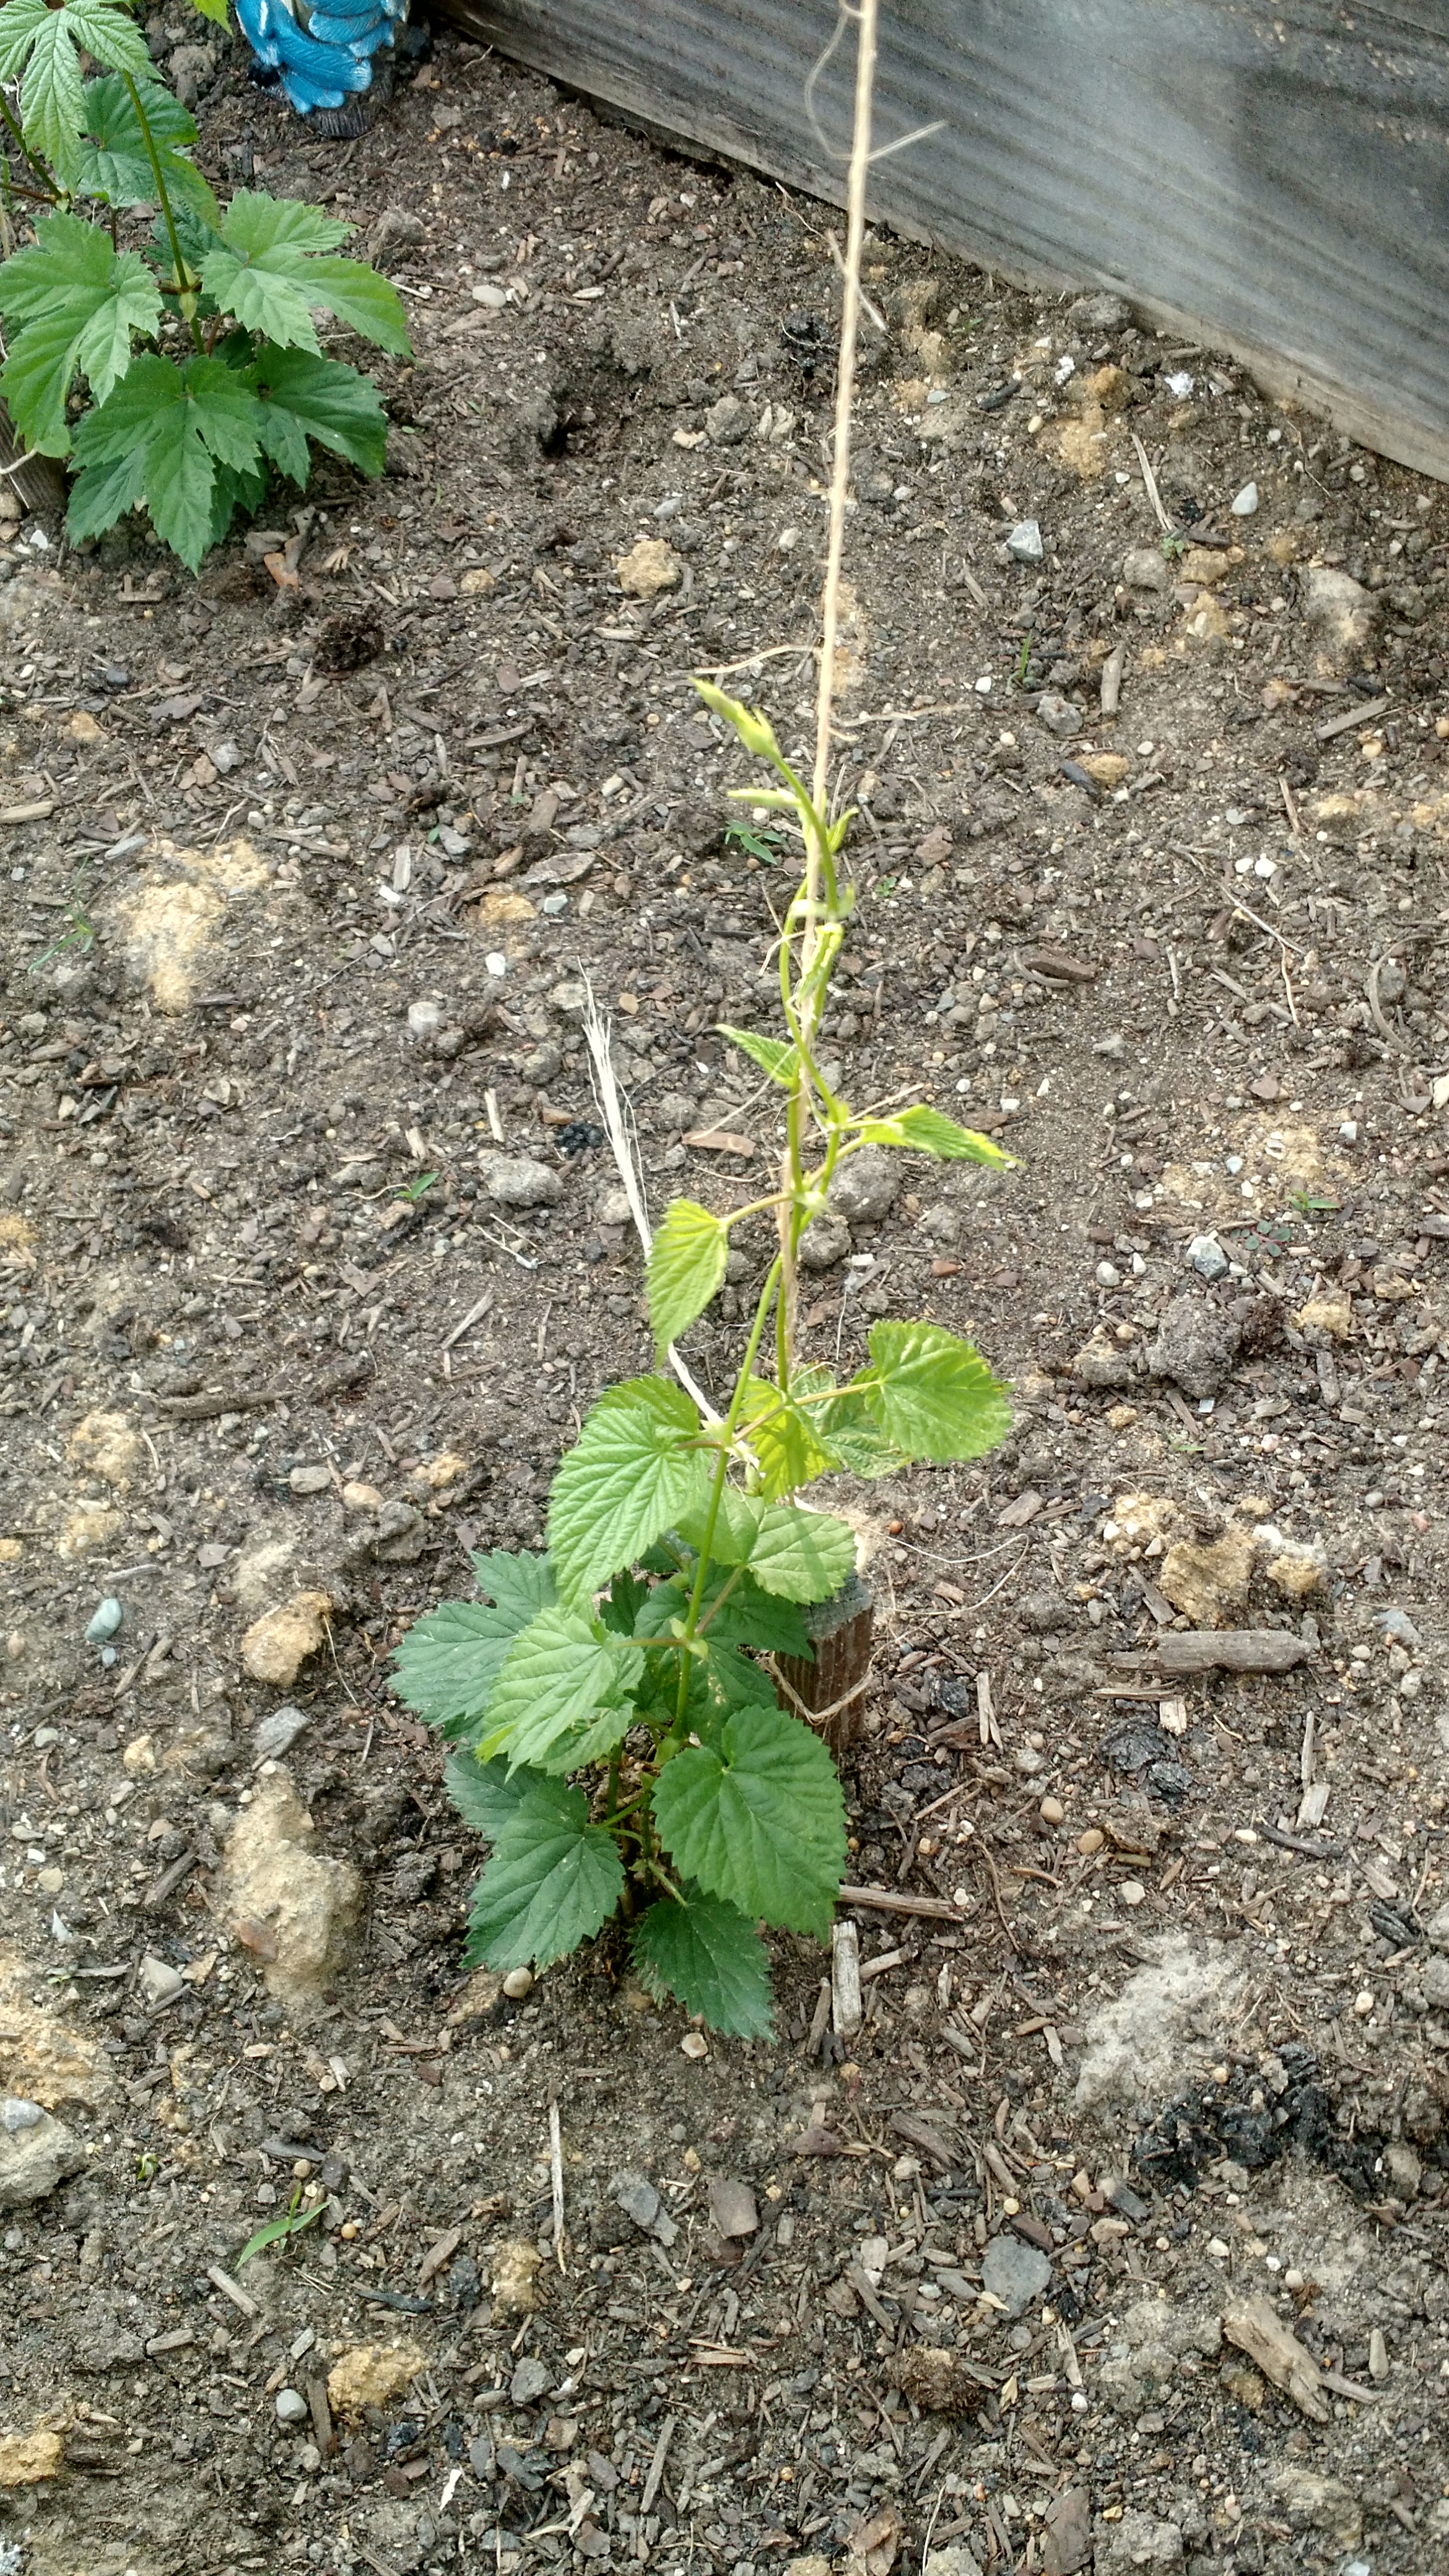
Columbus
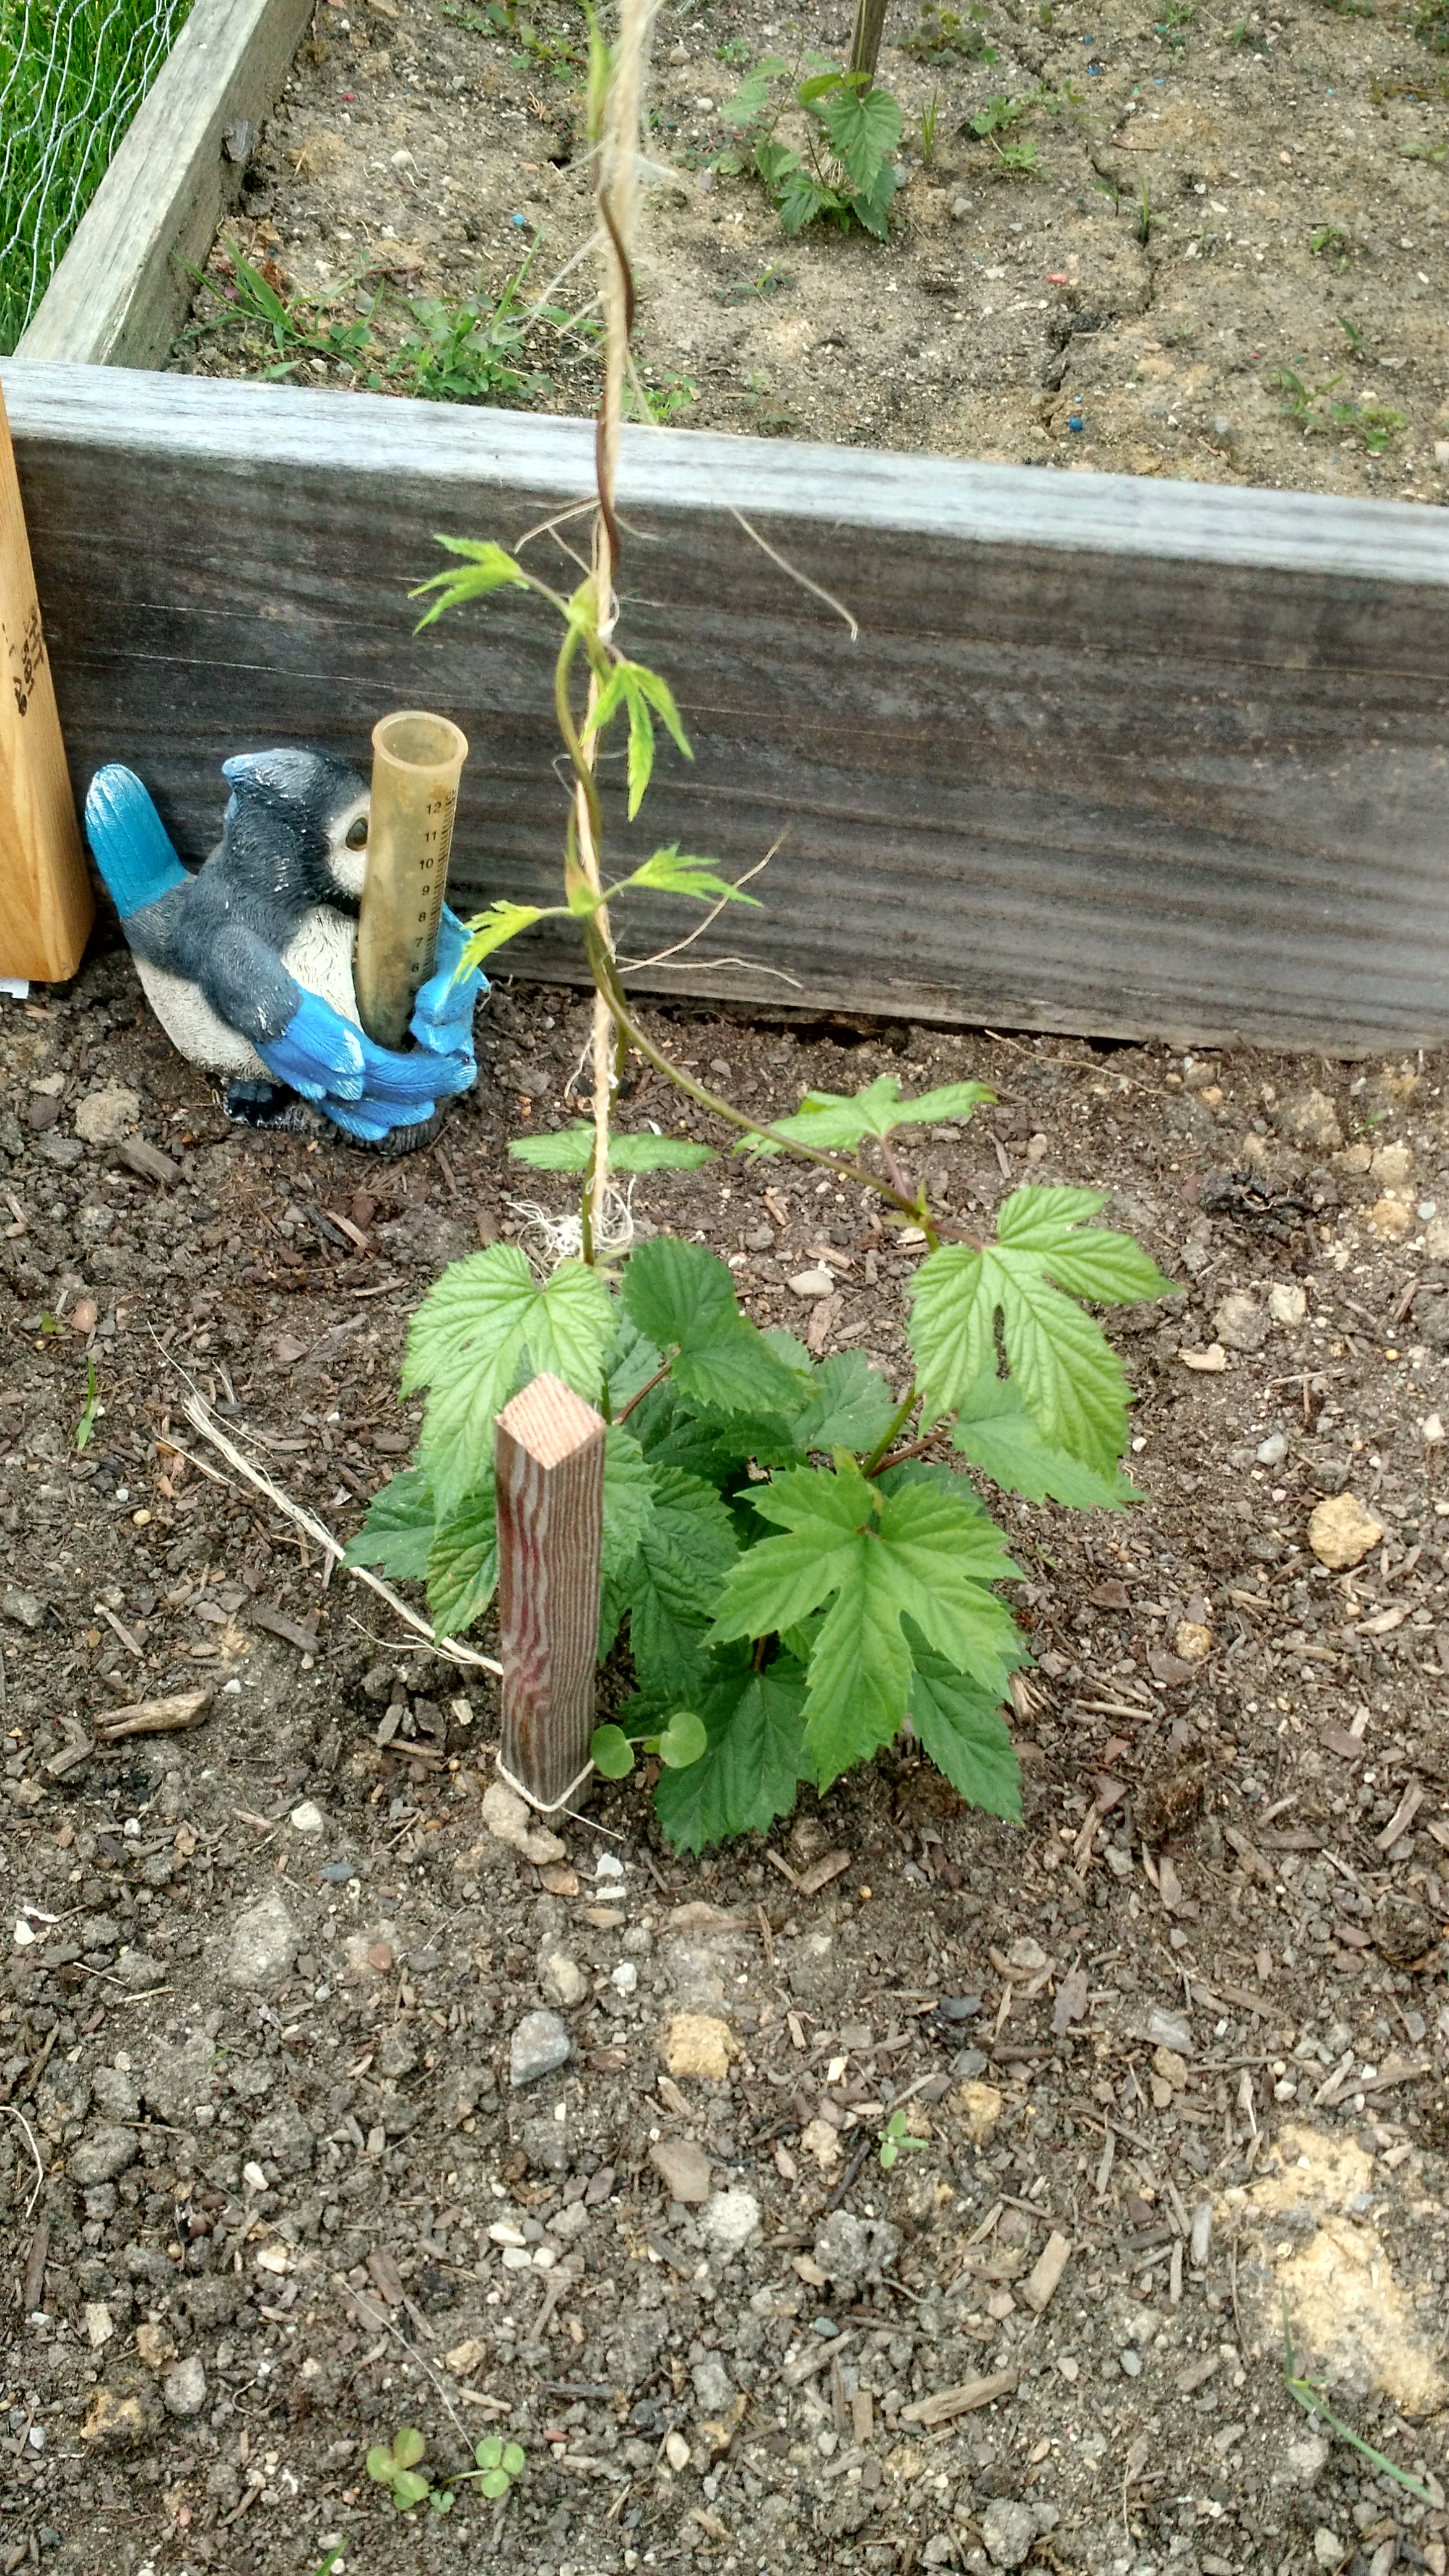
Cascade
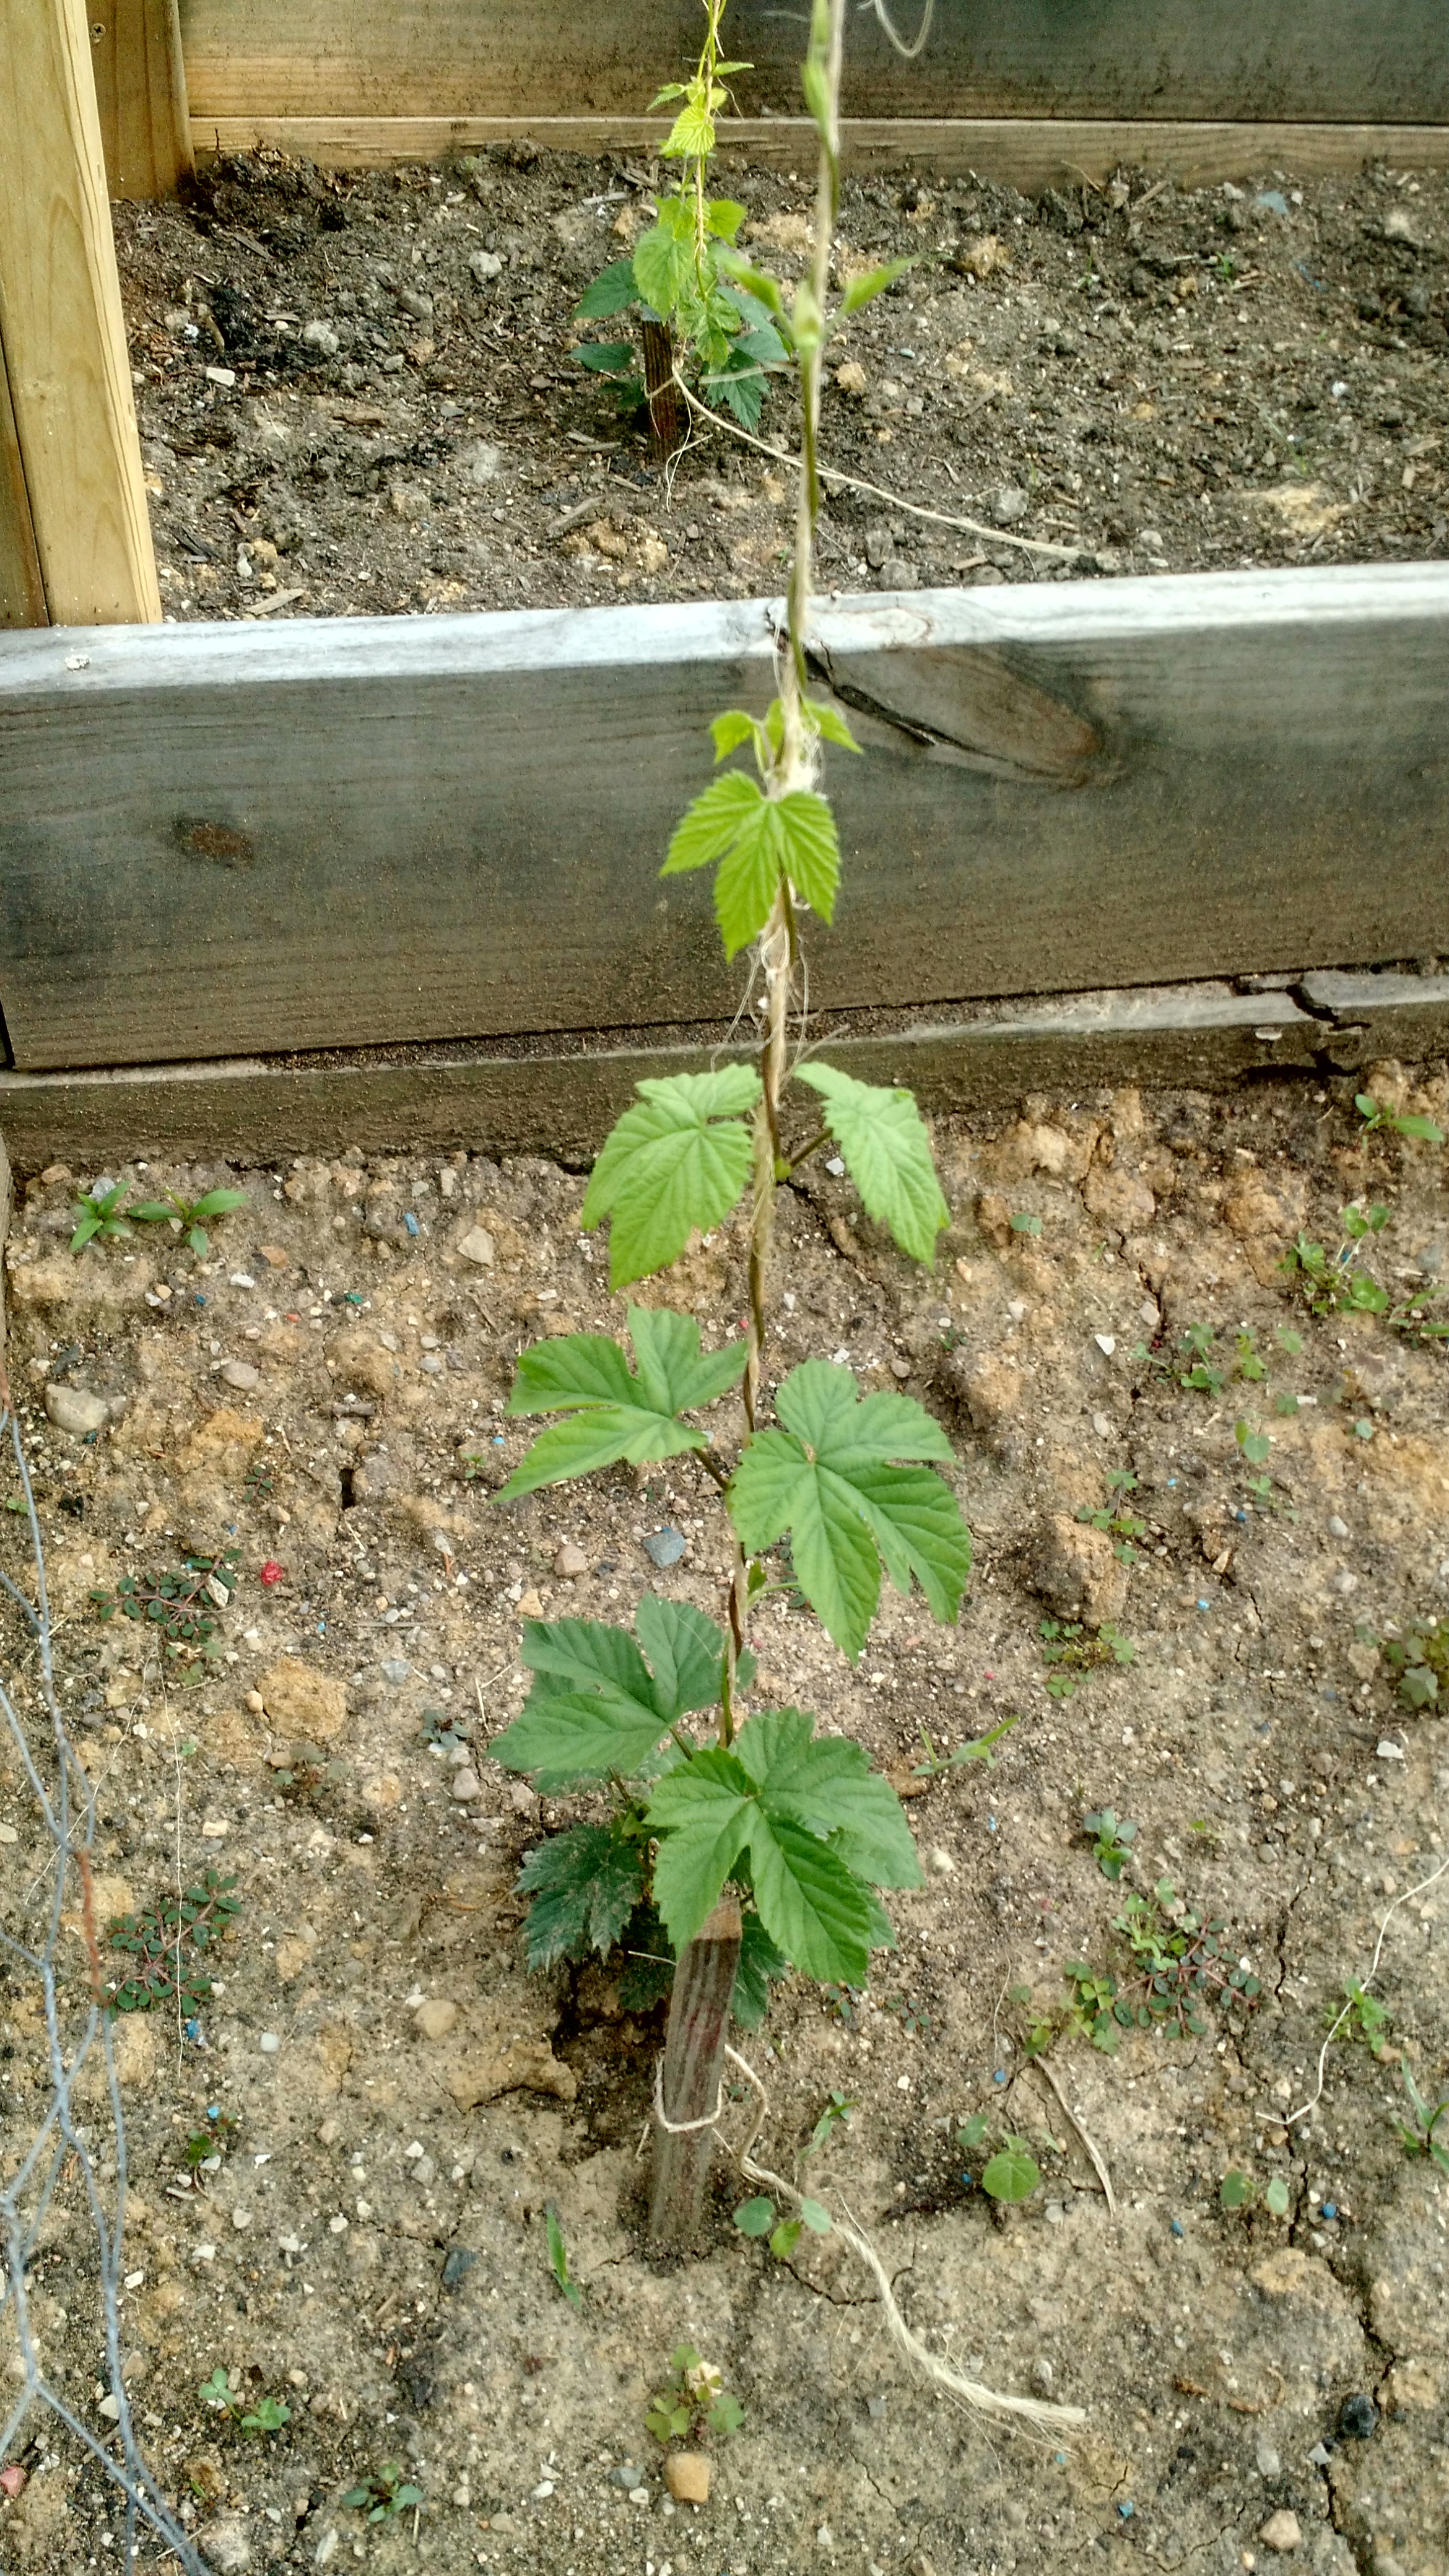
Tettanang
Centennial
Fermentation Controller Update
I worked a lot on the fermentation controller. The Brewery IoT page now shows real temperatures (it’s my basement’s temperature, but it’s real). I’ll post more about this sometime, but the short version is that it is 100% Raspberry Pi based. There are three scripts that run in cron (scheduled tasks in Linux) – a script that sends the data to my offsite webserver (the one that is serving this page), a script that checks the temperature and turns the solid-state relay on and off, and a third ’emergency stop’ script that ensures that the freezer doesn’t fall to 32 or below (which would be disabled if I ever decided to brew an eisbock).
I’m itching to brew another beer. I’m considering another IPA (shocker there!), and then almost immediately brewing a Marzen style to prepare for September. Late in the year, I have been thinking about a maple bock to brew. I still haven’t made any improvements to the setup except some hose clamps.
Cheers!
Saison + Brett from a 50W Brett Is My Copilot Bottle
I like the idea of experimenting.
First, I saw this on Twitter:

Some dude posted this on Twitter…
@CffmBeech is Country Fresh Farm Market on Beechmont Avenue. It’s about 1/4 mile away from my LHBS, Paradise Brewing. I needed to drop by Paradise for a hop rhizome. And I’m a beer explorer, so I couldn’t resist wanting this. So I dropped by CFFM and after finding the bottles.
I sought some help from a friend that is going to (or just graduated from) the Seibel Institute. He was asking if I used brett for the Saison, since that’s the traditional fermentation ‘method’.
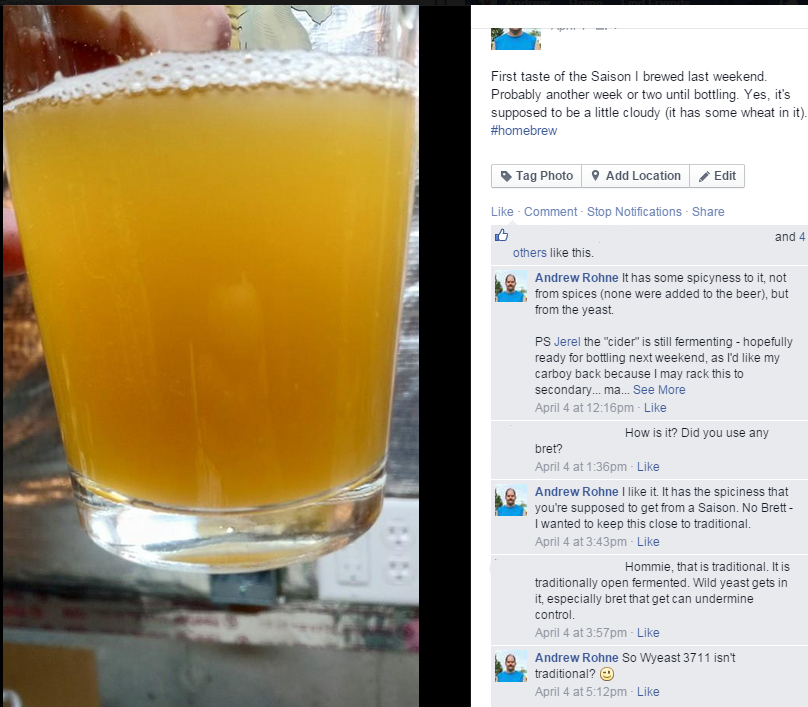
The other person’s name has been removed since I didn’t ask him if I could post this.
So I thought about something…
Oh look, what do we have here?
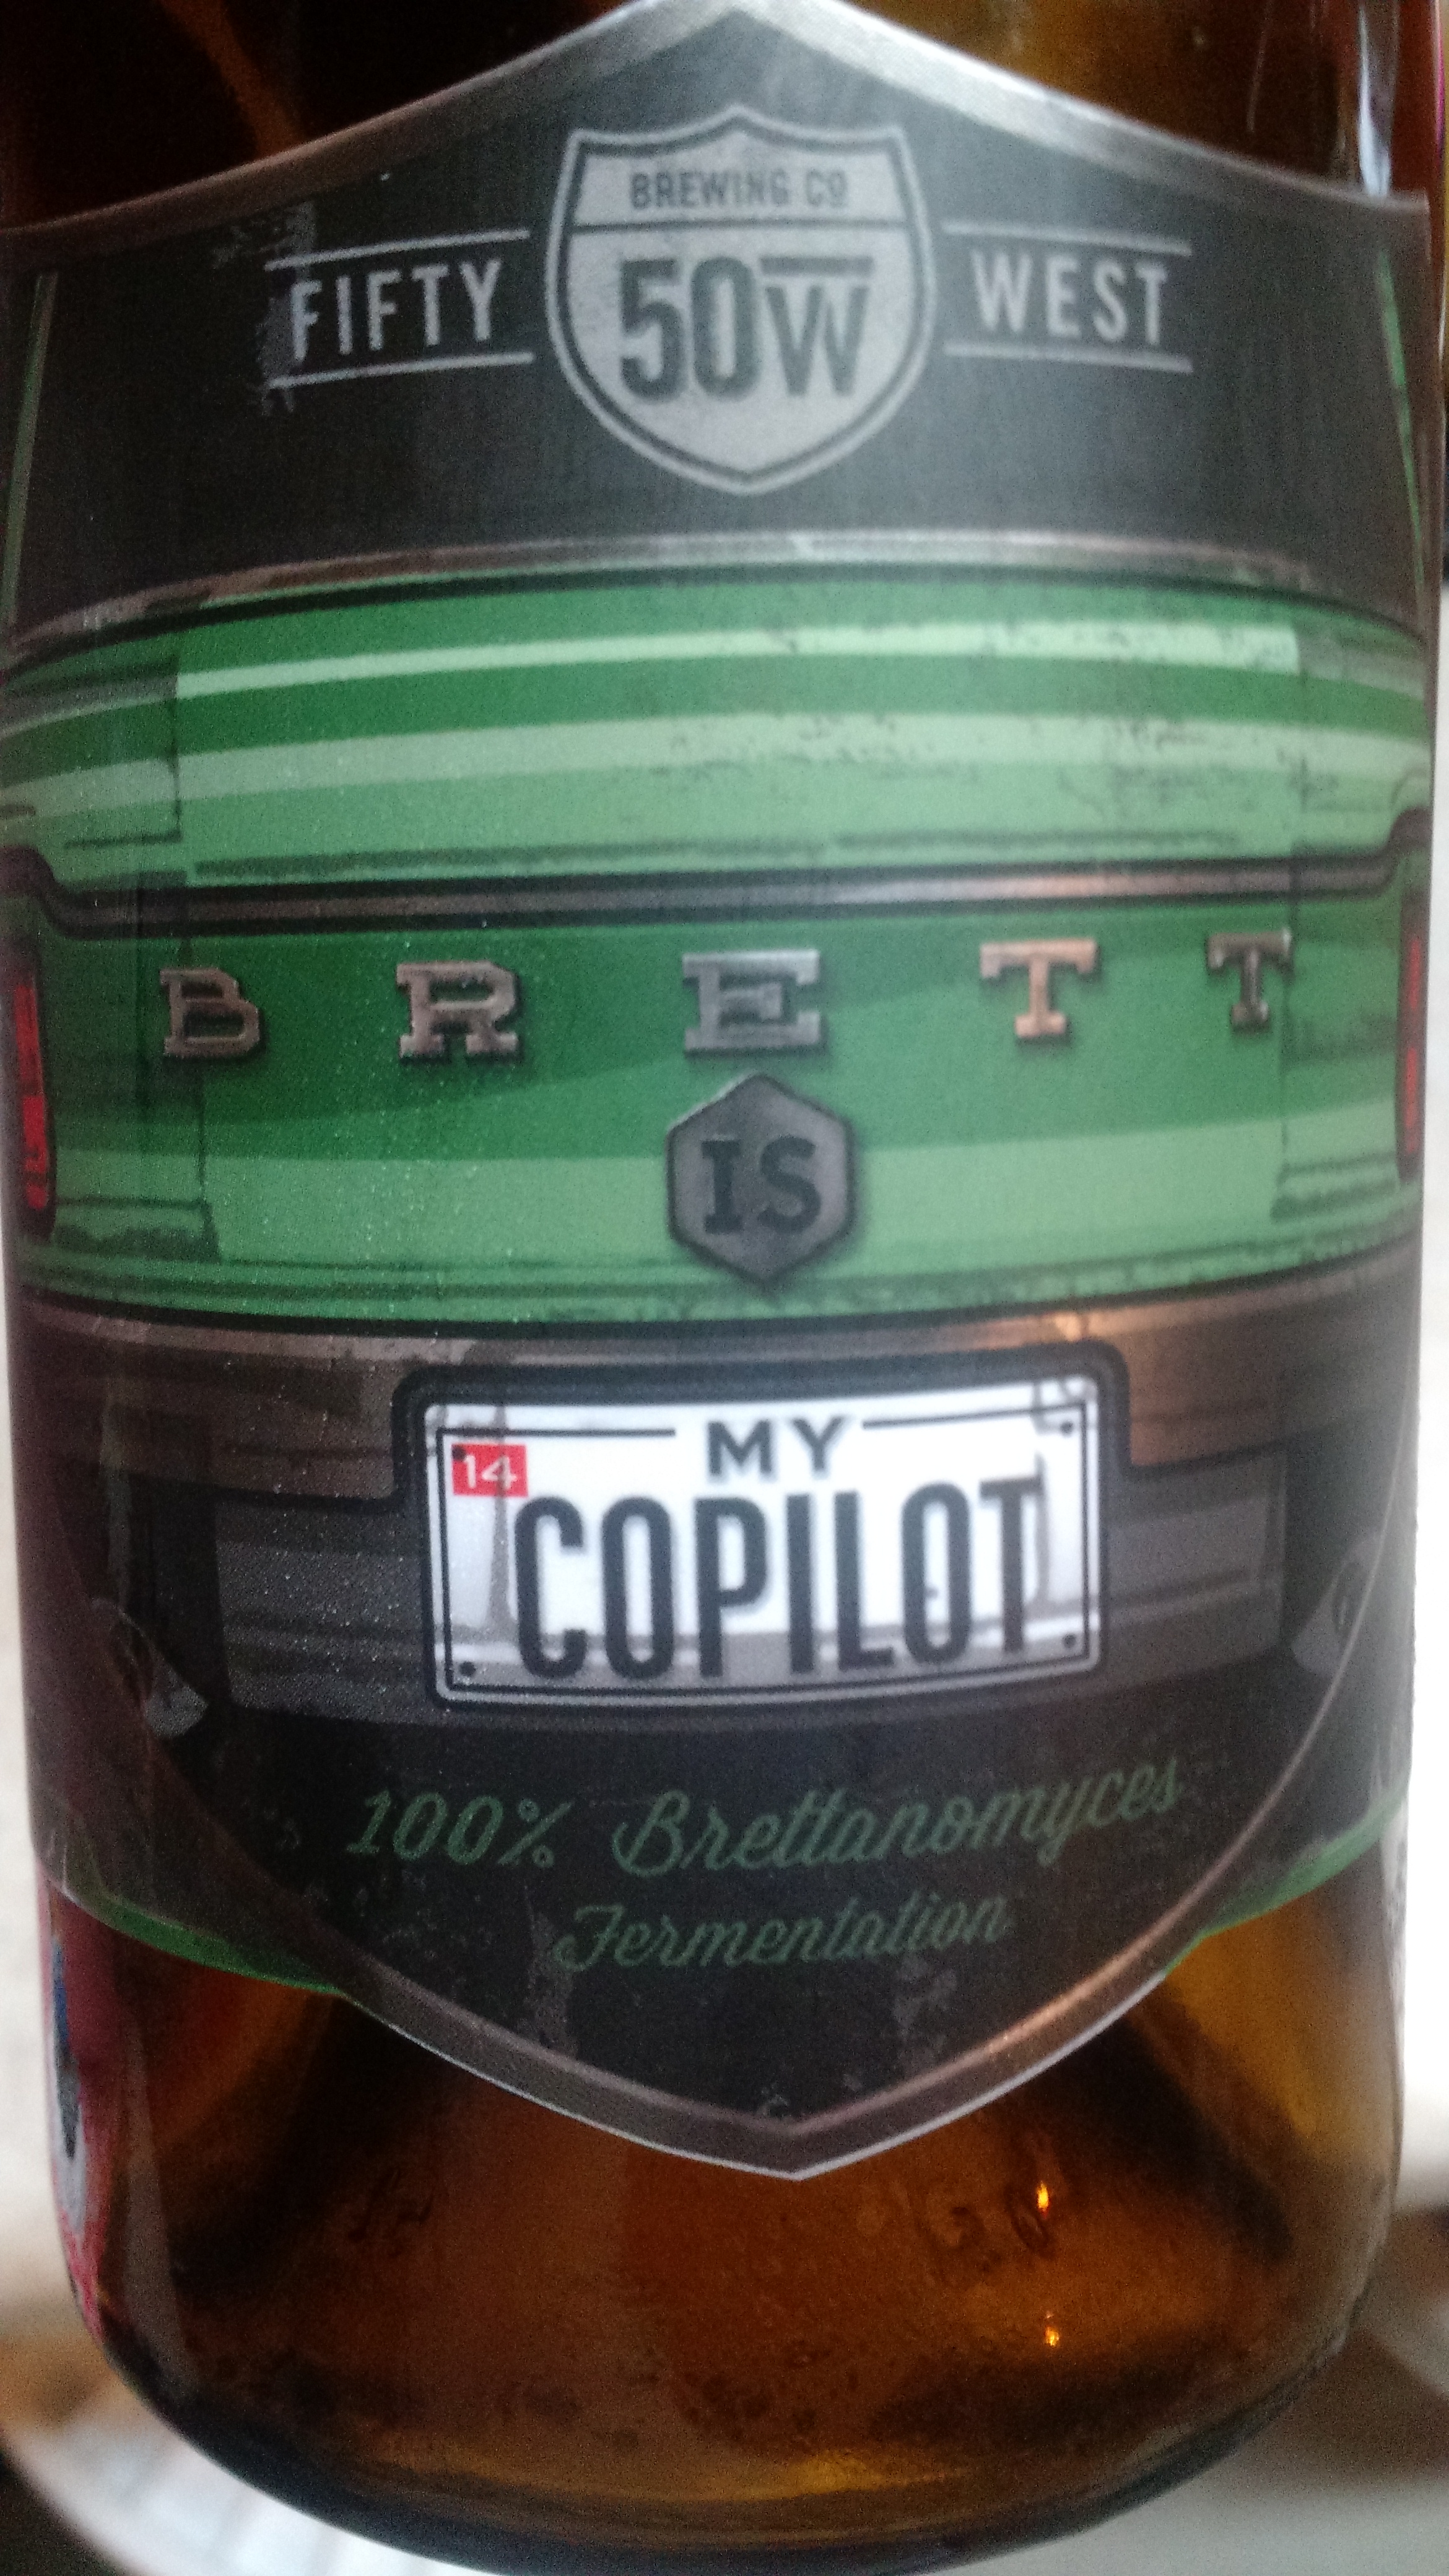
Note the 100% Brett fermented…
So while I was stopping by Paradise picking up that hop rhizome, I got a 1-gallon carboy to try this out. My Saison was nearly done fermenting, but I racked about a gallon into the second carboy (which was washed and sterilized, of course!), sprayed sanitizer around the cap of Brett is my Copilot, and poured all but about 3/4″ of it into a glass, and swirled the rest and pitched it into the second carboy.
In secondary!
Within 5 minutes, the airlock was bubbling, but I don’t know if that was because of the Brett or if it was because of other reasons. There is no pellicle yet (a few days after pitching), but there’s still time. And I’m going to save the yeast/brett mix for my next Saison.
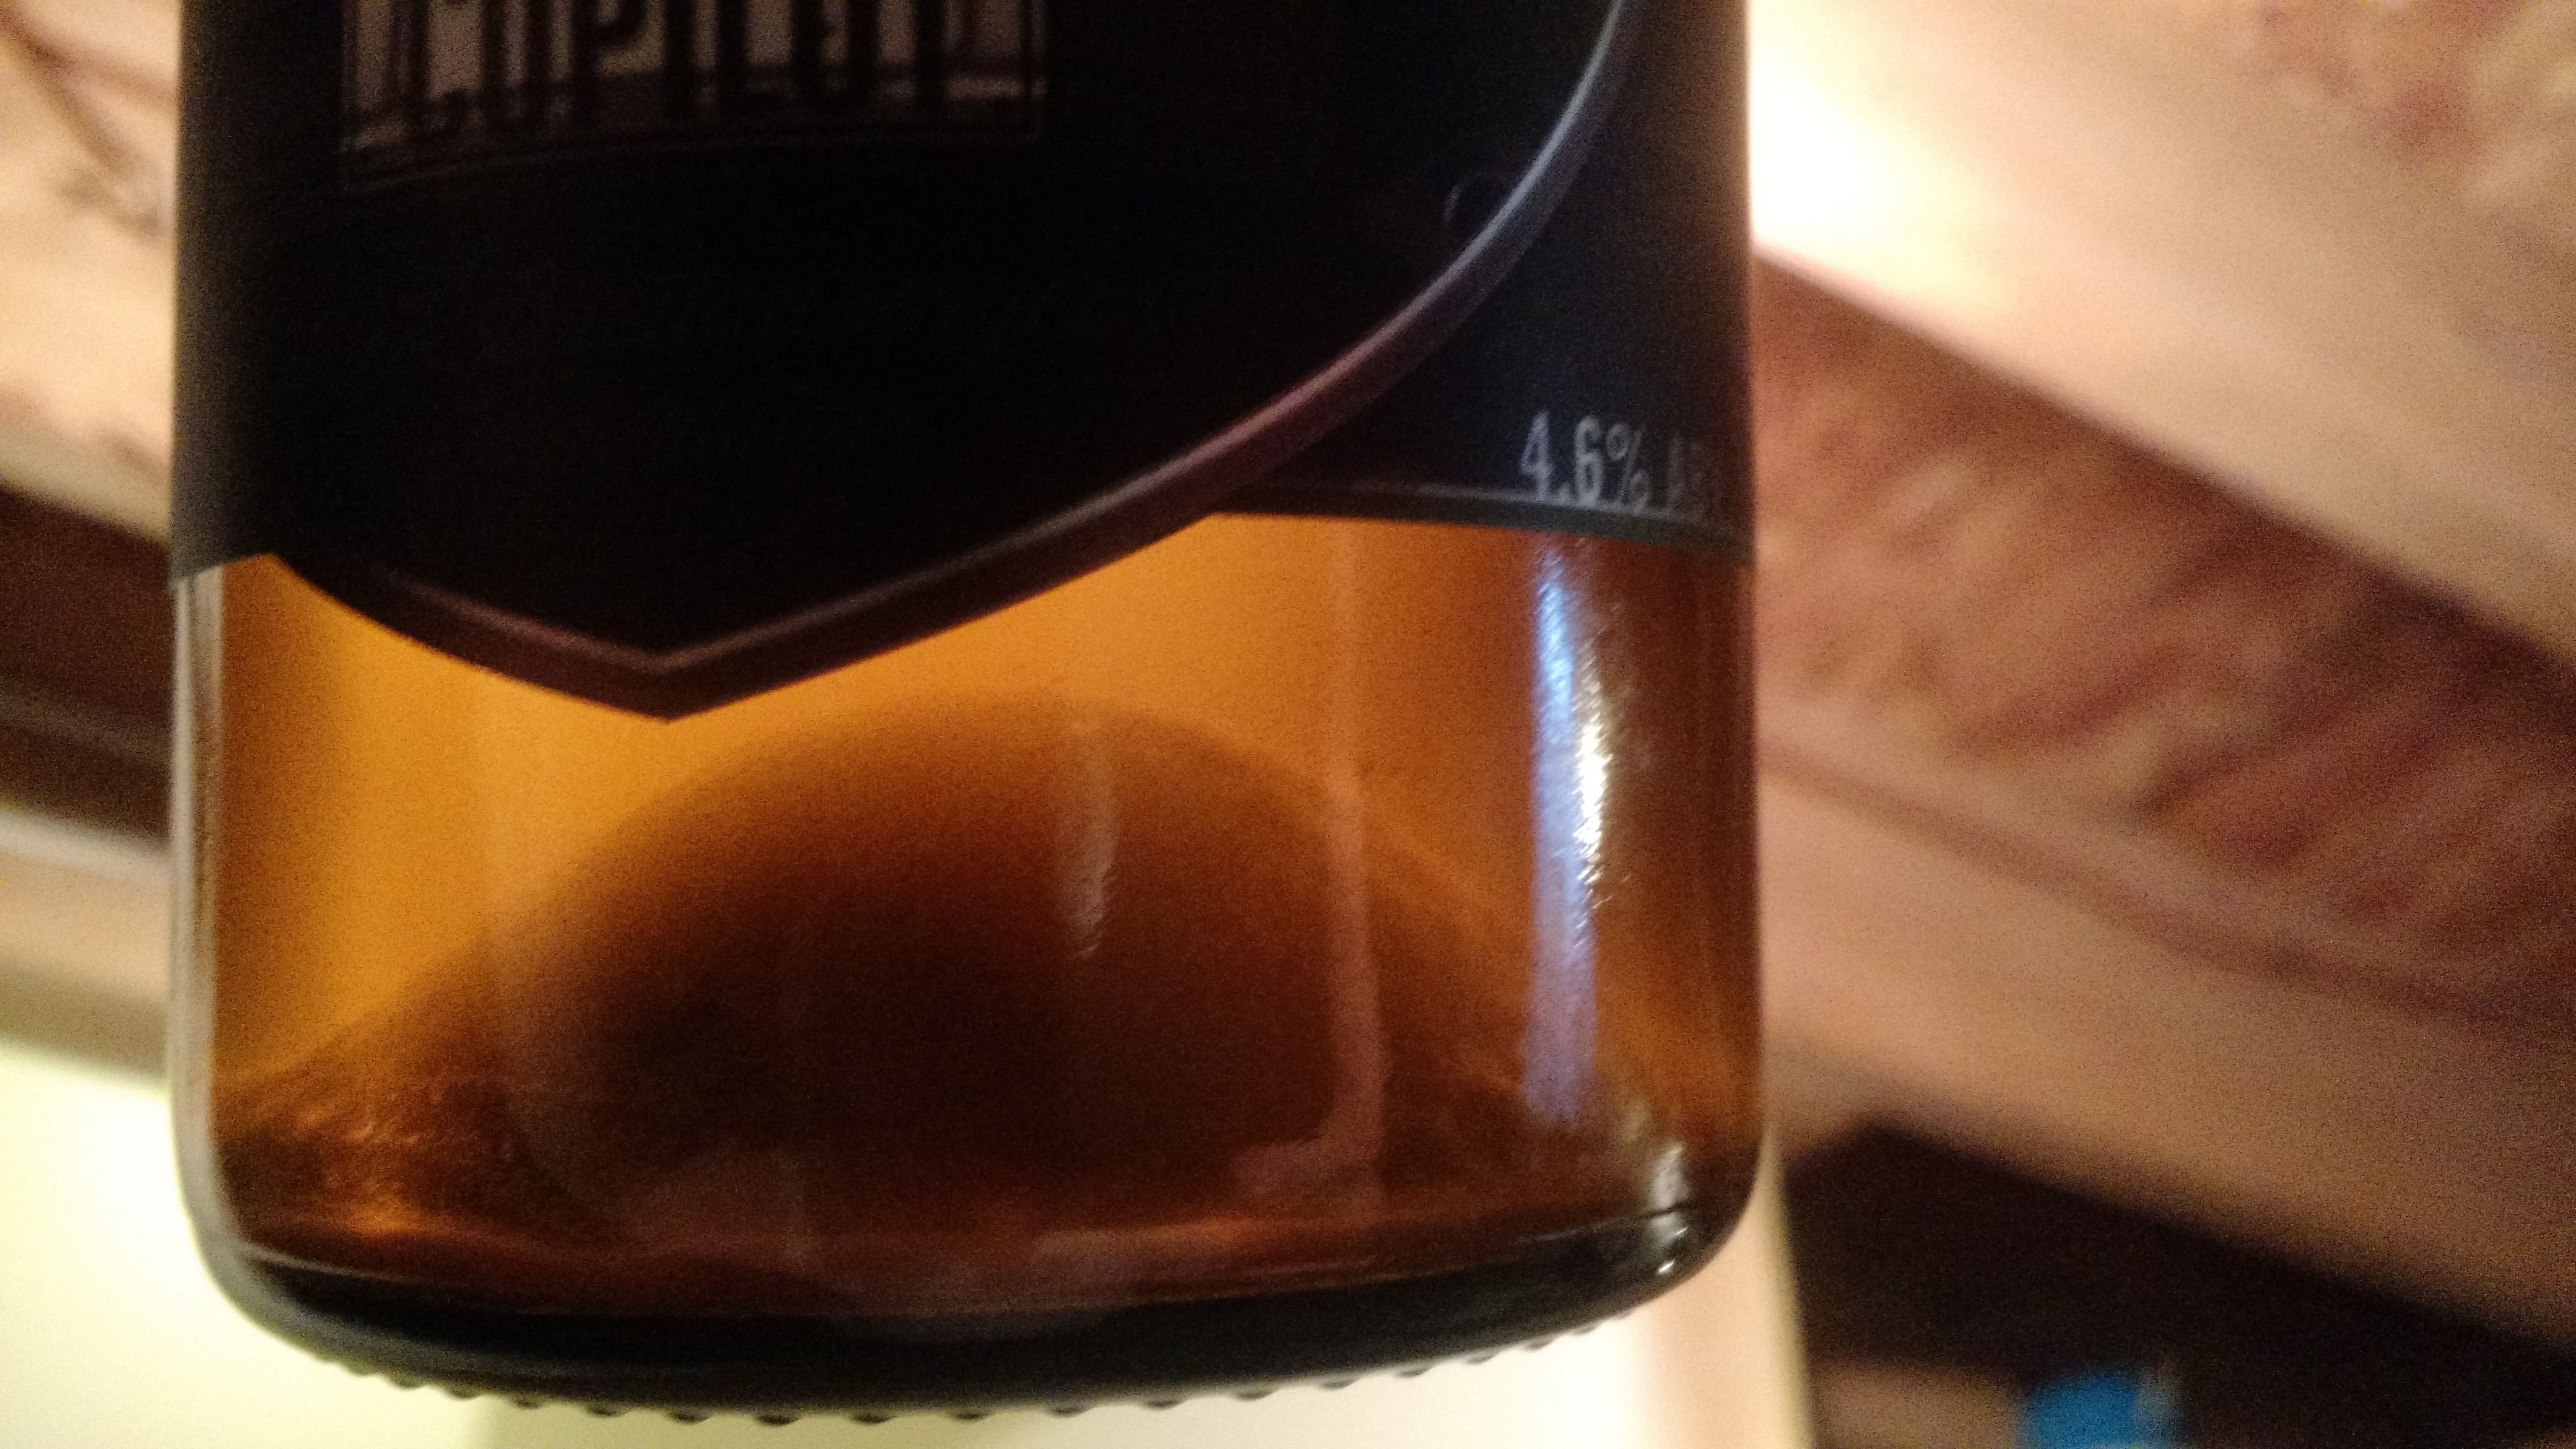
Oh, and this happened too:

🙂
Cheers!
PS: Brett Is My Copilot is a pretty good beer, too! It’s tart and citrusy. I can definitely see this as a beer to enjoy while sitting outside on a warm Cincinnati summer day.
The Wortsplosion and Lessons Learned
The title of this, coupled with last week’s post is chilling.
Brew day was not without hitches and major issues. It started with me not hitting my mash temp. The grain was cooler than I thought, so after making adjustments in BeerSmith, I set the temperature controller for the new temperature. I learned something…
Lesson 1: before believing that the temperature is correct, stir the HLT
I added water to bring the temperature up, but probably only partially successfully. My gravity was lower than I wanted by sparge, so I actually re-circulated the wort through the sparge again.
Boil went off mostly without a hitch, but I learned something else…
Lesson 2: it is possible to have too much of a boil
I didn’t get a mess (yet), but the wave caused by the over-active boil was a little scary. I found that 212.6F was a pretty good boil without causing a wave.
Lesson 3: Ventilation is important
The condensation caused minor issues, but allowed to go too long, this could become dangerous (mold?). Better work on a ventilation system. In the meantime, I’m running a dehumidifier.
Lesson 4: Barbed connectors shouldn’t be connected to pumps used for hot wort
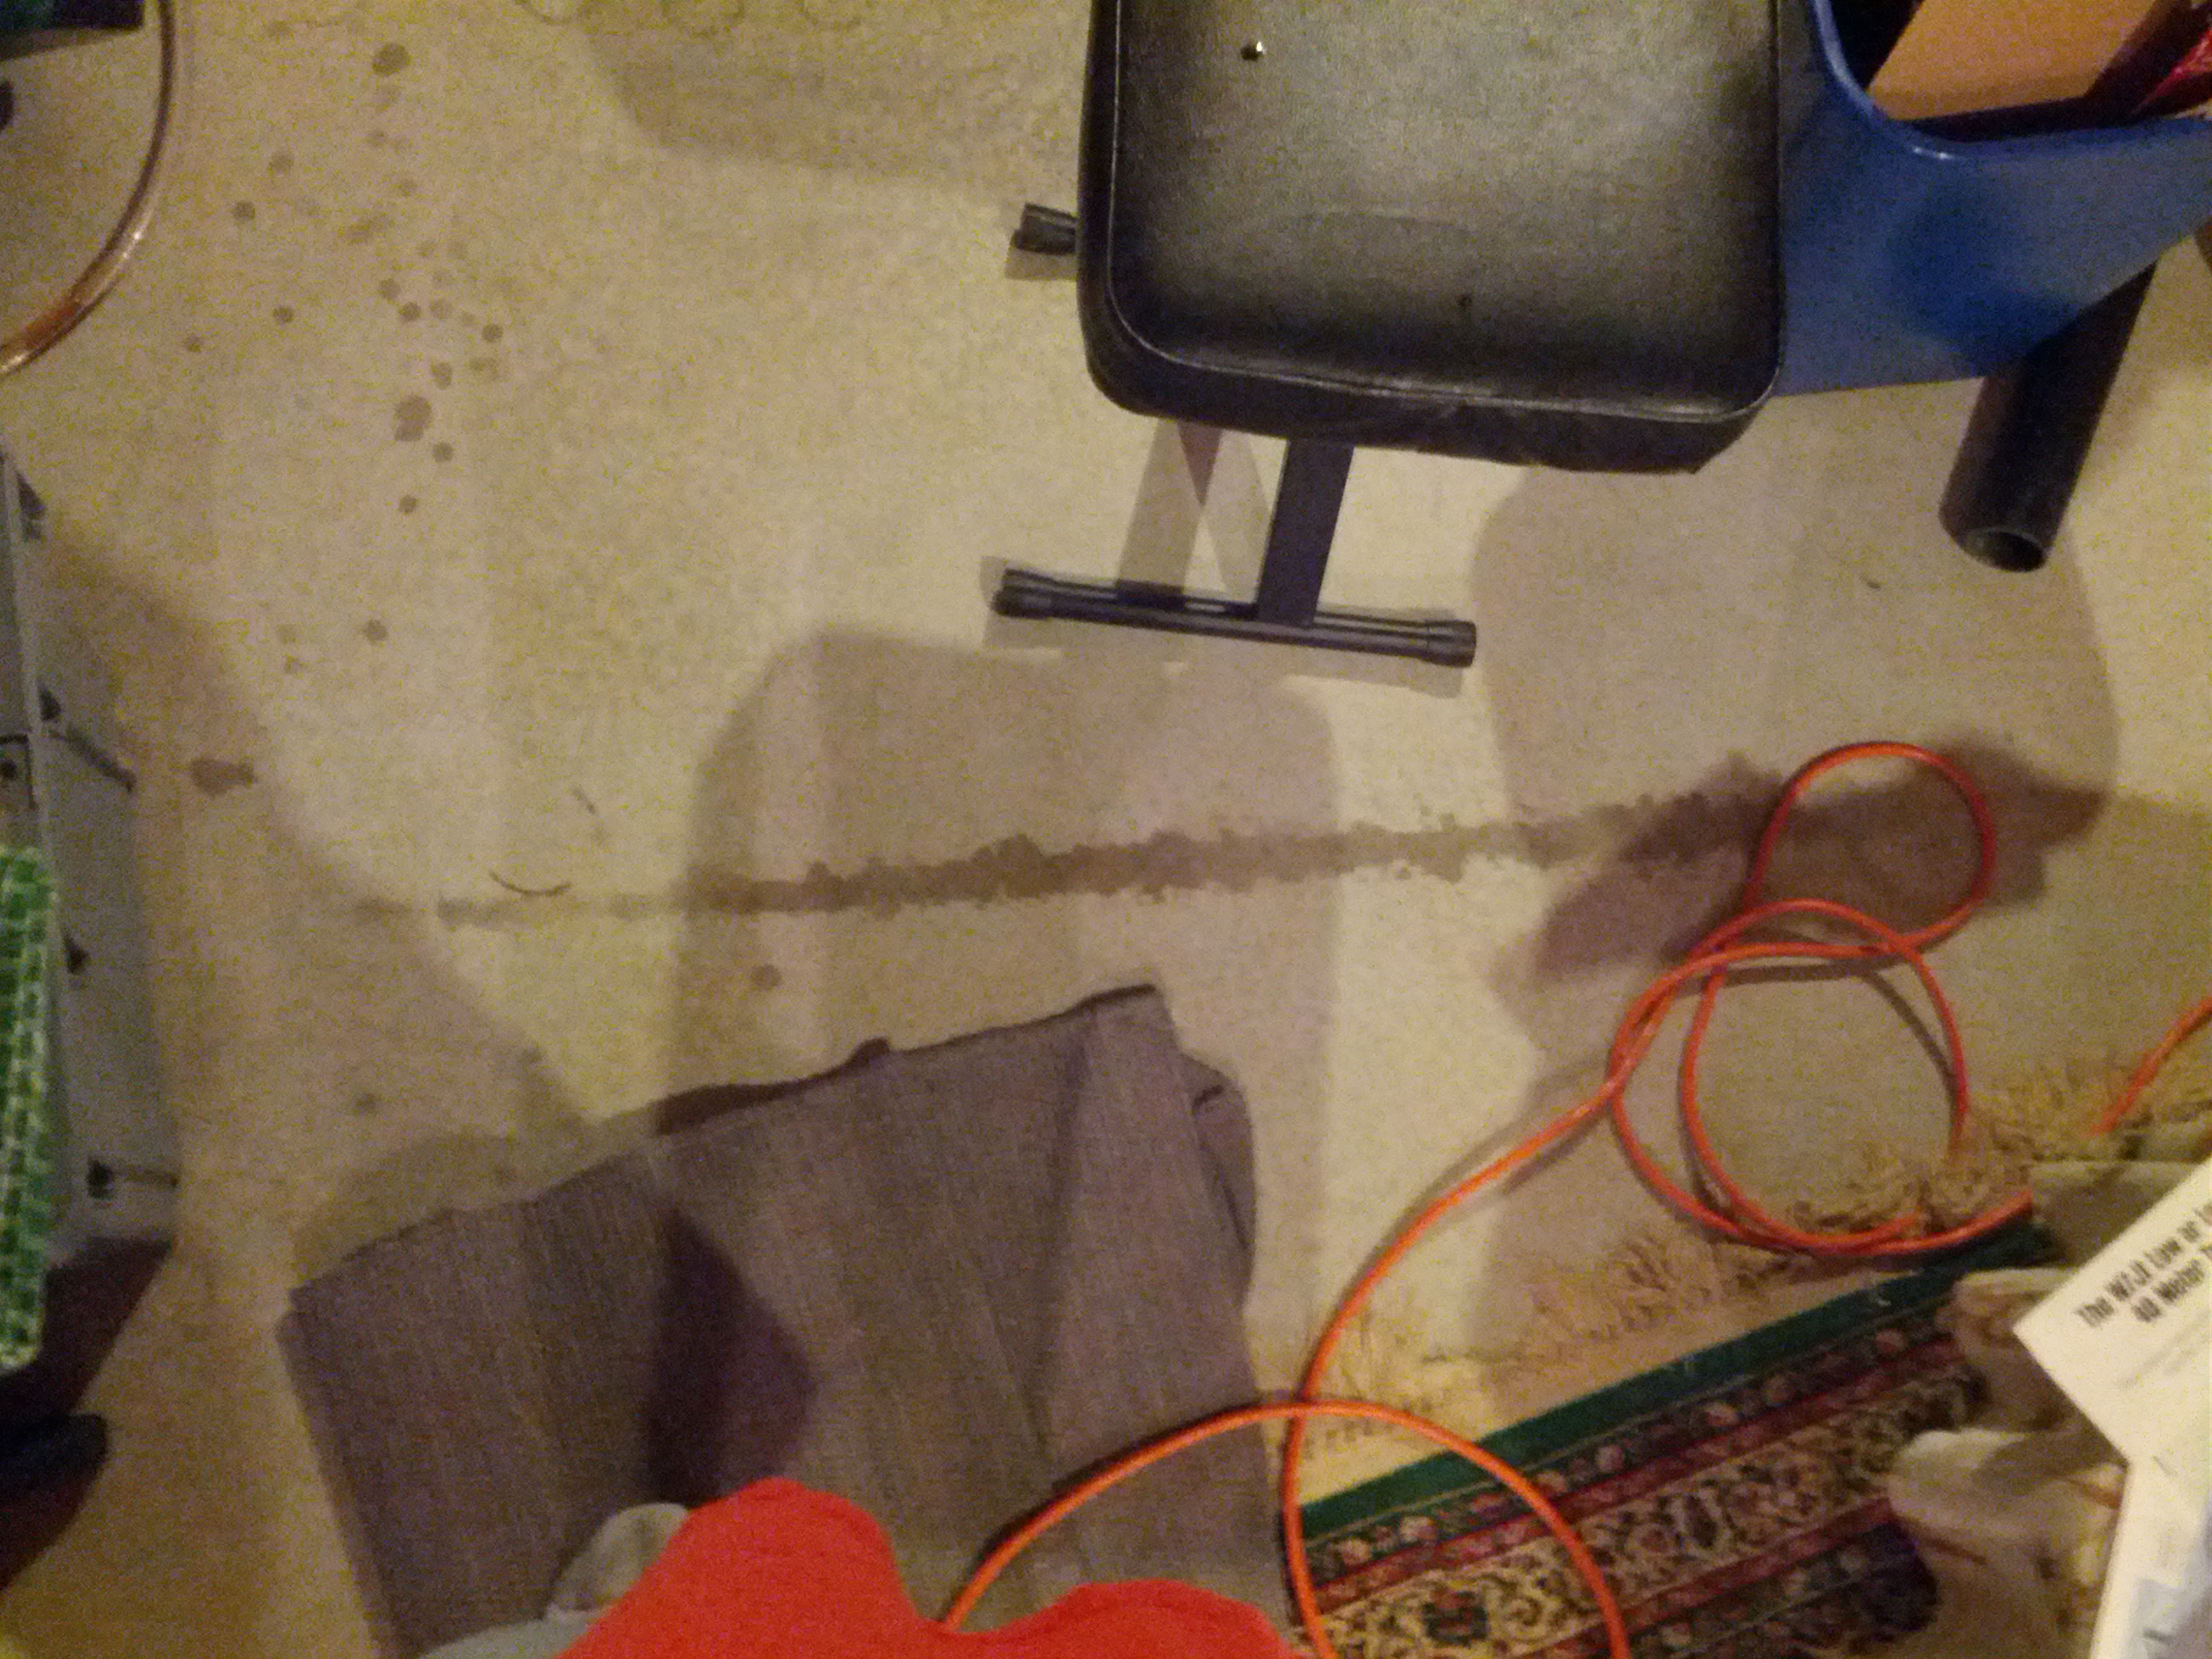
Yeah, this is where the wortsplosion happened. I have a barbed connector going from my boil tun to and from the pump, to and from an immersion chiller in a bucket of ice water (I’m using it backwards, the heating element is in the way of using it normally, yes I cleaned it!).
Lesson 5: Wortsplosions are bad, especially where electricity is involved
Wort spraying everywhere means that it got on everything.
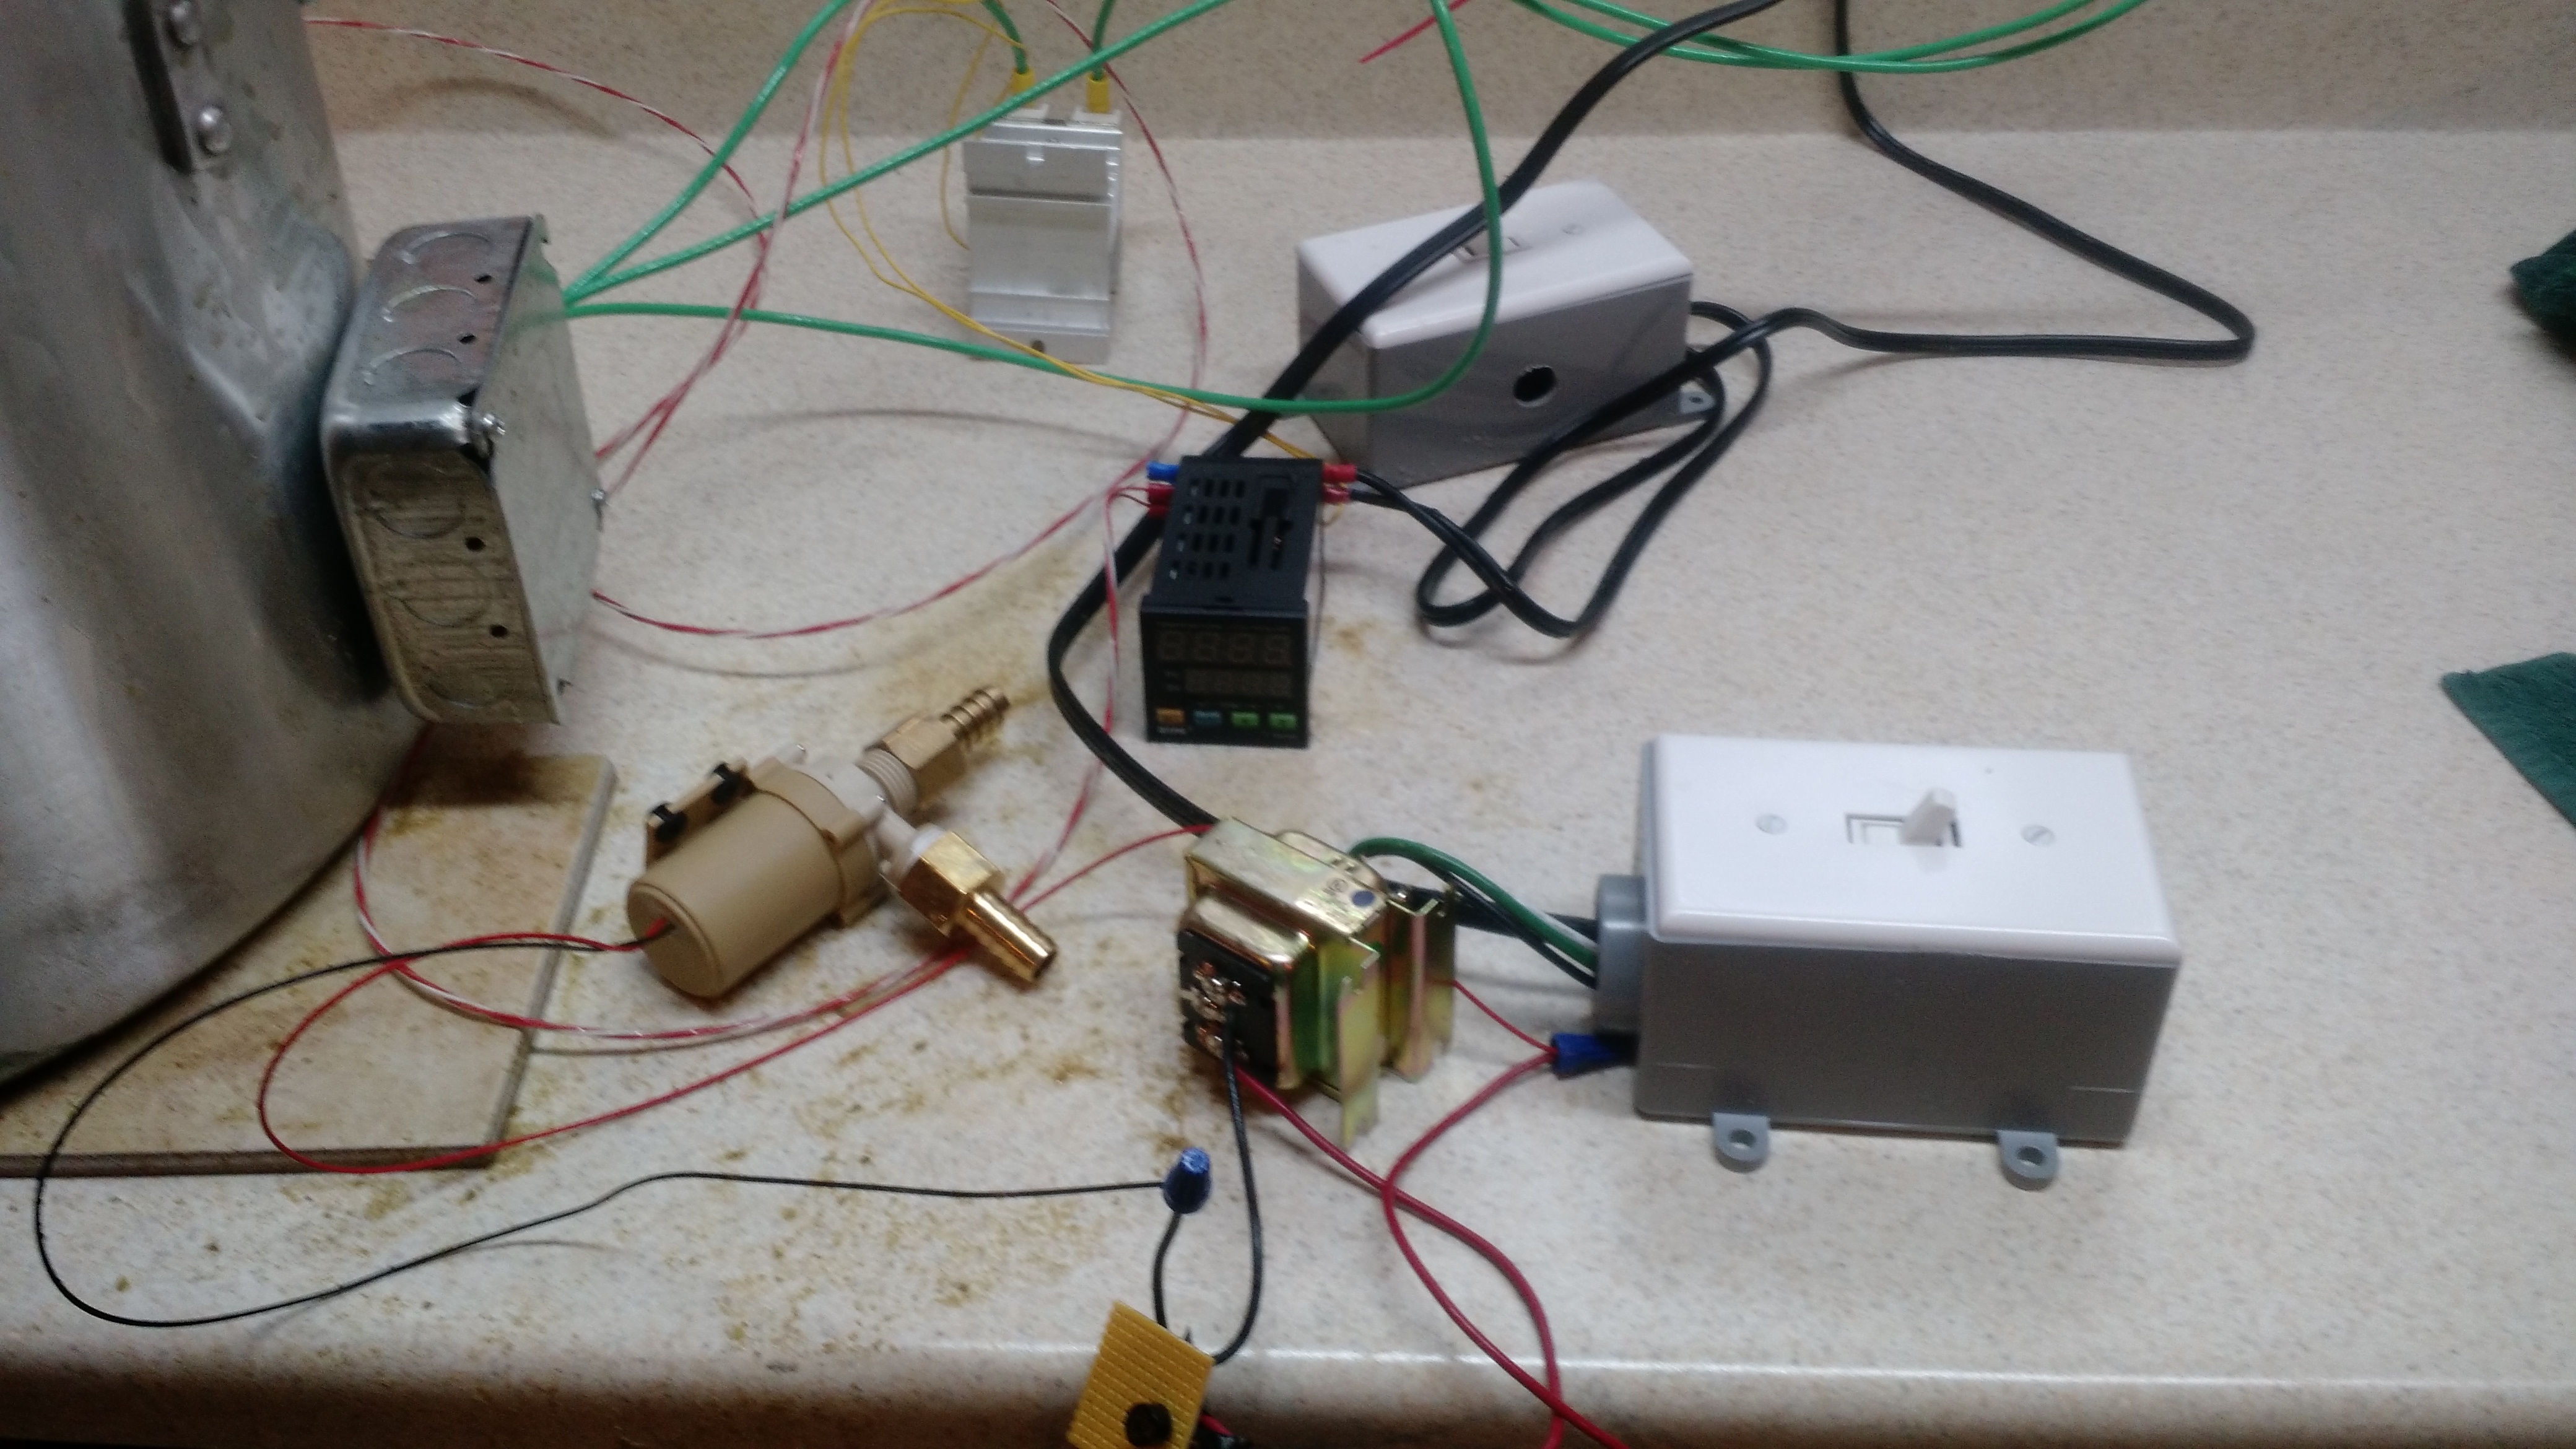
The pic doesn’t do it justice – there was wort on the side of the boil tun, the switches, the transformer, the PID controller, and me.
Somehow I managed to not get electrocuted in all this. The switches are not waterproof, and 24V AC and DC wiring is exposed. Everything had to be disassembled for cleaning.
One thing I did not own is a mop. I had to run out and get one, and I used some extra-strength purple Simple Green cleaner I had in my garage to remove the half-dried wort from the floor.
Total wort loss was about 3 quarts. 1 quart in my jeans, the rest to the floor. Not a total loss.
I did end up hitting about 70% efficiency, which I partly blame on adding the grain to the mash water in the cooler as opposed to the other way around. I also drained and sparged much slower.
Anyway, I’m going to consider buying a plate chiller. And new fittings (fuck the barbed hose fittings). Probably cam fittings.
The Saison that I brewed is fermenting.
Cheers!
How I Make Canned Yeast Starter Wort
I like being prepared in advance as much as possible. So after reading BYO’s version of canning yeast starters, I made adjustments for me and actually thought out the process.
Gather Supplies
You will need:
- 1 Pound DME
- Some hops (possibly optional)
- Five 1-Quart Mason jars, bands, and lids
- Pot for boiling wort
- Large stockpot for sanitizing jars
- Pressure Canner (you can probably safely do this in a boiling-water bath canner, but wort isn’t really acidic enough to be safe for this)
- Something to stir the wort with
- Old dishtowels
- Clean washcloth
- Canning tools (see below)

Basic Canning Tools – jar tongs, lid magnet, headspace tool, funnel, and ladle
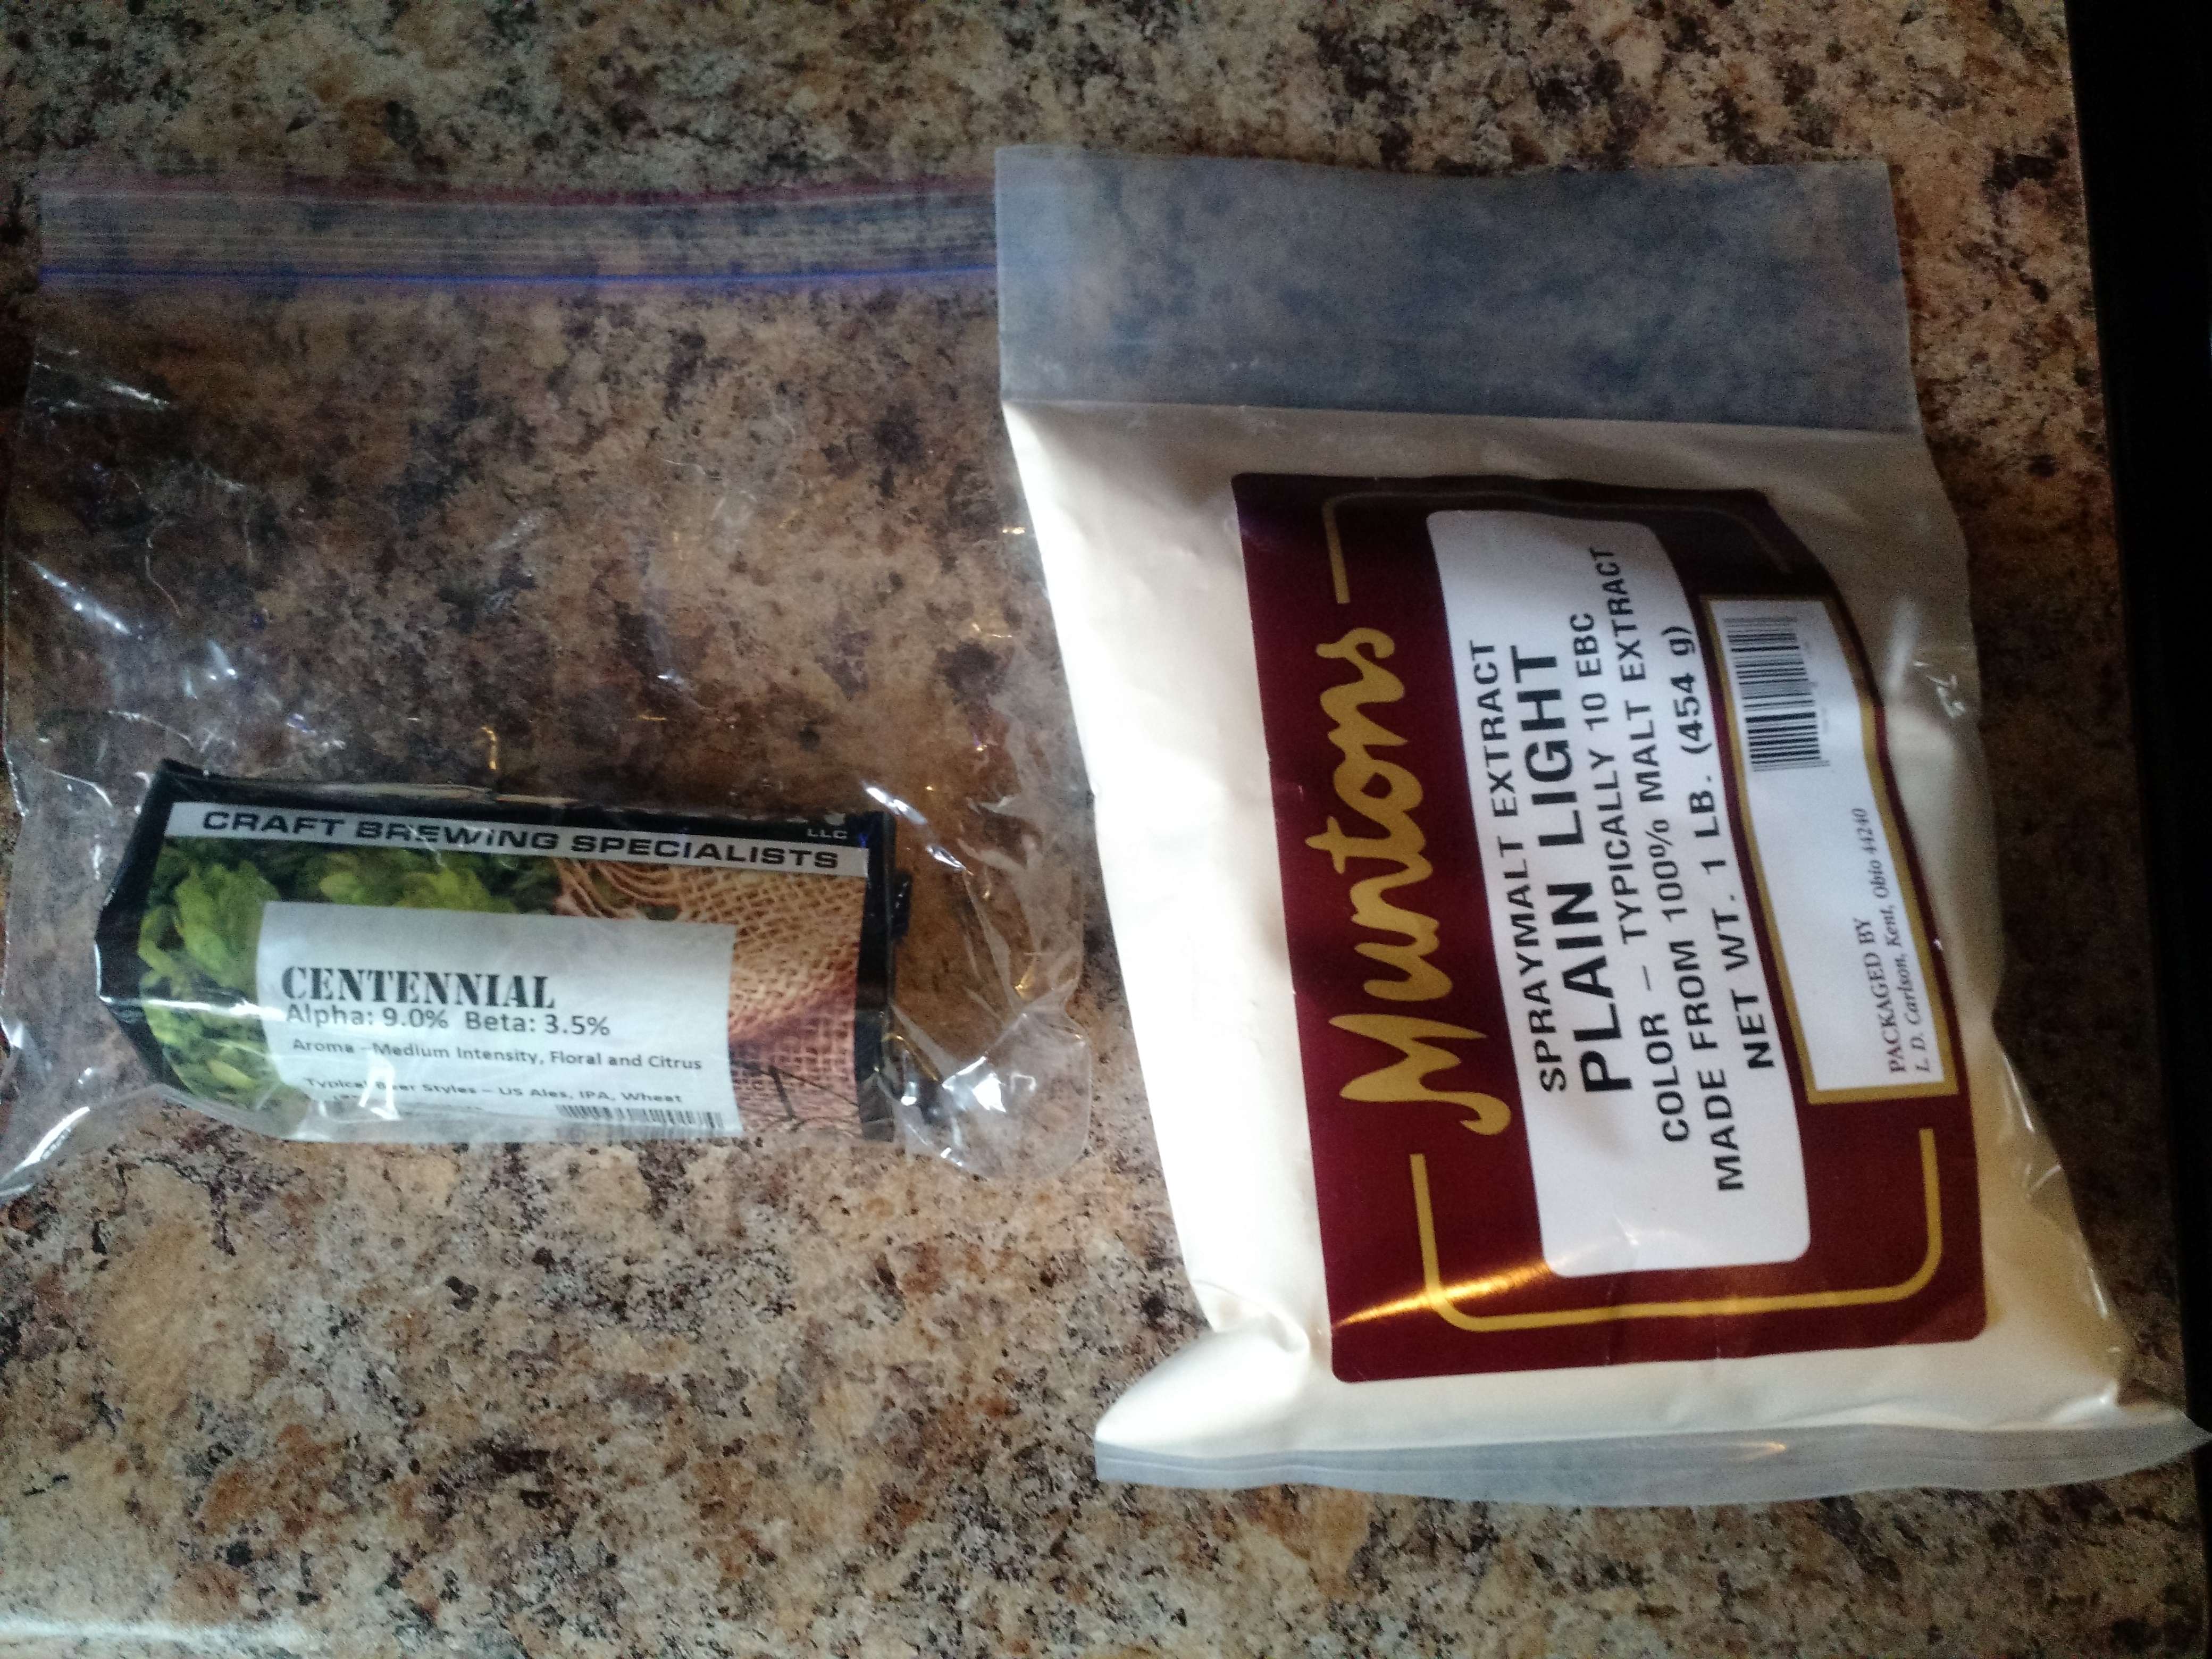
Light DME and some hops
Process
- Start bringing 5 quarts of water to a boil
- Fill large stockpot to 1″ above top of Mason Jars, set on heat and heat to 180F/82C
- Wash Mason jars, lids, and bands – put jars and lids in stockpot carefully
- When 5 quarts of water is boiling (or even near-boiling), shut heat off, add 1 lb DME (preferably light or very light) and hops, stir well, and turn heat back on
- Boil wort for 10 min
- With a few minutes remaining, prepare jars – remove them from the water, drain, and set on a towel near the wort pot
- Once the jars are out of the stock pot, remove it from the heat, and ladle some of the hot water into the pressure canner
- Once the wort boil completes, shut the heat off and fill the jars to 1/2″ headspace
- Wipe the rim of the jars, and cap (do not torque the rings down!) and add to pressure canner
- Once all 5 jars are in the canner, put the lid on and begin a boil
- Let steam vent from the canner for 10 minutes (see the pressure canner instruction manual)
- Add weight and process for 30 minutes at the correct PSI (for my area east of Cincy, the appropriate pressure is 11 PSI)
- At the end of the process, shut the heat off, but leave the weight in place (or otherwise leave the vent in place – you do not want the pressure to drop too rapidly or the jars can crack or burst
- Once the pressure has returned to 0 on the dial, remove the weight and wait 10 minutes
- After the 10 minutes, remove the lid and jars, place them on a towel (do not put them directly on a cold countertop)
- Once the jars cool, confirm that they are properly sealed (the lids should be “sucked in” and not click when pressed), and store in a cool dark place away from any source of UV light
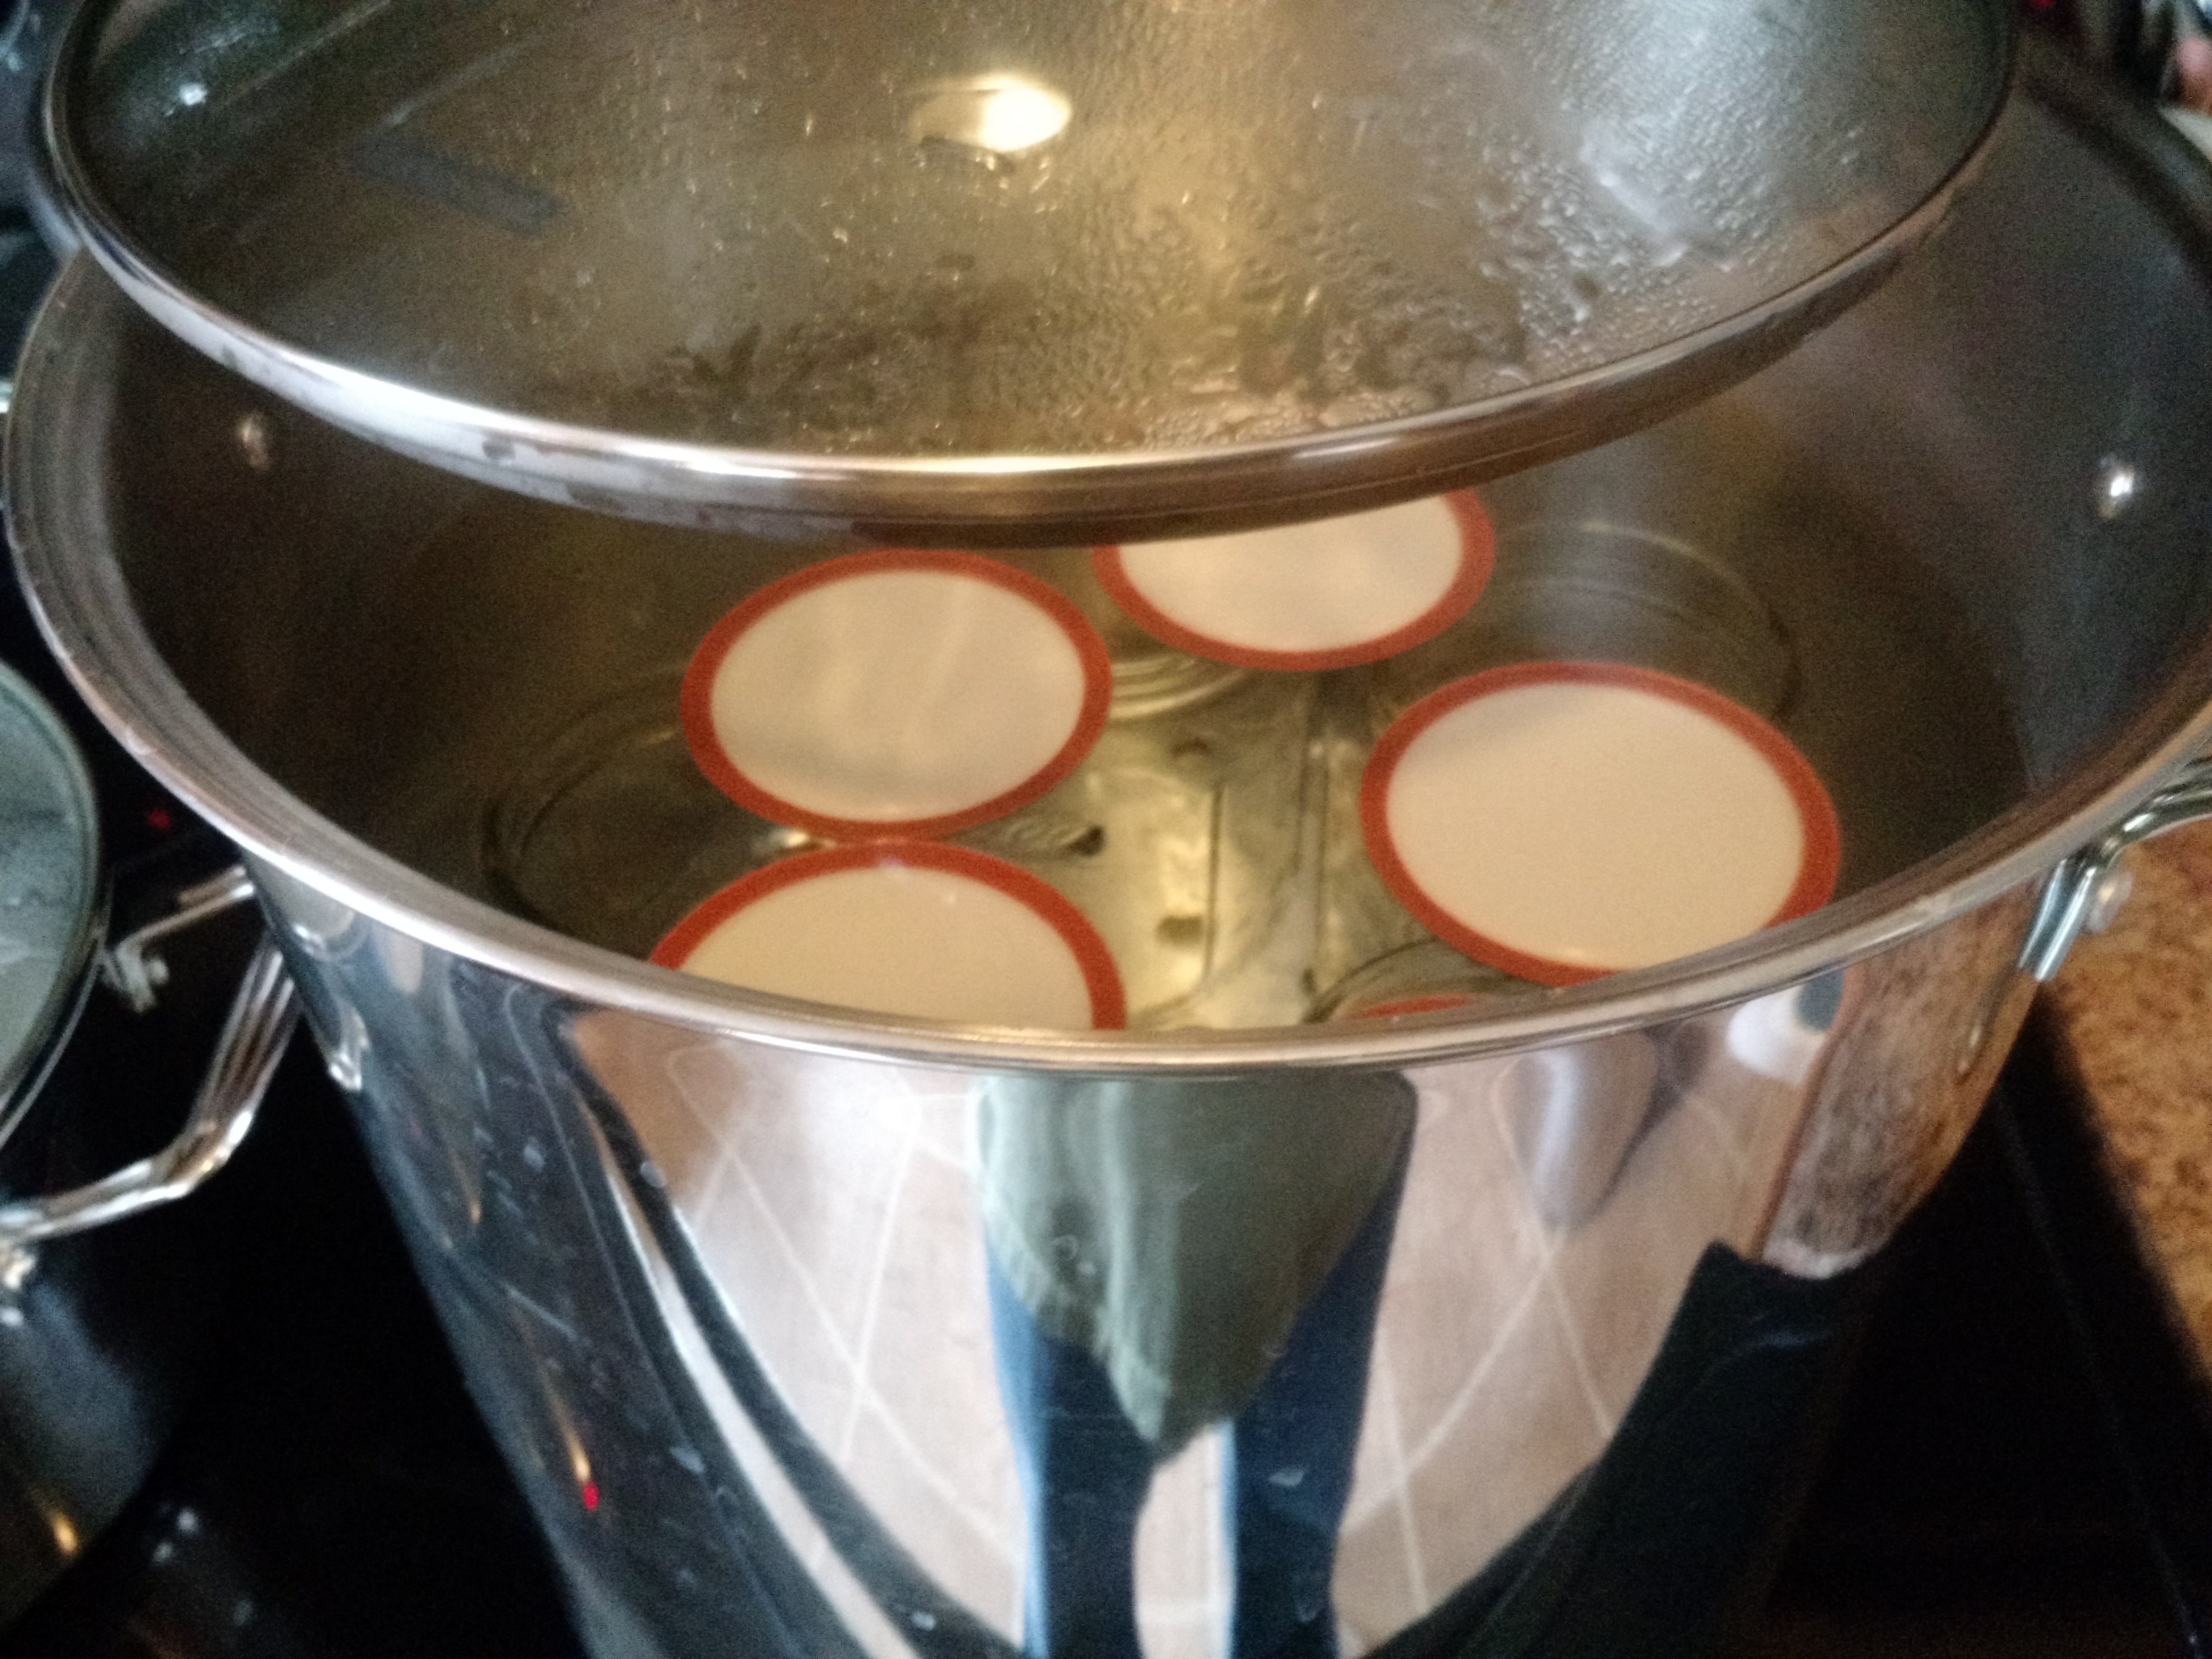
Mason jars and lids being sanitized in 180F water.
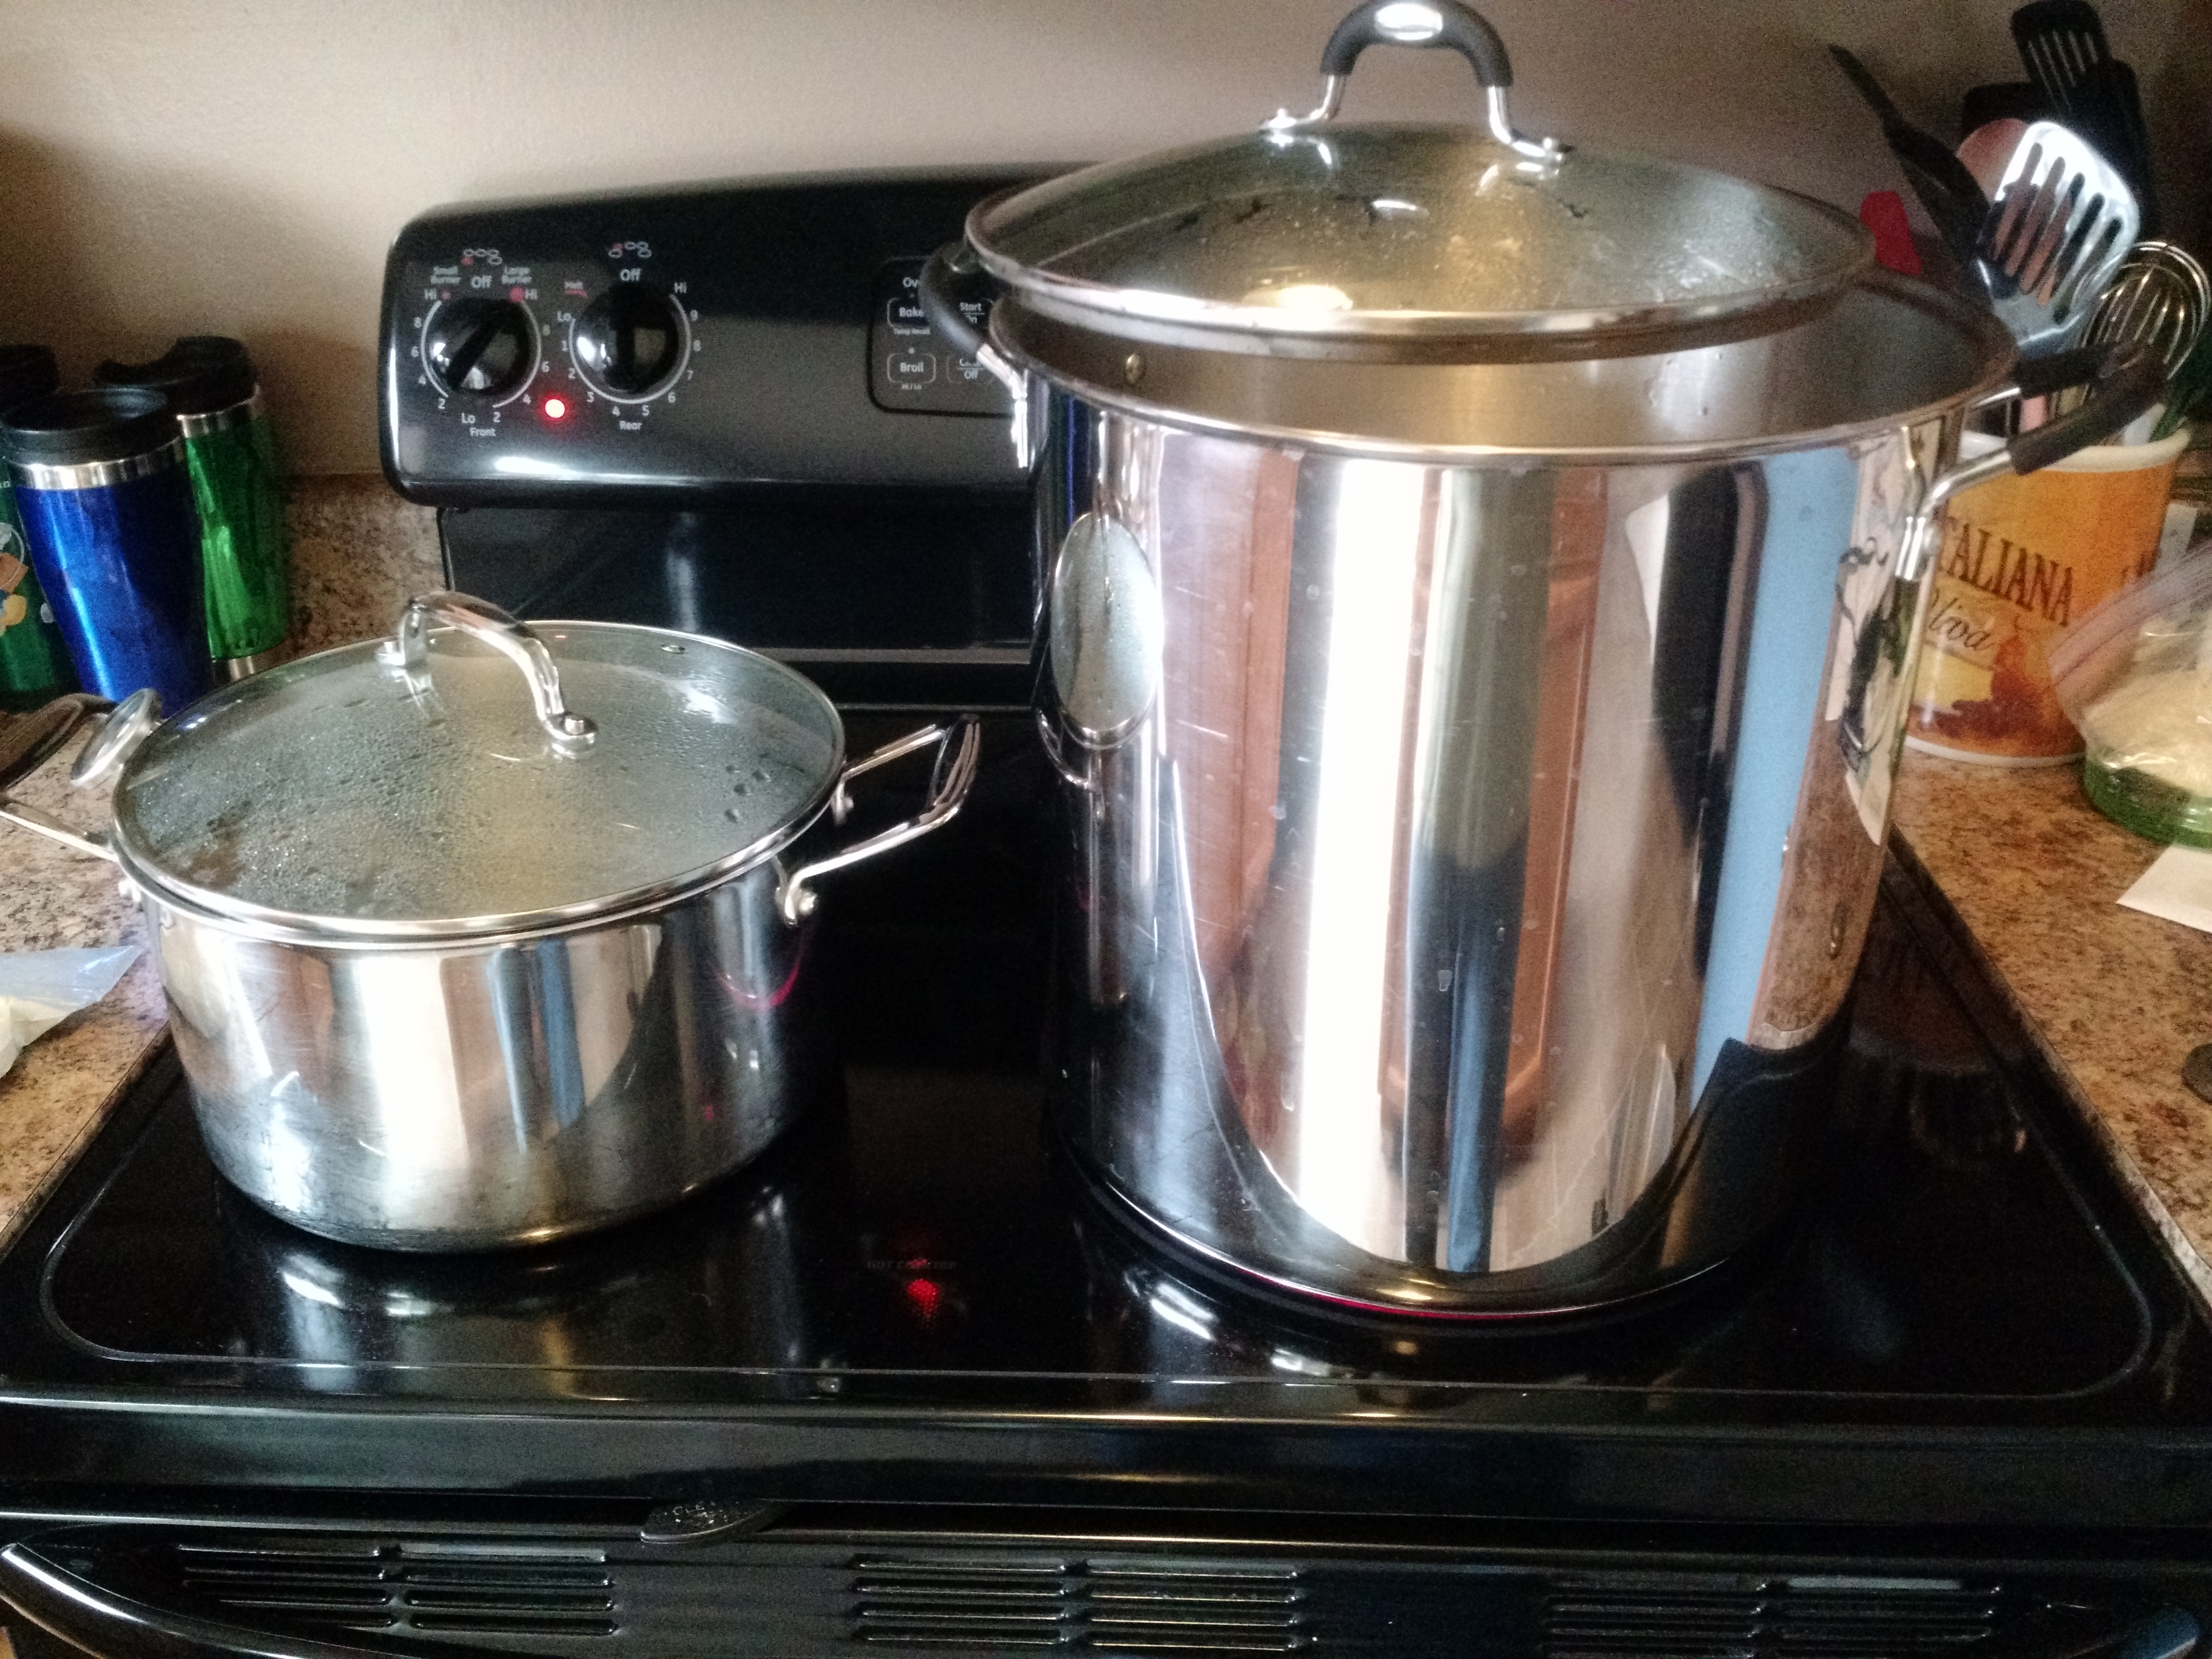
Hot liquor being brought to a boil on the left, jar sanitize water on the right.
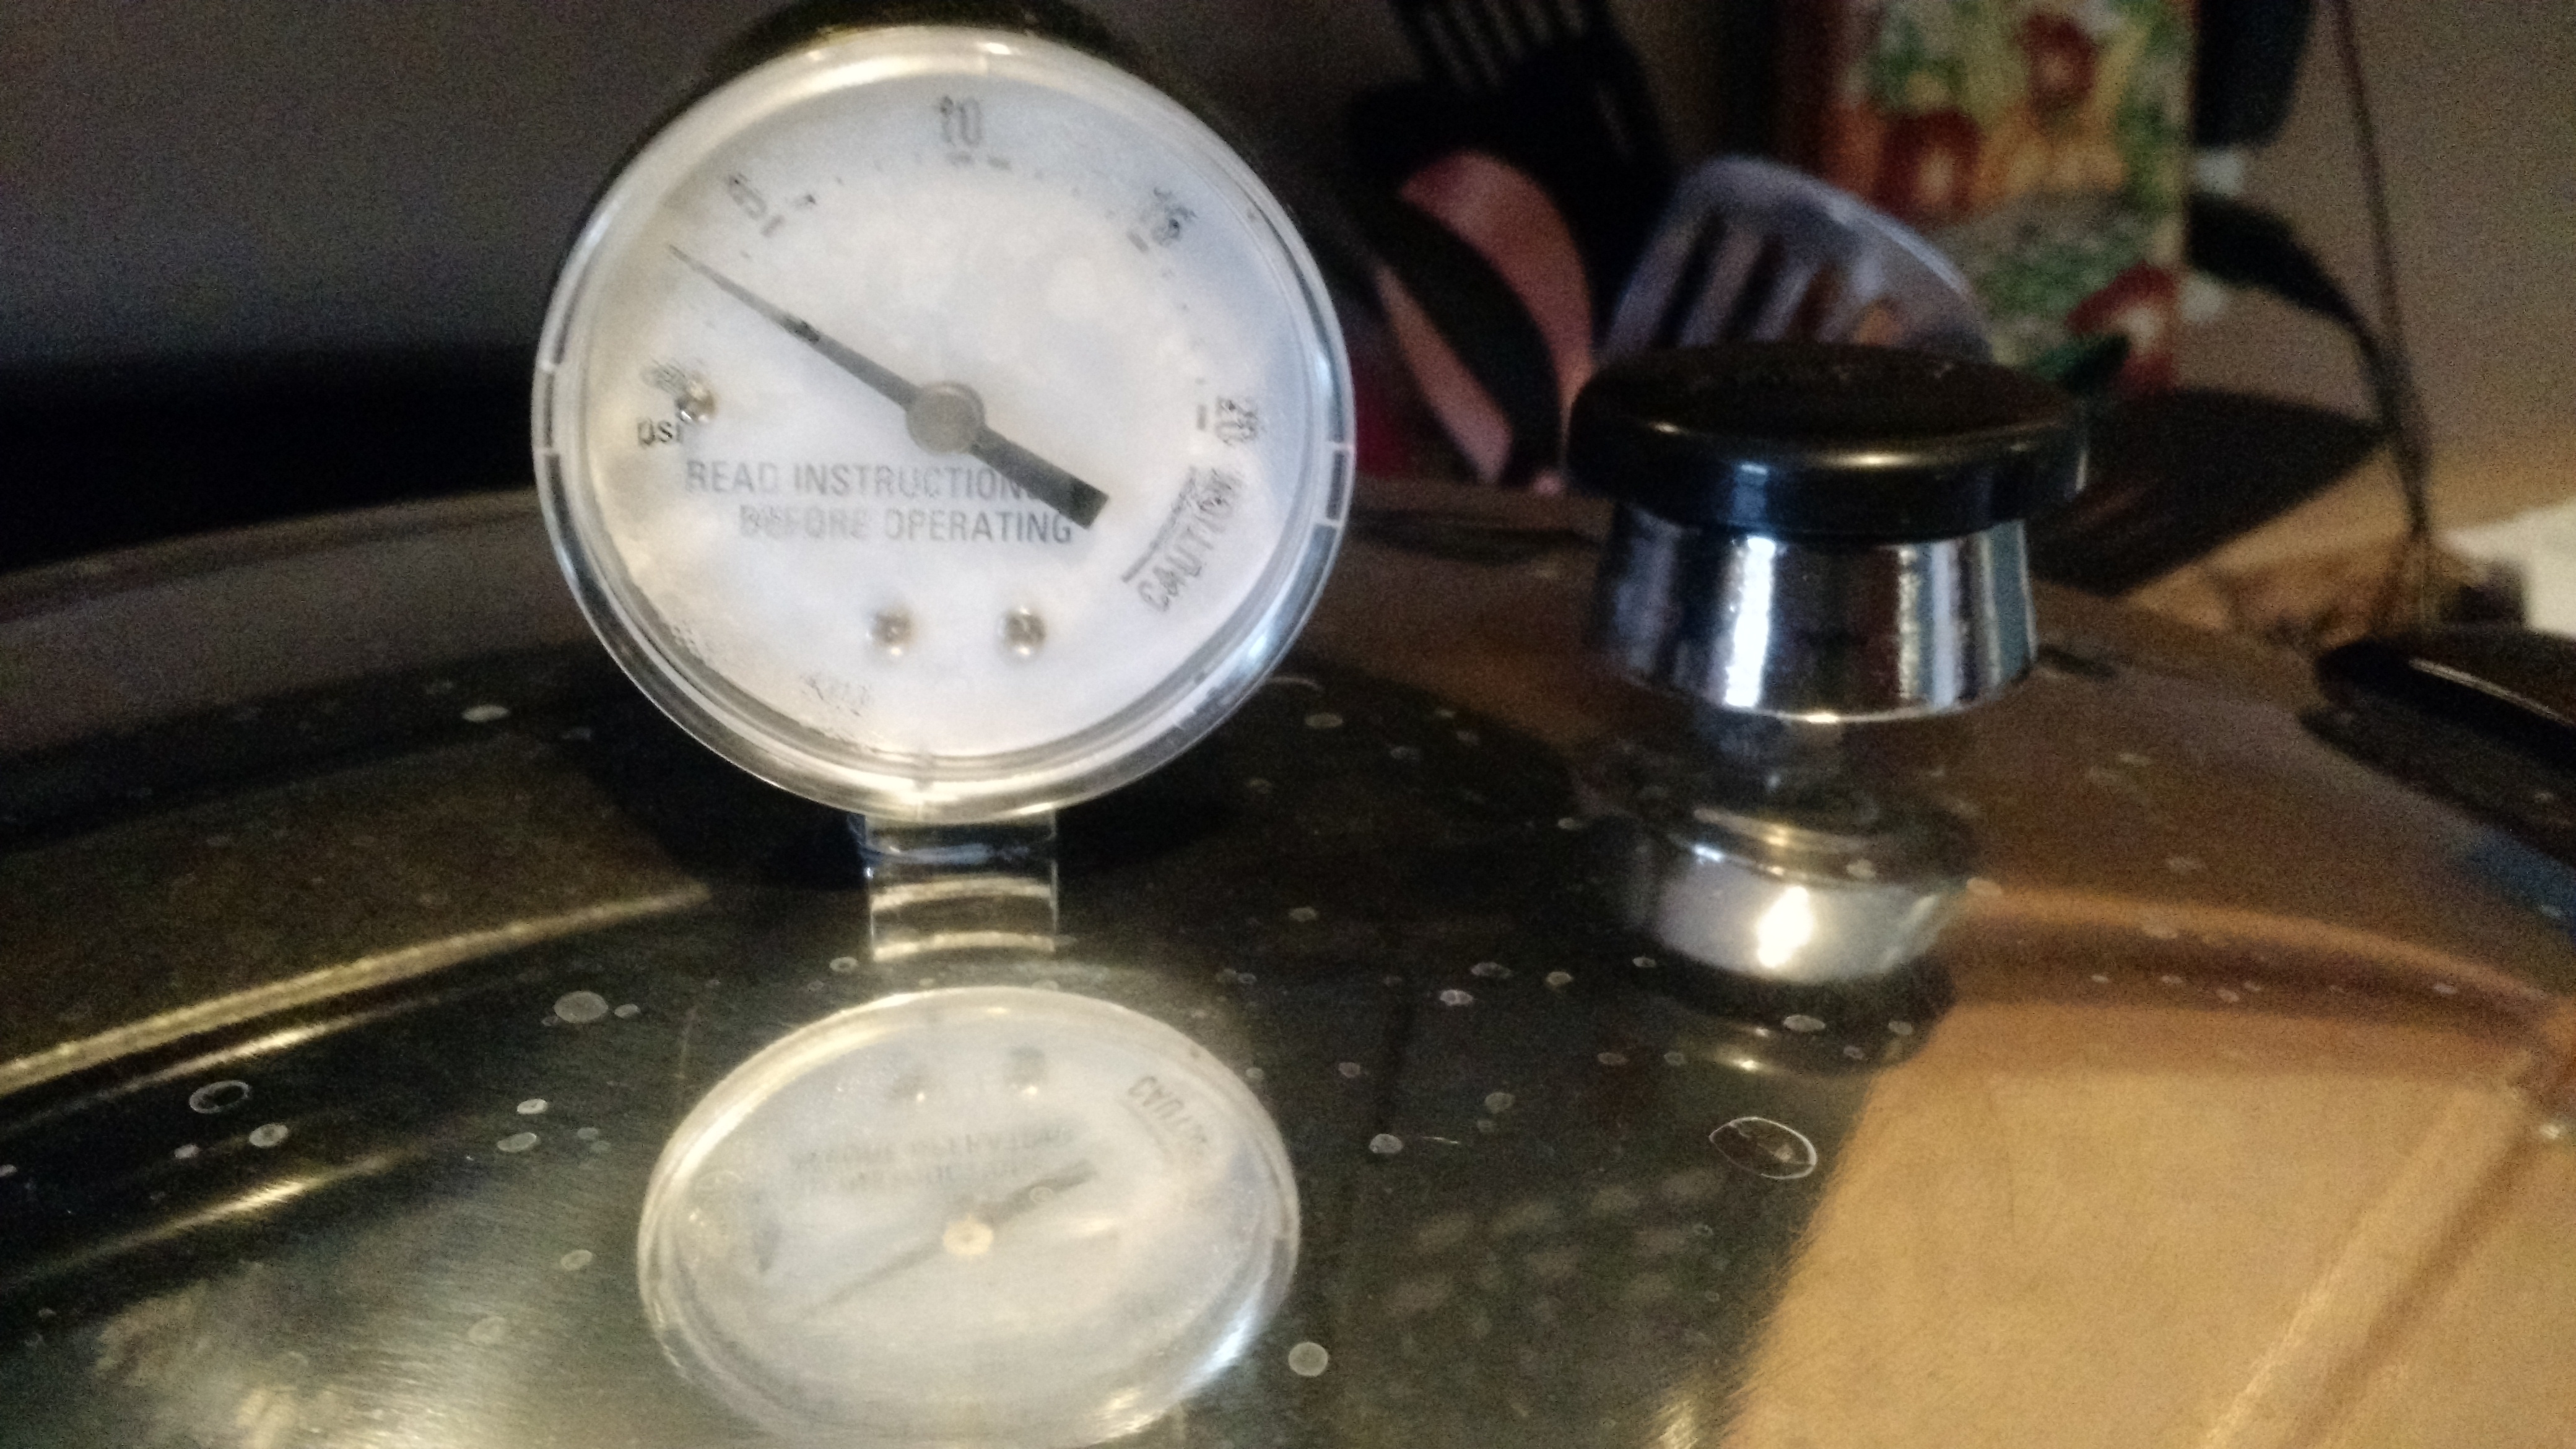
Pressure canner is coming to pressure. The weight is the black thing on the right.
Using the Starter
Using this is pretty easy. Remove the ring and spray the lid area with sanitizer, and then pour into a sanitized flask. Then, pitch yeast, add a stir bar, and put on a stirplate. The 1 Qt jars are roughly 1,000 mL of yeast starter. Depending on your yeast and situation, you may need to use multiple jars of starter.
Cheers!
Another New Year Goal Post [Beer]
Ahh, the new year. The time every blogger writes a post filled with resolutions that they never get around to tracking or caring about. And I run three blogs on four topics (since this blog is both running and beer), so this is one out of four.
I’m a little different, I actually care about my goals. I’ve been thinking about the content of the goals for a few weeks, because there is some real importance to them to my brewing. So here they are…
1. Build a Better Brewing Area
My wife does not like the smell of wort, and my stove cannot heat 5+ gallons of wort very well. In fact, in my last post I lamented about the brewing situation. This will change, and it will change soon.
2. Unlock All of the Style Badges on Untappd
In becoming a homebrewer, I’ve thought A LOT about different beer styles. However, I’m definitely biased towards IPAs, Pale Ales, and Amber Ales. I want to change that for a variety of reasons, but mostly because I believe someone that is truly a brewer (whether professional or homebrewer) should have a well developed palate to know about beer. The list below is what is left at the time of typing (which is a few days before New Year’s Day, when I set this to post), and these will change before then because the last time I went to the good beer store I bought 1 IPA and 5 other beers).
- Heffenista (Hefeweizens, 4/5)
- Trappist Travesty (Trappist Style, 1/5) Update: 2/16/15
Pucker Up (Sour styles: Sour, Wild, Lambic, Gose, Berliner Weisse, Flanders Red, Flanders Oud Bruin, Gueze, or Faro, 3/5)1/22/15Trip to the Farm (Saison/Farmhouse, 2/5)1/11/15- Fruits of Your Labor (Fruit Beers, 1/5)
- Down in Smoke (Rauchbier, 0/5)
- I’ll be Bock* (Bock styles, 1/5)
Brewnettes Have More Fun* (Brown Ales, 4/5)1/29/15- The Wine of Beers (Barleywines, 2/5)
- Keep Your Wits About You (Witbier, 1/5)
- Hey Honey (Mead, 0/5)
(*) = The Untappd count is incorrect here – I have check-ins prior to the badge start date, so they are not counted. Not that it matters that much, I’ll drink a few more or re-drink some of them.
3. Visit Many Breweries in the Cincinnati Region
This is a hard one because breweries keep opening up, but there is value in going to the source. For starters, some of the breweries just aren’t at the local growler house when I am OR the beers they bottle are styles I don’t care for AND they have better beers on tap. Sometimes also they have experimental beers on tap. Usually draft tastes better, too (at least to me).
So in thinking about this blog post, I’ve made it out to Listermann, 50 West, and Old Firehouse, and I’ve been to Moerlein and Moerlein Lager House a few times. I intend to make it to MadTree before or just after this posts.
I’m going to limit the rest to Rhinegeist, Great Crescent, Rock Bottom (I’ve been there before, but that was as a Bud Light drinker), Mt. Carmel, Blank Slate, Paradise (my LHBS, so one of my next trips will involve tasting AND buying ingredients), Ei8ht Ball, and Braxton (I did buy a growler and some stickers through KickStarter, seems I should make it out there!).
There’s a lot more in the region (like Bad Tom Smith, Cellar Dweller, Rivertown, Quarter Barrel, Hofbrau Haus), but the reality is that it is that it is hard to have time to get to them and sample enough beers to make it worth going (and not anger my wife or drag the kids along!). More are opening this year (Tap & Screw, Fibonacci, DogBerry… and those are the ones we know about!), so that’s why I won’t say ‘all’. I’m fortunate this year that I have a chance where I will be “in the area” of a brewery for another reason and intend on taking care of blogness after taking care of business 🙂
4. Brew One Style that isn’t IPA, Pale Ale, Amber, Porter, or Stout
I have so far brewed a Pale Ale, an IPA, an Amber, and a Stout. I feel like I want to brew a saison or a barleywine or something like that. Or maybe a lambic. Or a gose for the summer. I don’t know, but something that isn’t ‘normal’ or a derivative (like a spiced amber ale that can be classified as a winter ale).
5. Make Headway into Kegging
I don’t like bottling beers. There, I said it. Like many other homebrewers. Kegging isn’t inexpensive to get into, but it is inexpensive to maintain (like brewing – it is fairly inexpensive to brew, but not inexpensive to buy the necessary equipment). I have a small CO2 tank, but no regulator and no kegs. And no fridge or keezer. And the CO2 tank may be too small to do more than one keg. There are dependencies all around, but I do want to be more than 1/4 of the major components into kegging by the end of the year. Depending on how much I want to look at Craigslist (etc) will dictate when I actually begin… and how quick I can make a better setup will dictate how quick I start buying more kegging equipment.
—
So there you have it! Another goal post from another random beer blogger. Got any thoughts? Leave ’em in the comments!
Cheers!
Beast of a Brew Day
I decided to brew an amber ale last weekend. Brew day started a little late because of family stuff, and it went later because of brewing stuff.
First off, I have water issues. Not dirty issues, chlorine issues. Because of that, my brewing water comes from my refrigerator as de-chlorinated cold water at around 40 degrees. I also had to do a few things related to my boiling bucket, because I really don’t like the idea of lifting 5-6 gallons (40-50 pounds) of hot water and trying to control it. And siphoning? FORGET ABOUT IT. I found that my auto-siphon bends in boiling water. So I added a valve.
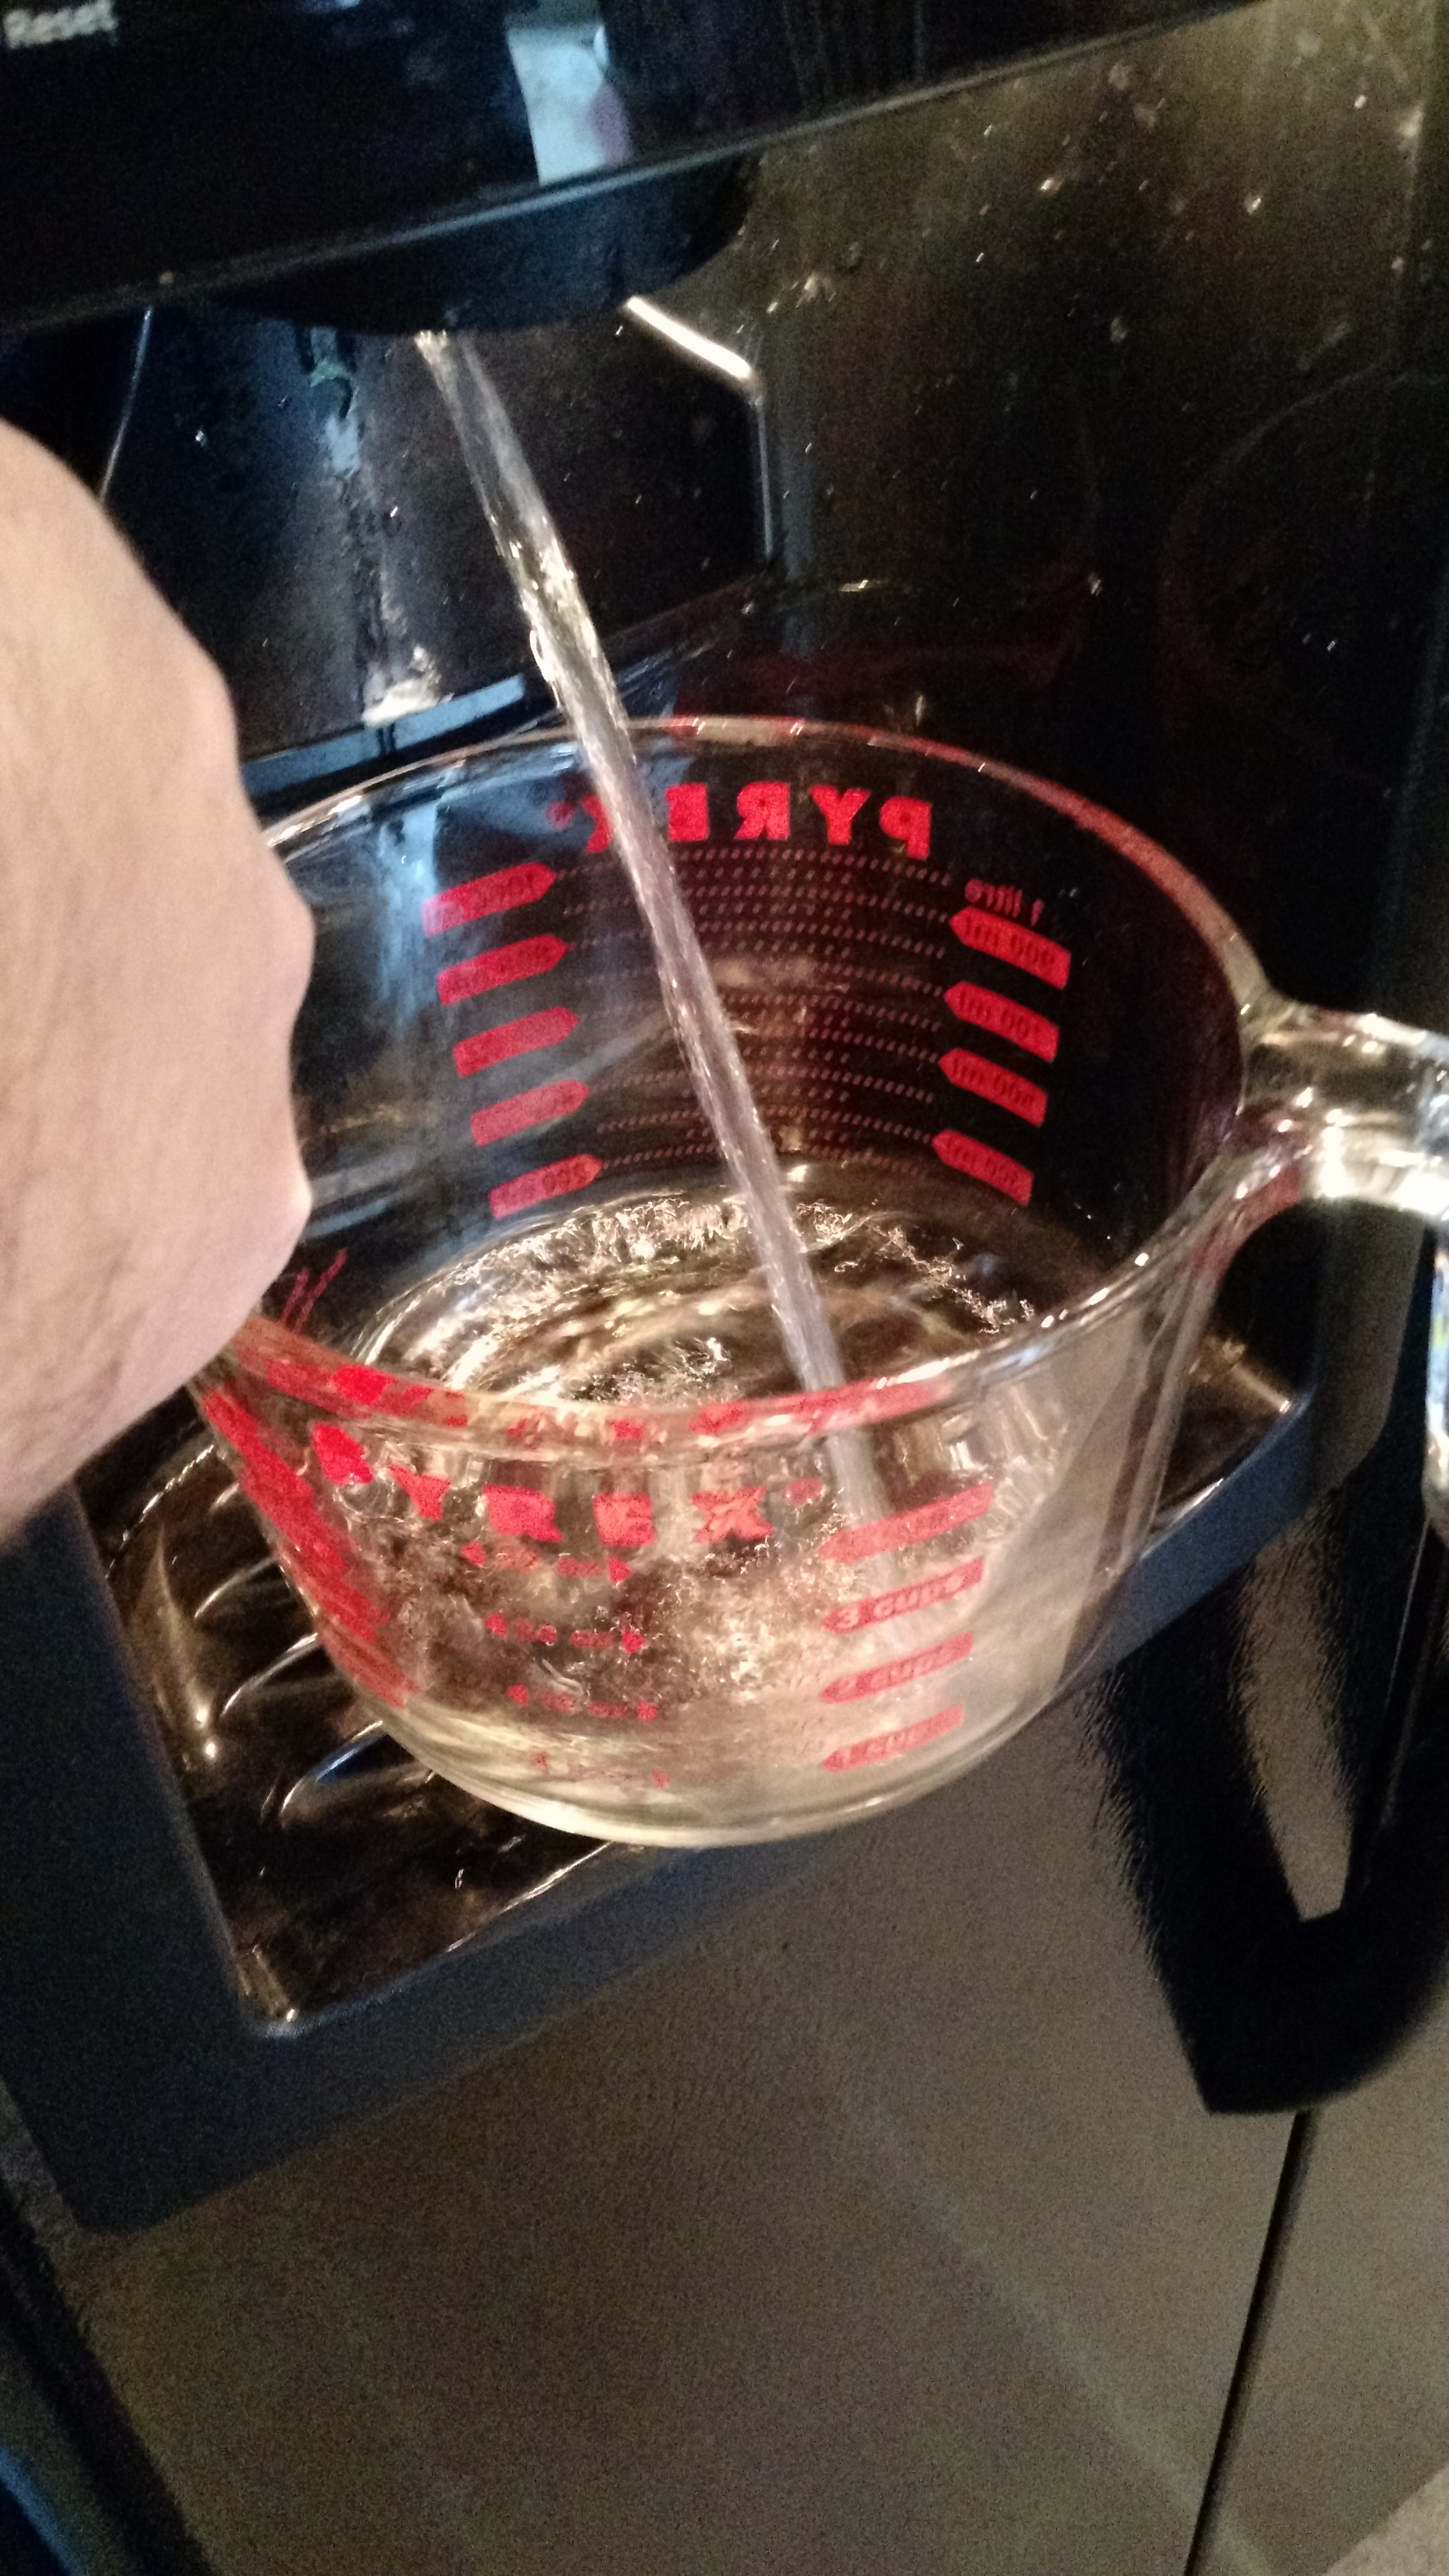
Yes, this is how I get water to brew. It sucks, but the water is chlorine free.
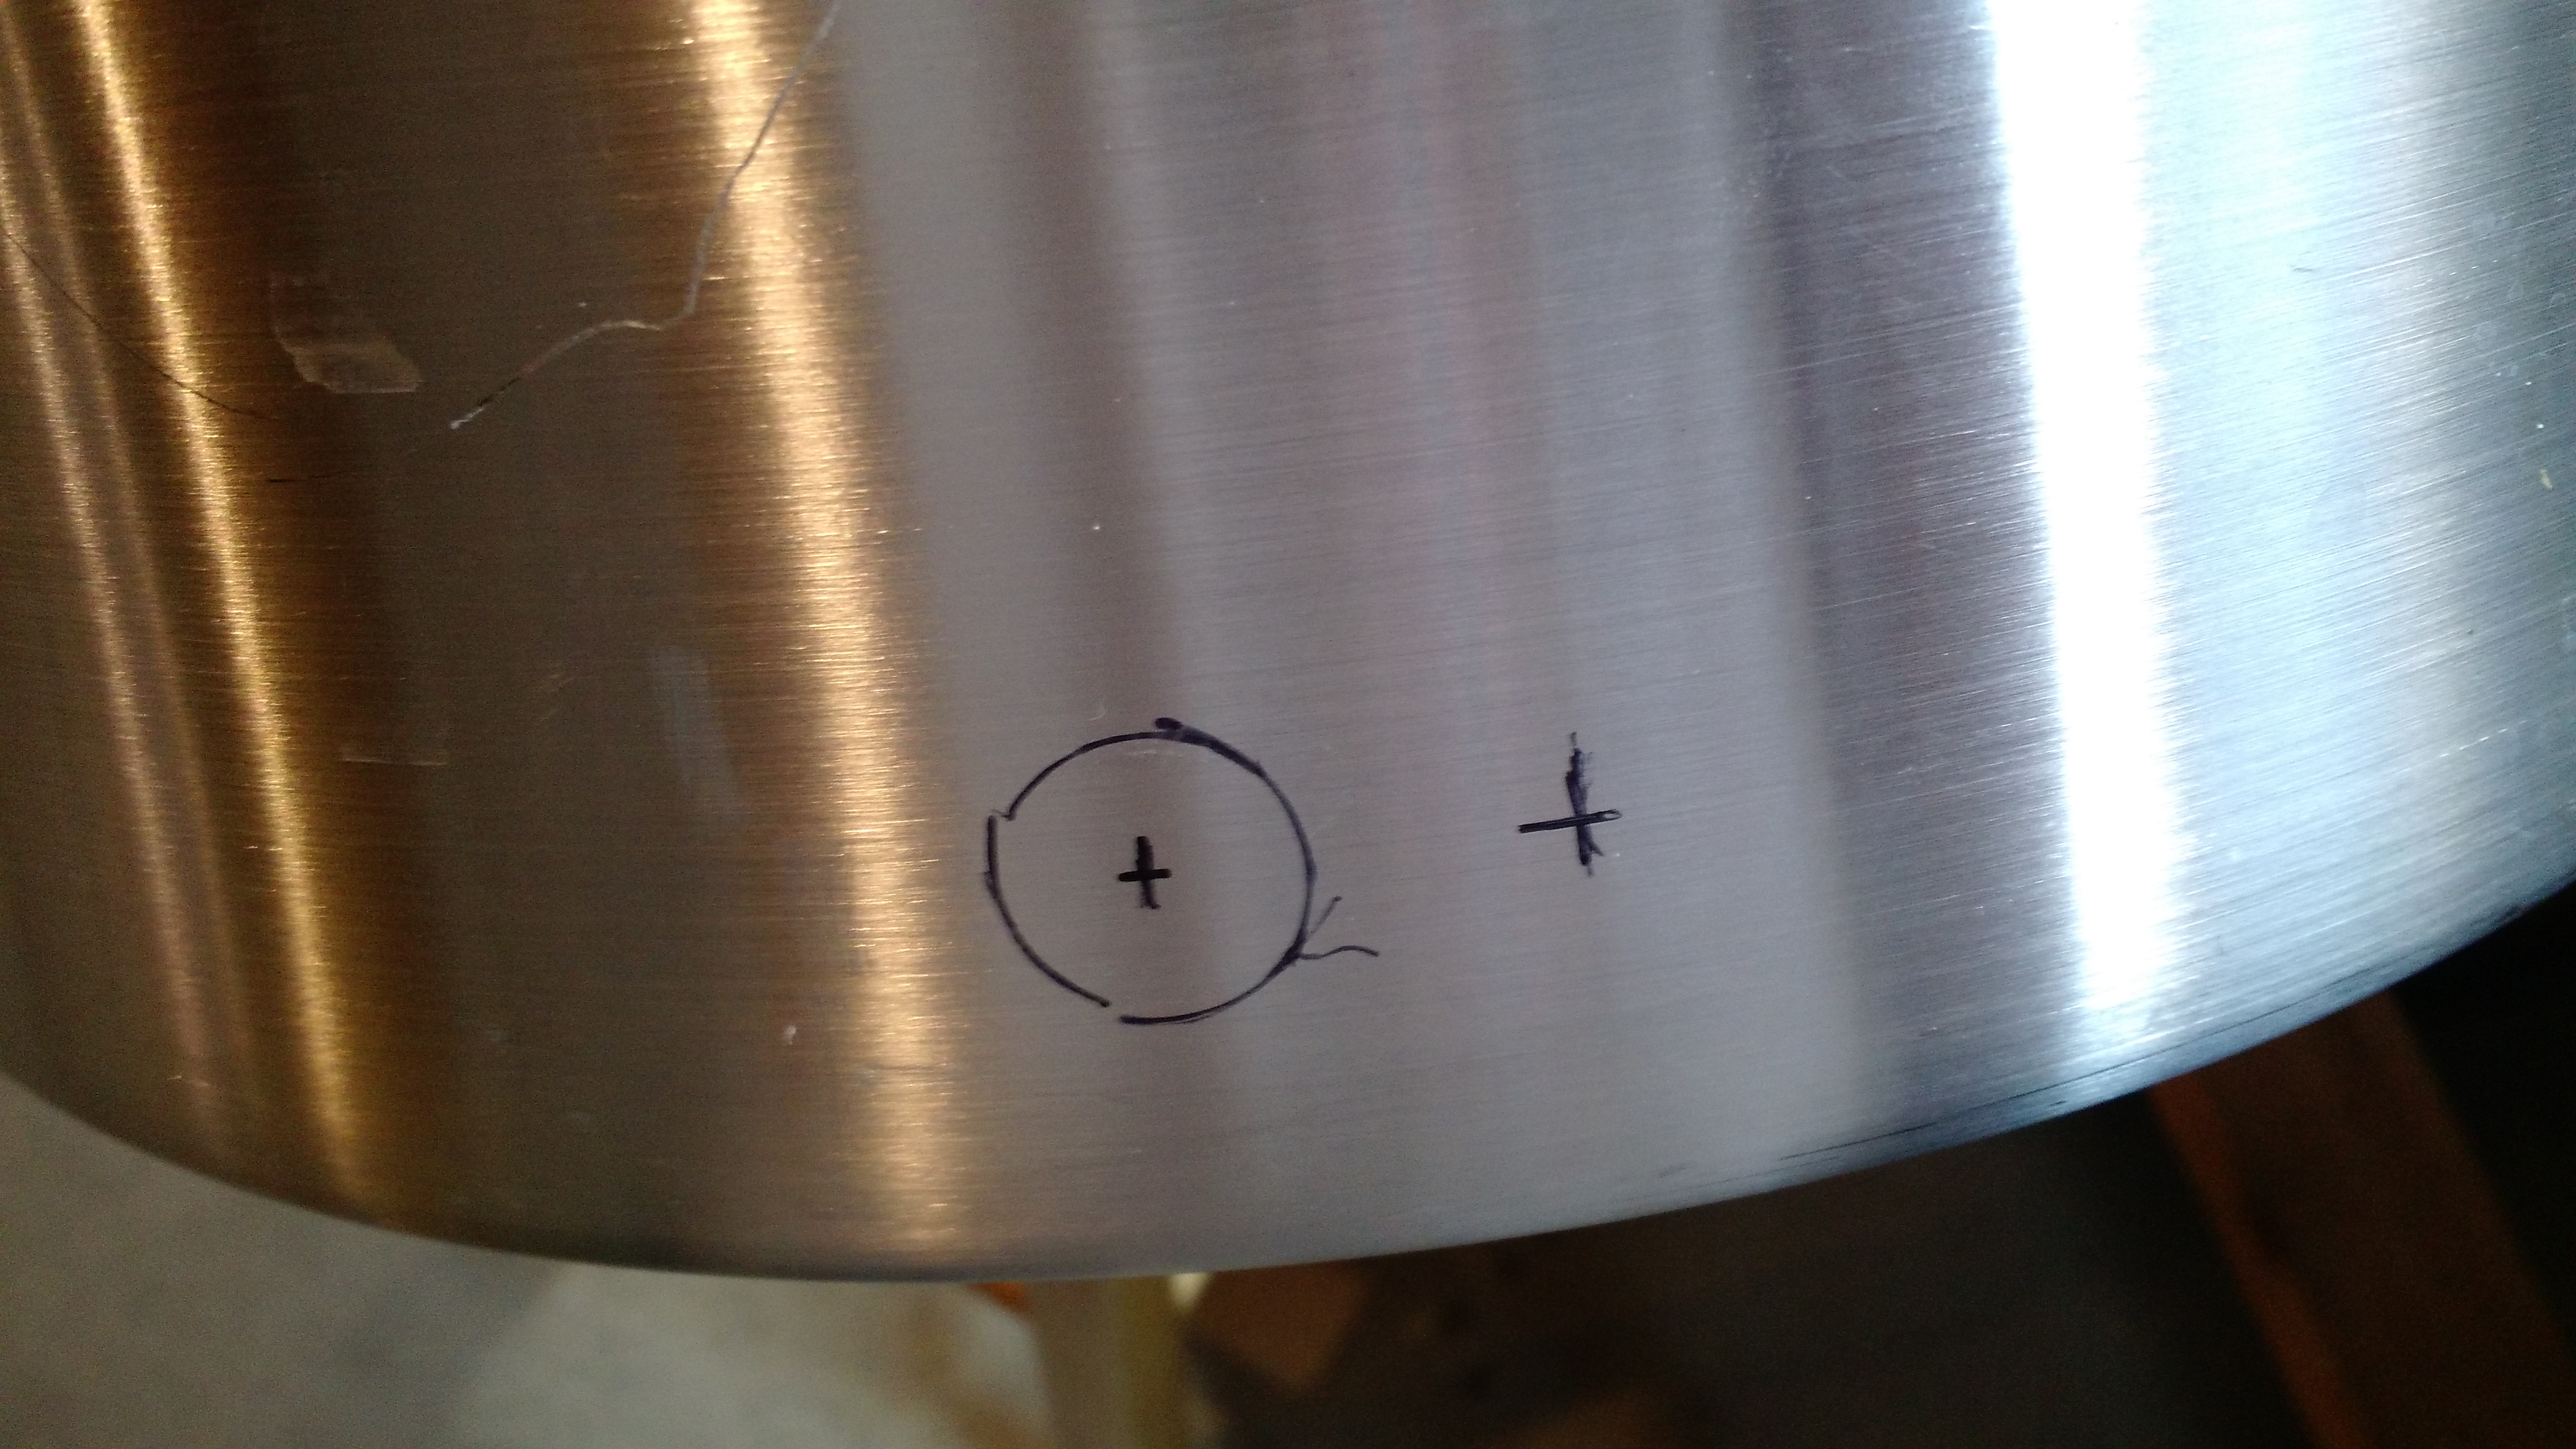
Locate twice, drill once. I nearly put it at the wrong spot, but before drilling I stopped and stood back to look and realized I wanted to go an inch to the right.
I pulled both my strike and sparge water and put them in clean ale pails before leaving for the hardware store for a valve and a cooling solution. The valve is temporary, and it even leaks, so I’m not going to show it. I’m going to order a three-part valve soon.
The Boil
The boil was long. Well, not long to boil, long to bring to a boil. I’m pushing the limit of my stove.
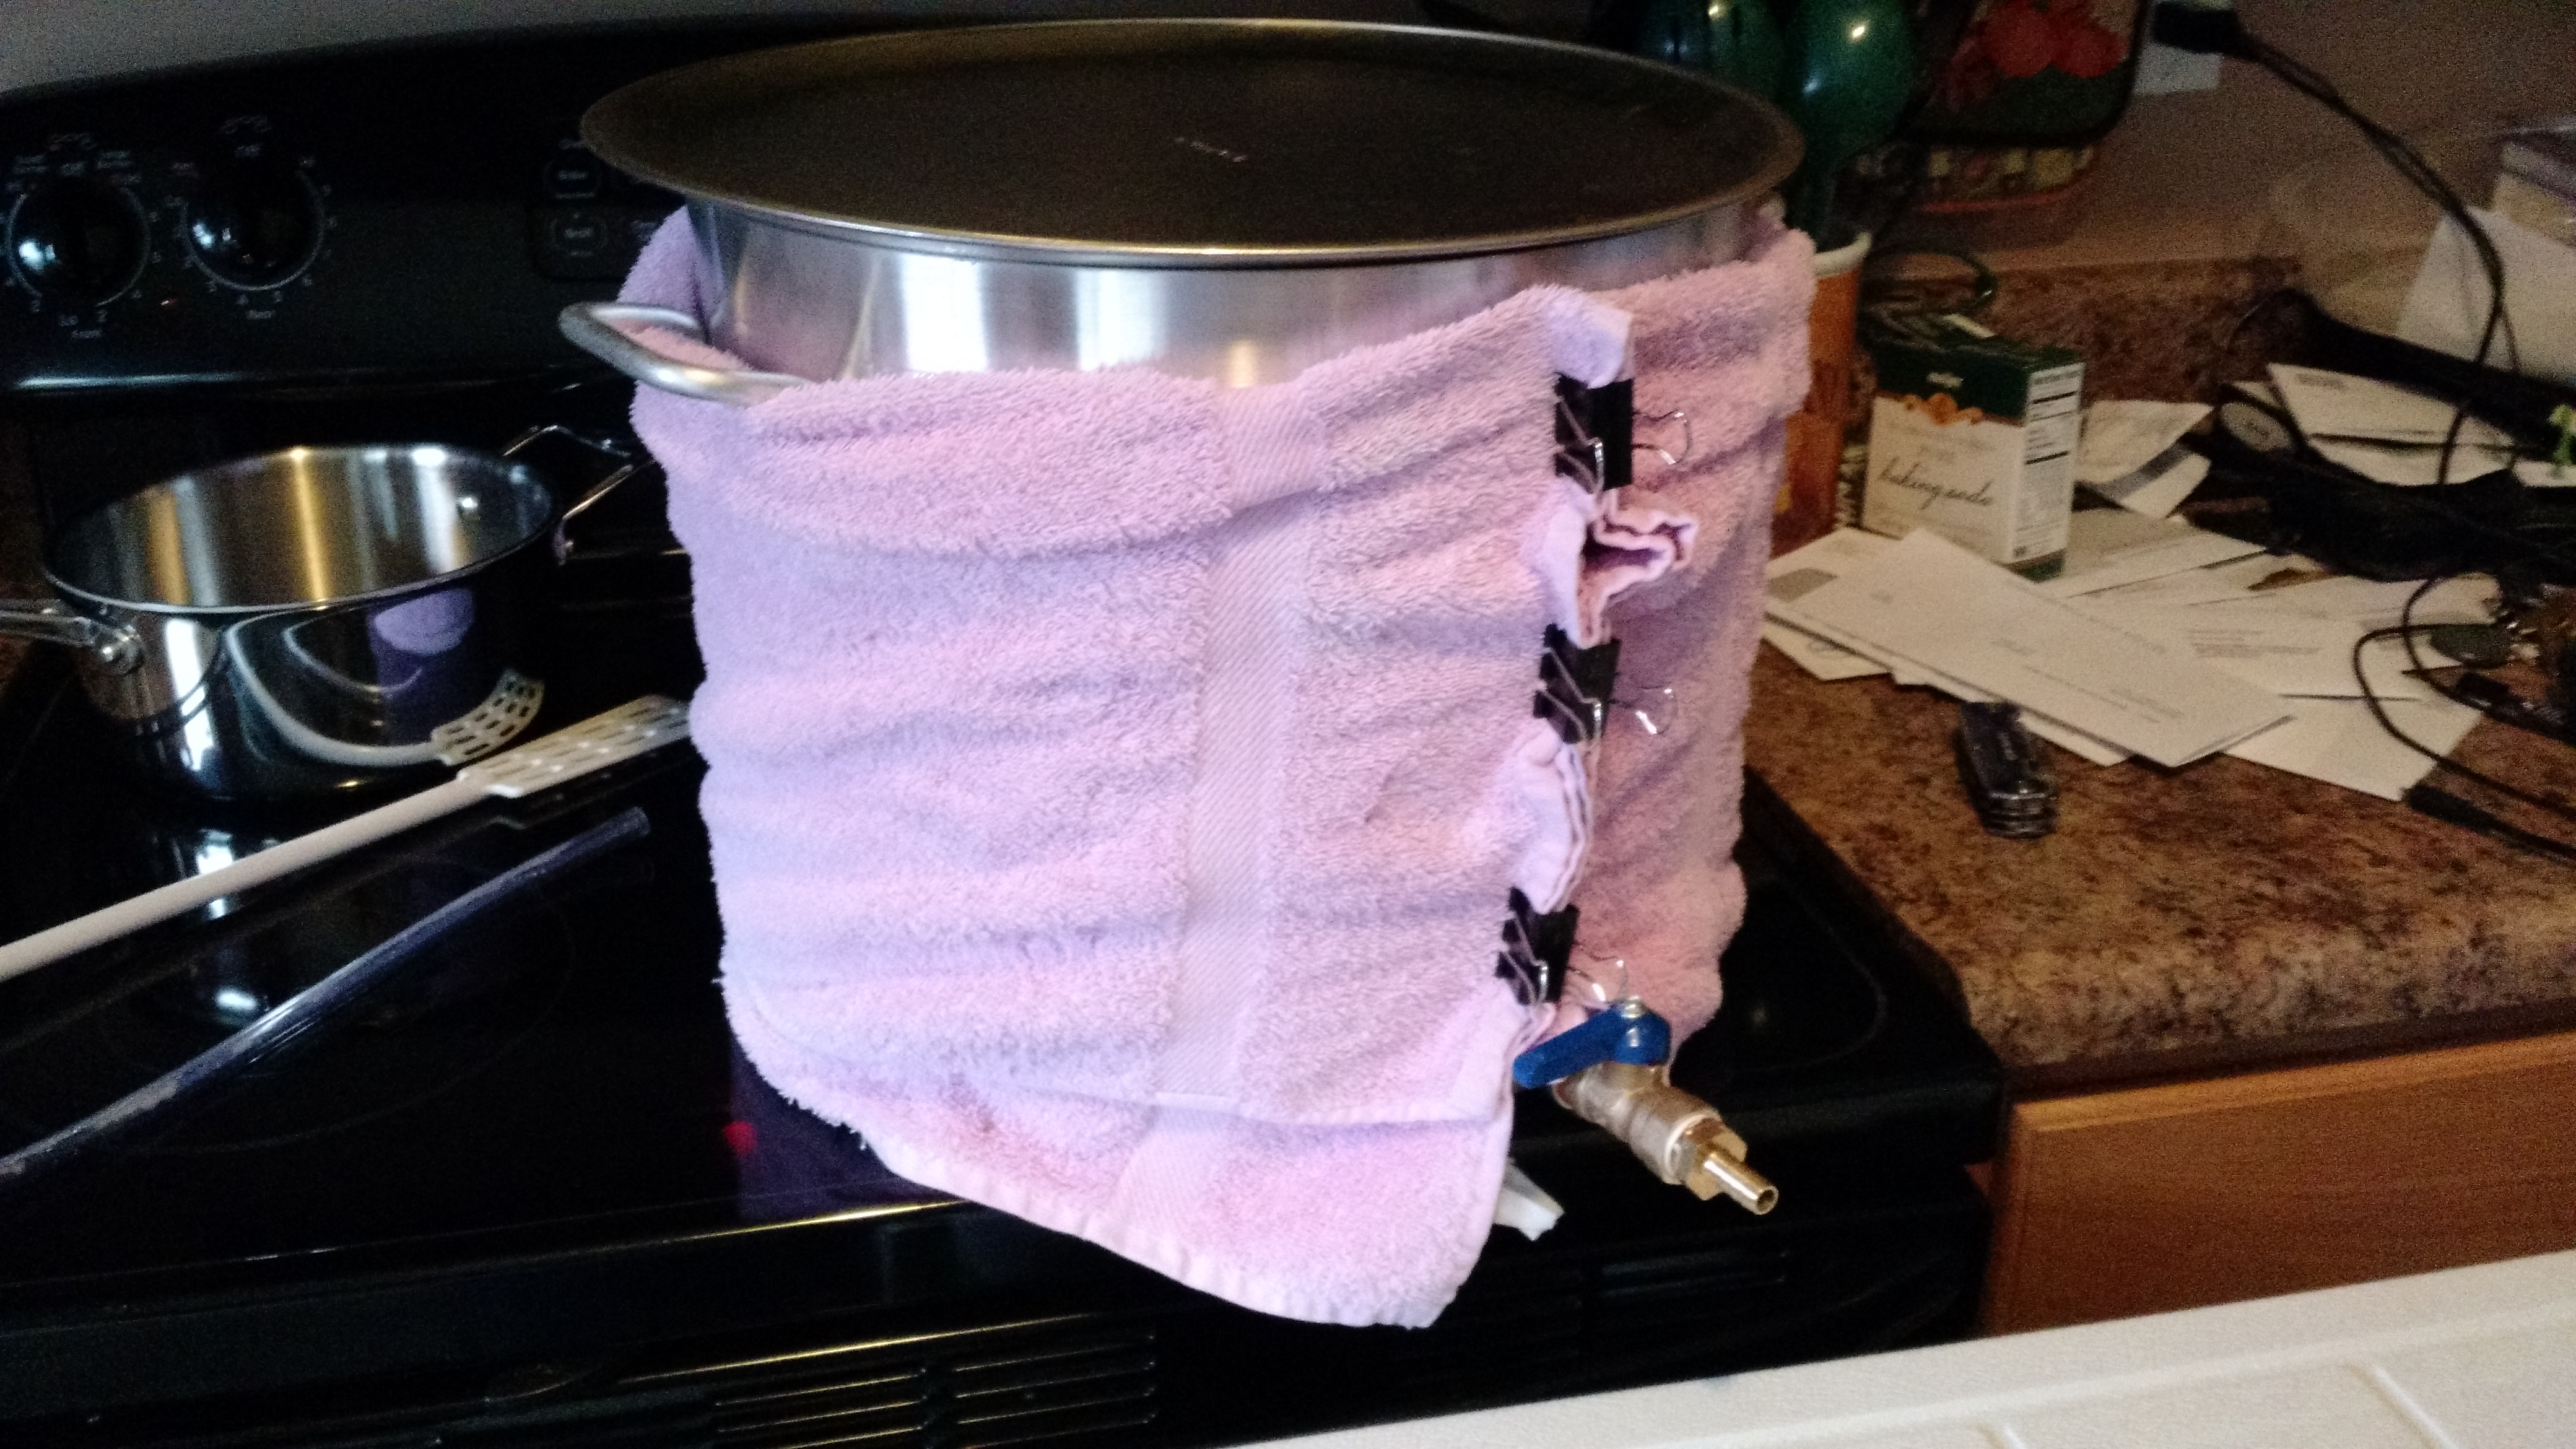
Insulation to try to keep heat in.
I used the recommendation of using a towel or blanket to keep the heat in. This made a little difference, but not enough. And it isn’t a great solution, as in the process of moving stuff around, I ended up with the following picture:

It’s not easy to tell in the pic, but the towel is charred. I nearly started a fire.
After waiting bloody-hell forever for boil to start and giving it the hour to boil, it was time to cool.
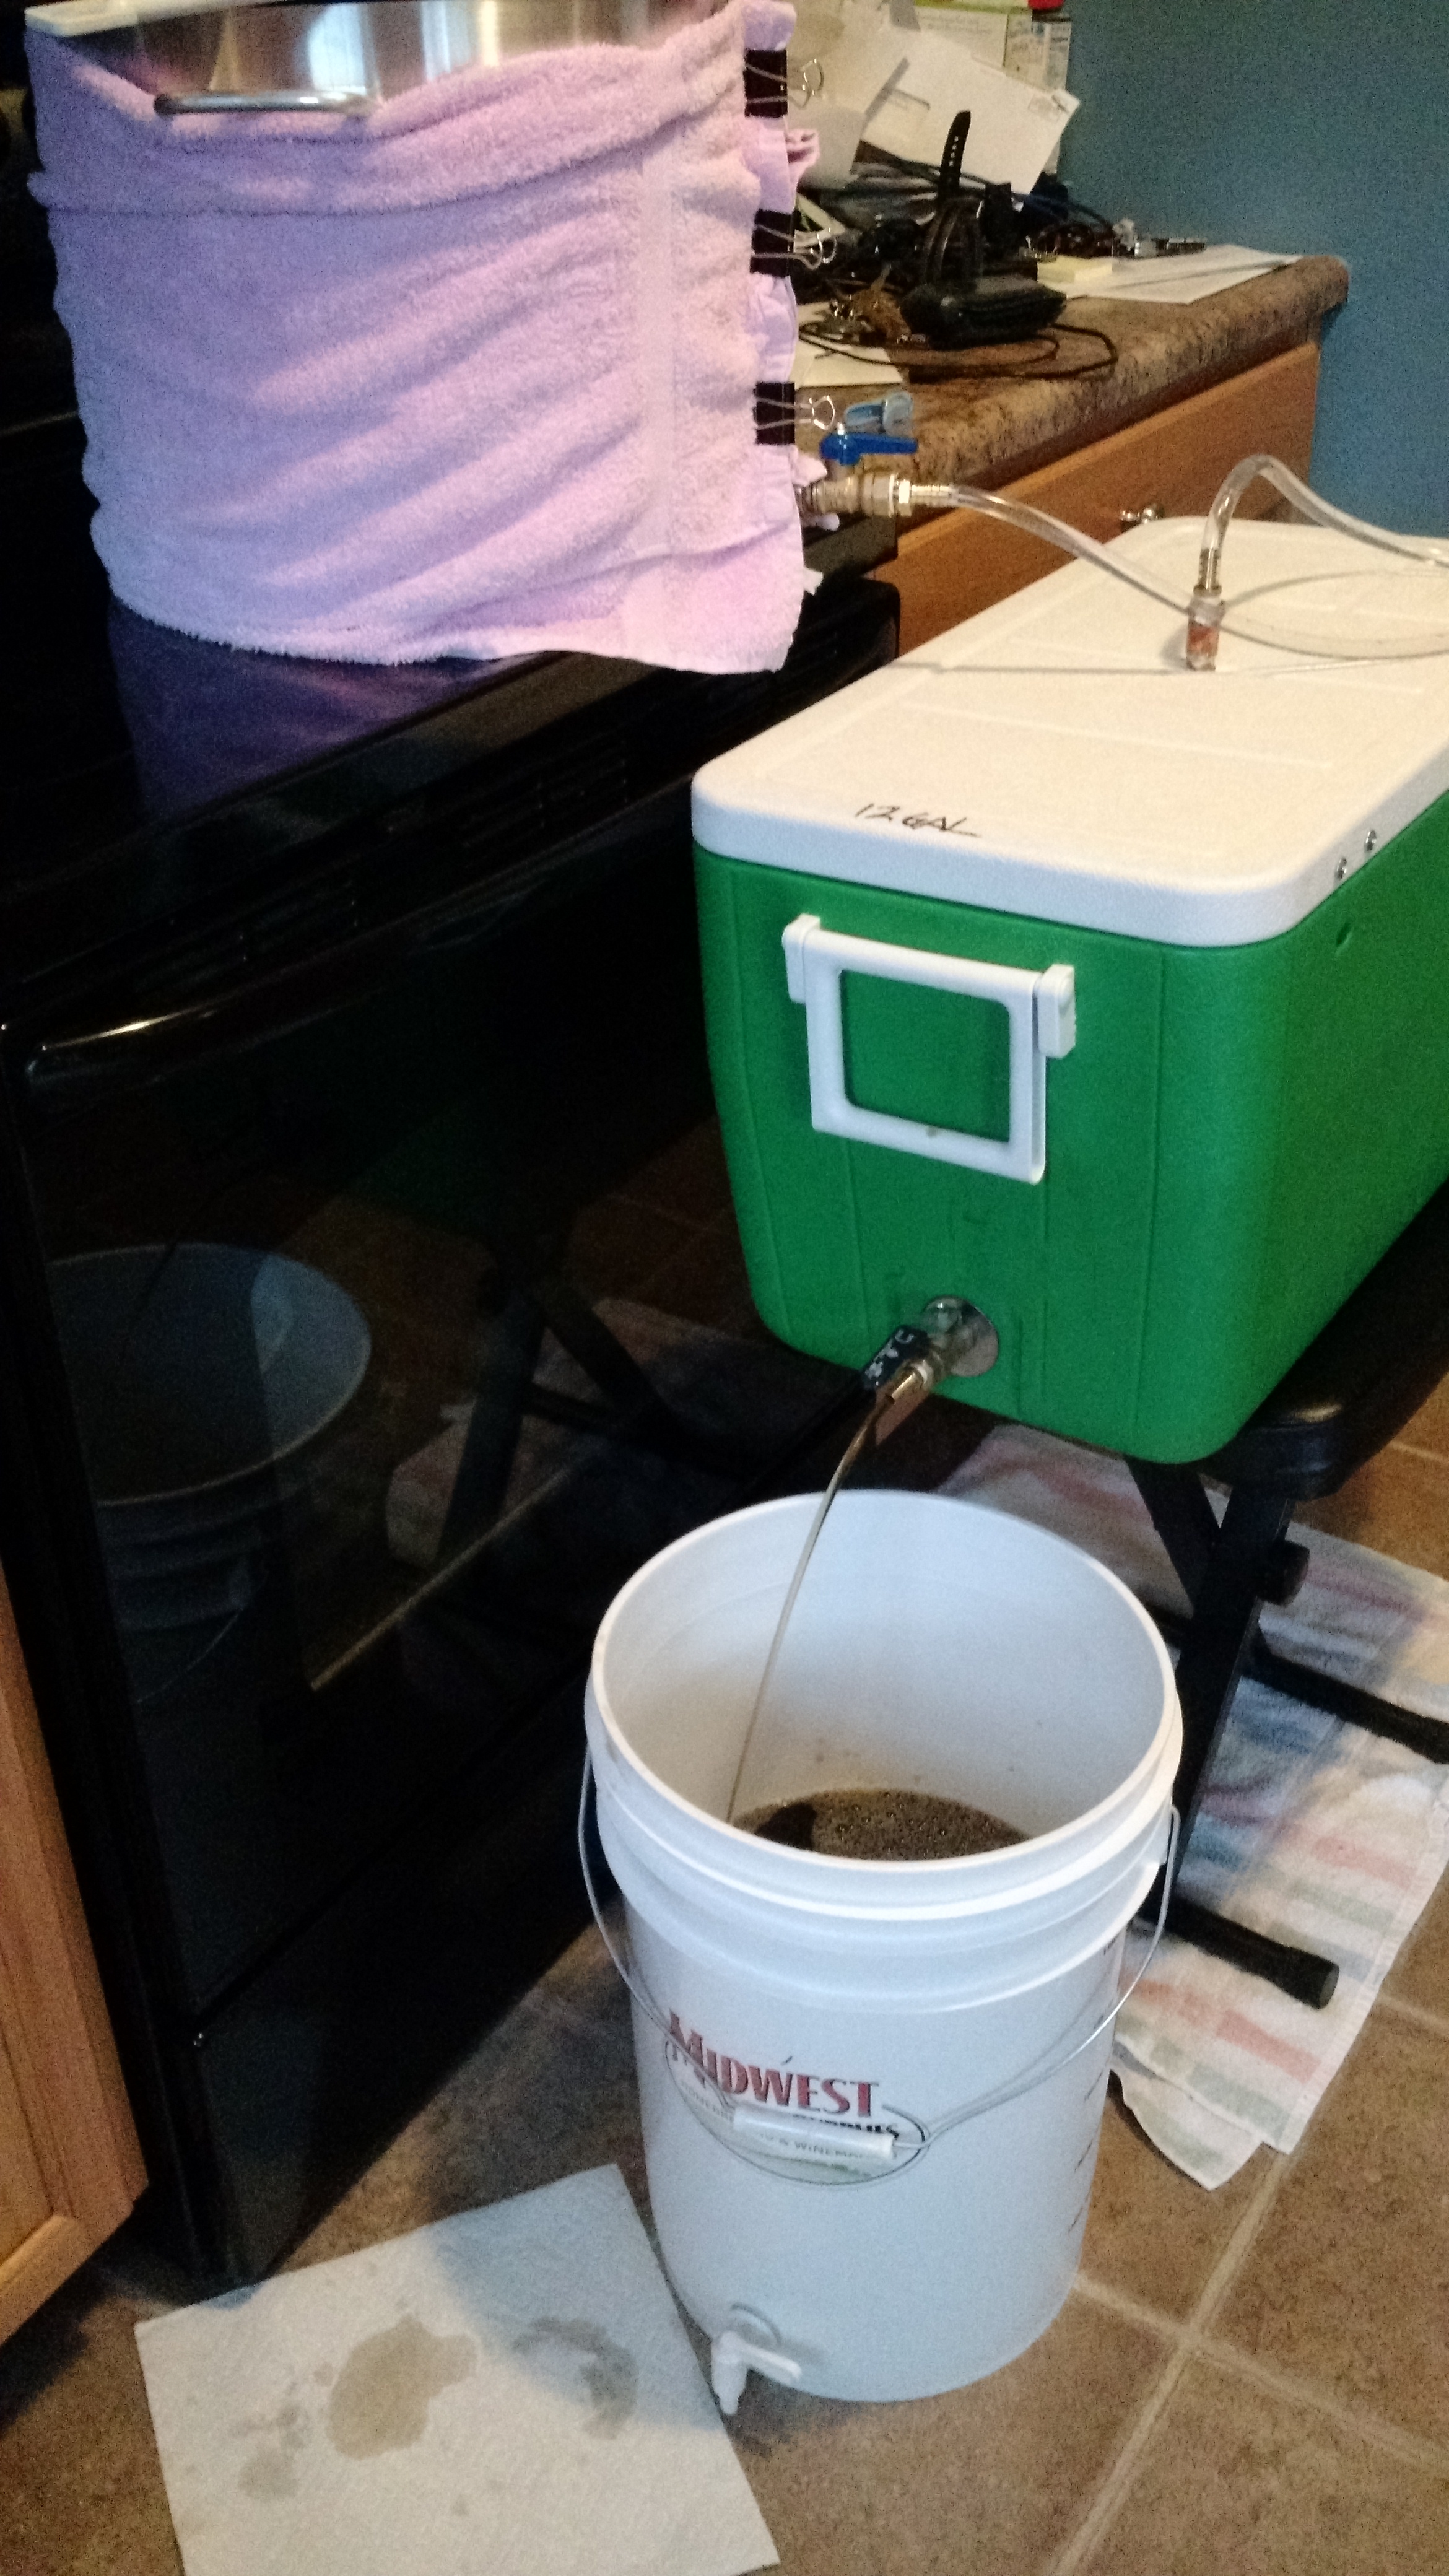
Cooling
The cooling solution sucks. I bought 1/4″ refrigerator line that I thought I’d run the wort through on it’s way to the ale pail. I figured I’d send the wort through two buckets, one with tap-cold water and the other with ice cold water.
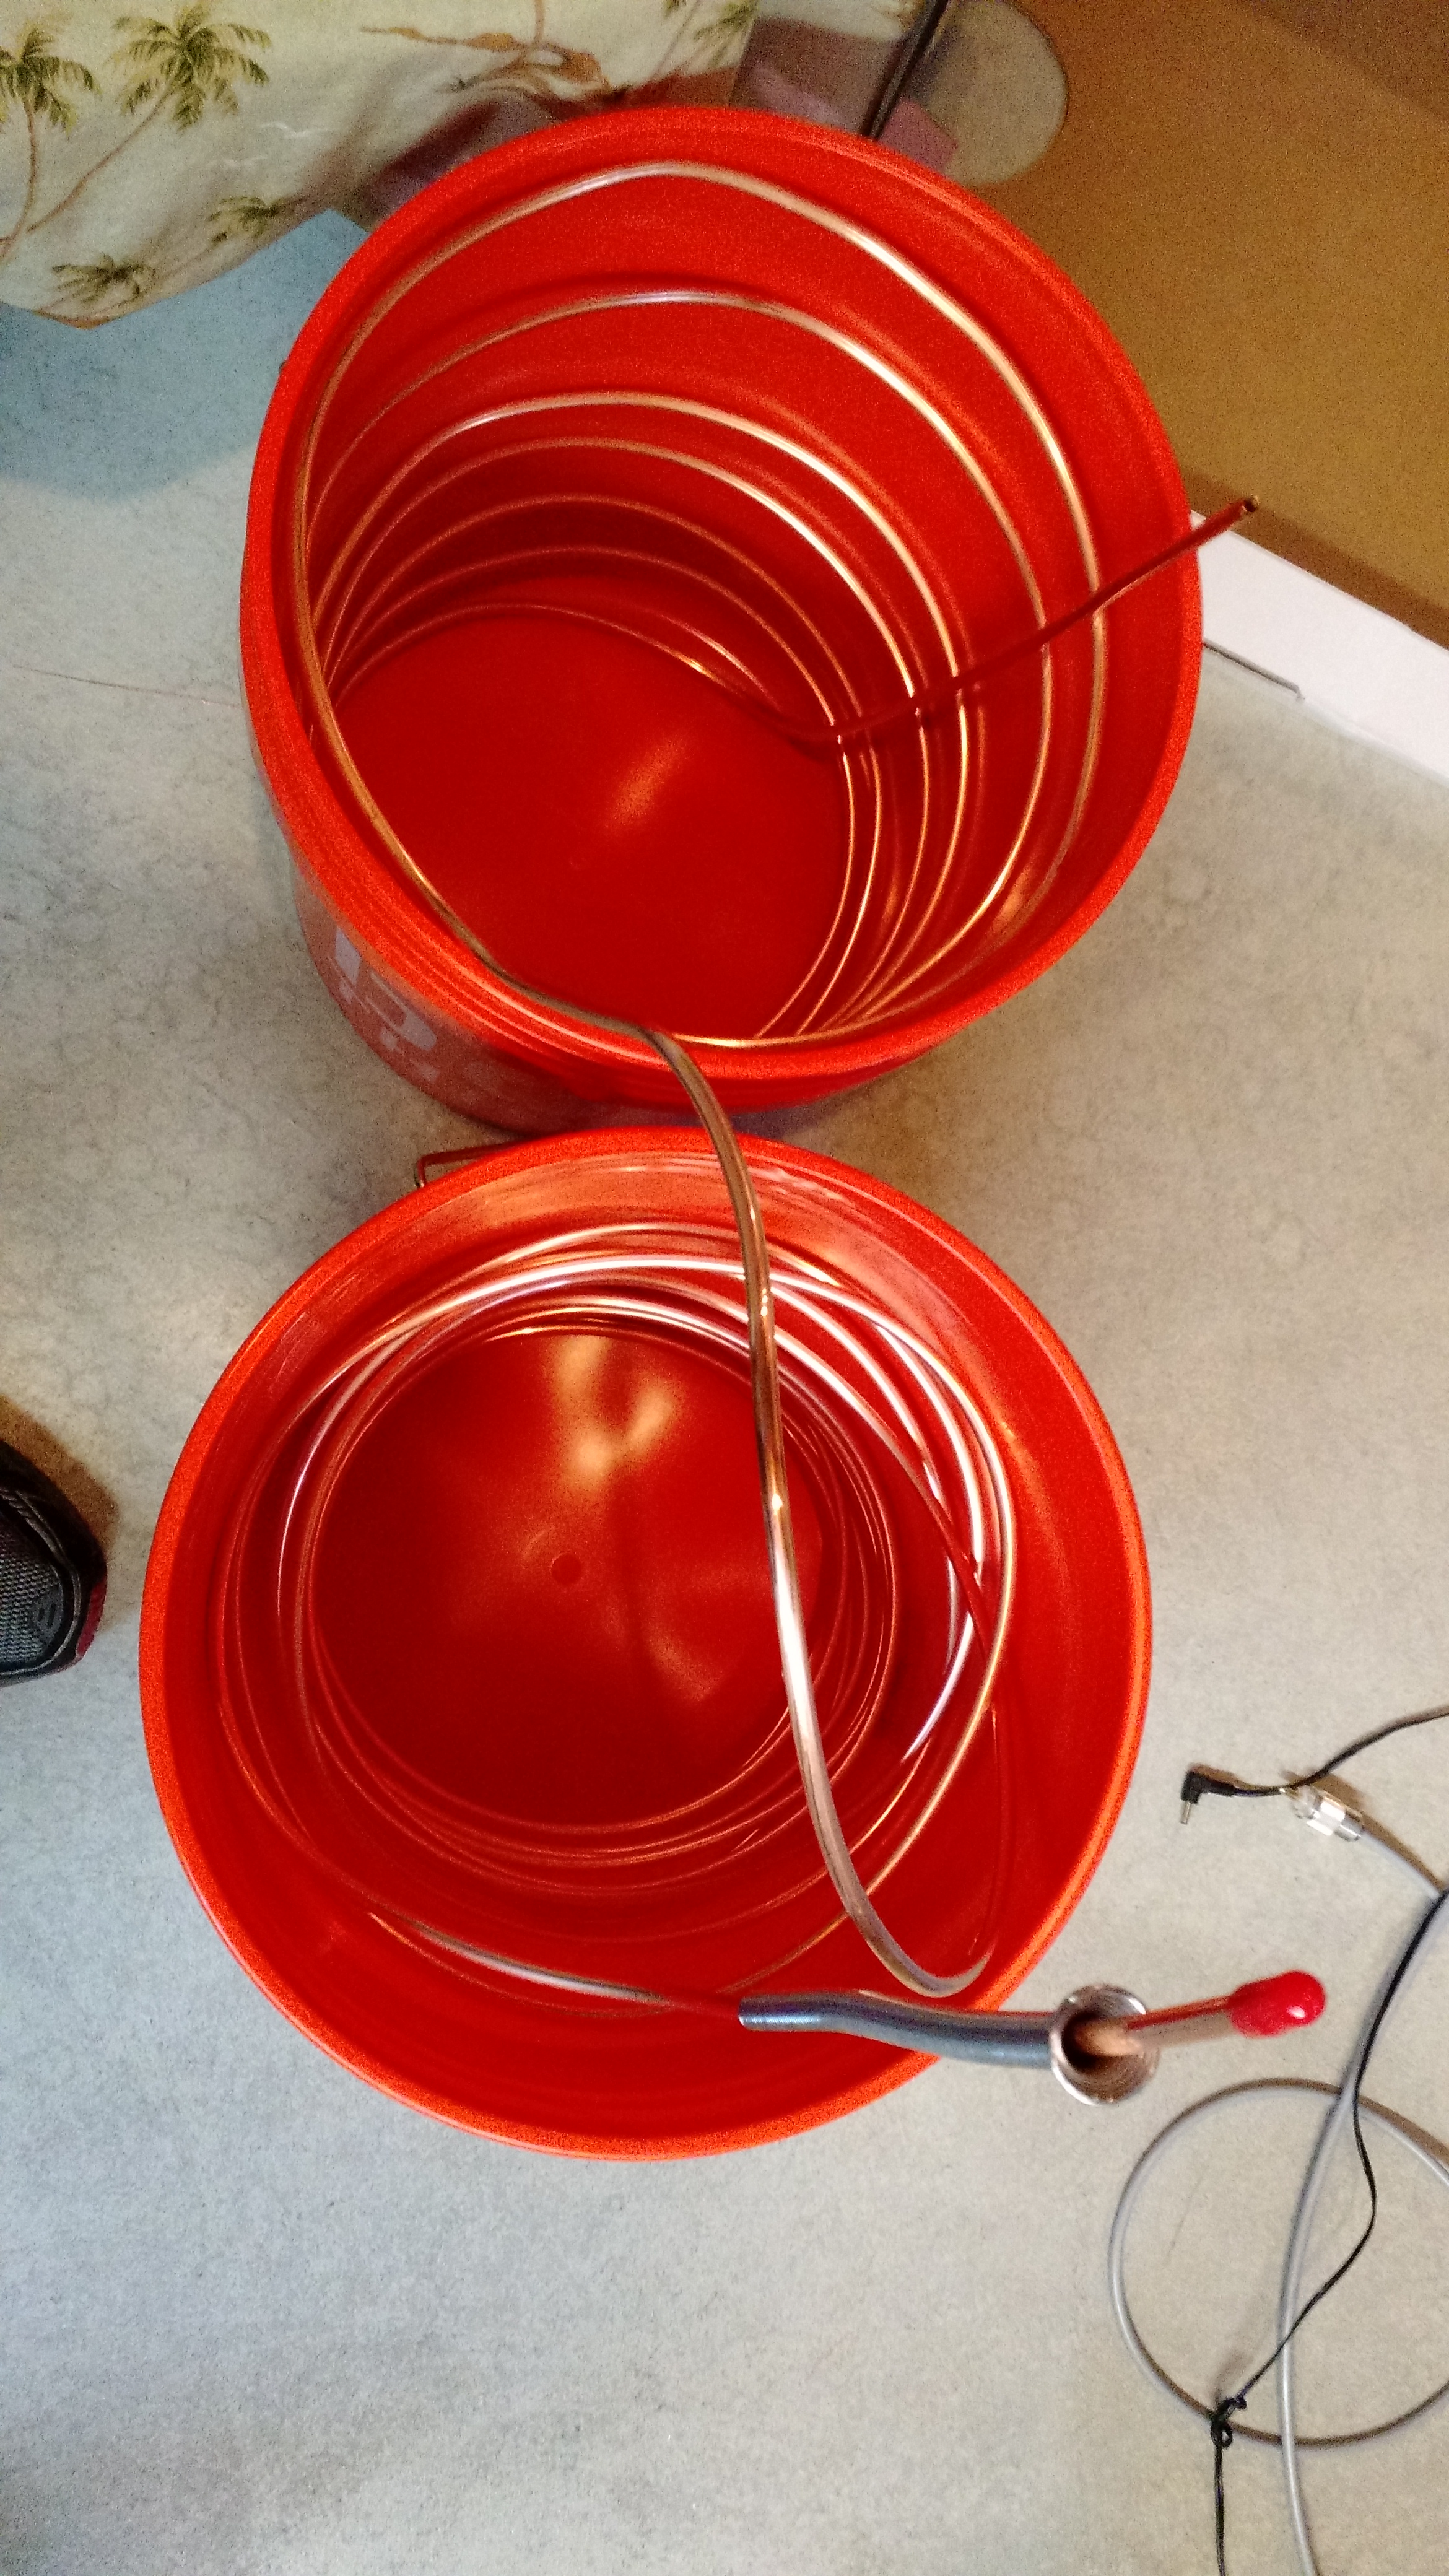
Fifty feet of copper tube.
I ran in to two problems. The first is that sanitizer in 1/4″ copper line can freeze. At least, I think that’s what happened. The other is it takes FOREVER to drain the bucket. It brought the wort down to 50F (20+ degrees below pitch temperature), although initially, some of the wort was as low as 34 degrees. It took a few hours to drain the bucket. This is not a good solution.
RDWHAHB
This was one week ago. Yesterday, prior to dry hopping, I tasted the beer from the fermenter (and tested gravity, although since dry hopping may cause additional fermentation it is an unnecessary measurement). I am VERY pleased with the flavor so far, so I think the ounce of Citra hops I threw in there will make it nearly perfect.
Regrouping
The sparging sprinkler worked well!
I was initially going to do another brew this weekend because January is a busy month for me. I decided that now is not the time, which means I will run out of my Left Coast IPA. That is a tragedy (I really do love IPAs), but I’ll survive, especially with that amber ale coming. I’ve decided that I need to make significant headwind at making Batavia Basement Brewing Company actually be in the basement. This means a heating element, temperature controller, water filter (this is in the works, and wife approved), and some two-phase electrical work.
Prost!
Charlie Is Right. RDWHAHB.
The words of Charlie Papazian in his book, The Complete Joy of Homebrewing (if you don’t own it, click that link and buy it, help support my site!) ring out on nearly every beer forum anywhere. It’s hard to follow the advice sometimes, but that doesn’t change that the advice is good.
My last brew is one that was… interesting. It was my first all-grain brew, and it was big. I also messed up a few places, I forgot to add the lactose until into the boil. I didn’t get the yield I wanted (and didn’t sparge to get it, even though I should have). My OG was high.
Fermentation was interesting, too. I split the batches, which resulted in about 2.25 gal (8.5 l) of wort once boil was over. I used Wyeast 1968, with a starter, which may have gone according to plan. I fermented one in a carboy and one in a bucket. The carboy bubbled and bubbled. In fact, I let it ferment an extra week because of how bubbly it was! Even with the FG settled at 1.034 (readings taken over a week apart, not just 3 days), it was still bubbling like it was fermenting. The bucket didn’t start bubbling at all. At one point I thought maybe it needed to be aerated and I shook (sort of) the bucket. It bubbled then (and only then) and so much so it pushed all the sanitizer out of the airlock. It’s FG settled to nearly the same as the carboy.
I will admit, I was worrying. The samples were a little thick and too sweet. I don’t care much for sweet beers. Two nights before bottling, I added a shot of vanilla tincture to one. The night before bottling, I added around 8oz of cold coffee to the other. I bottled them on the day before Thanksgiving, not without a minor issue.
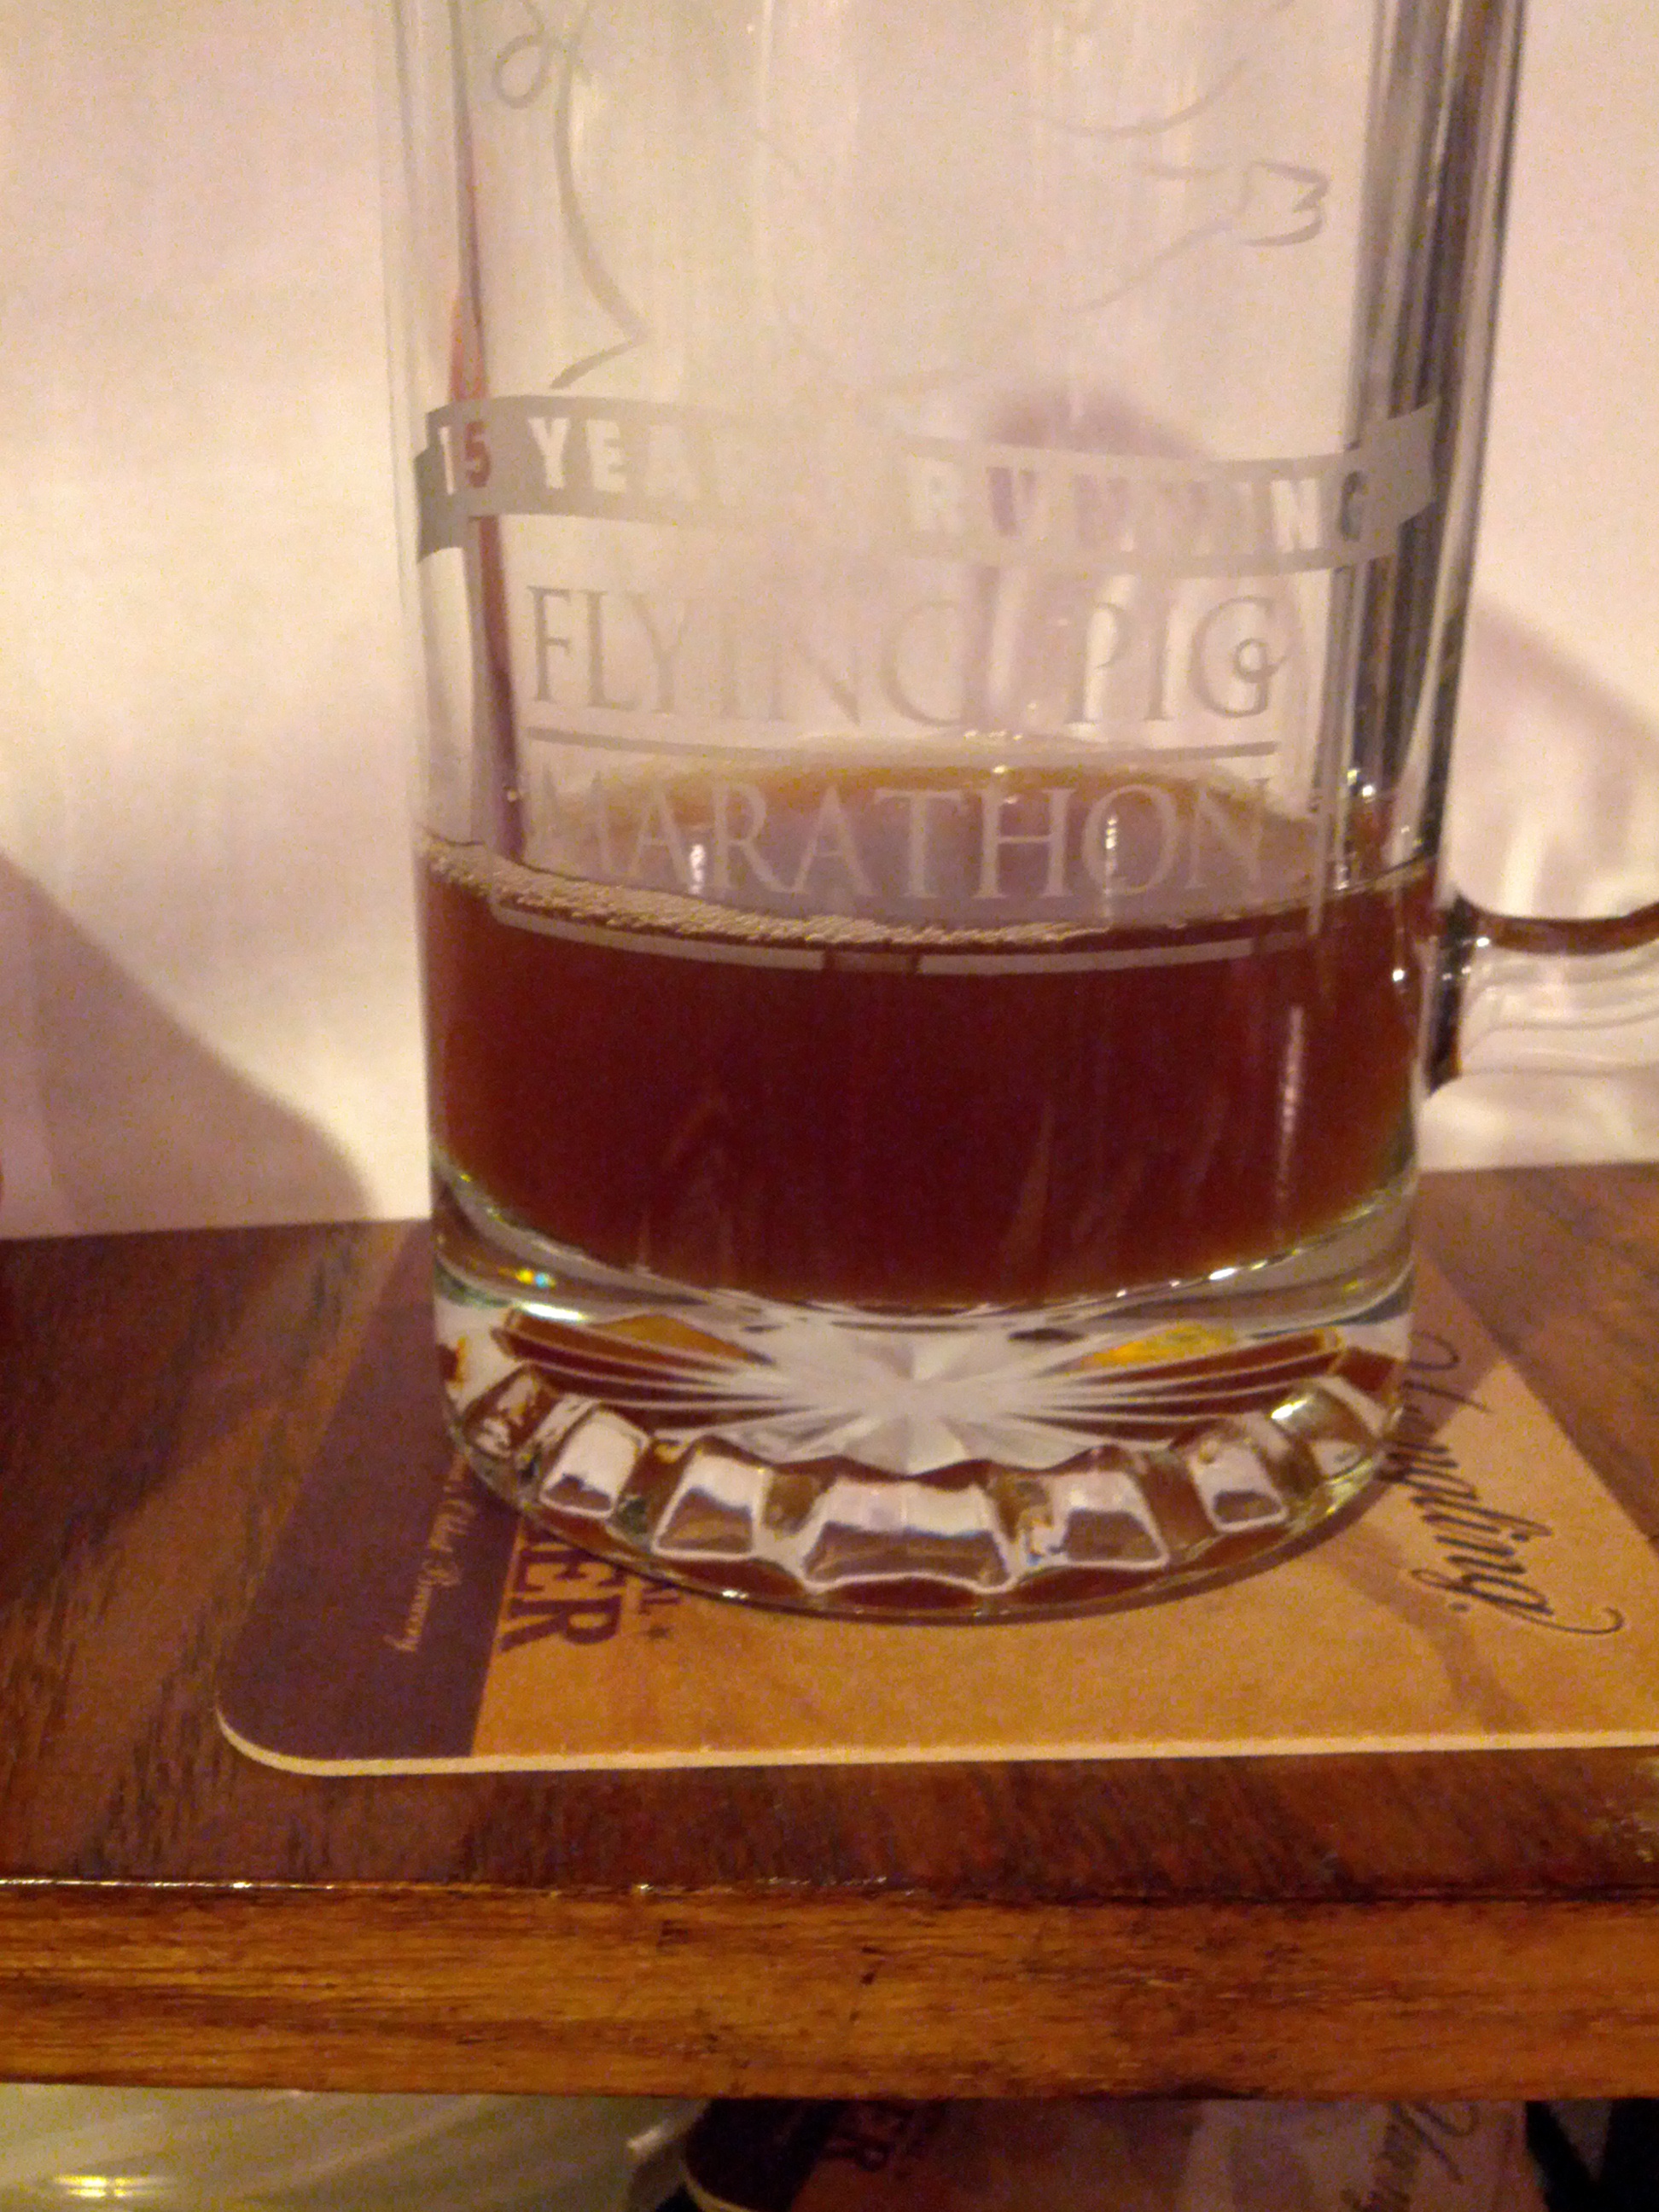
“Check the spigot, dummy!”
I try- but never succeed- in giving beers a full two weeks of bottle conditioning. I put one of each batch in the fridge 10 days after bottling, and cracked one open as a nightcap after one of my kids’ birthday party. It was the vanilla, affectionately known as E=1/2mvStout (yes, I’m an engineer). I was still concerned that it would be thick, sweet, and not good.
I was wrong!
It was good. The vanilla was not as strong as I wanted (but perhaps I could have that as a play on the ‘1/2’ in the kinetic energy formula). The head is not what I wanted, but it’s a starting point, and a damn good one.
So the next evening I tried the coffee one, E=MCStout. I was concerned all along that the coffee flavor could overpower this one, as I have had coffee stout beers that were just too powerful with the coffee. At this point, though, I knew it was at least a 3.5 star beer, so I was less apprehensive about trying it.
It was better. Better than the vanilla stout.
The moral of the story: Mr. Papazian is right. Relax, don’t worry. Have a homebrew.
Prost!

Relax. Don’t Worry. Have a Homebrew.
First Homebrew Bottled!
It’s been two weeks (at the time I’m typing this) since I brewed the very first batch. I’ve learned a ton since brewing, and a ton since trying to do things like check gravity. On that last thought, I bought a wine thief to make checking gravity easy, but even after getting acclimated to using it.
September 19, 2014: Checked gravity, got 1.014. Tasted beer. Initial flavor very citrusy (specifically orange), followed by a bitter slam.
September 21, 2014: Checked gravity, got 1.012. Tasted beer. Citrus flavor more subdued, and bitter slam gone.
September 22, 3014: Checked gravity, got 1.010.
September 23, 2014: Checked gravity, got 1.010. Ready for bottling!
I don’t know if bottoming out the wine thief on the bottom of the ale pail made any difference, but the flavor change after ~36 hours was pretty substantial. I had a ton of stuff to do on September 21, so the gravity change was well timed.
Evidence of fermentation!
The color is about right for a pale ale.
In other news, I was given birthday money (kinda weird feeling to still get birthday money when you’re 36), but I decided to spend it on a handful of homebrew things – a cooler to be used as a mash tun, a spare airlock, another lid (since I’m using my bottling bucket for sanitizer for now and want a lid on it to keep dust out), and some tube. Through reading one of the forums or Reddit or something, I saw someone post that they use a spray bottle of sanitizer with things like checking gravity (when removing the lid). I decided that I should do the same.
In addition to buying more stuff, I cleaned up an area in my basement that will ultimately be used for brewing. I do want to get an electric boiling kettle that I can use down there as opposed to using my stove. I also want to build an exhaust hood that would cover that area so when I’m boiling I can exhaust the steam as opposed to letting it go through the house – this is especially important in my basement as there is no air return duct in the basement, only a supply duct.
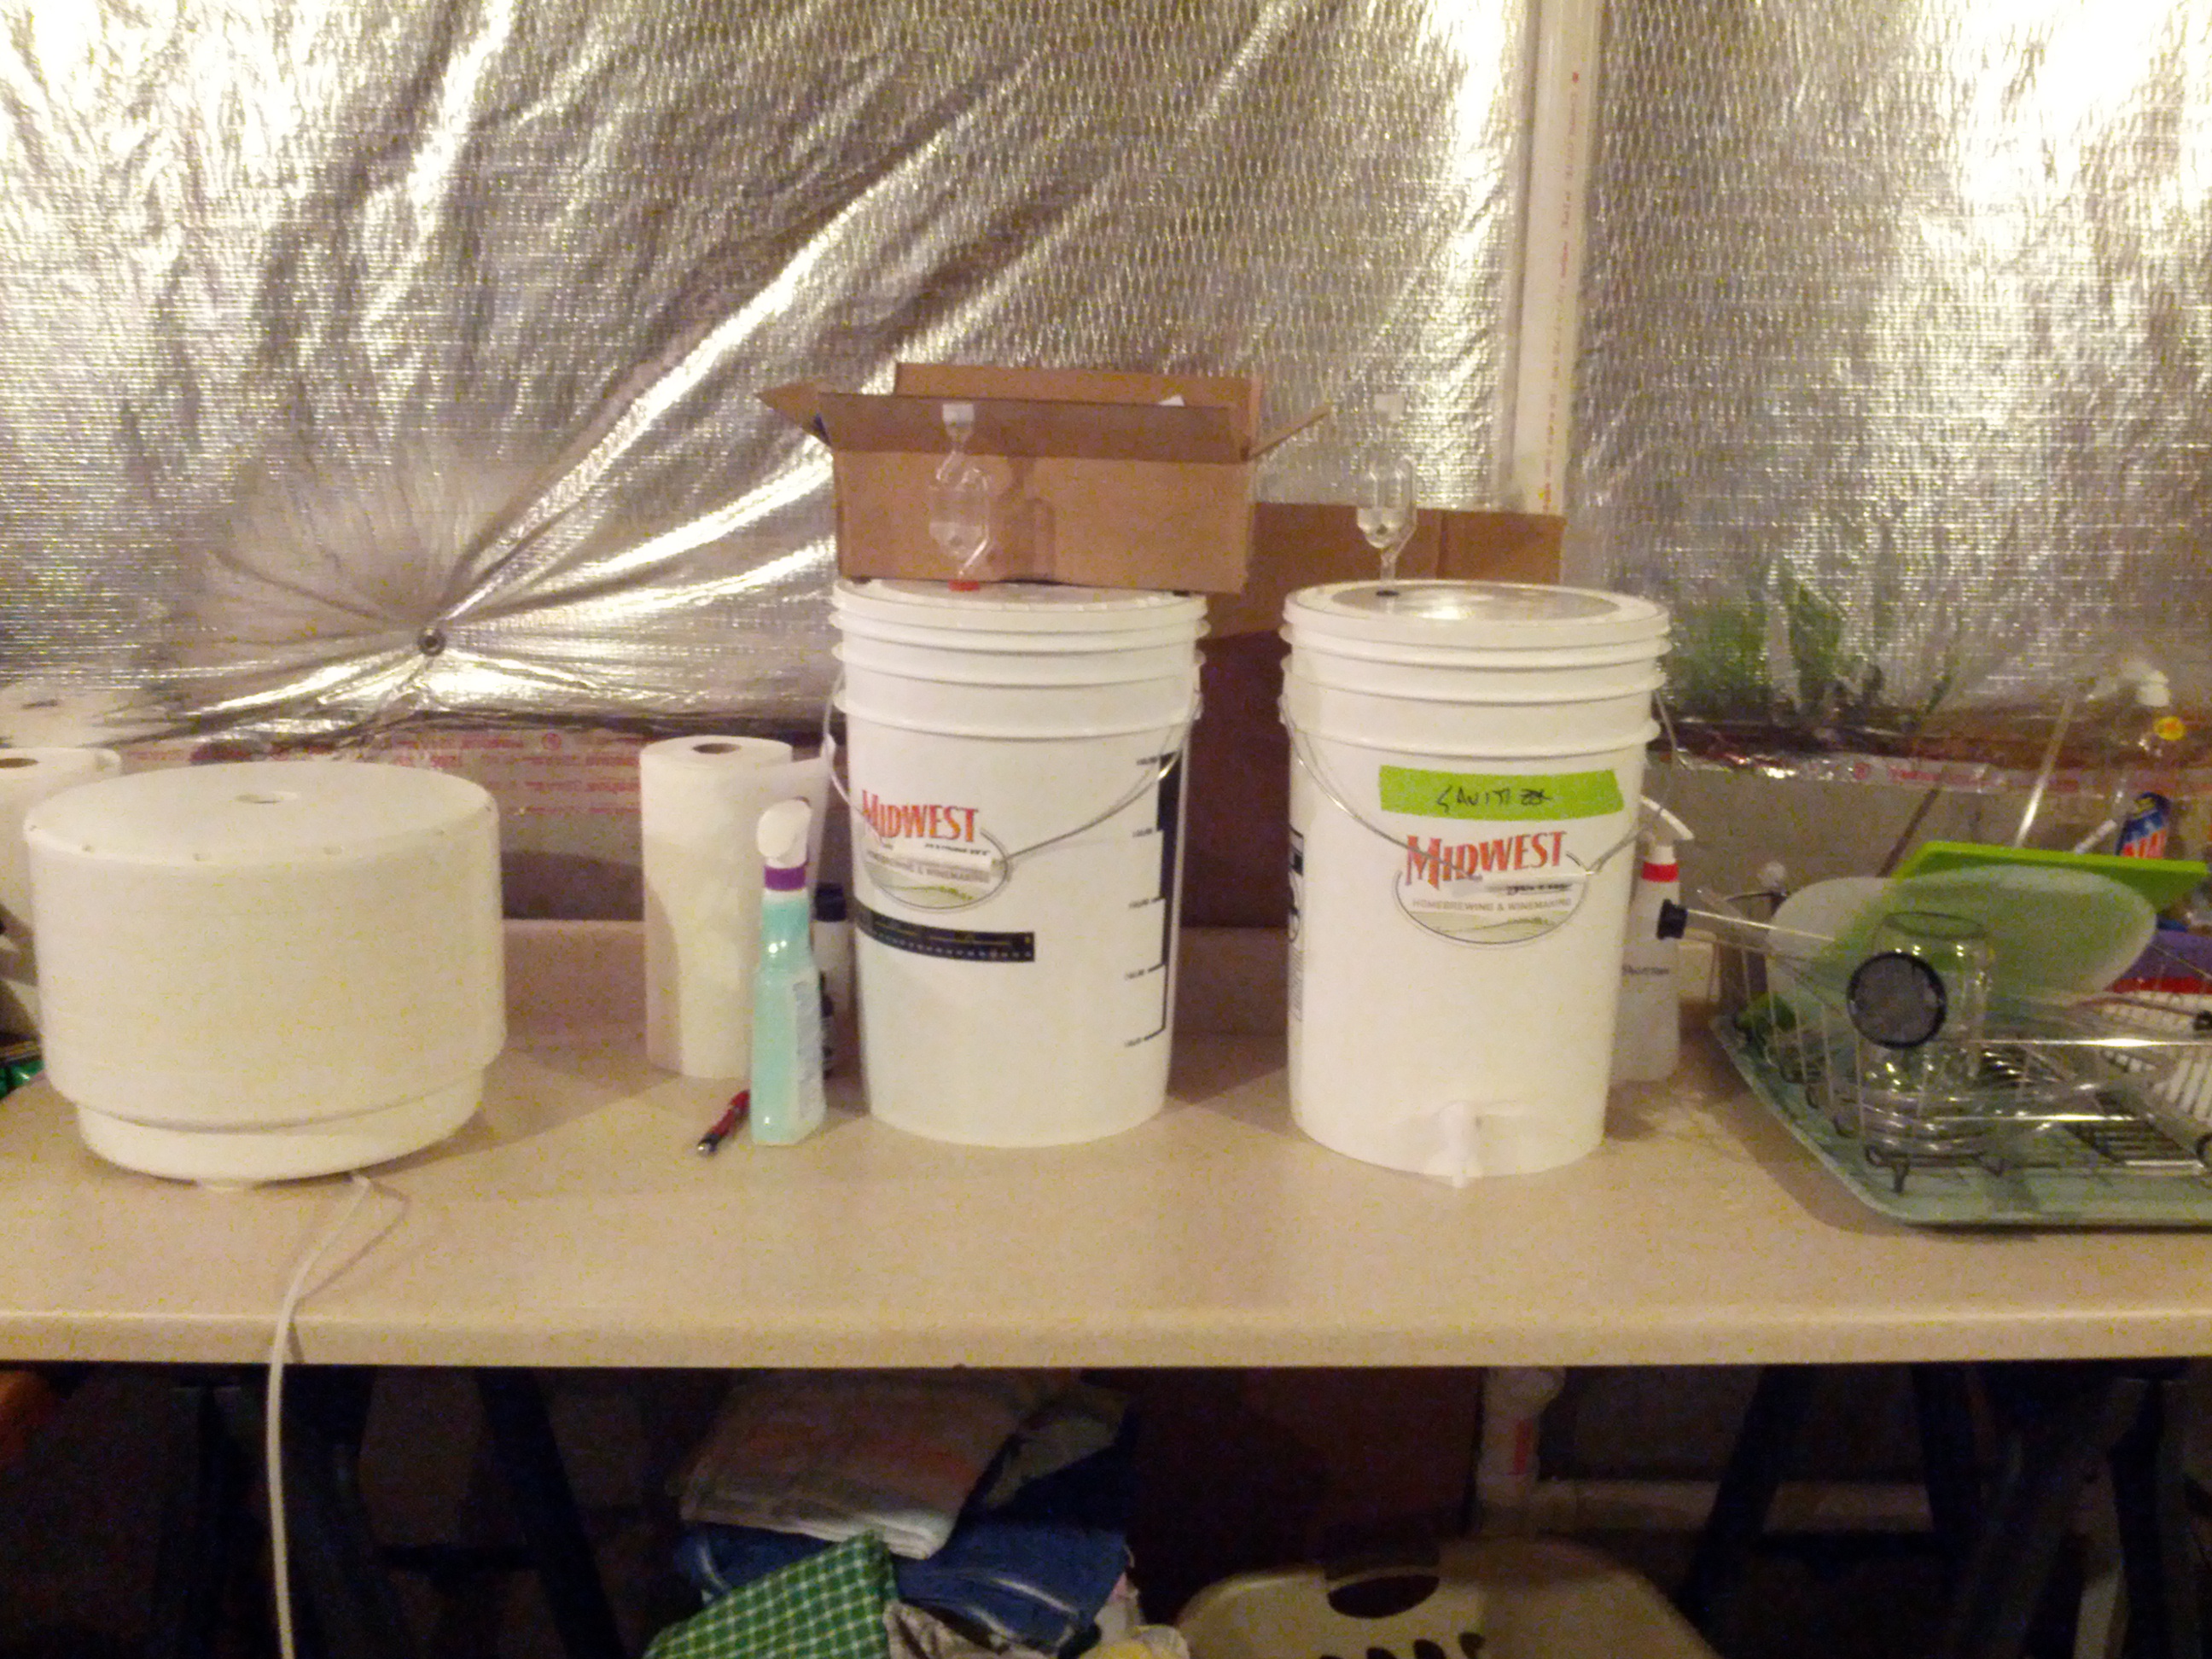
The food dehydrator is dehydrating hot peppers, which is why there is an airlock on the bucket marked ‘sanitizer’.
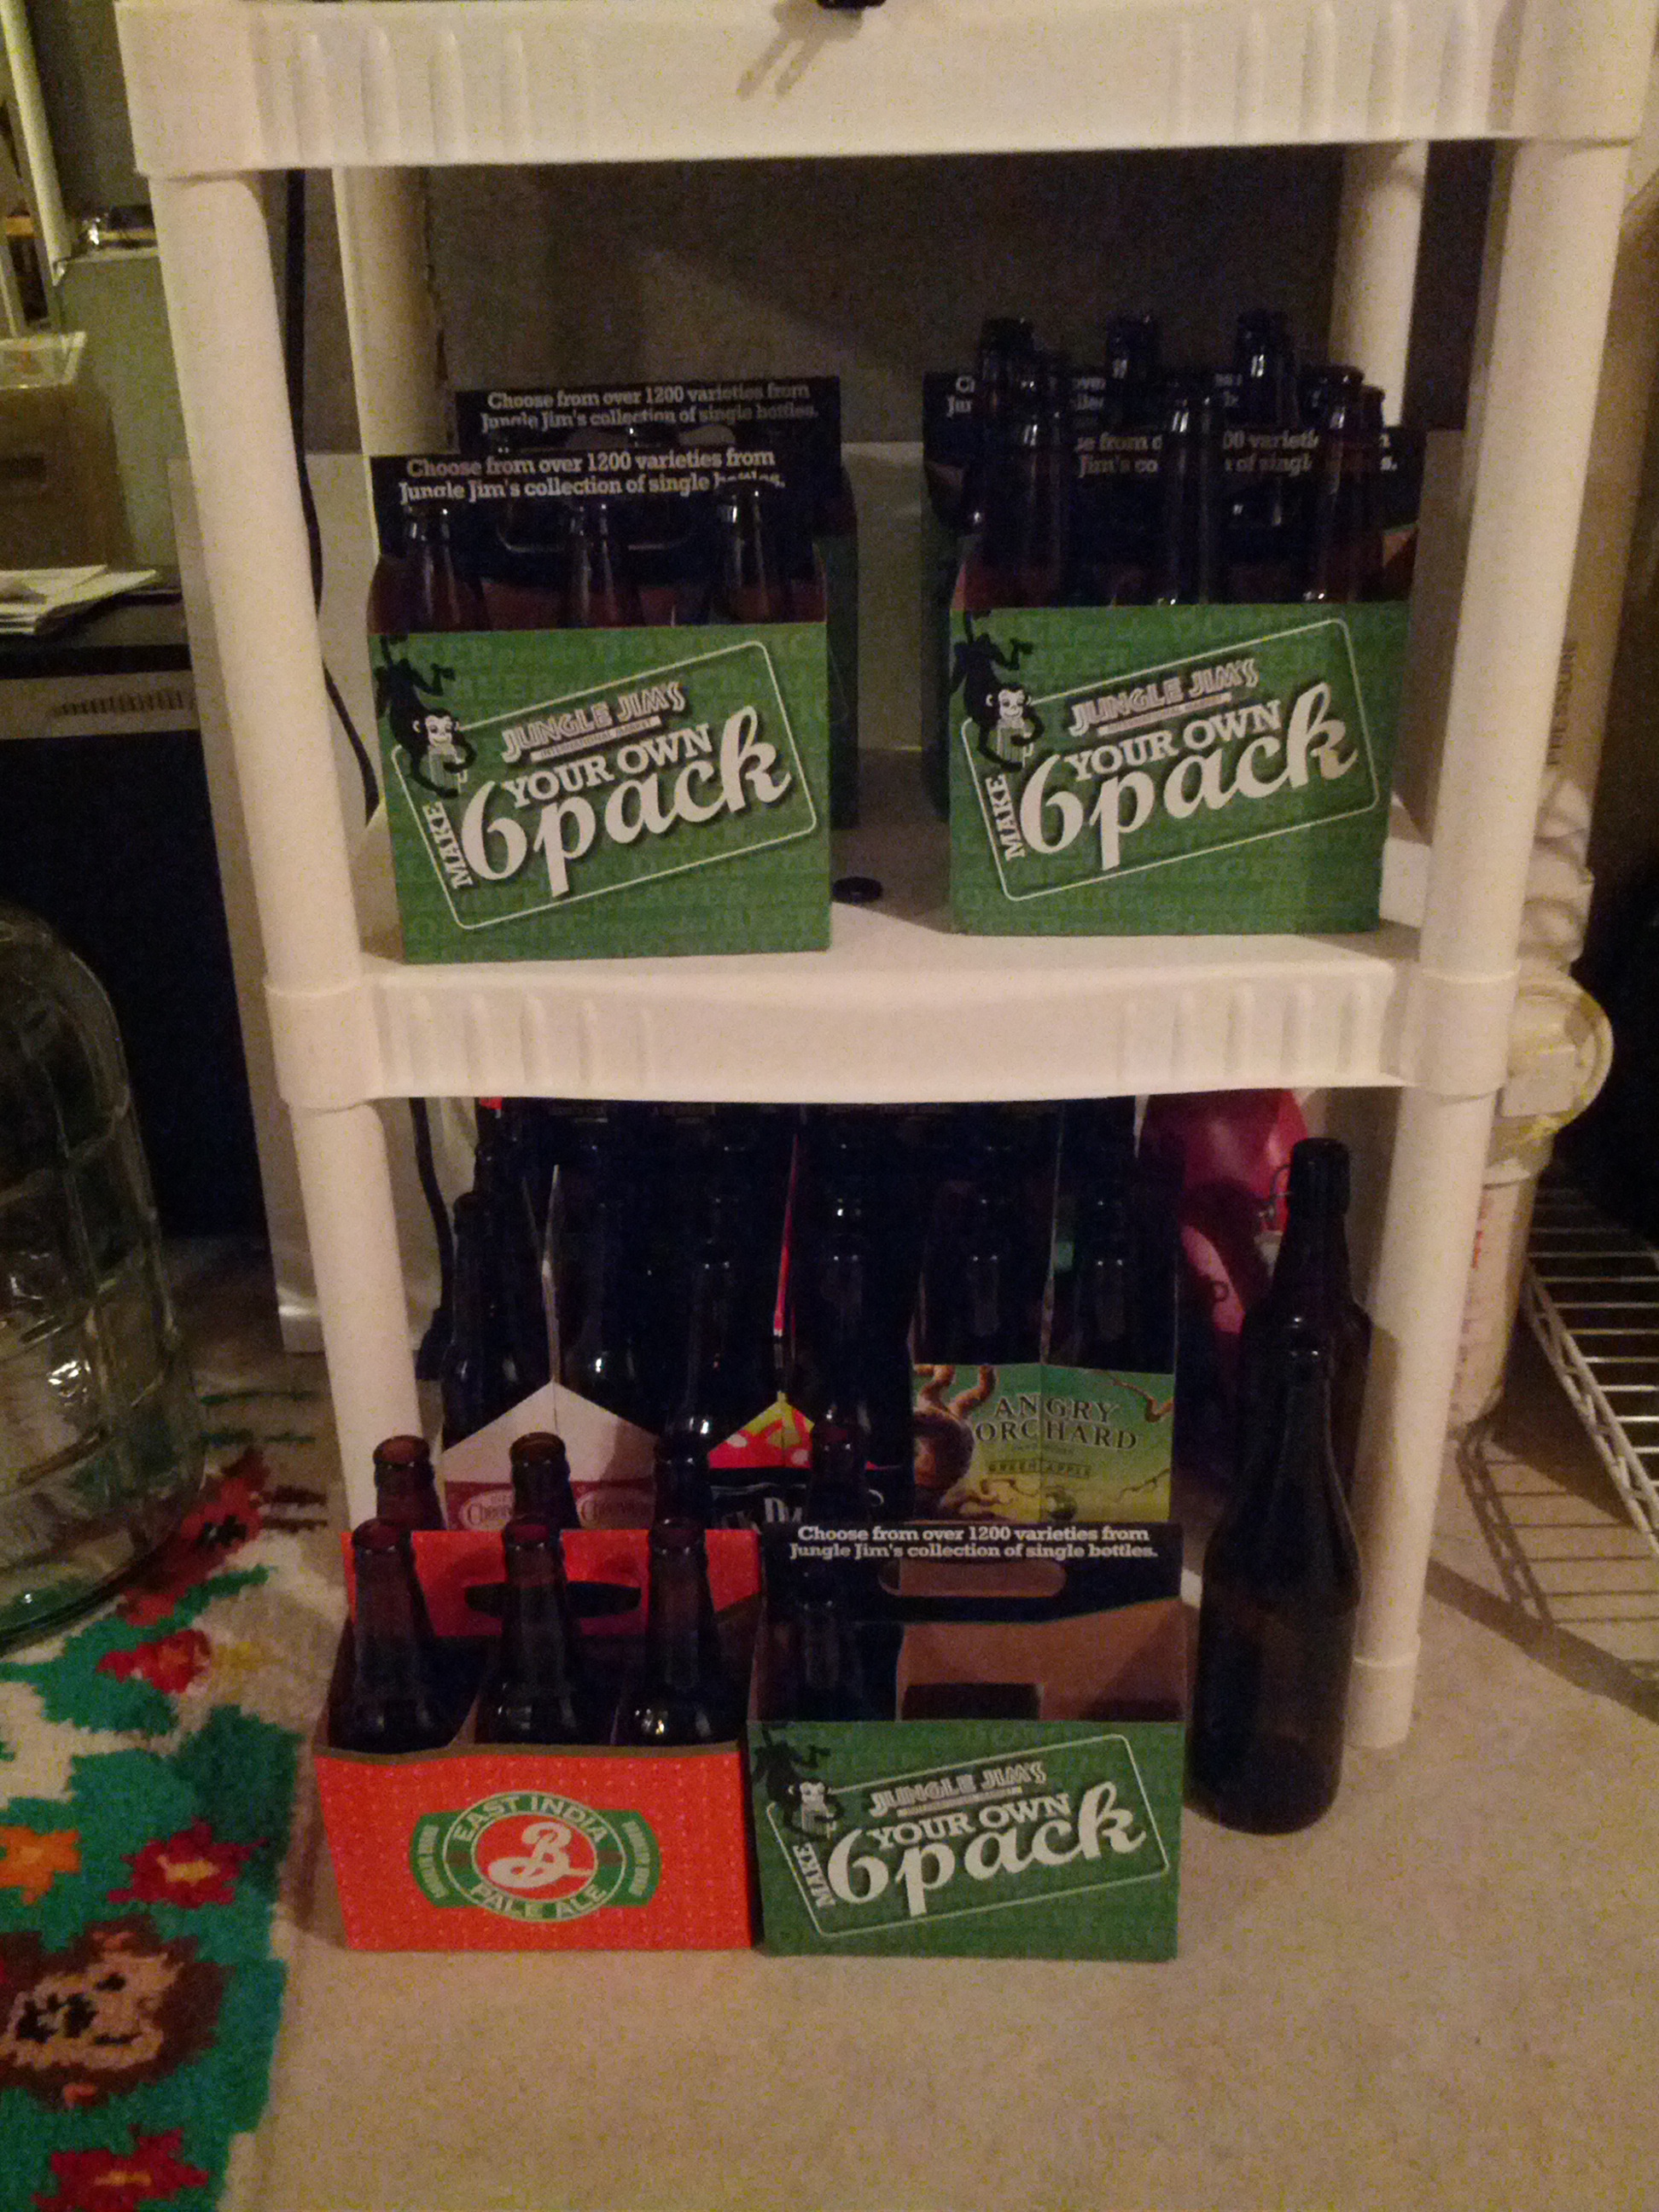
Bottle supply.
Bottling Day
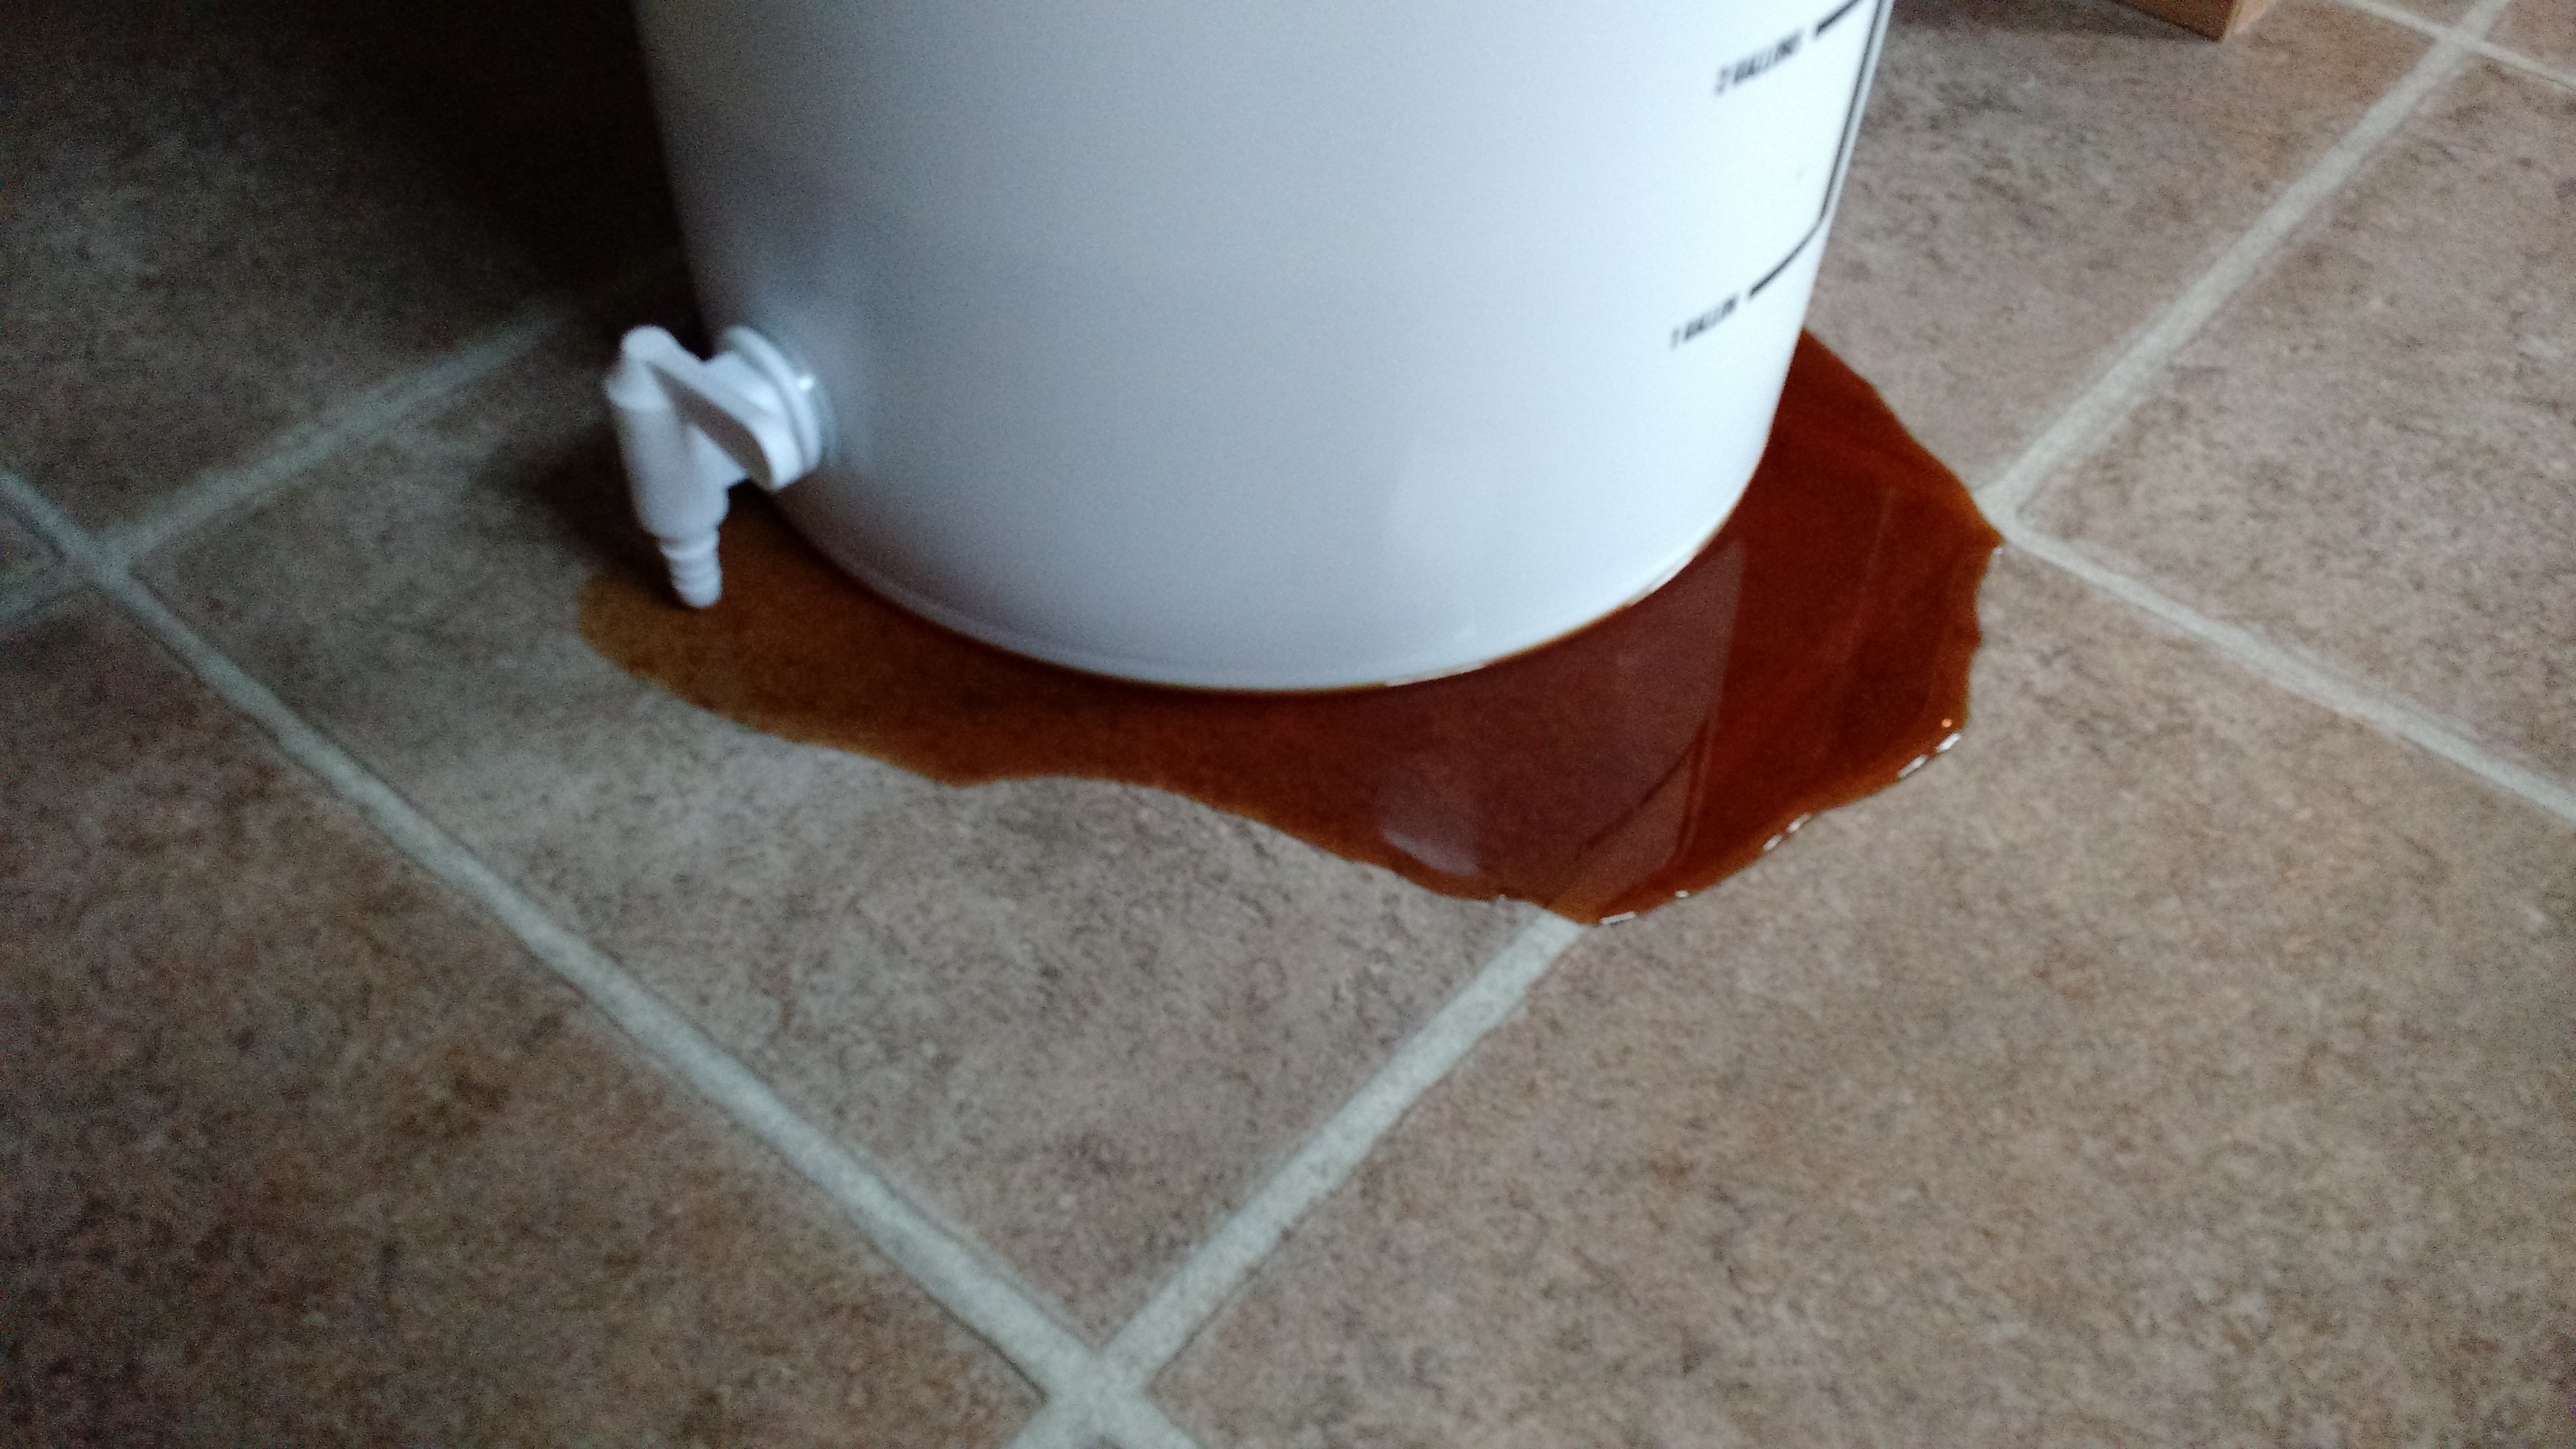
There’s not much to talk about with bottling except that I was reminded of something – that little hole on the bottling bucket spigot is important.
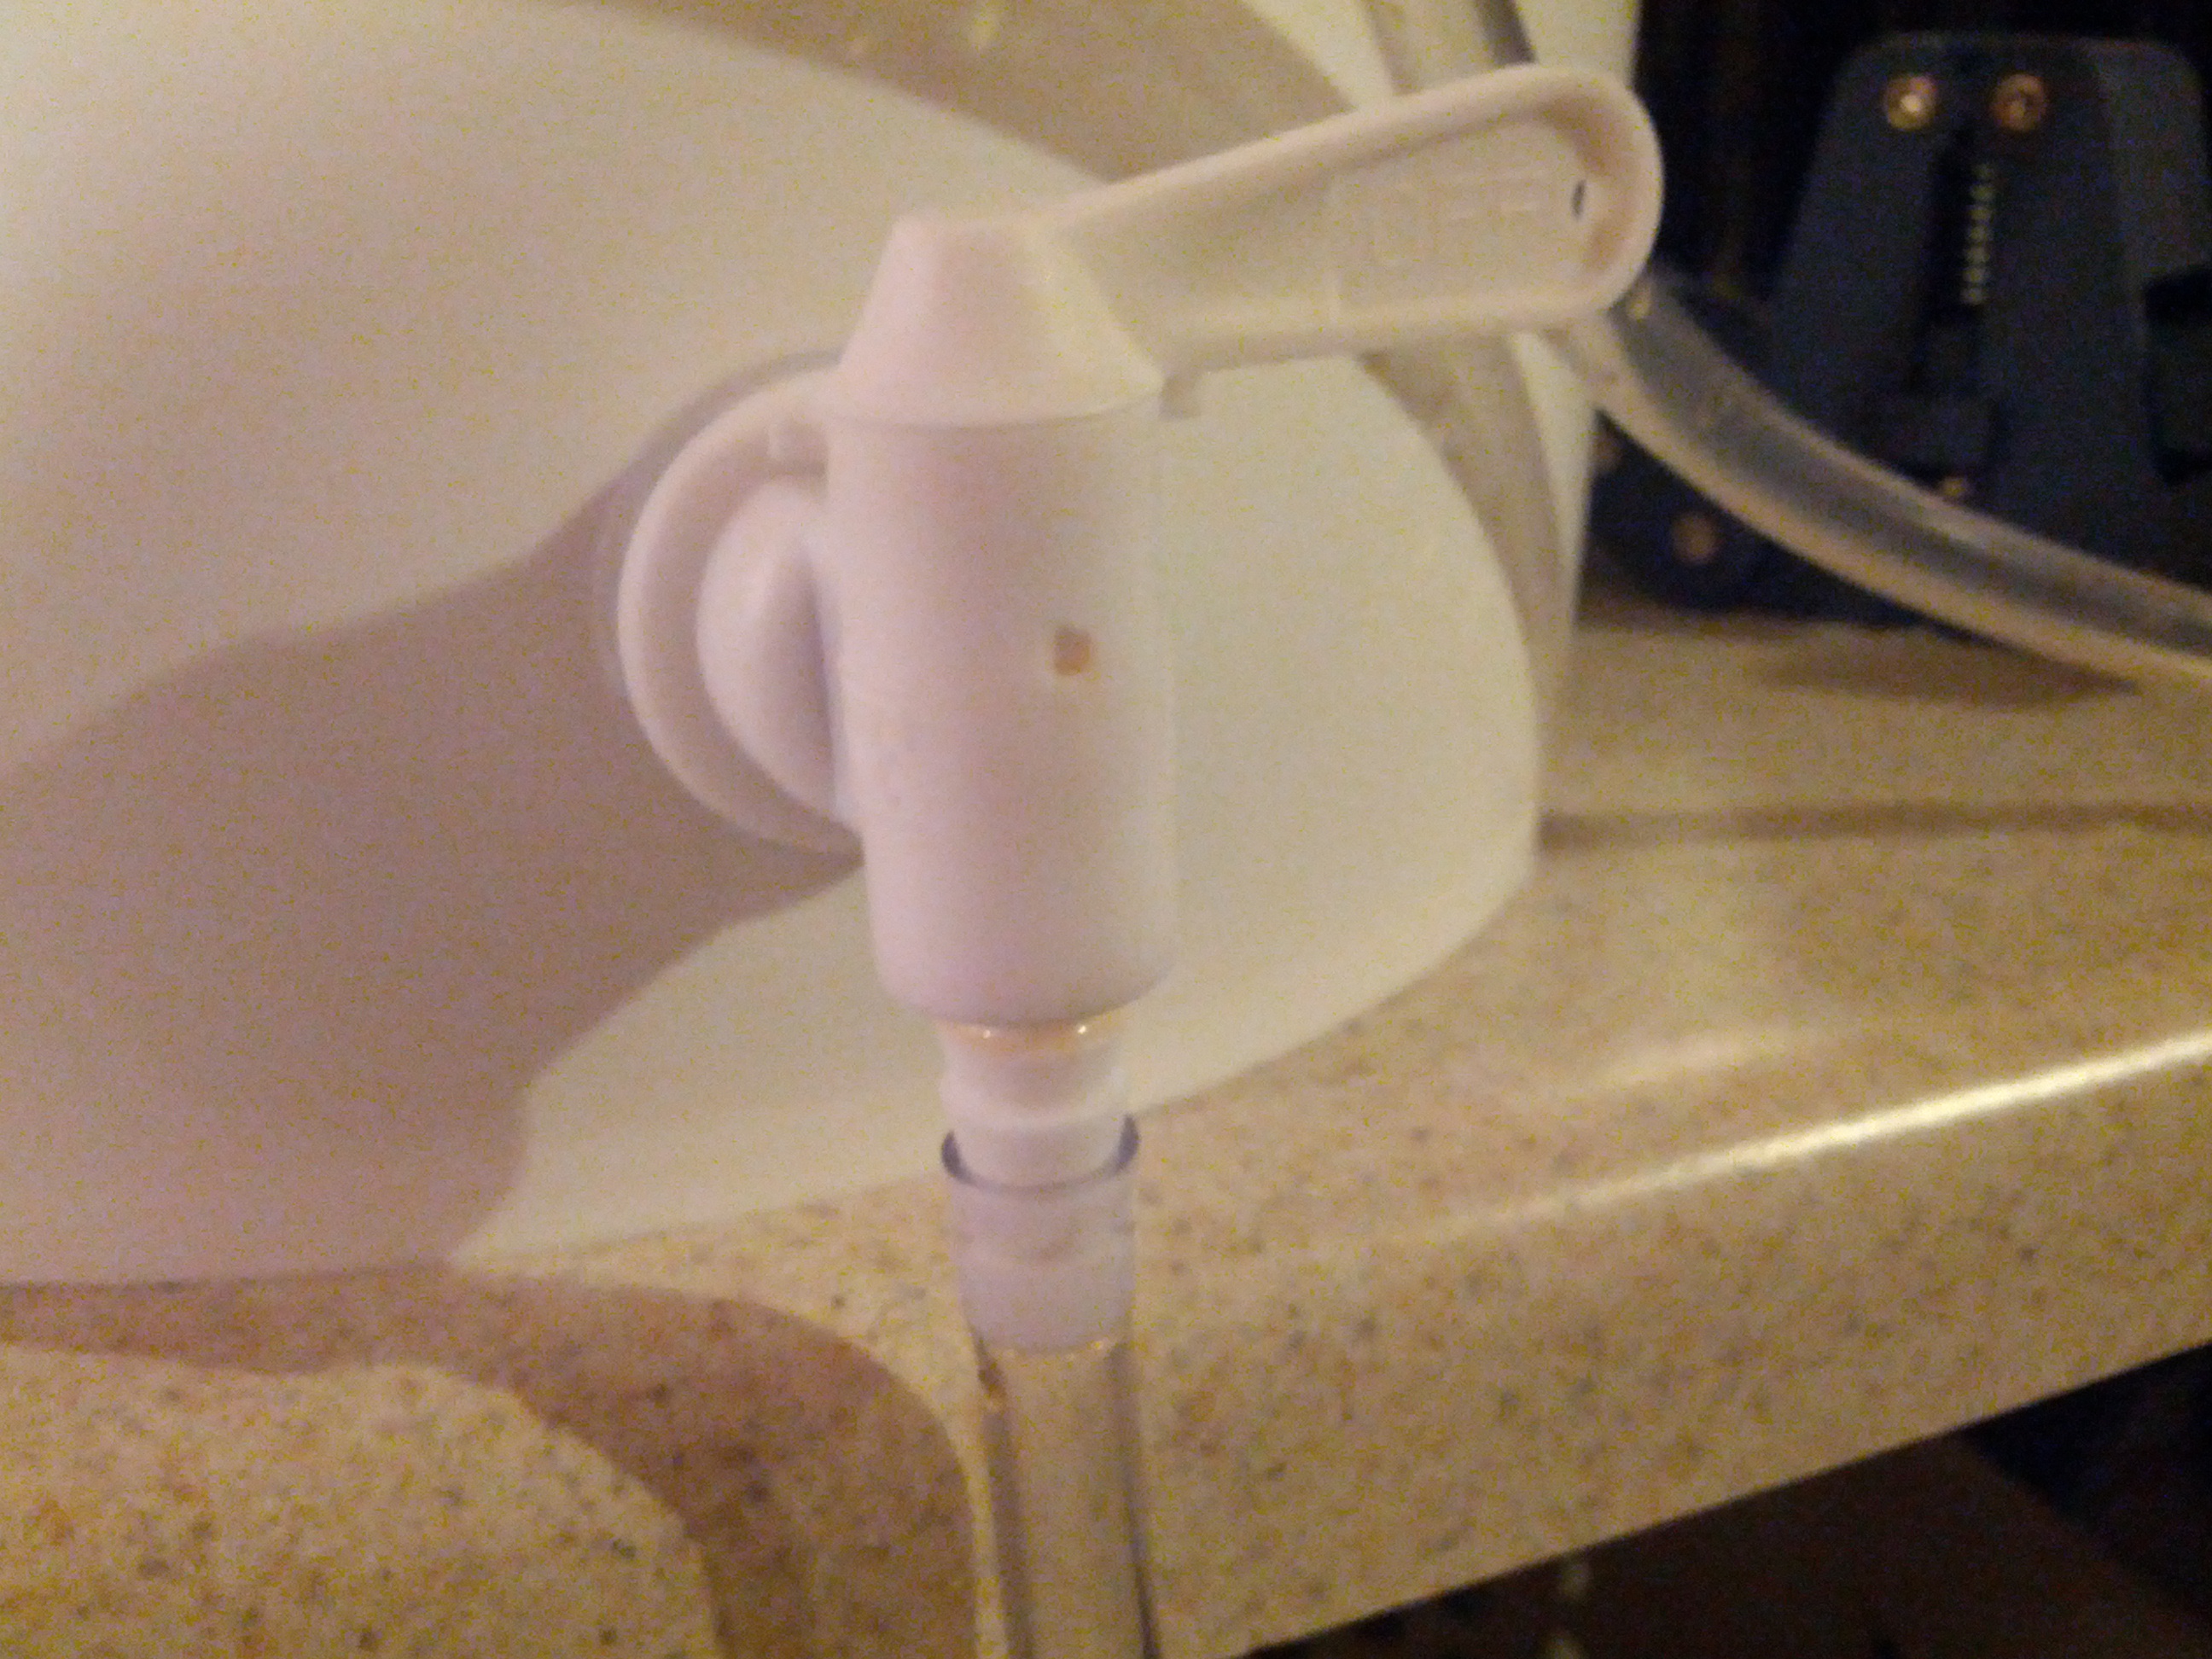
Yeah, that little hole.
…and that’s why.
1.010. Pretty much right in range of where it was expected.
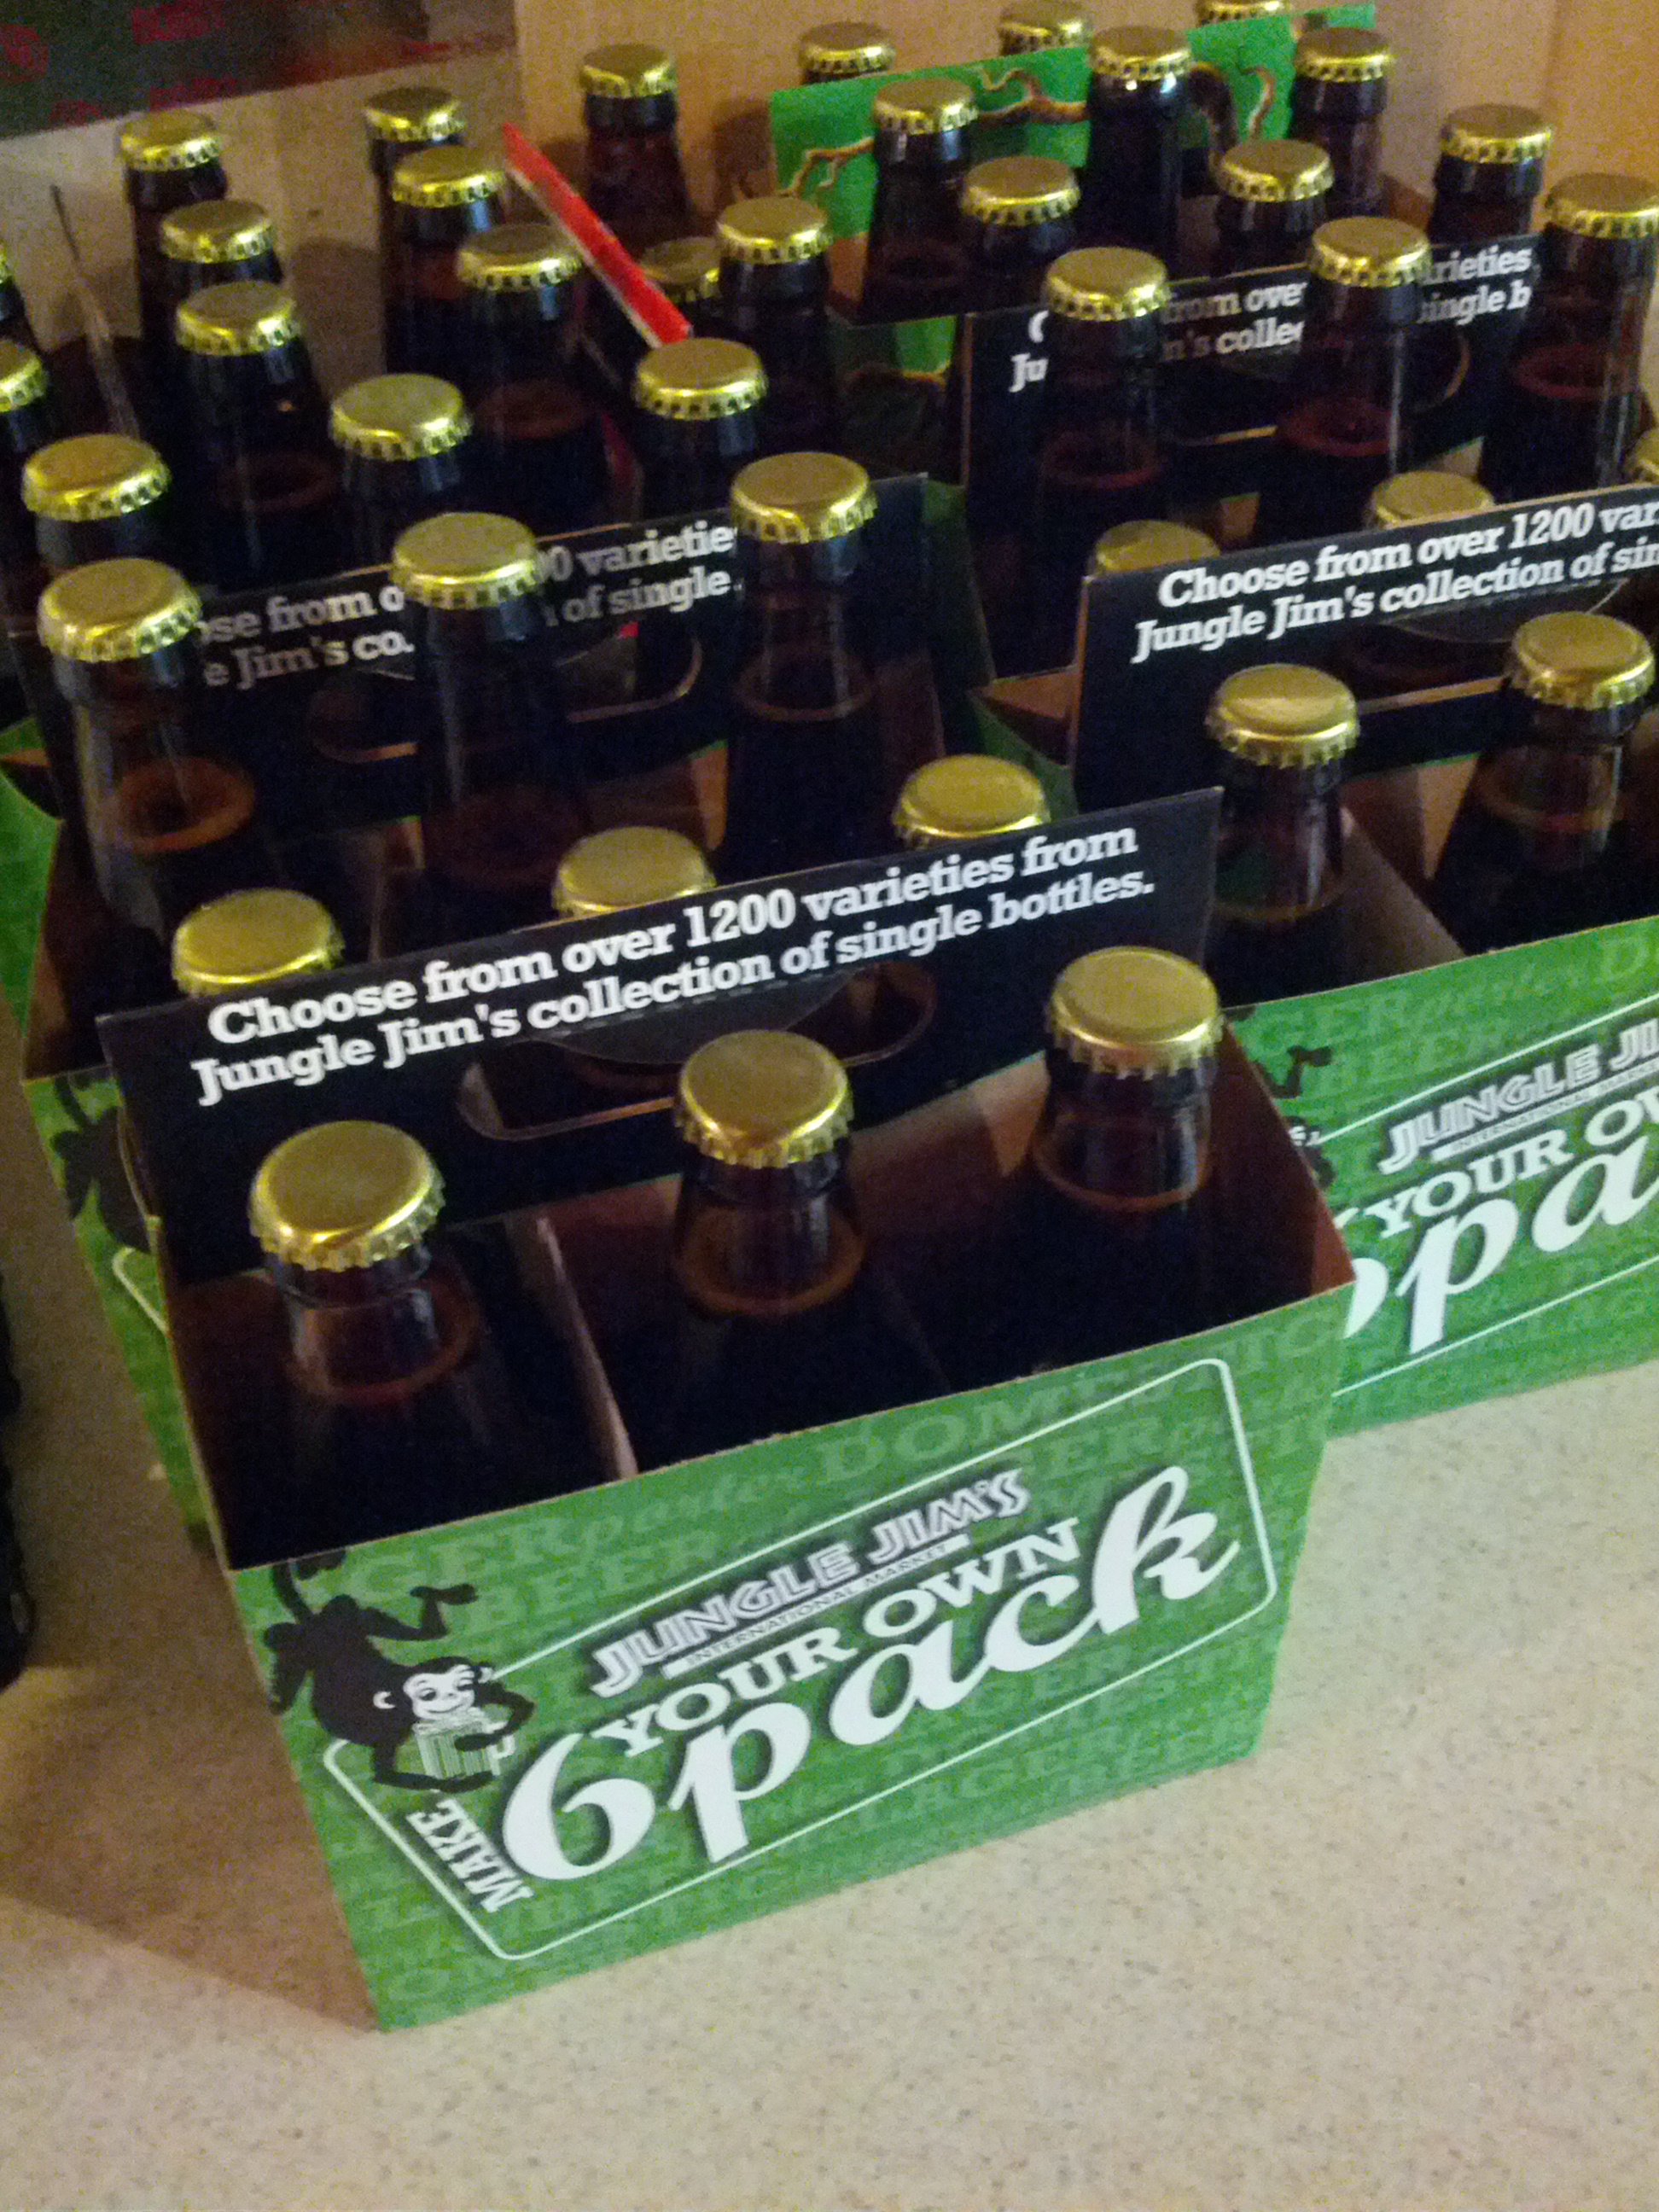
42 bottles of made-my-own 6-pack.
Cheers!