Tag Archive: racking
My Minimal Oxygen Transfer Method
I made a NEIPA, which I love and hasn’t turned brown… for those unaware, these things oxidize quickly.
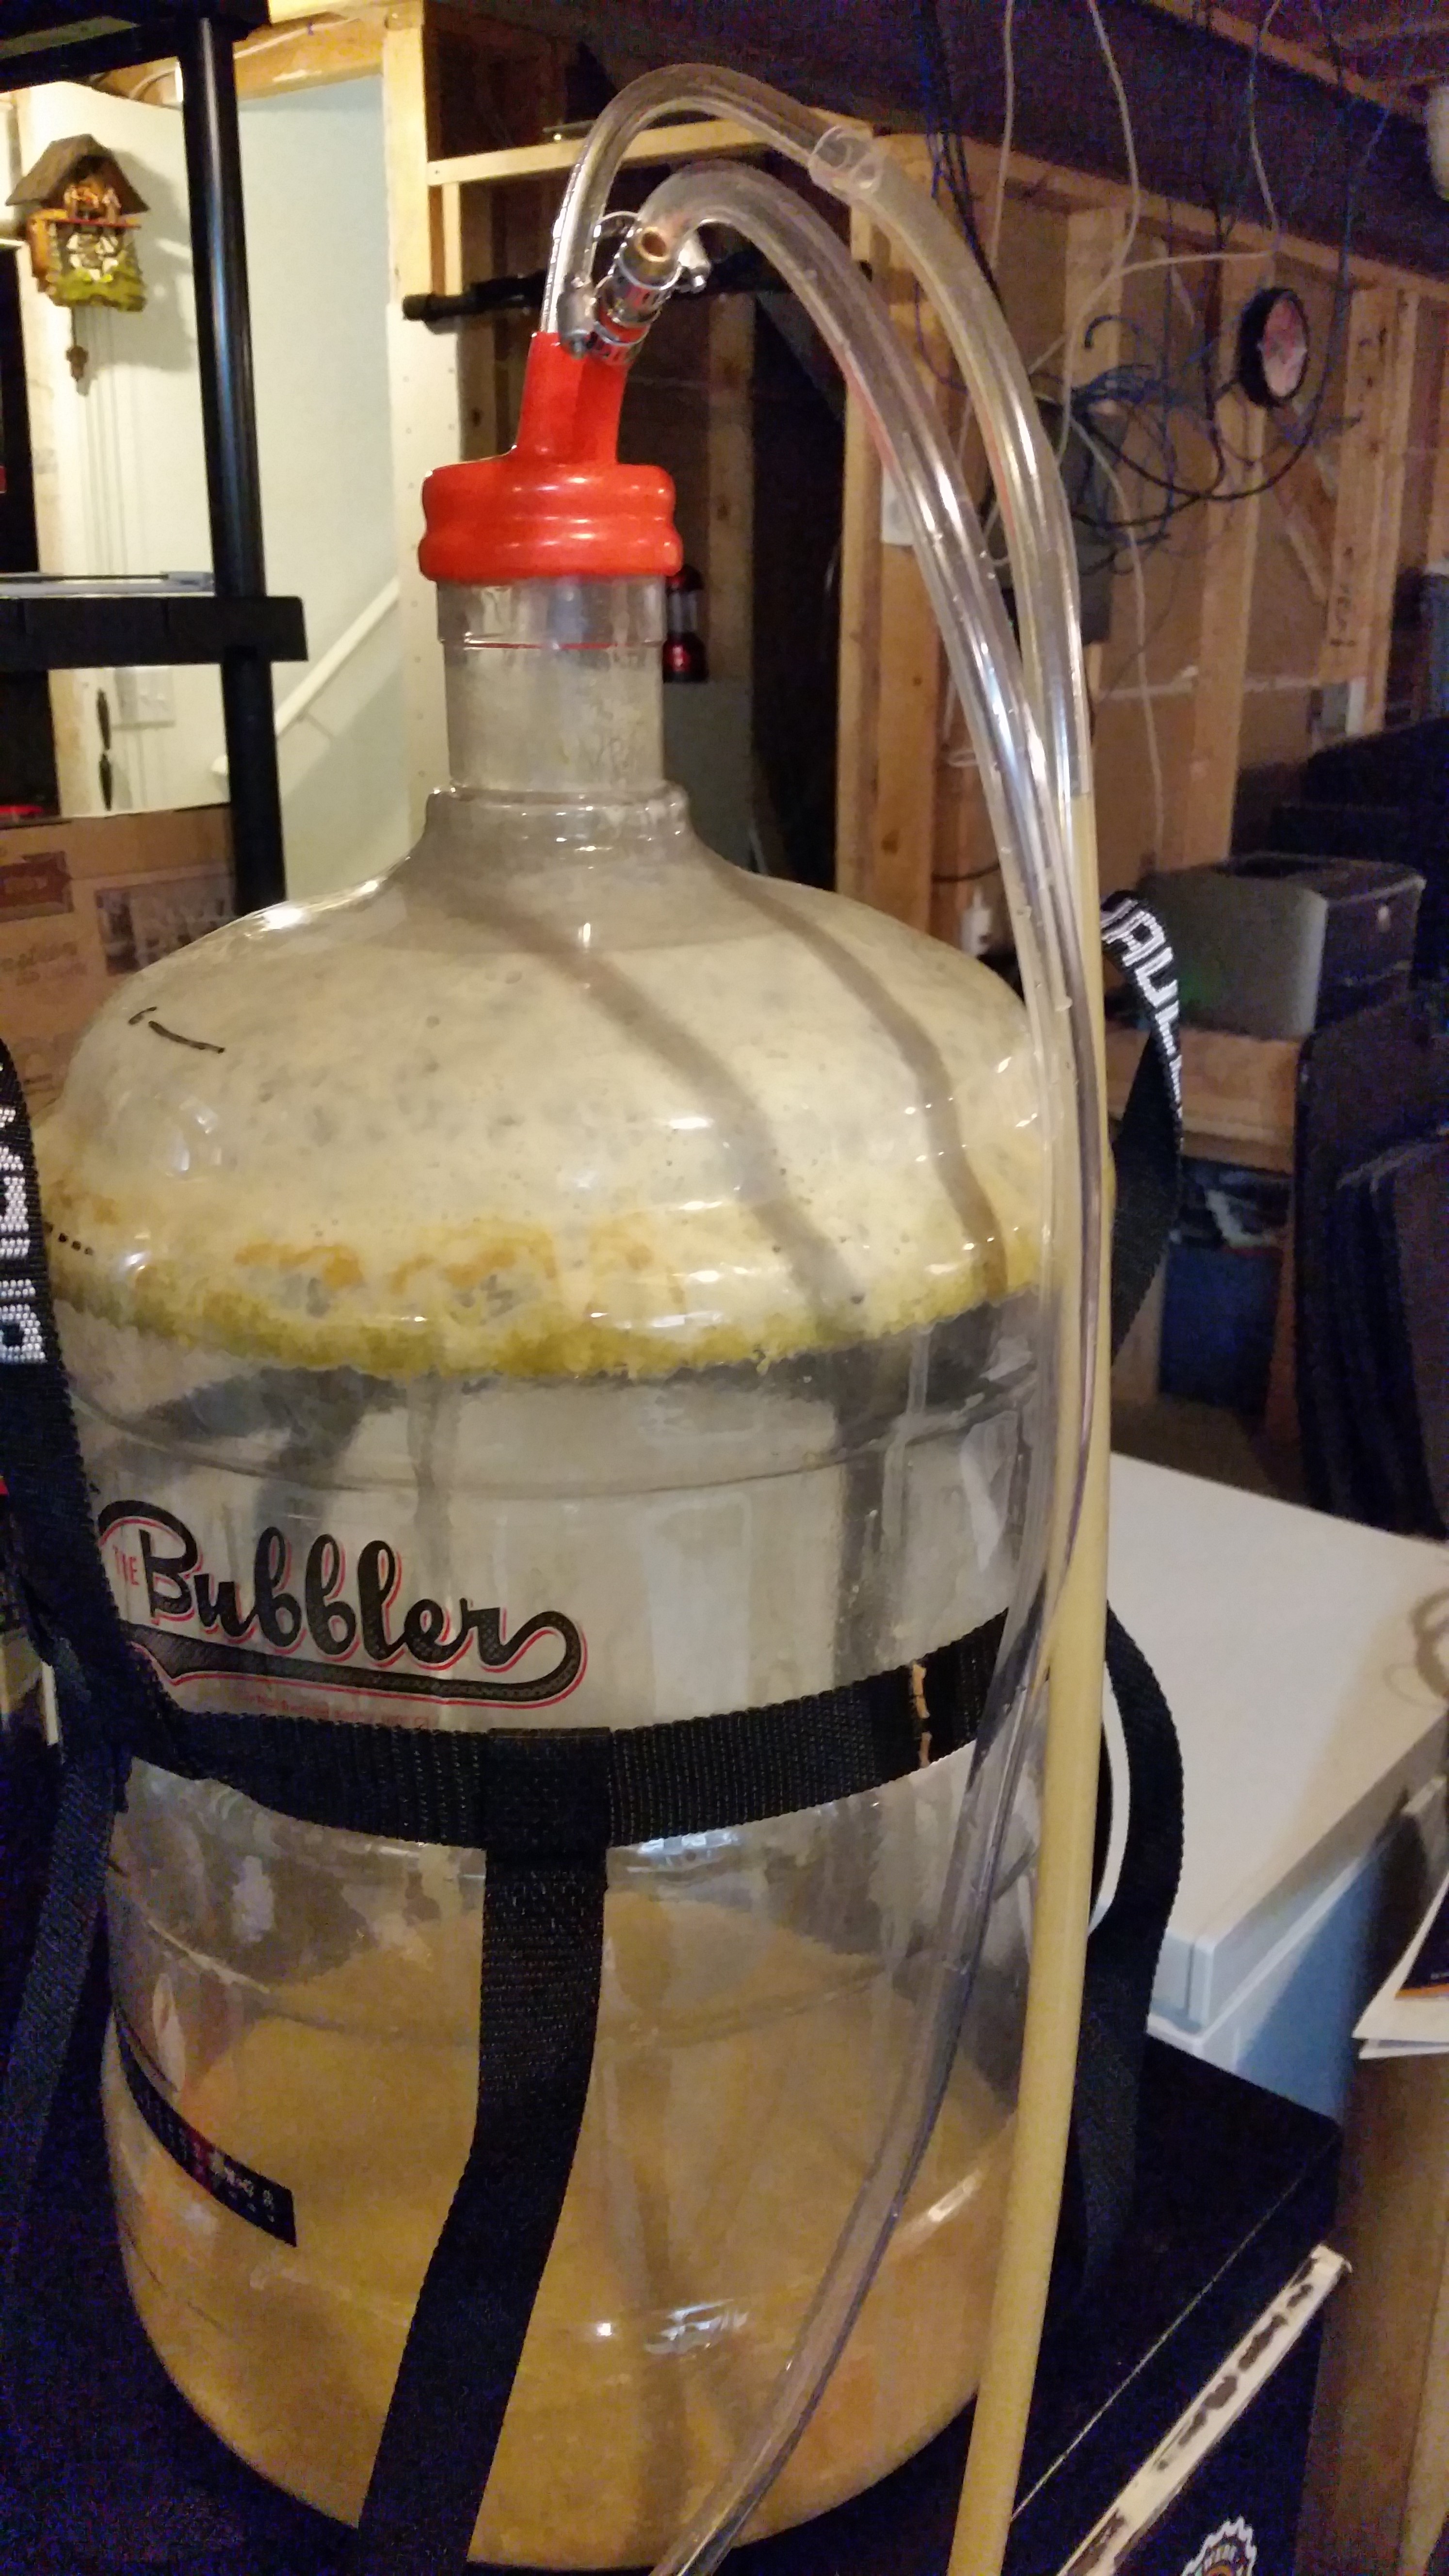
I fermented this in a plastic carboy to give me the potential to transfer to a keg with minimum oxygen. This was the first try, so I did have some issues (which are addressed in the procedures, I’m not talking about my screw-ups here).
1: Cold Crash (if possible)
Cold crashing will remove much of the yeast from suspension, and that will likely improve flavor. I skipped this because my fermentation chamber is unable to go below 55 (actually, I’m not even sure if it’ll go below 60, but it can keep an ale at 68).
2: Setup
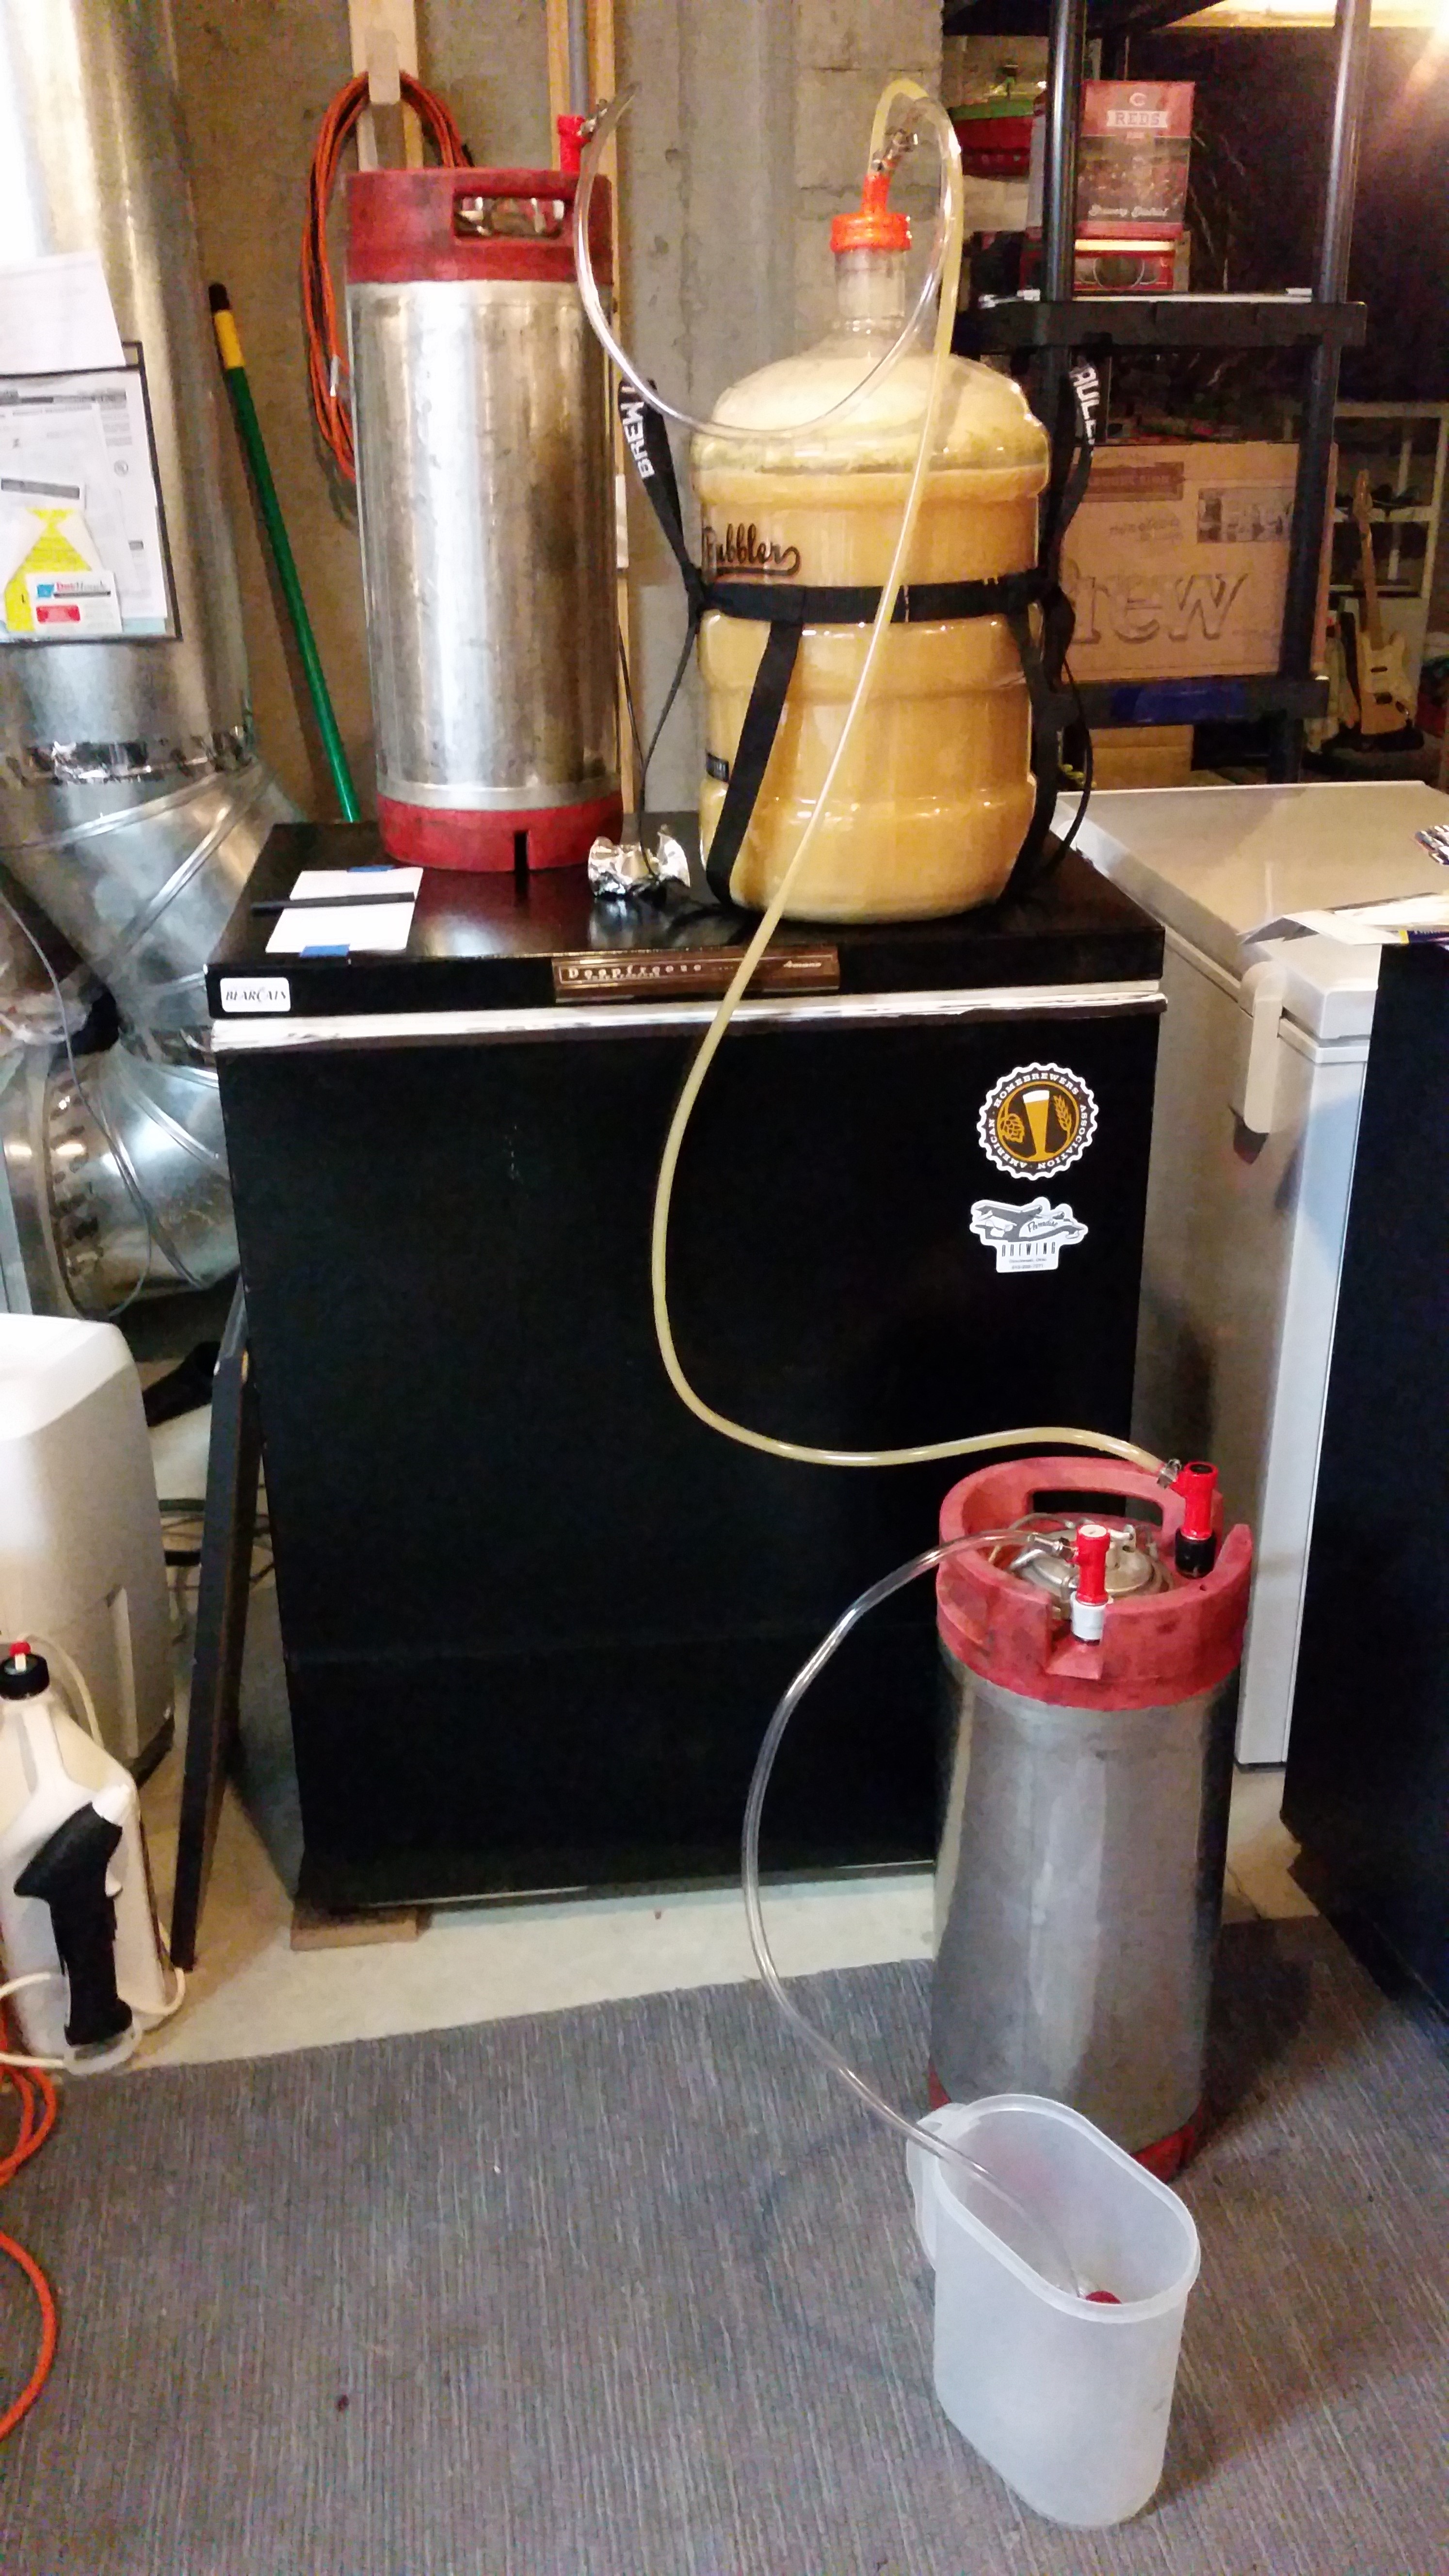
The basic bare-bones of this is a gravity transfer. That being said, the fermenter needs to be up on something and the destination keg needs to low (like on the floor). You should already have a racking cane in a siphon cap and the other end should be prepared with a CO2 line. Since I don’t have an extra CO2 tank, I fitted mine with a gas post. Make sure you use Oetiker clamps or worm clams on the gas lines!

The destination keg should be purged of oxygen (fill it with CO2 and pull the pressure-release valve or otherwize depressurize the keg (mine are pin-lock, so I fill and then use another gas post to depressurize). Additionally, if you’re like me and don’t want to move your CO2 tank, you can use an empty keg as a temporary tank – purge that keg and then pressurize.
If you keg hop, as I did with this, bag the hops and place in the keg before purging.
The only time the fermenter has any oxygen exposure is if you have to remove a blow-off or airlock to place the carboy cap. That should be done quick, and prior to doing that, the cap, cane, and line should be sanitized and the posts (on the ends of the lines connected to the carboy cap) should be fully assembled. If you’re using a CO2 tank, connect it and push a little CO2 through it before making the switch.
3: Begin Transfer
Connect the lines in this order:
- Fermenter to Keg
- Keg gas out (into a container of sanitizer, like a blow-off tube).
- HOLD ONTO THE FERMENTER CAP!
- Push (DO NOT CONNECT) the CO2 keg (if using a CO2 tank, use a very low pressure)
- DURING THE TRANSFER, make sure to continually supply CO2 to the fermenter – if it is closed it will start to implode and the siphon will slow.
At some point, the flow will stop. It is unlikely that there will be enough pressure to force beer out through the gas line, what tends to happen is that once the beer gets to it, it’ll stop. If there happens to be enough pressure, you’ll see beer getting into the sanitizer – that’s your signal to stop! Disconnect the keg liquid line (be prepared to wipe up some spillage) and the gas line.
Once that’s done, proceed to carbonate as normal. For this beer, I force-carbonated on about 12 PSI for about a week.